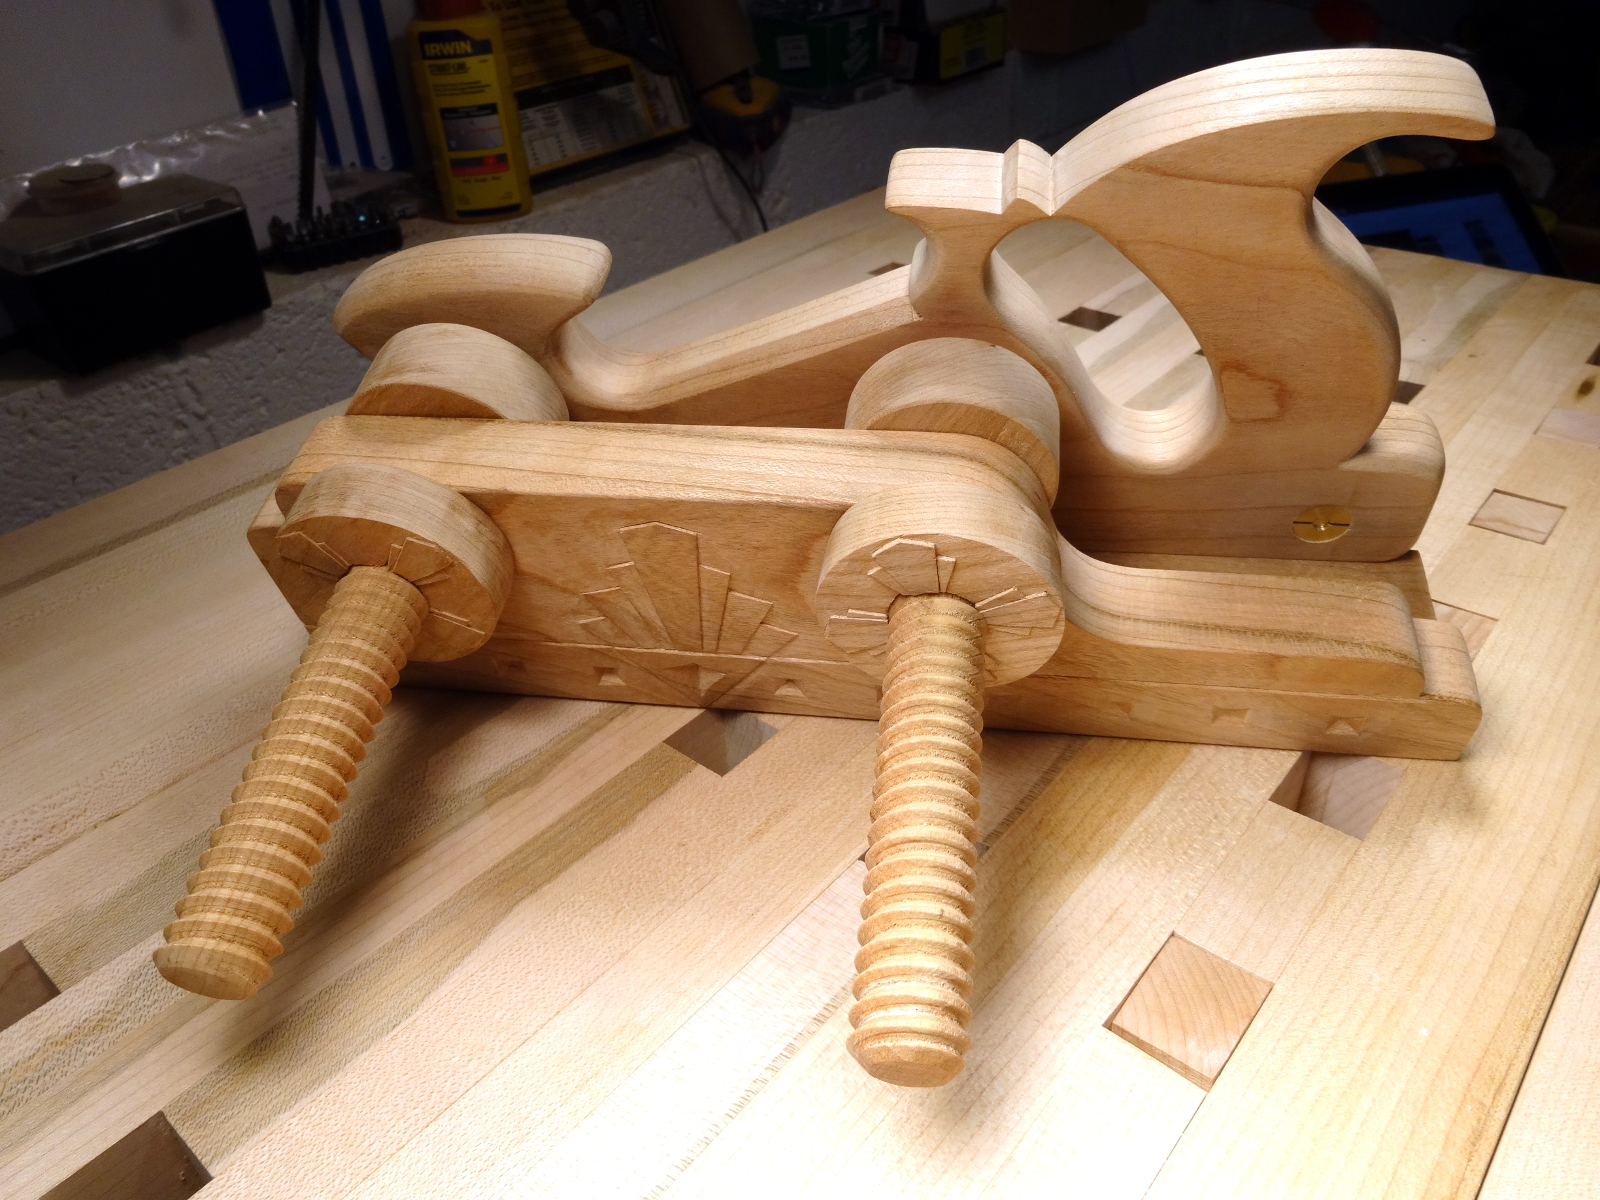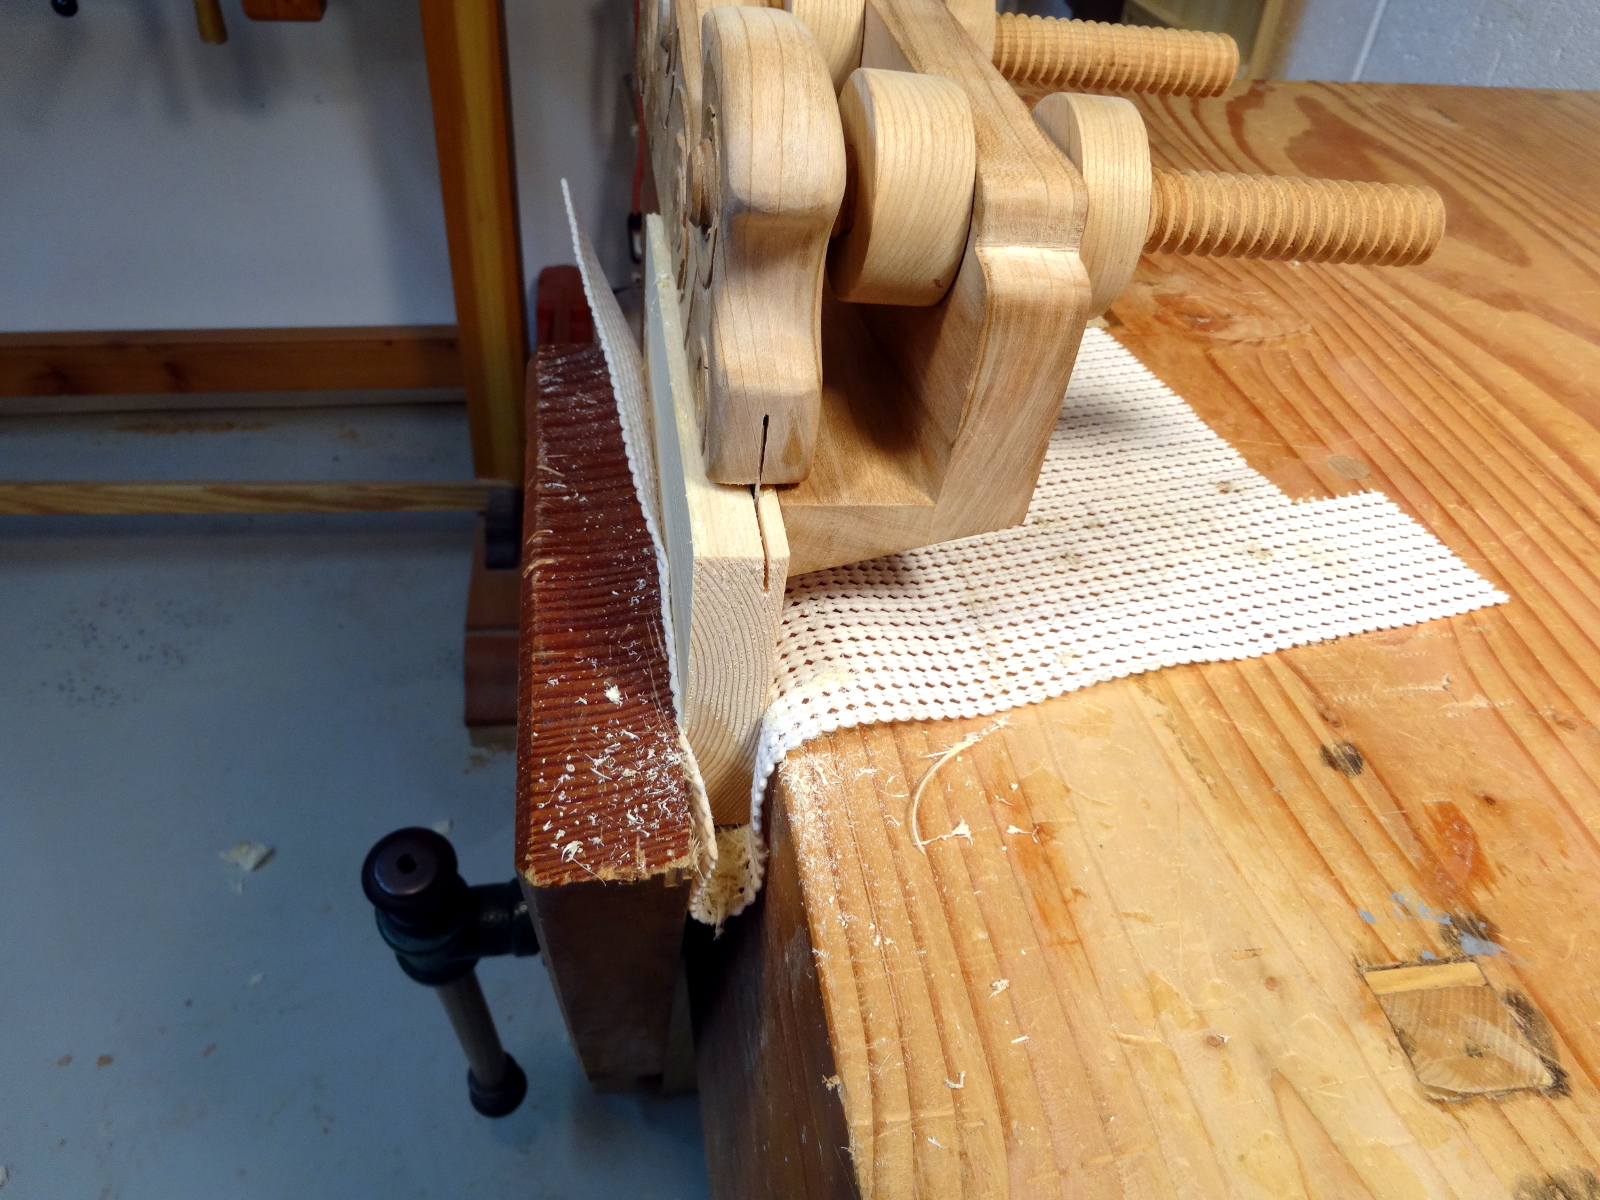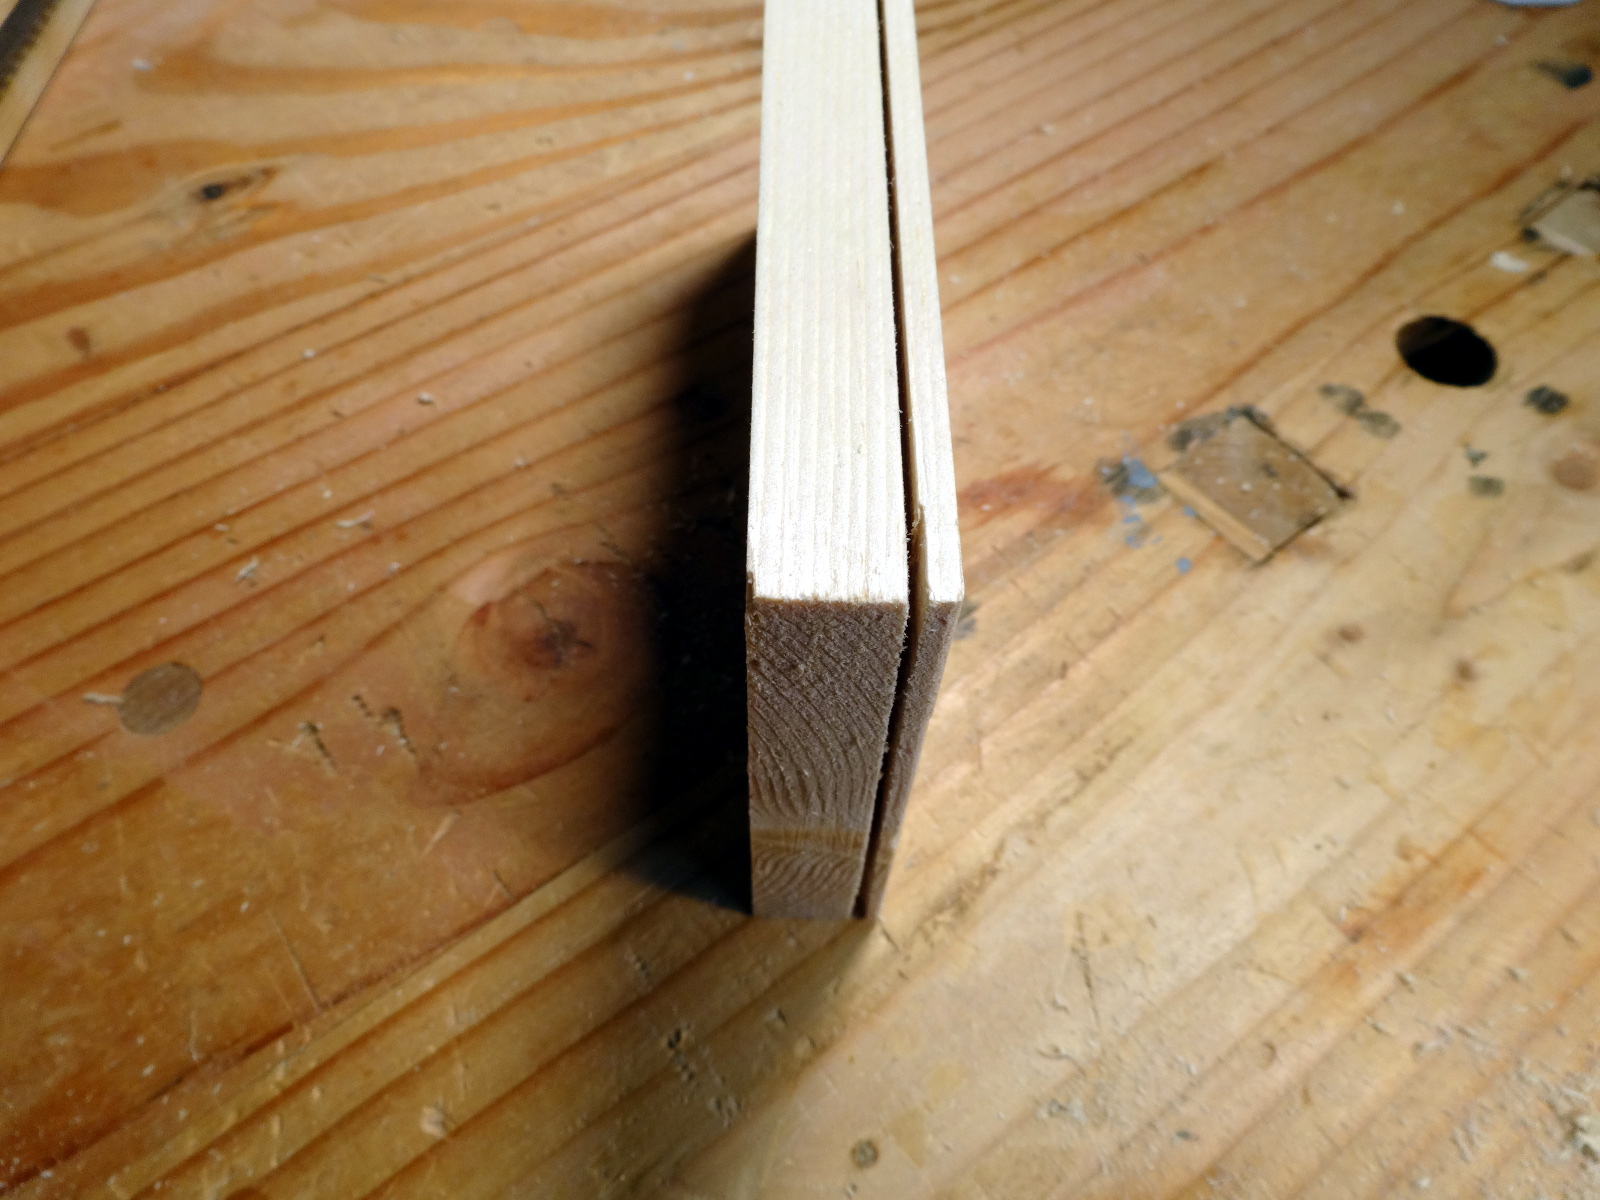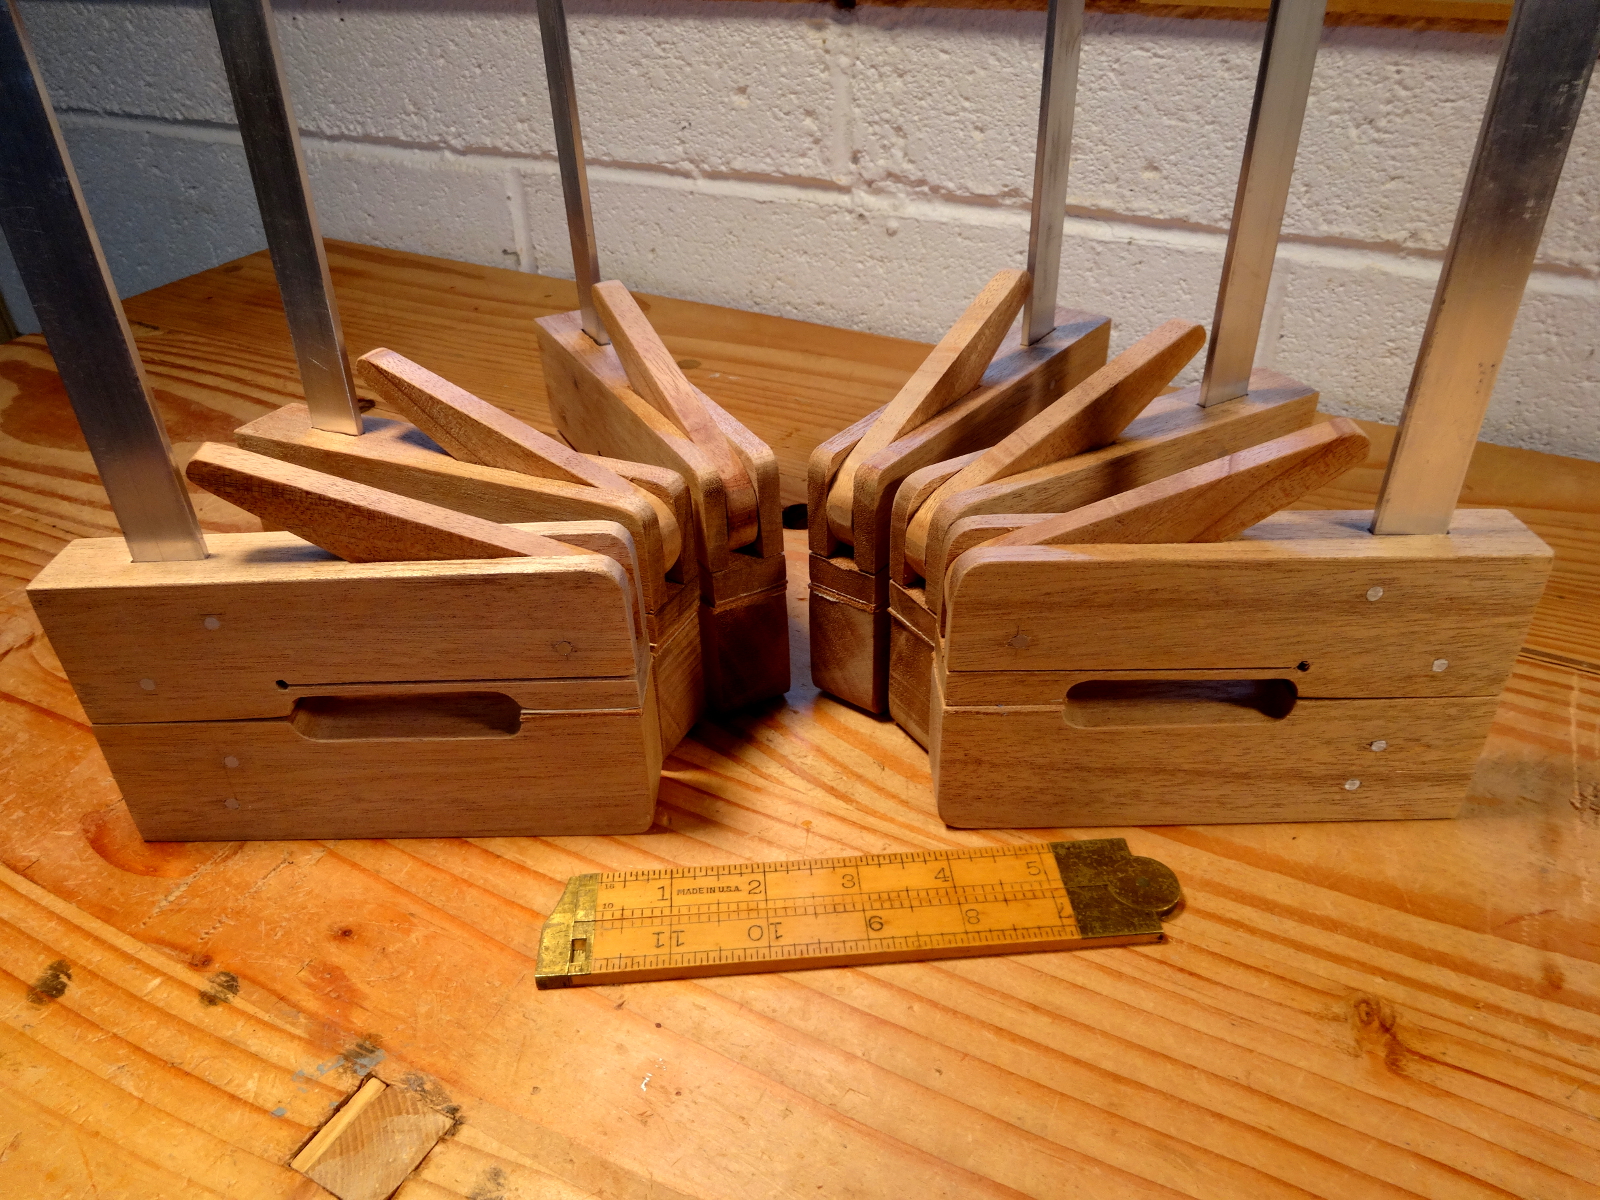
My box making work will appreciate these clamps. I’ll see shortly if 6 are enough. They are extremely light weight, have just the right amount of gripping strength (I think), and are quickly adjusted.
Plans and video instruction from Paul Sellers. Paul says these are easy to make and are inexpensive. They are. What he doesn’t say is they take a LOT of steps, which is why most off-the-shelf versions are relatively expensive.
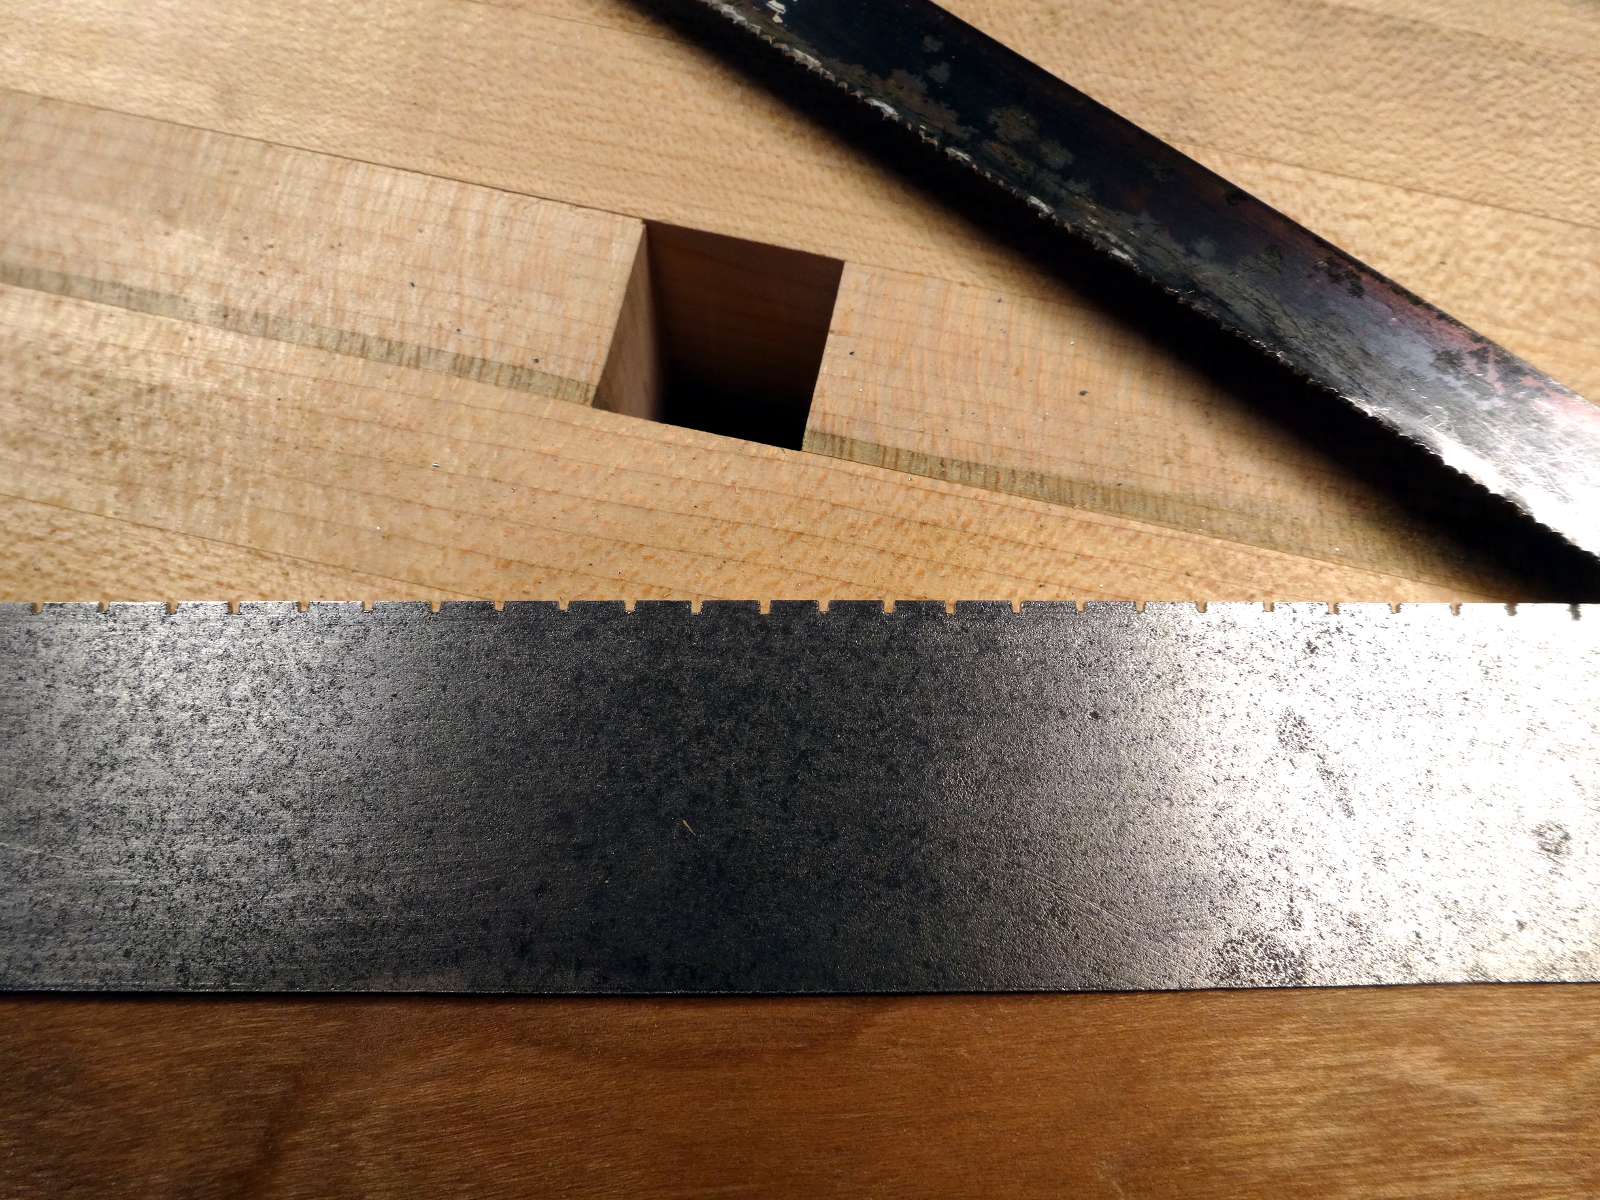
Materials: 4/4 mahogany, aluminum bars 1/8″ x 1″ x 18″, 10 penny nails, bits of leather.