Ding Dong the Clock is Done!
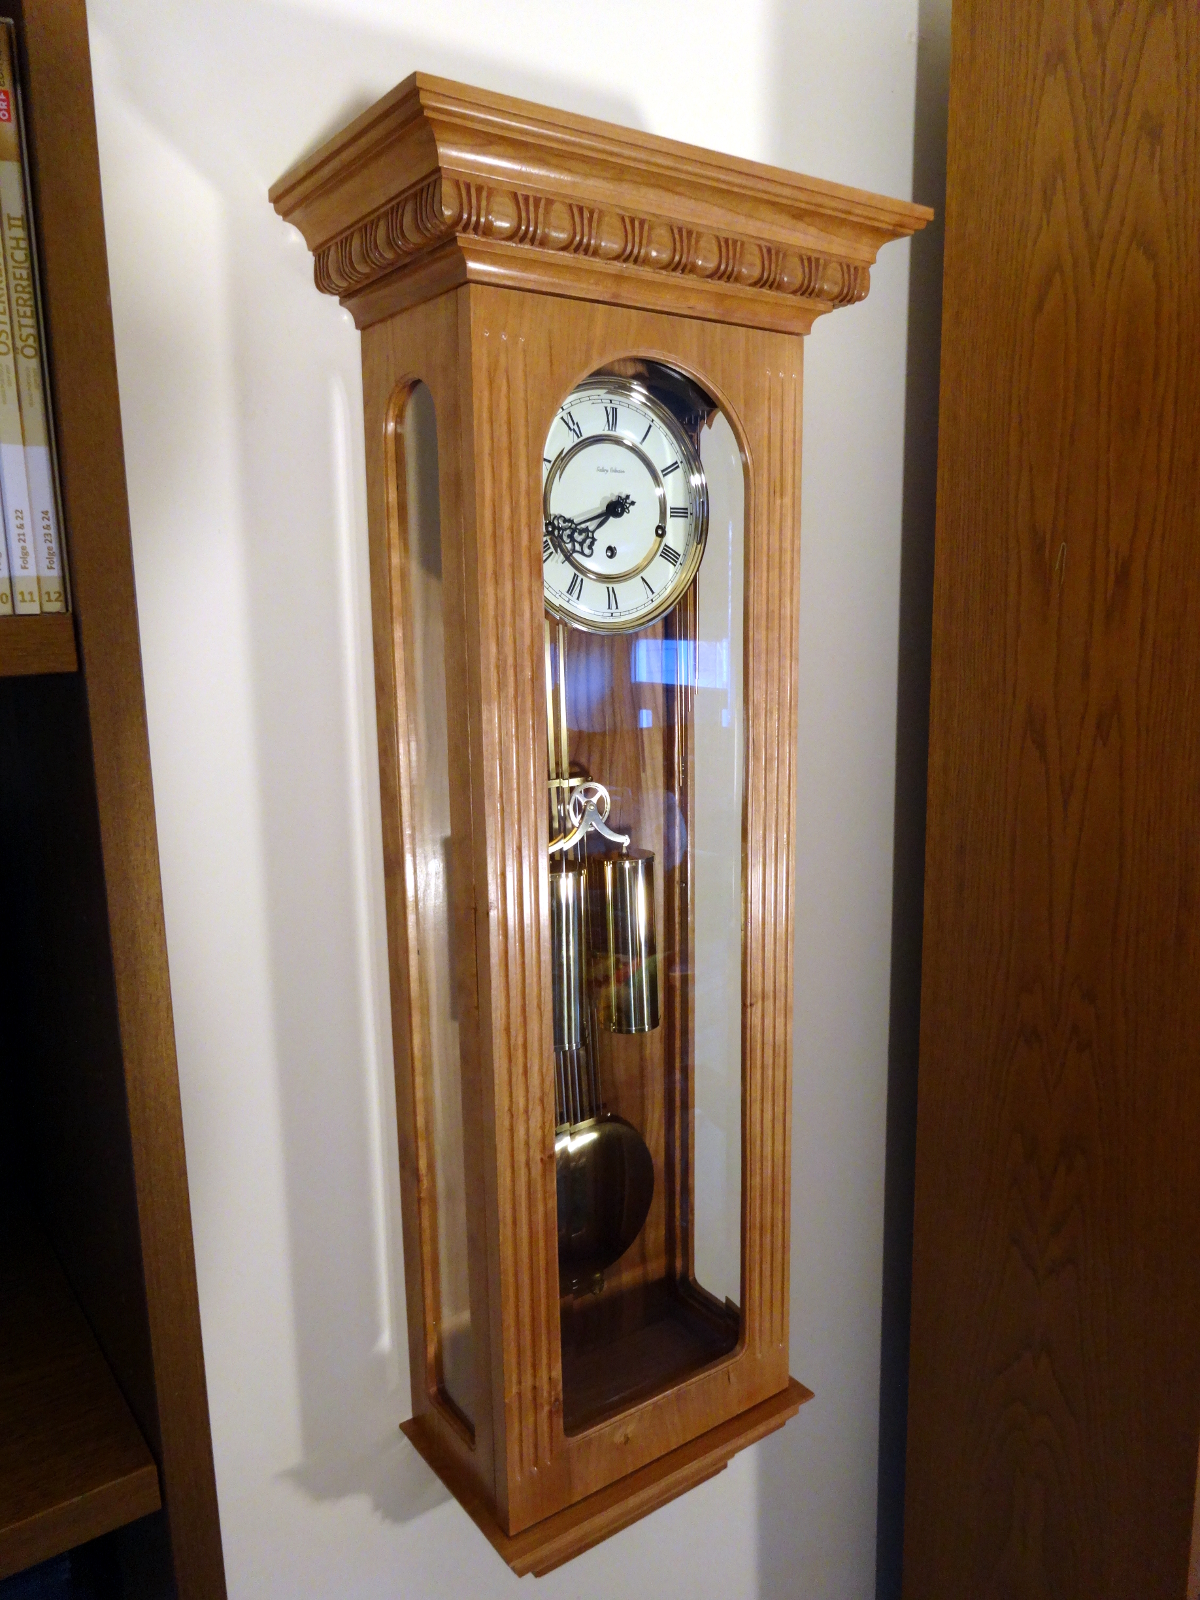
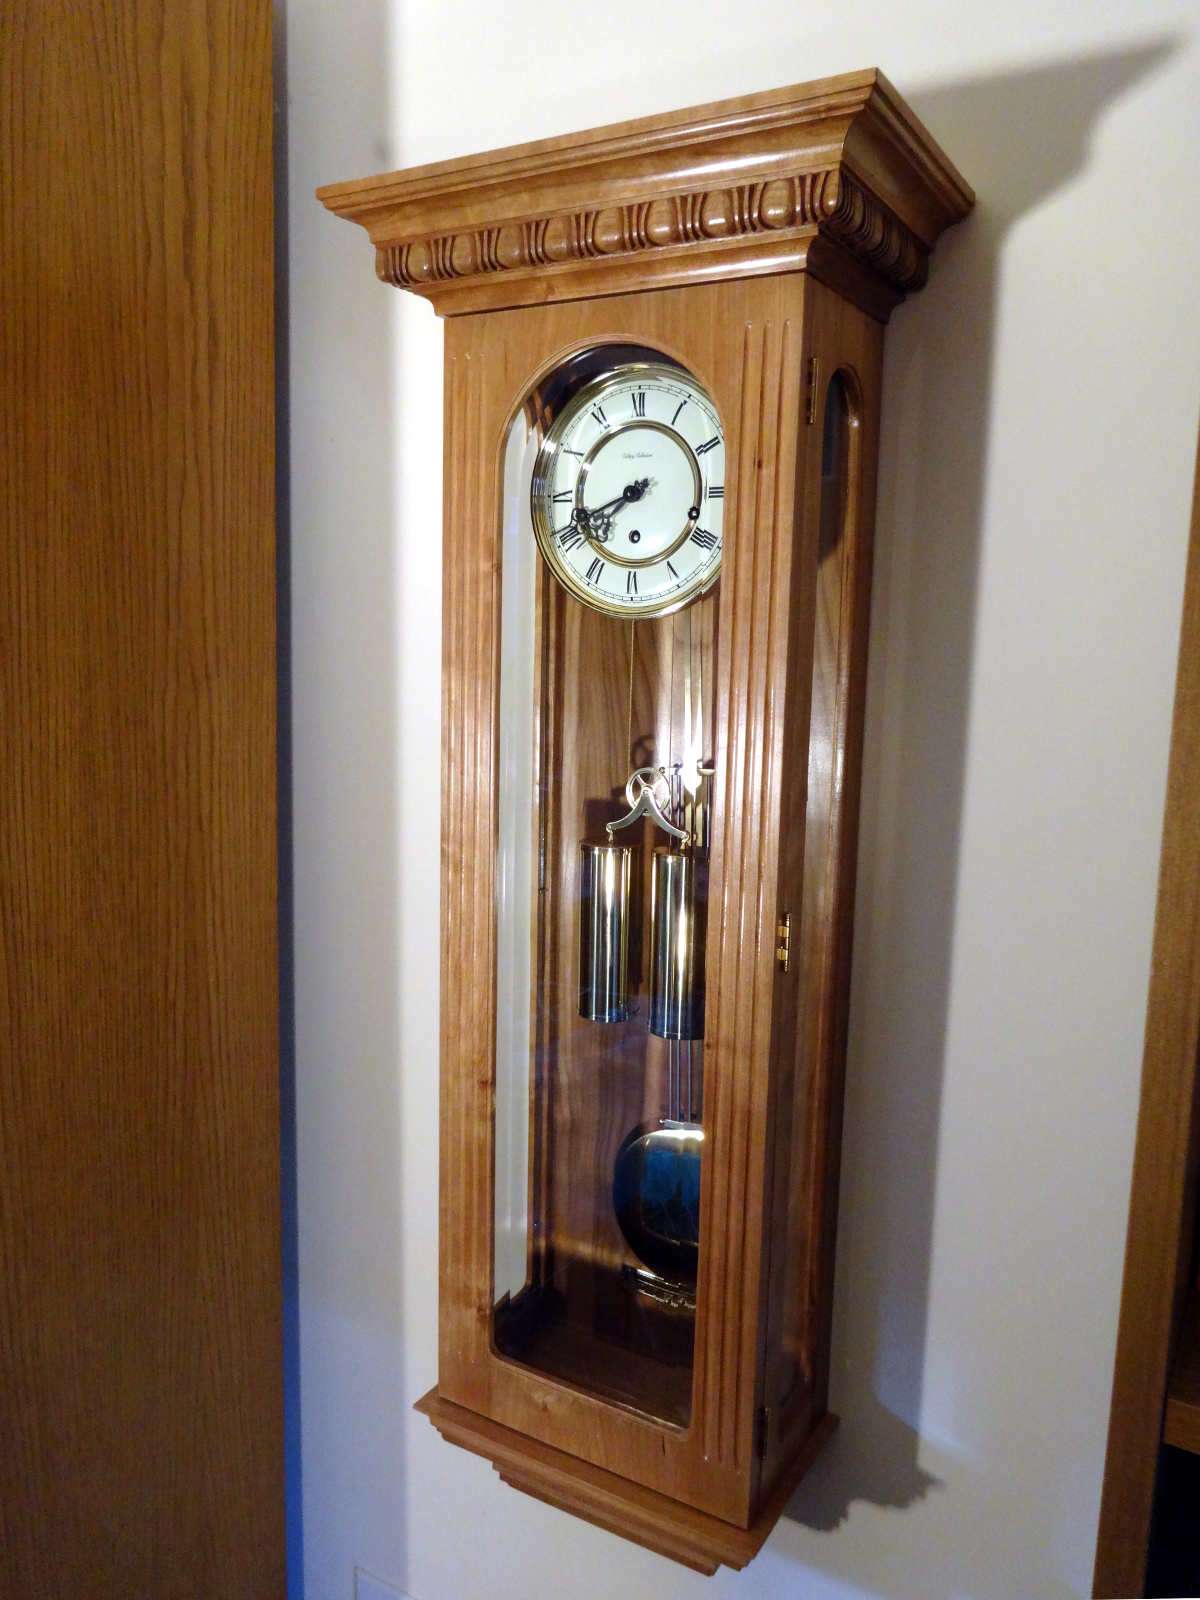
Movement: Hermle Westminster Chime – 351-830 – 8 day – 66 cm pendulum
Overall height: 41 inches
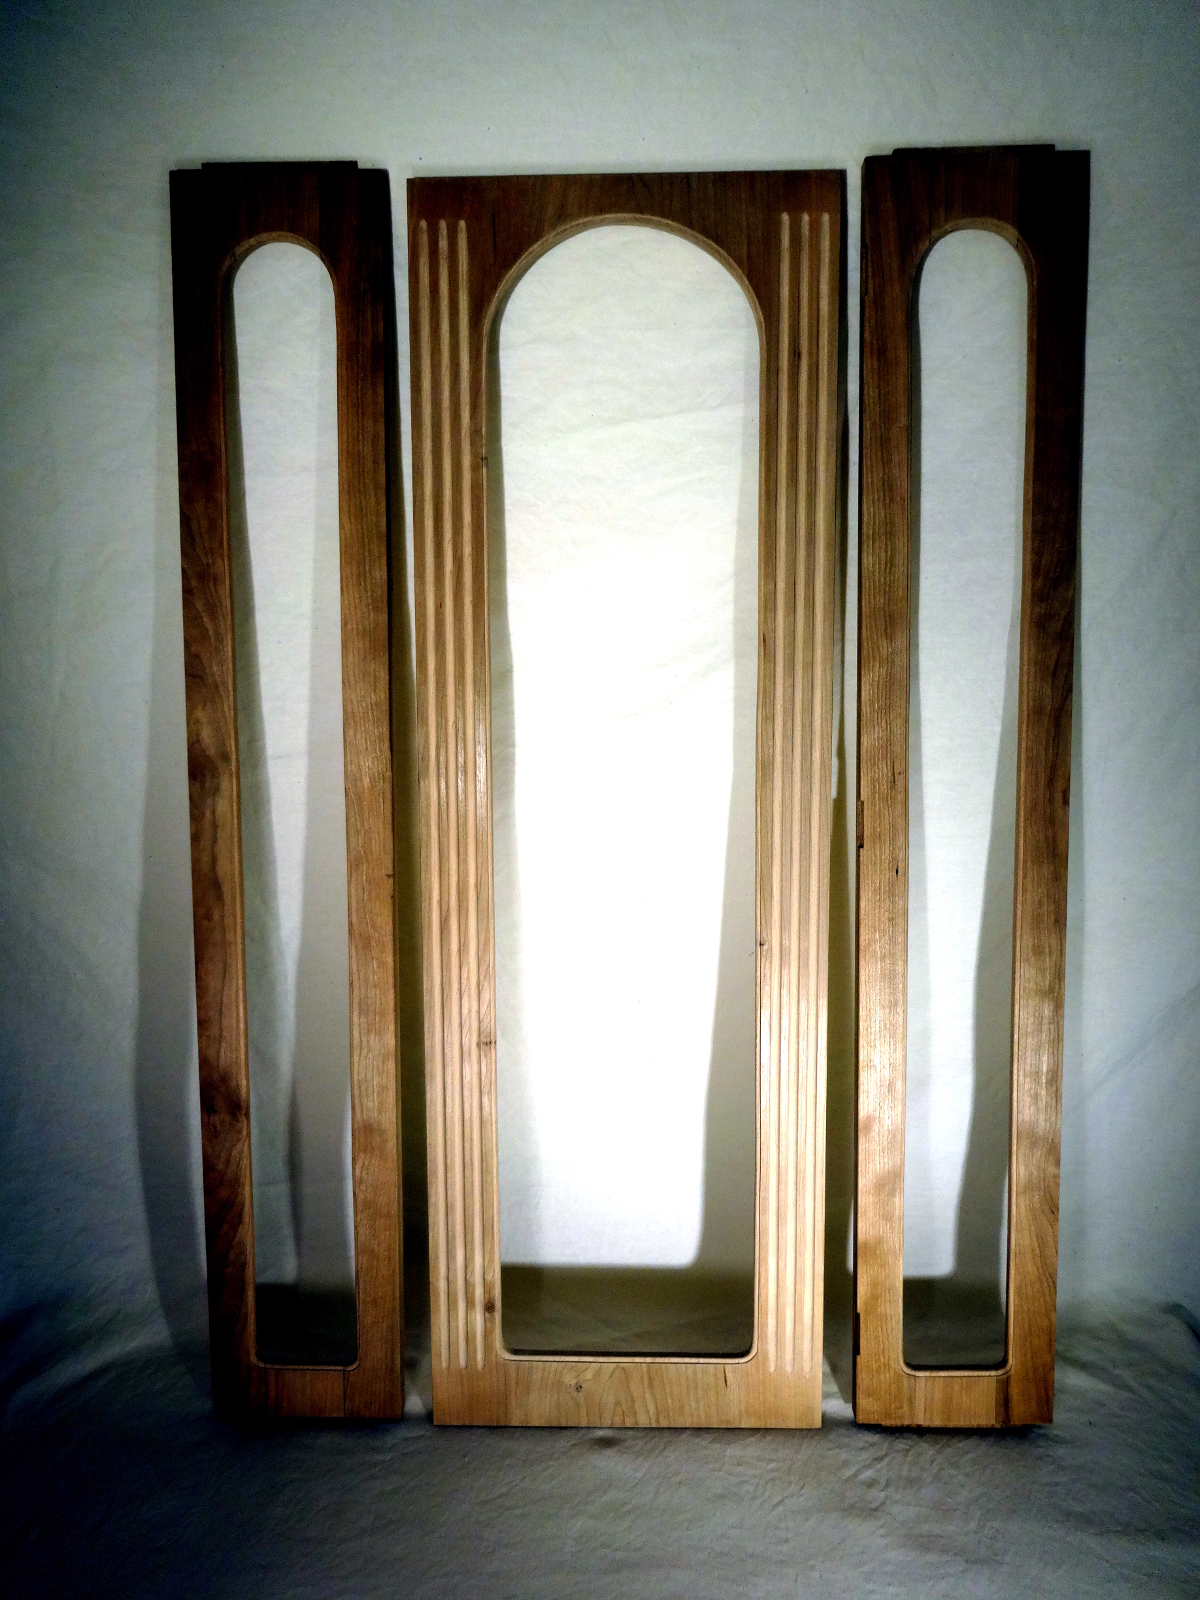
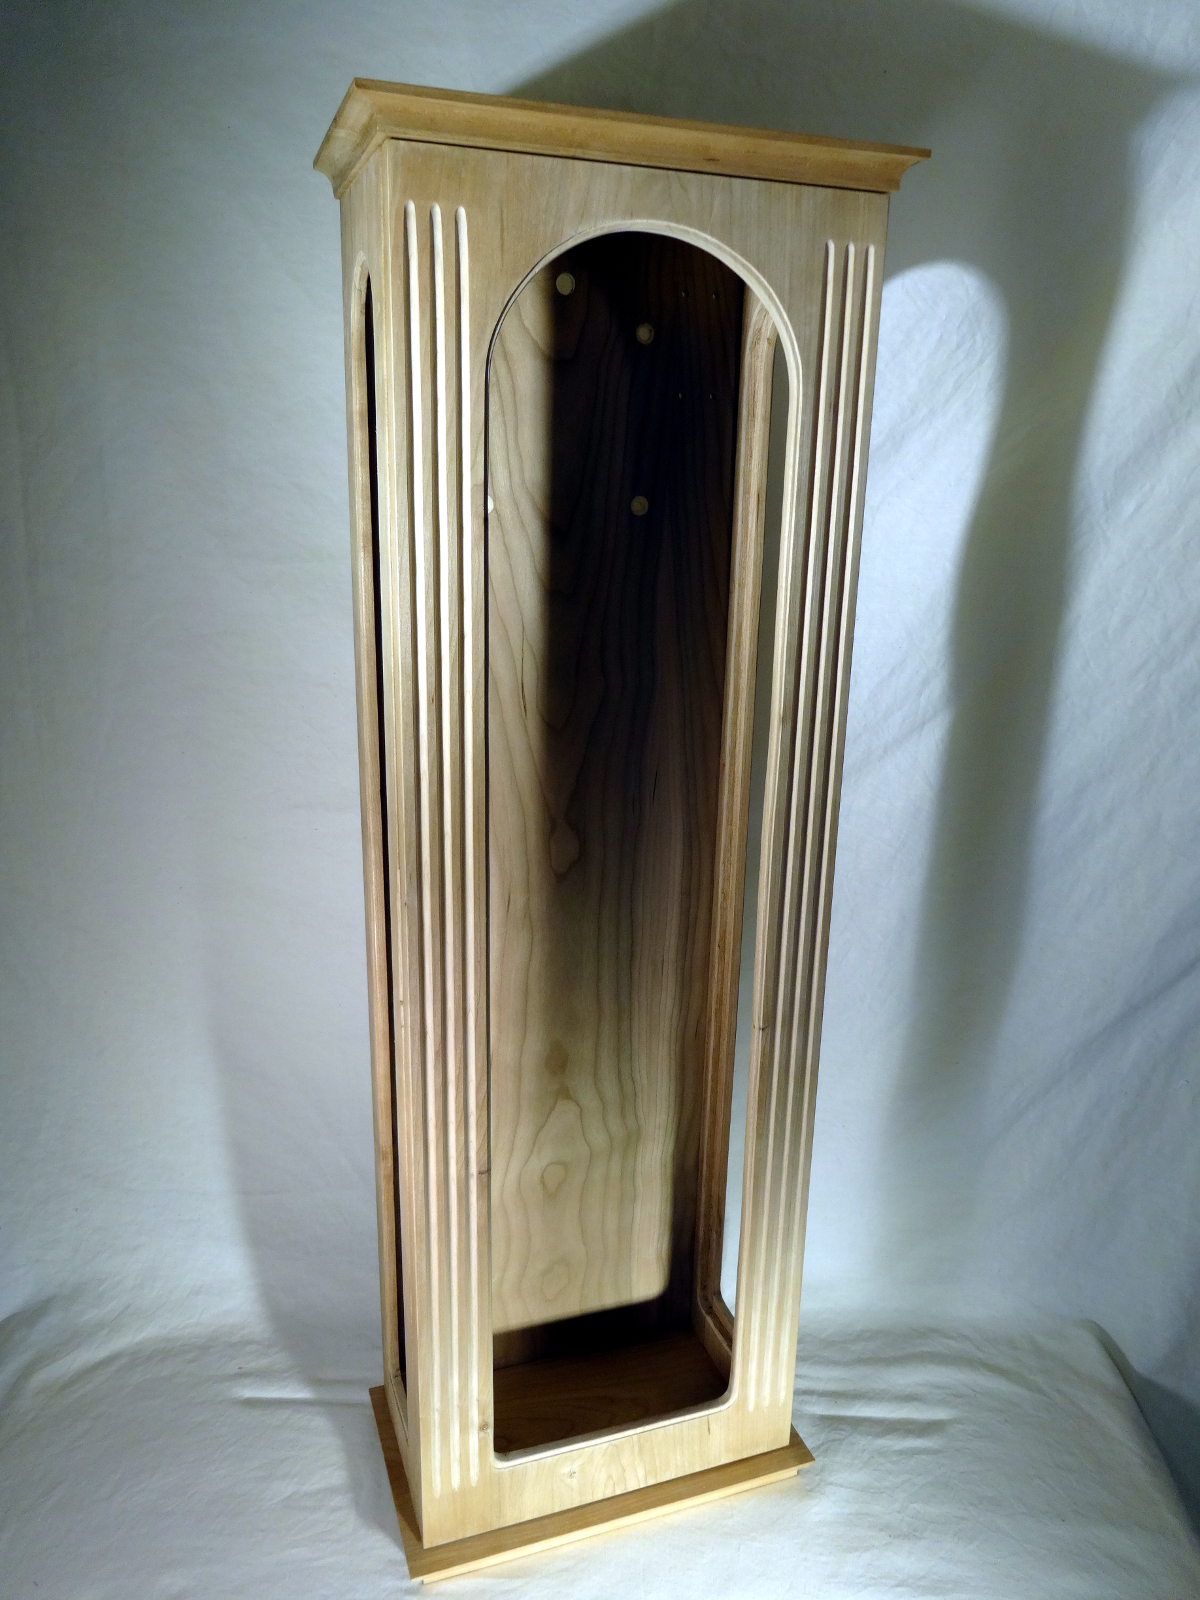
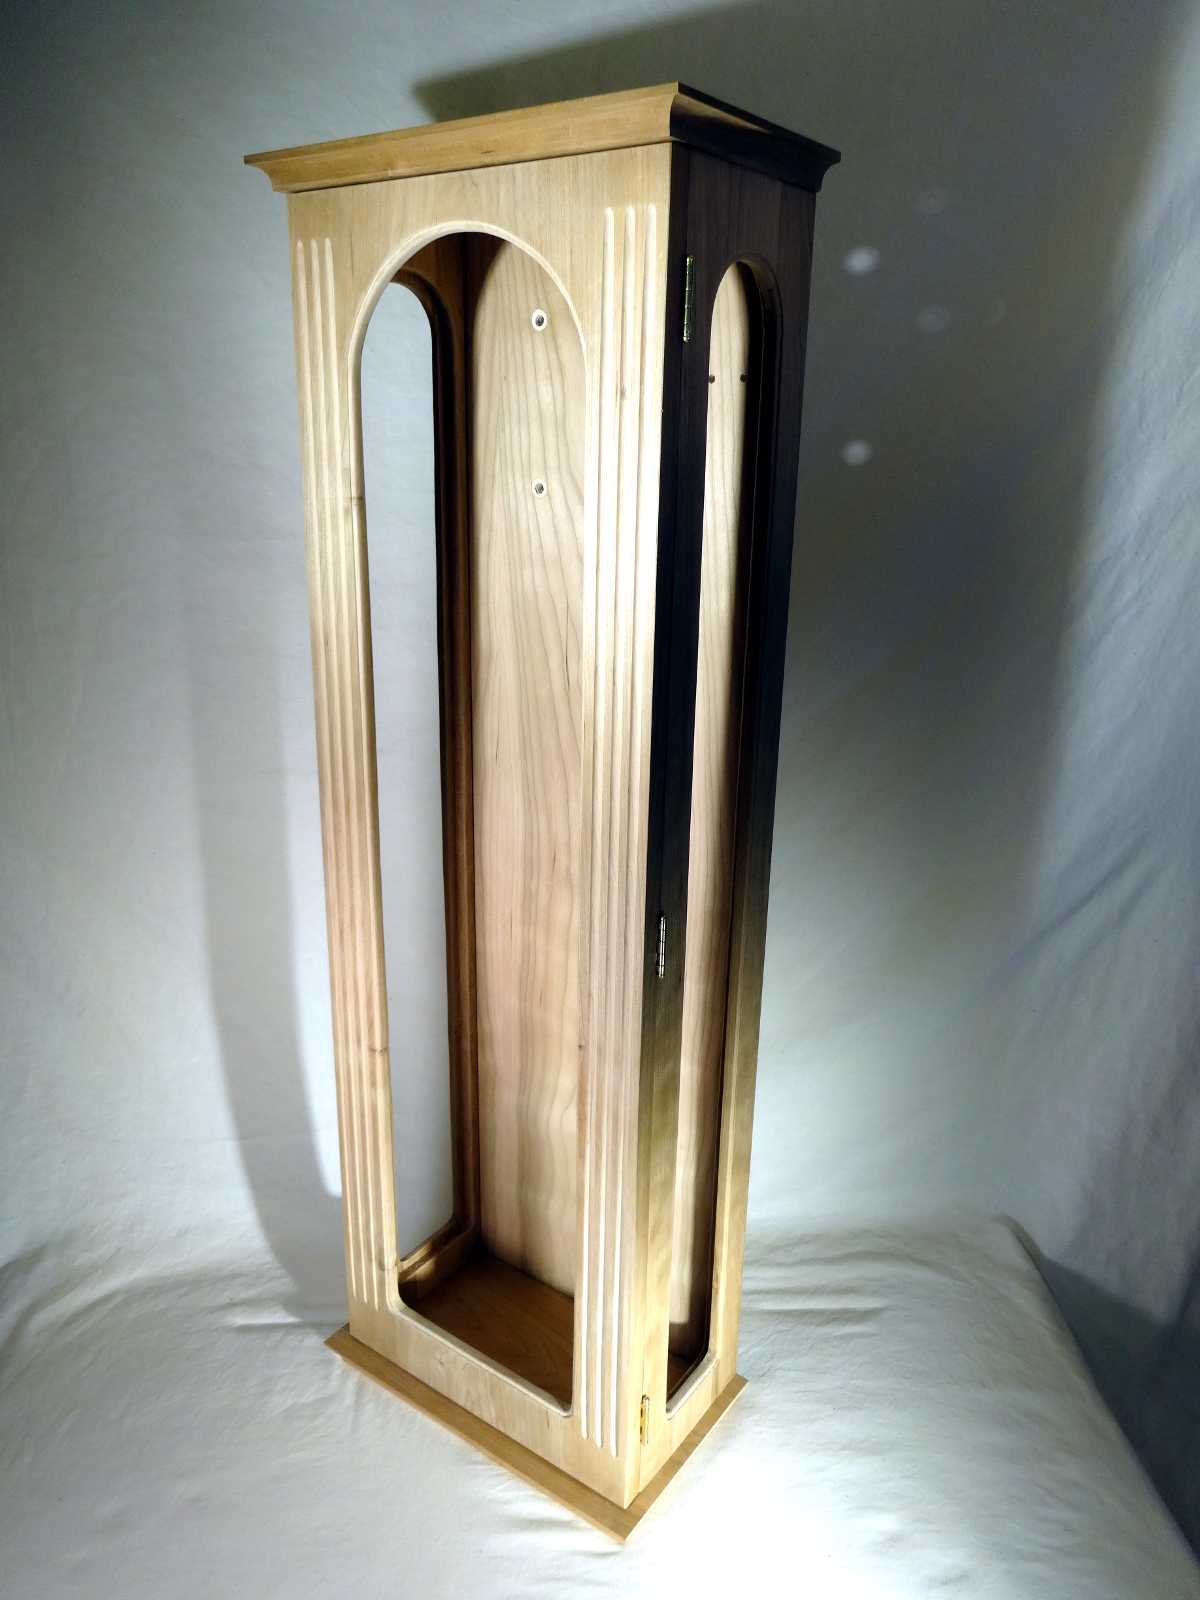
Case height: 34 inches
Case width: 11 1/4 inches
Case depth: 6 1/2 inches
Crown width: 16 inches
Crown depth: 8 3/4 inches
Weight: 38 pounds
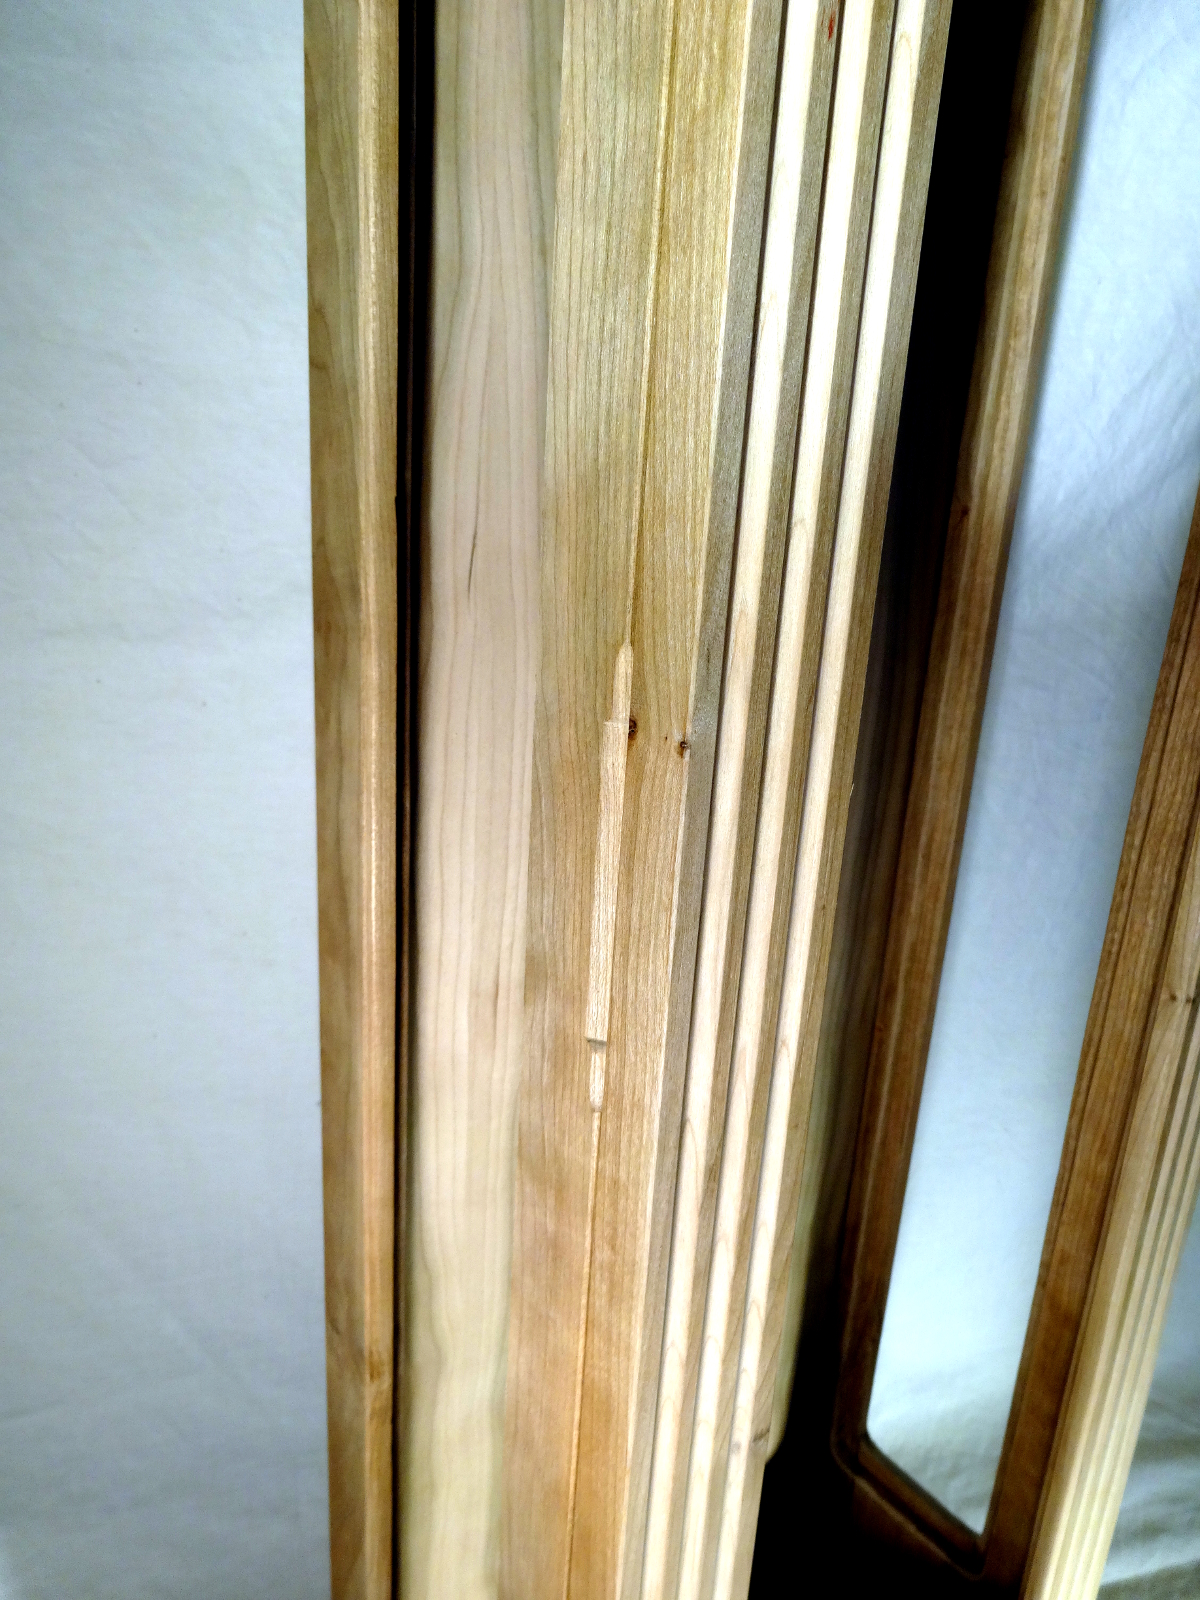
Wood: American Cerry
Finish: Shellac and furniture wax
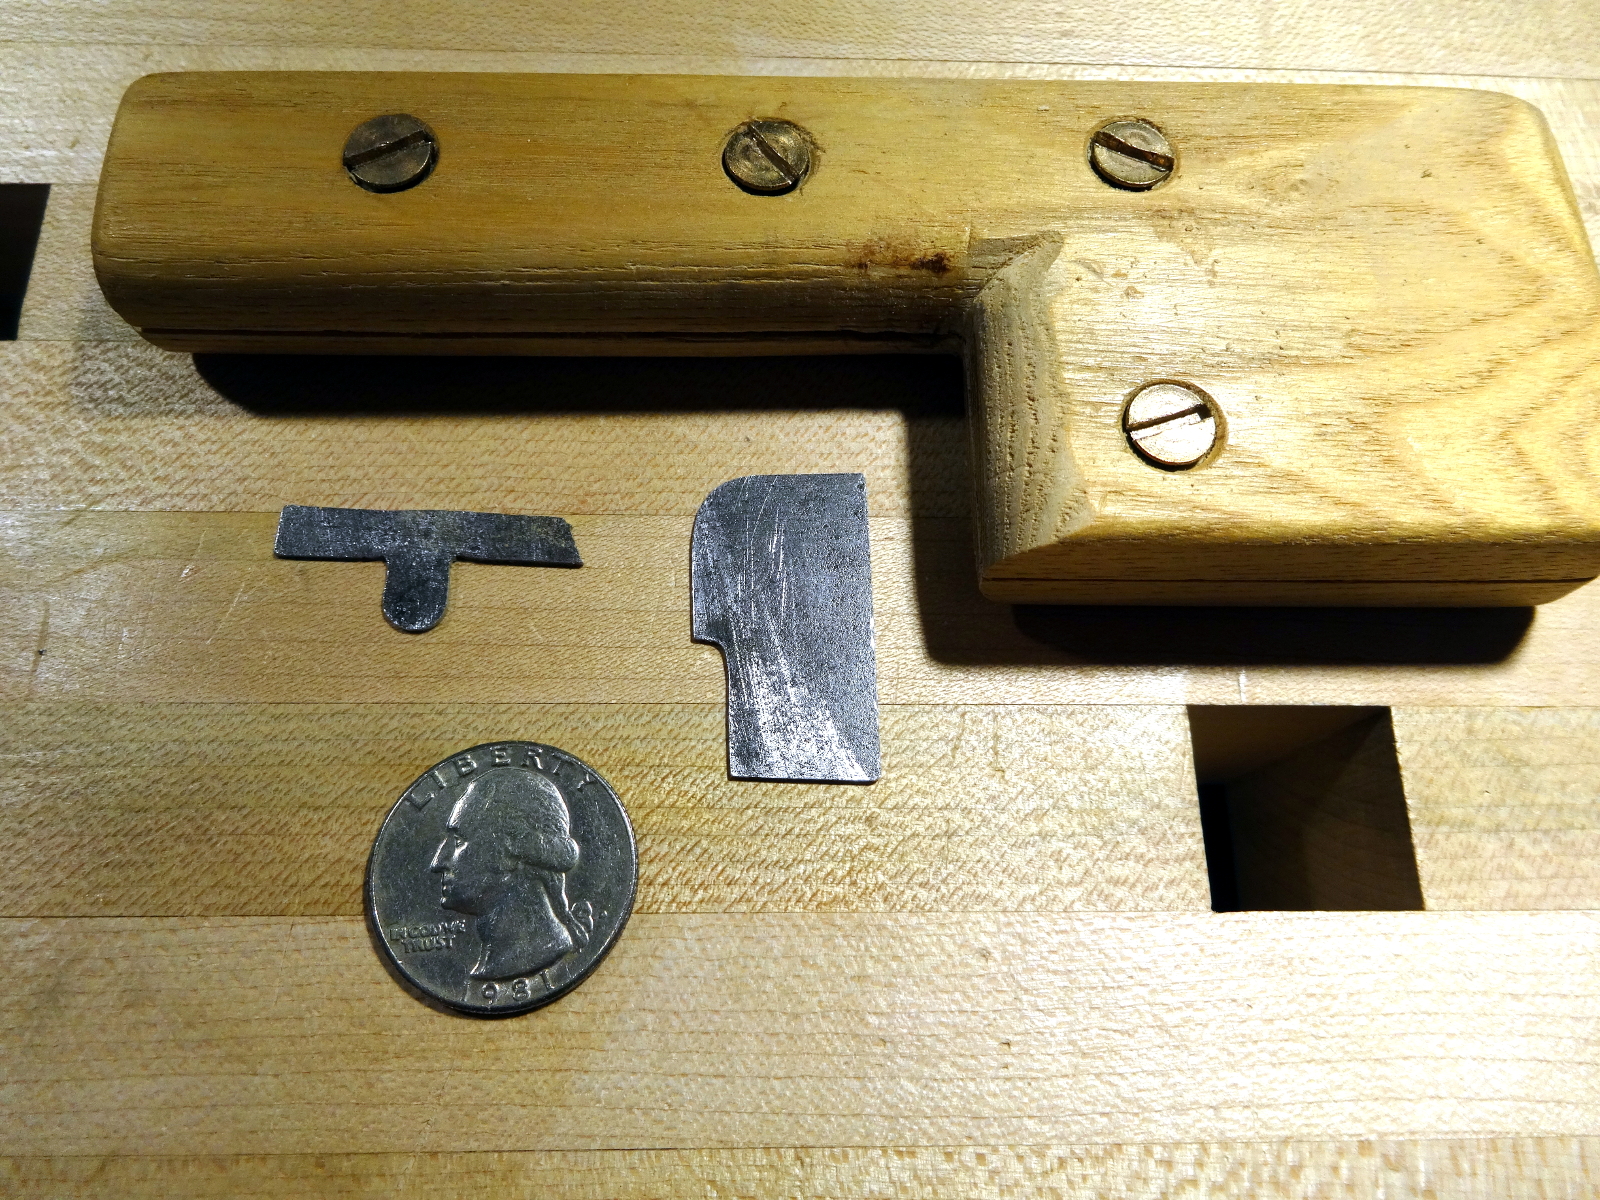
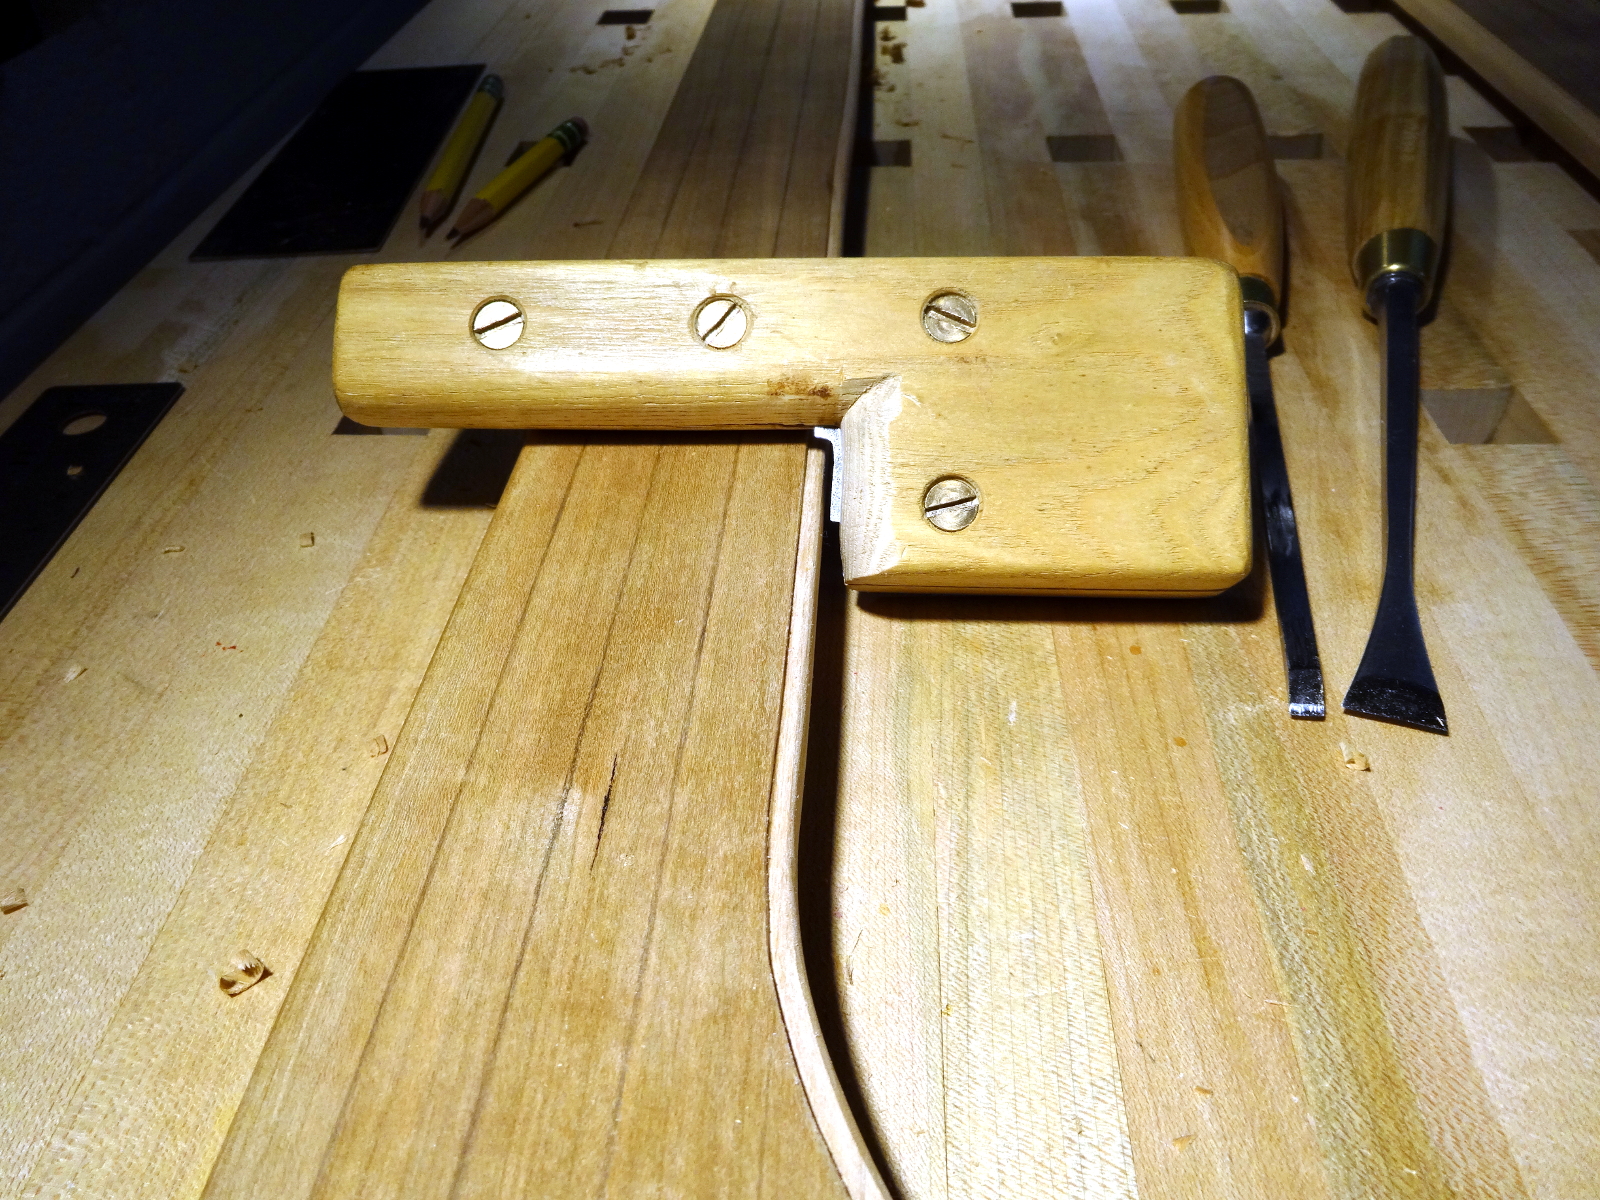
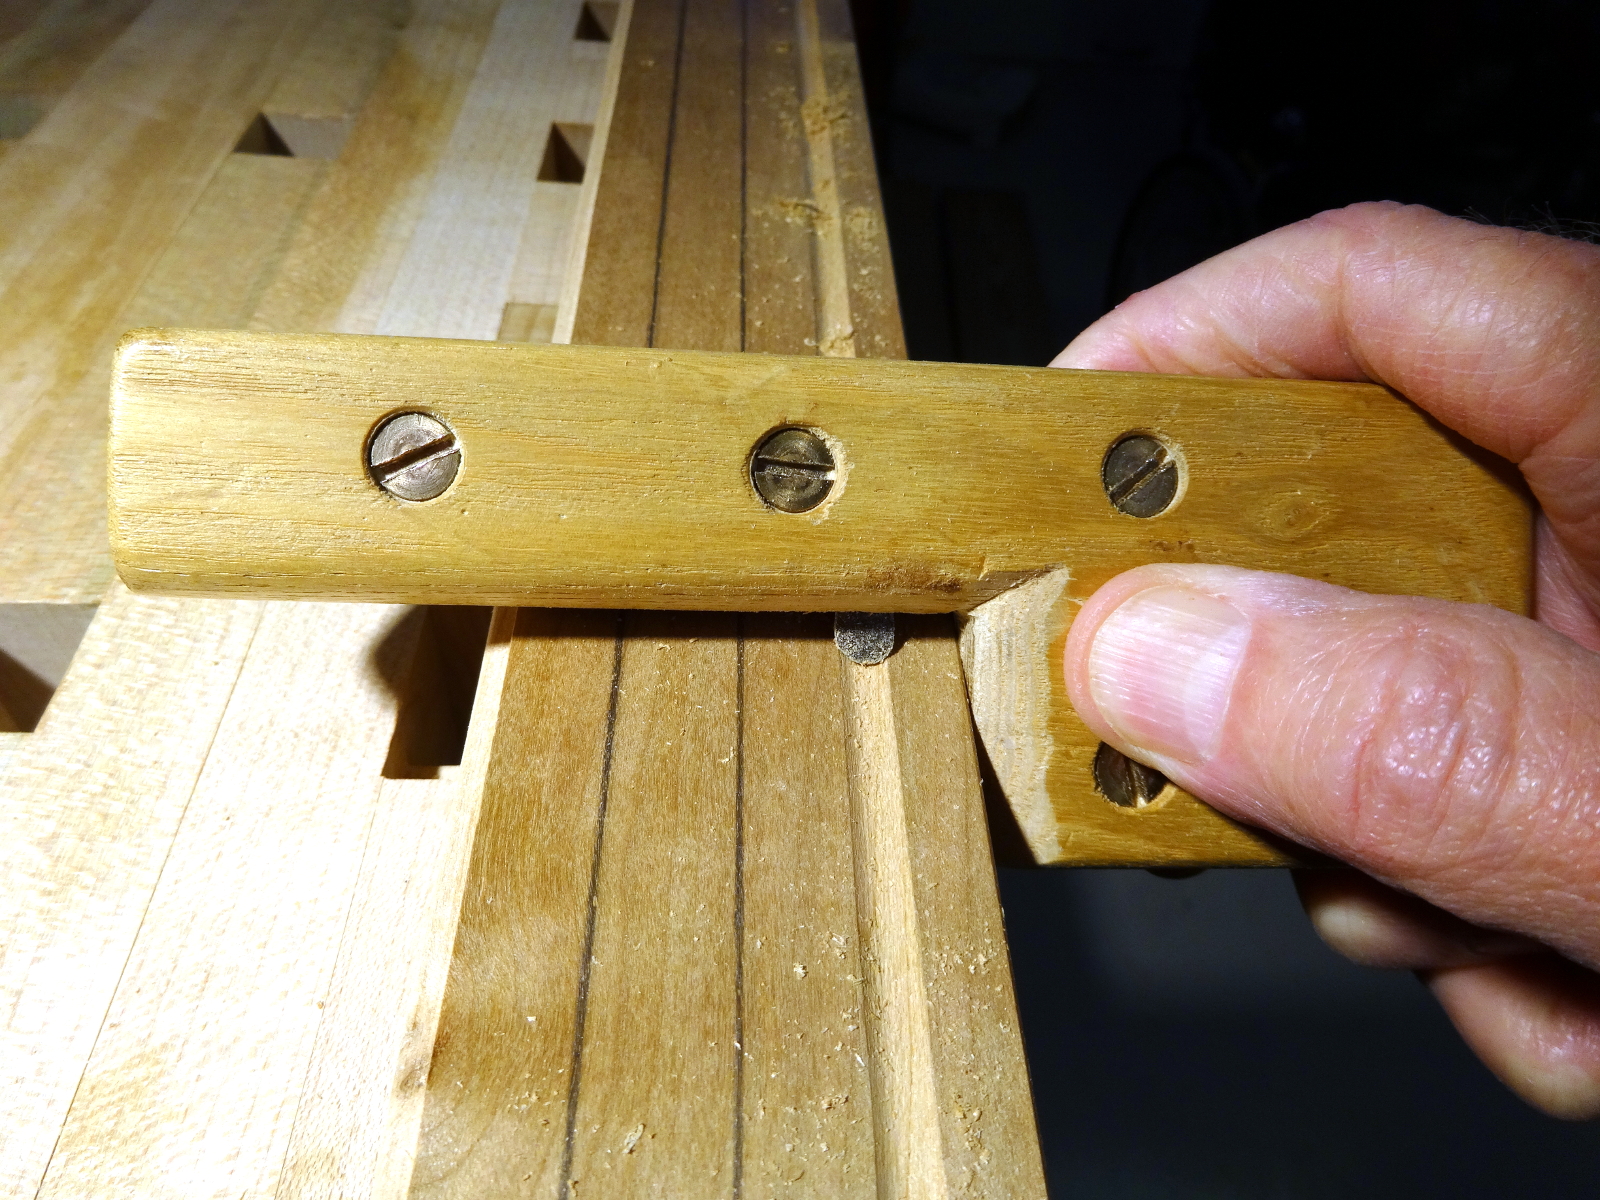
Making this clock has been a long journey. I purchased the plans, movement and lumber years ago. A variety of moulding planes and other tools accumulated over time, until I decided last fall to tackle this “bucket list” project. I have very much enjoyed every minute of the project, even the adventure of acquiring the glass. The result now hangs on the wall between a couple of large bookcases.

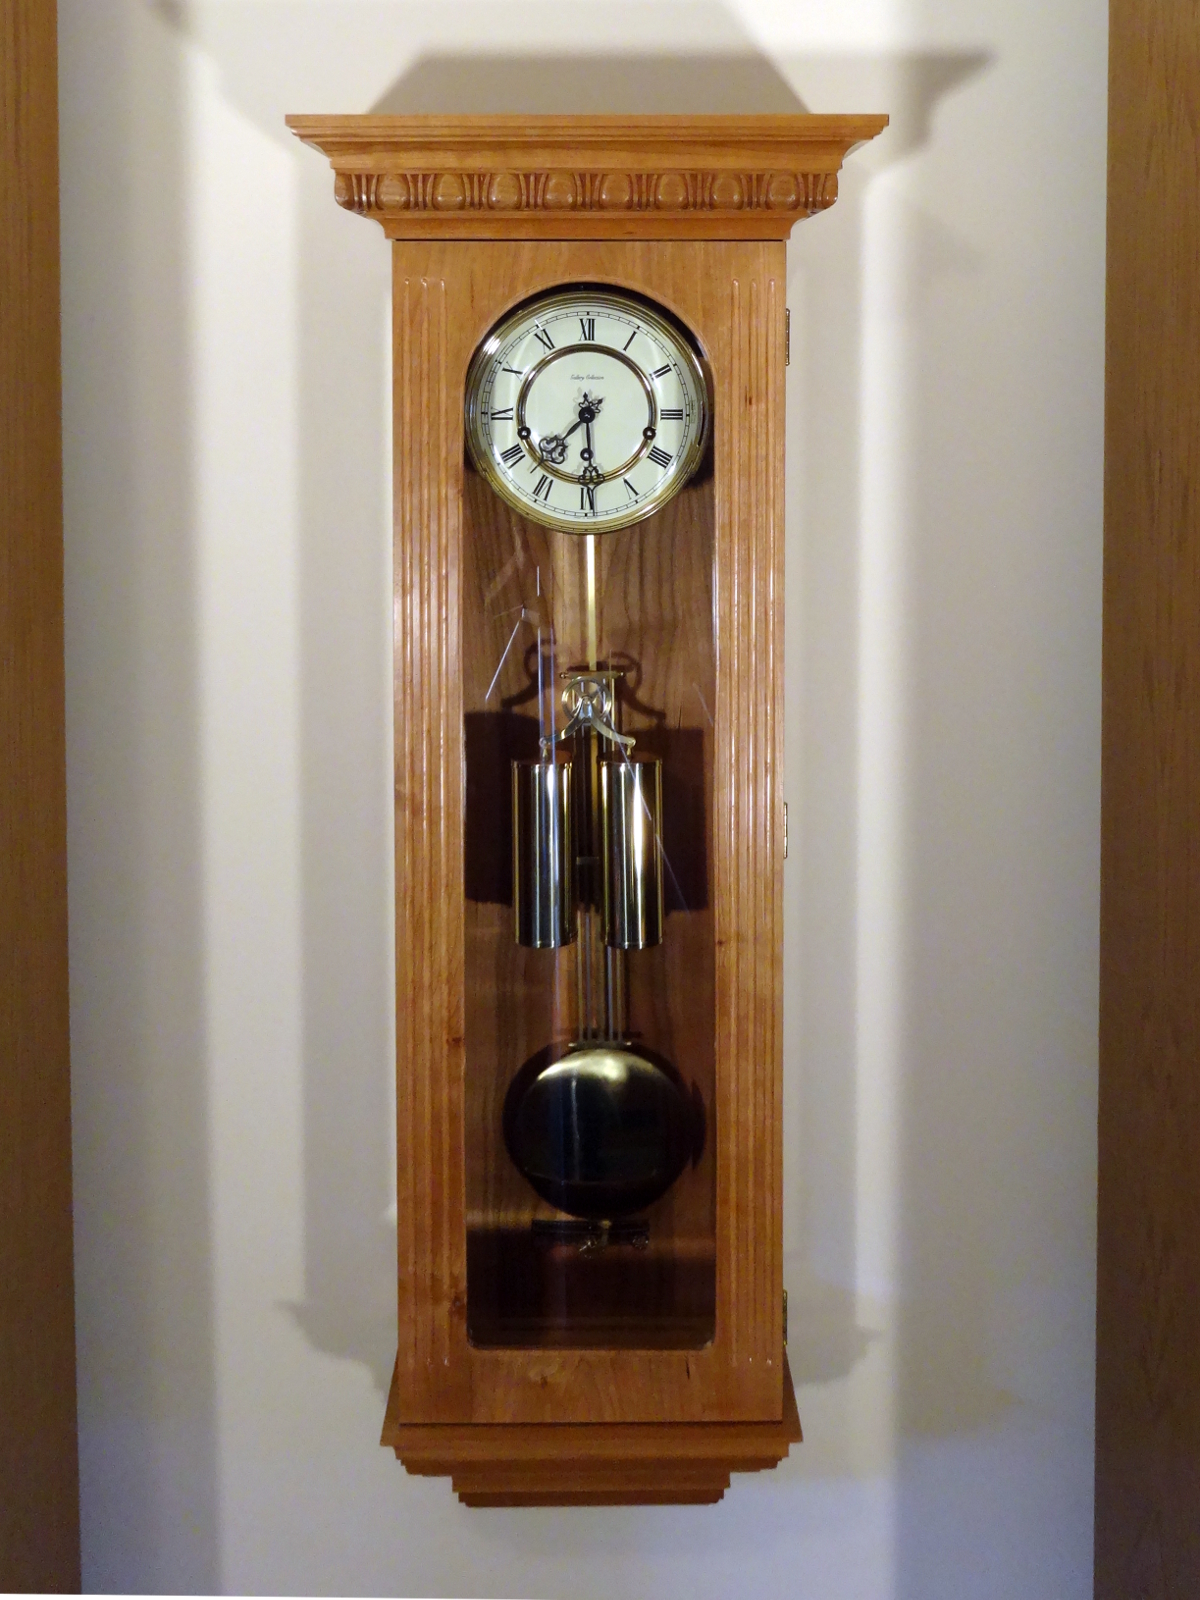
The last steps before final assembly were installing the glass. I used framing points to hold the glass in place, and supplemented those with a thin bead of clear silicone caulk to ensure the glass stays where I want it within the openings, and to dampen any tendency to rattle.
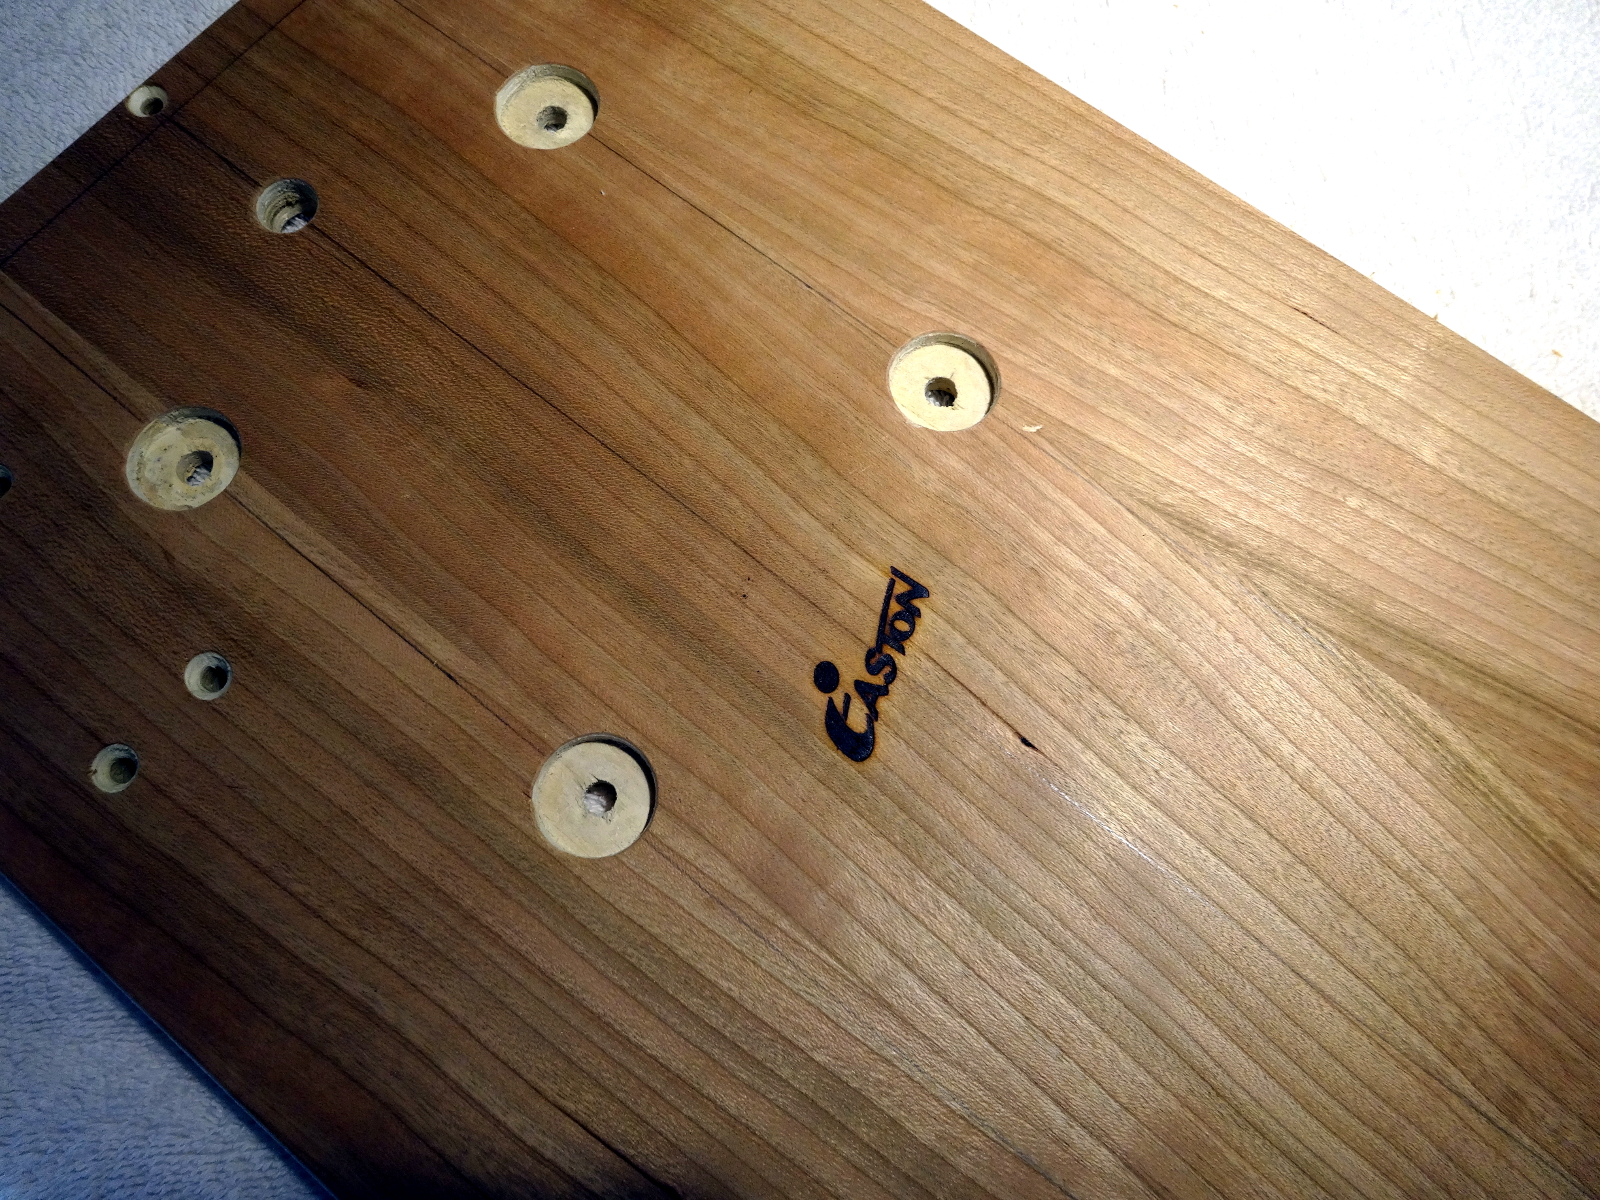
Wall mounting uses two screws. The top screw is one intended for plasterboard application and rated for 80 pounds. A single “hang hole” in the back board hangs the clock on that screw. A lower screw protrudes from the wall only far enough to fit into a snug slot on the back of the back board. This screw keeps the clock firmly positioned vertically. Mechanical clock movements are sensitive to the vertical axis for keeping the pendulum swinging smoothly.
Total weight is 38 pounds. Those two brass cylinders contain lead weights. Combined they weigh 12 pounds and provide very constant motive power for the time keeping part of the clock. Two chime movements, one for the Westminster quarter-hour melodies, and the other for the hour strikes, are powered by springs.
On being a “Regulator”
We all know mechanical movements are no longer the most accurate time keepers. Electronic crystal regulators surpassed mechanics long ago.
BTW, very few mechanical clocks or watches and the vast majority of electronic crystal regulated timepieces are still not accurate enough to be considered chronometers. Chronometer accuracy is critical to determining longitude at sea and is better than -4 to +6 seconds per day.
Accuracy is a relative thing. In the era where mechanical clocks were the only clocks, the Regulator was one of the more accurate. Every jeweler and clock maker kept at least one regulator which they used as the reference for setting all other clocks and watches they touched. The key to the regulator’s accuracy is the use of a weight driven timekeeping movement. Springs, the normal motive power for mechanical clocks, offer too much variance in behavior: strong when wound tight, weaker as they unwind. Gravity is far more uniform. The gravitational force on the weights provide a uniformity that springs can’t match. That uniformity gives the clock much of its accuracy.
Even with that uniformity of motion, this clock is not as accurate as a chronometer, no where close to being one. Yet this clock is currently running to +/- a dozen seconds per day. Regulation is by a small nut that lengthens or shortens the pendulum.
Gratitude: hearing the chimes of a mechanical clock – video
Other articles in this series…
- Regulator Clock – Done
- Regulator Clock – Woodworking completed
- Regulator Clock – Scratching the frames
- Regulator Clock – Door Hinged
- Regulator Clock – Case Dry Fitted
- Regulator Clock – Jelly Side Down
- Regulator Clock – Case Frames – 2
- Regulator Clock – Glass – 2
- Regulator Clock – Case Frames – 1
- Regulator Clock – The Works work
- Regulator Clock – Glass
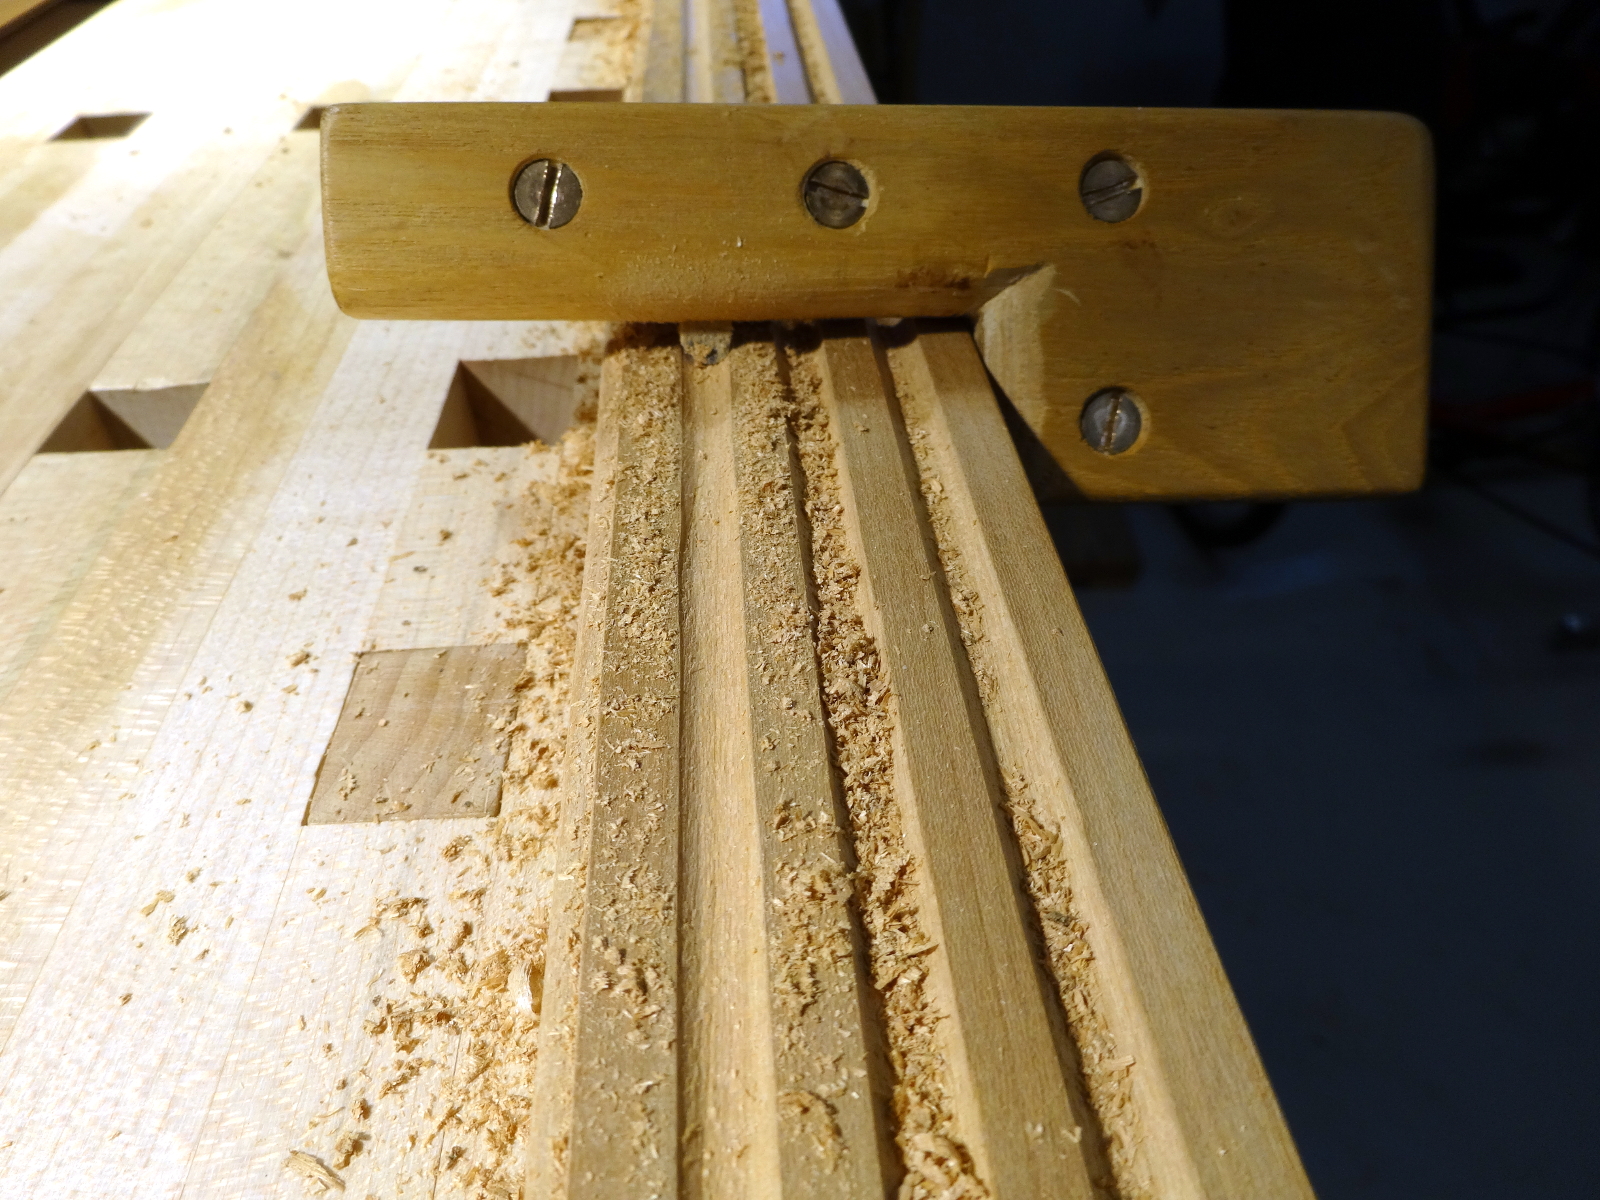
- Regulator Clock – Tongue & Groove planes
- Regulator Clock – Completed Mouldings
- Regulator Clock – Stick Mouldings
- Regulator Clock – Plate Mouldings
- Regulator Clock – Egg and Dart Moulding
- Regulator Clock – Eat Dessert First
- Regulator Clock – original description
- Regulator Clock – Stock Prep
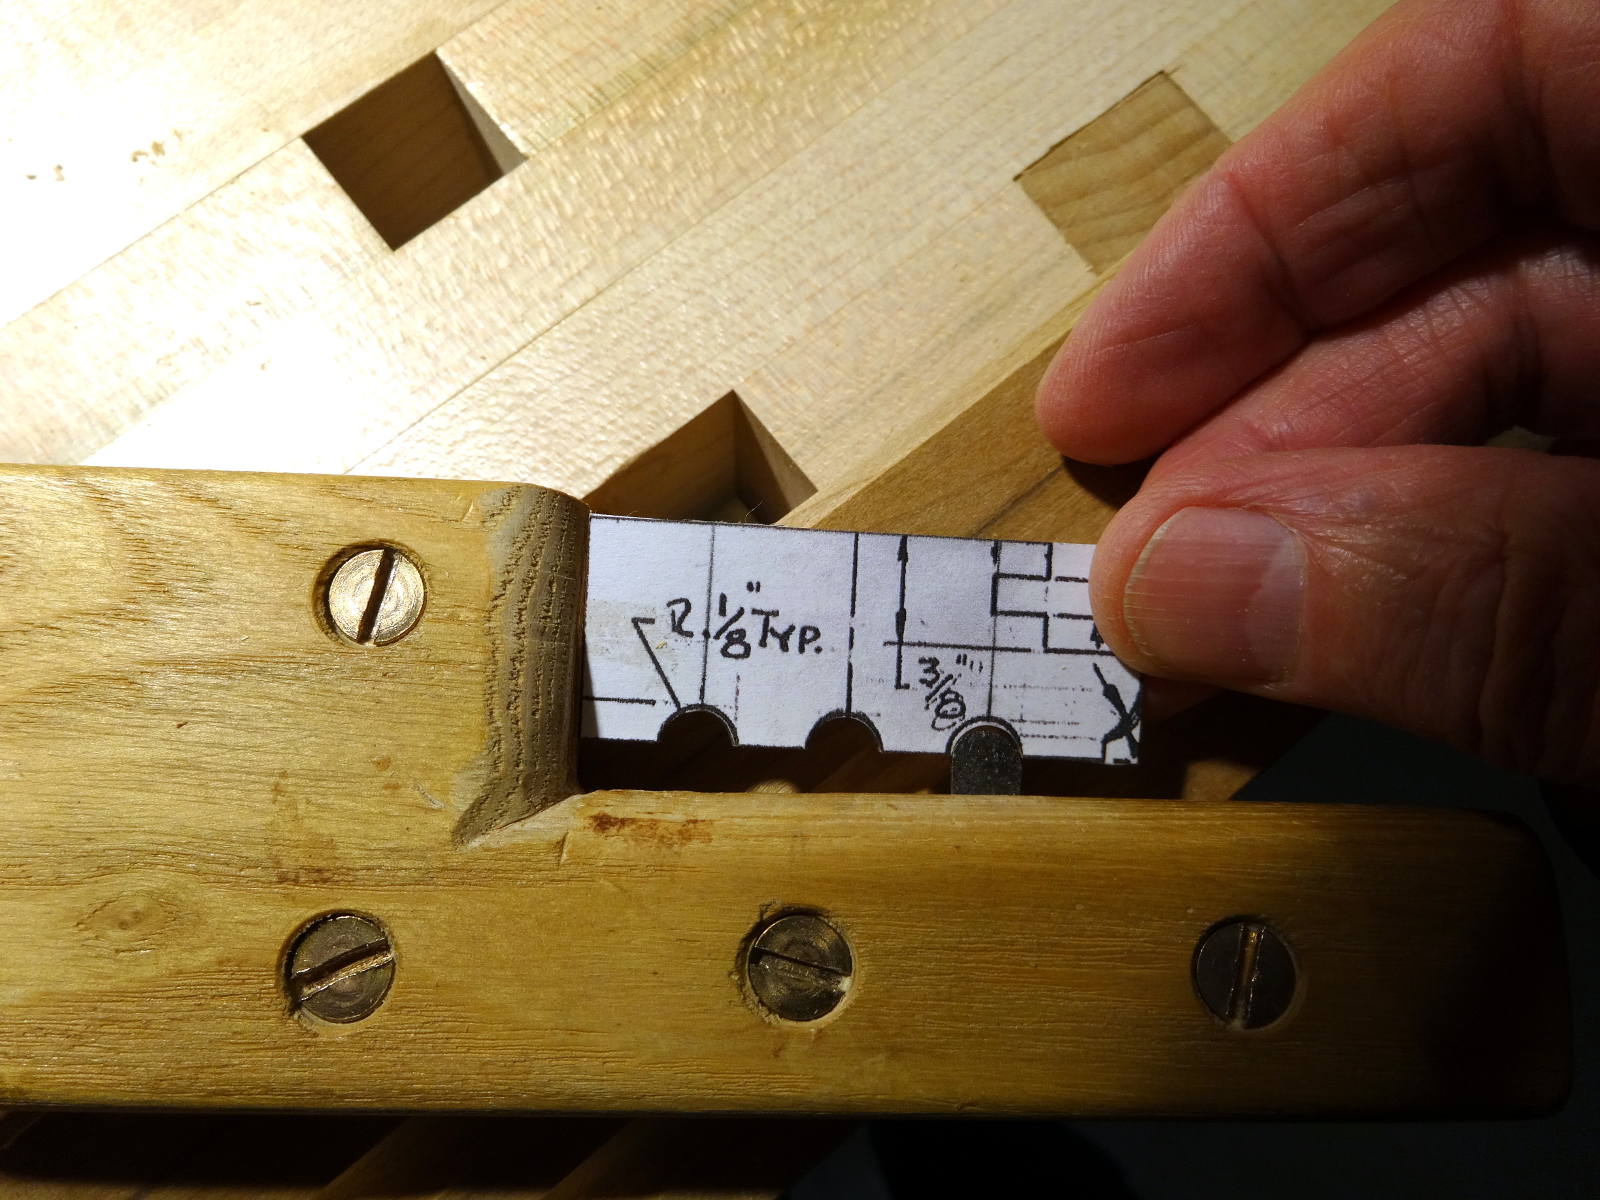
- Regulator Clock – Plans for Moldings
- Taming the Rabbet