• Skip to primary navigation
  • Skip to main content
  • Skip to primary sidebar
  • Skip to footer

Bob Easton

Chocolate powered woodworking

  • Home
  • Grinling Gibbons Tour

Archives for 2008

A 10¢ Sharpening System

May 10, 2008 by Bob Easton

My first plane and chisel sharpening work was freehand. I taught myself how to achieve a very sharp edge with a minimal amount of equipment. The techniques take a bit of concentration and practice, but are basic skills learned by many generations of craftsmen.

Yet, there was this lingering curiosity about the sharpening jigs found in the tool catalogs like this one or this one. Could they help me produce a better edge? They certainly look great but they’re way out of the price range I’m willing to pay to satisfy a curiosity.

plane jig holding an iron
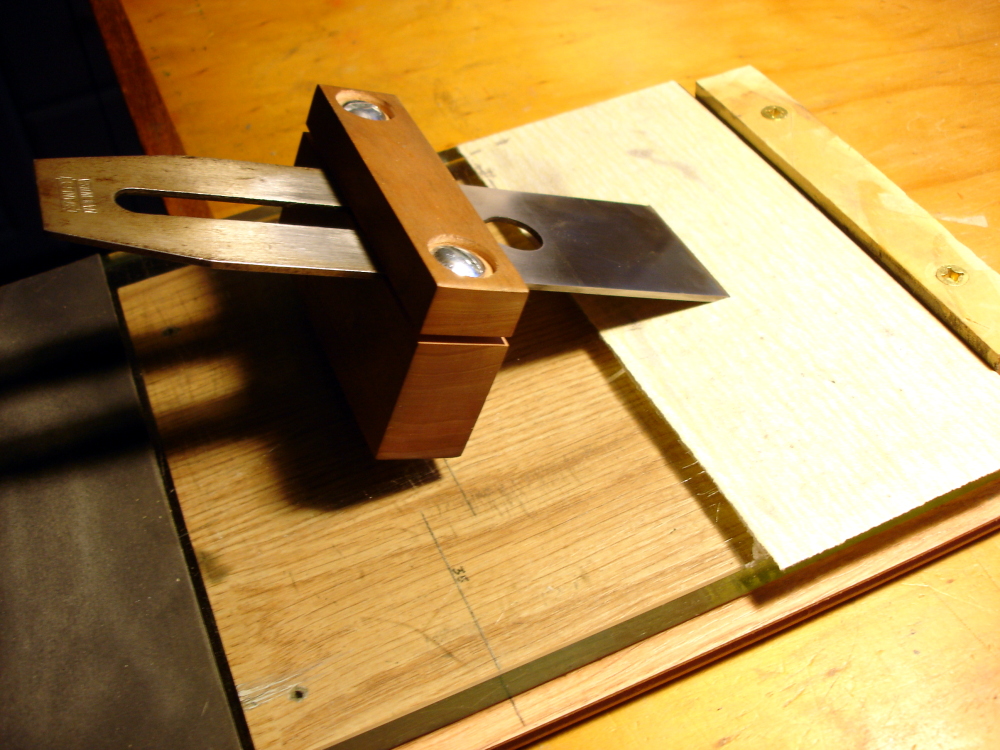
Then, I stumbled across Derek Cohen’s “10¢ sharpening system.” Well, not quite 10¢. I had a nice piece of cherry, but not suitable fasteners. I spent $1.40 and a couple of hours labor, a very acceptable price for an old galoot of Scottish heritage.

Curiosity satisfied. I’m not sure I get a “better” edge using a sharpening jig, but I can certainly produce an edge that is more repeatable. That is, each freehand sharpening result will be sharp, but might not be exactly xx degrees, whereas the jig always produces the same angular result. Using the jig removes the need to concentrate on maintaining a precise angle from stroke to stroke. The job is easier using the jig, but I enjoy knowing that I can be successful without it.

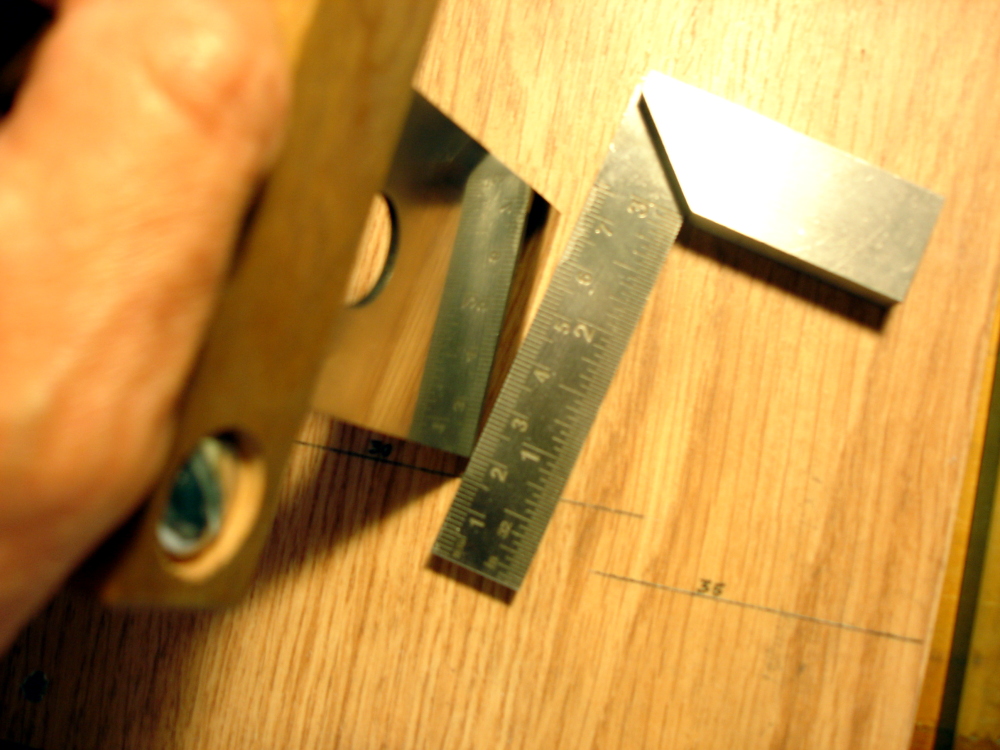
So, this entry is the place where I’ll keep the extension settings for the plane irons I currently have. Brent Beach’s extension calculator gave me these values.

Extension settings

These are for my particular jig which is 1 and 1/2 inches tall on the long side and just over 1/2 inch tall on the short side.

For Stanley and Sargent irons that are typically 0.08 inches thick, use the tall side and these extensions.

  • 25° primary bevel – 3 and 12/32nds
  • 28° micro bevel – 2 and 32/32nds
  • 30° primary bevel – 2 and 24/32nds
  • 33° micro bevel – 2 and 14/32nds
  • 35° primary bevel – 2 and 8/32nds
  • 38° micro bevel – 2 and 1/32nd

For spoke shaves with short blades about 0.06 inches thick, use the short side of the jig.

  • 25° primary bevel – 1 and 11/32nds
  • 28° micro bevel – 1 and 6/32nds

The rest of the system

reflections on the back of an iron
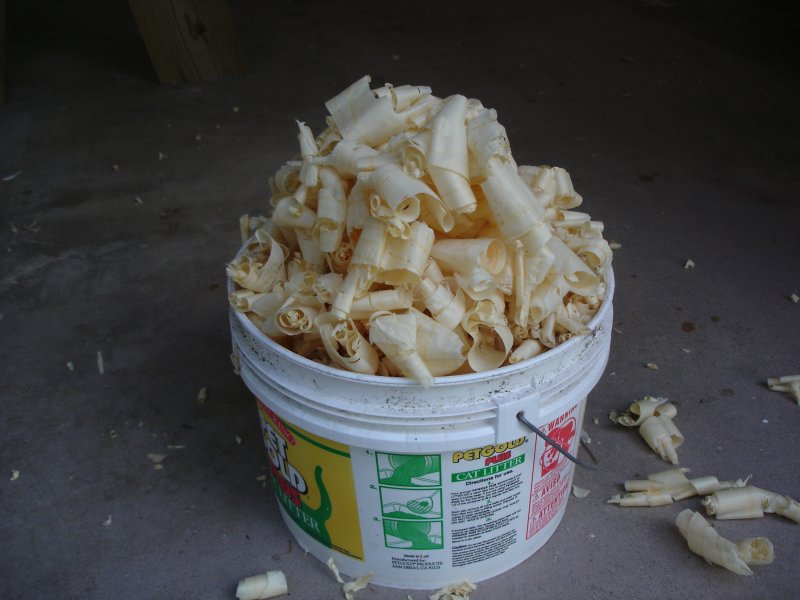
Many sharpening systems exist. The latest fashion uses diamond stones. Just before that was the Japanese water stones fad. Before that, and good enough for many generations, were oil stones, usually Arkansas stones. Somewhere along the way, some folks stumbled upon using sandpaper, the “Scary Sharp(tm)” method. There are proponents, and good sensible arguments for each approach. I shuddered at the cost of the water stones, and fell back upon a couple of two sided India stones I’ve had for decades. They’ll do in a pinch, but aren’t the optimal grits. So, I stopped by a glass store and bought an outcut of 1/2 inch plate glass. That and several grades of sandpaper from “the borg” rounds out the kit. I don’t go to the 1200 and 2000 grit levels suggested by some, but hone to 600 grit and then strop on a piece of card that’s prepped with white rouge. That’s plenty good enough to polish the back of an iron to a mirror finish and produce edges to hair shaving sharpness.

By the way, the first picture shows the jig in use sharpening the iron from a jack plane. It is working on 220 grit sandpaper that’s mounted on one end of my 1/2 inch piece of plate glass. That, in turn, sits atop a bench hook to keep it from sliding around.

Filed Under: Hand tools, Shopmade

Wood Workers Safety Week

May 8, 2008 by Bob Easton 1 Comment

\Marc Spagnuolo, the Wood Whisperer, instigated “Wood Workers Safety Week” as the first week in May. Many folks have rallied round offering all sorts of useful advice. Unfortunately, much of it was learned the hard way. Being relatively new to woodworking, I recently mentioned to Marc that quickly learning about the dangerous techniques was difficult. Yes, they’re “out there” but in many scattered places. This week’s focus has brought many tips, stories, lessons, and bits of advice together.

Following is the collection I’ve found. You, or I, might not have a particular piece of equipment now and think the tip irrelevant, but the safety tips are valuable to have in mind when we do acquire that equipment. Read them all.

  • The Inspiration for Safety Week – Brent’s Injury- The Wood Whisperer
  • Episode 49 – Safety Week – The Wood Whisperer
  • Danger of Fumes- Furnitude
  • SawStop Prevents Stubs – Toologics
  • Only You Can Prevent Forrest Fires – Kaleo’s Workshop
  • WoodShop Safety for Kids
  • Bandsaw Cautionary Tale- Sandal Wood
  • Kick’n Off Woodworking Safety Week- Kaleo’s Workshop
  • Safety Week-Sleepy Dog Woodworking
  • TableSaw Safety is Serious Business – Woodworker’s Guide
  • Hand Tool Safety Tips- Adventures in Woodworking
  • Woodturners Exercise Caution- SandalWood
  • Manual Handling – Stu’s Shed
  • Keeping a Shop Inventory – Modern Woodshop
  • A Safety Review of My Workshop – Woodworker’s Guide
  • Shop Safety – WoodZone.com
  • Electrical Safety- DIYAdvisor.com
  • The Safety Dance – Modern Woodshop
  • Safety Glasses for Us that Wear Glasses – TreeFrogFurniture
  • Tagline for Safety Week- Adventures In Woodworking
  • Safety First!- The Village Carpenter
  • A TS, a Carnation Flower and My Thumb – SandalWood
  • Safety Dealing with Big Cats – Skiving Off
  • Injury Stories – Fine Woodworking
  • Close Calls in the Workshop- The Craftsman’s Path
  • TableSaw Safety- Tony’s Woodshop
  • My Story and Others- Popular Woodworking
  • Minimizing the Risk of Kickback – SandalWood
  • Sawdust in Your Lungs – Matt’s Basement Workshop
  • FineWoodworking.com Safety Tips – Introduction
  • FineWoodworking.com Safety Tips – Hand Tool Safety
  • FineWoodworking.com Safety Tips – Jointer Safety
  • Episode 50 – What If?
  • FineWoodWorking.com Safety Tips – Hearing Protection
  • Episode 51- Tablesaw Experience
  • FineWoodworking.com: Avoid Kickback and More
  • FineWoodworking.com Safety Tip – Dust Collection
  • Wood Toxicity is Nothing to Sneeze at -Woodworker’s Guide
  • Noise in the Workshop – Stu’s Shed
  • Machinery Operating Noise – Stu’s Shed
  • What NOT to do with a chisel – Stu’s Shed
  • Tablesaw Kickback Demonstration
  • QuickClot – Interesting product for your first aid kit, brought to my attention by Tim.
  • Episode 52 – My Mistake a variety of mistakes with many different tools. All of these were within Marc’s first year of wood working. Newbies: watch this one!
  • Super Glue: Safe for Treating Cuts? – Adventures in Woodworking
  • podcast 264 – Safety Week – Eye Protection – Matt’s Basement Workshop
  • Woodworking, and staying in shape – Sandal Woods
  • Episode 4 Shop Safety – Kaleo’s Workshop
  • Oh S#!t Hurt Again (OSHA) – R Jones Woodworks
  • Stu’s Safety Devices
  • 2008 Safety Week Wrap – Stu’s Shed
  • Episode 53 – Miter Saw Safety – The Wood Whisperer

Filed Under: Woodworking

Just Plane Practice

May 6, 2008 by Bob Easton Leave a Comment

a bucket full of shavingsIt was a simple job, the kind assigned to a newbie woodworking apprentice. Make this piece of lumber thinner. Use those hand planes over there. Don’t even think of power tools. We don’t have any that are suitable for this job.

The lumber was a two yard long stick of common softwood, 1 x 3. I intend to use it as a mounting strip for hanging the decorative oriental rug (a gorgeous red Chinese dragon) that our son gave his mother. I wanted to use something close to 1/4 inch to minimize how much the mount stands off from the wall. This was the perfect job for learning how to use two of my “new” woodworking planes.

Stanley #40 scrub planeThe plane to use for quick stock removal is a Stanley #40 “scrub” plane. My #40 has an iron with the very old “Stanley Rule and Level Co.” trademark, which dates the plane to about 1910. A scrub plane has an iron with a curved cutting edge which is helpful for scrubbing off thick shavings. Scrubbing diagonally across the lumber makes quick work of reducing thickness while affording a reasonable degree of control.

I scrubbed about 1/4 inch off one side and then smoothed up the rough furrows with a Stanley #5 “jack” plane. Old stories say it is called a “jack” because it is the workhorse, “jack of all trades” plane. My #5 dates to sometime between 1933 and 1941. Stanley #5 jack planeThis smoothing work went faster than I expected. The first dozen or so passes knocked the high ponts off the scrub furrows. It didn’t take long to work those peaks down and start producing long wide shavings. A few minutes work and the surface was plenty smooth enough for this purpose, actually a good bit smoother than when it came home from the lumber store. I also have a good smoothing plane, but this application doesn’t need to be smoother and I was more than happy using only these two planes.

Flip the board over and do the other side. Yes, I could have done it all from one side, but this was an intentional learning exercise. Think about the “Karate Kid” waxing those cars. Practice is good.

The work went quickly and easily (ok, an hour or so of learning and practice). The most important thing I learned was how well these tools work when they are well honed and tuned. The weight and momentum of the tool does the work. It was aerobic work, not strenuous work. The time I spent learning to tune up and sharpen the tools has paid off very well, but that’s a story for another post.

BTW, anyone interested in rehabilitating old planes can get excellent advice from a seasoned sawyer in the Northwest, Bob Smalser. See his “Rehabilitating Old Planes” article, and many other useful articles here and here.

Filed Under: Hand tools, Woodworking

  • « Go to Previous Page
  • Page 1
  • Interim pages omitted …
  • Page 9
  • Page 10
  • Page 11
  • Page 12
  • Page 13
  • Interim pages omitted …
  • Page 19
  • Go to Next Page »

Primary Sidebar

Footer

Recent Posts

  • New Frame Saw / Scroll Saw
  • Lamppost Sign
  • Goodbye PayPal – Goodbye Bob’s eBooks
  • Anarchist’s Workbench is Done
  • Why we keep offcuts…

Categories

  • About
  • Artwork
  • Boatbuilding
  • Boating
  • bowl carving
  • Boxmaking
  • Clocks
  • Drawings
  • eBook
  • etude
  • Eva Too
  • Eva Won
  • Fiddlehead
  • Fiddlehead model
  • Flying
  • frame saw
  • gilding
  • green woodworking
  • Grinling Gibbons
  • Guns
  • Hand tools
  • Humor
  • kerfing plane
  • Lettercarving
  • Mill Creek 13
  • Model building
  • Power tools
  • Rant
  • resawing
  • scroll saw
  • Shopmade
  • sign painting
  • Stonework
  • Swimming
  • Technology
  • The Wall
  • treadle lathe
  • Uncategorized
  • VSD
  • Woodcarving
  • Woodturning
  • Woodworking
  • workbench

Other stuff

  • About
  • Contact
  • Privacy Policy

Copyright ©2024 · Bob Easton · All Rights Reserved