• Skip to primary navigation
  • Skip to main content
  • Skip to primary sidebar
  • Skip to footer

Bob Easton

Chocolate powered woodworking

  • Home
  • Grinling Gibbons Tour

Archives for 2008

A New Plane

August 30, 2008 by Bob Easton Leave a Comment

“Jointing” is preparing a flat surface over a long area, usually in preparation for joining two boards together.Stanley number 7 jointer plane The Stanley number 7 “jointer” plane has a very long body and nearly 8 pounds of heft. Here again, there are electric tools for such work. As with planers, they embody rapidly rotating knives that pulverize wood into very fine dust. My “new” Stanley number 7, makes long thin shavings instead. It’s length is key to how it works. It is shown here with two other planes to give a size comparison. Left to right, the planes are: number 5 jack plane, number 7 jointer plane, and number 40 scrub plane.

This one came from Jon Zimmer, a tool trader in Portland Oregon. Jon is one of the few who specialize in old tools and has a grading system that identifies the quality of the tools he sells. He is accurate, easy to deal with and has a great reputation. His tools are exactly as he describes them. A few other folks who also have great reputations are Patrick Leach, Sandy Moss, and Bob Kaune. All of these people know the tools, have accurate grading systems and can be trusted. While one might find occasional lower prices on eBay, the quality there varies and many of the people selling old tools are not experts like the folks just mentioned. On eBay “buyer beware.”

This plane dates to between 1933 and 1941. It has seen a lot of good use, but no visible abuse. It did have a goodly collection of wood dust in the corners and crevices. Basic cleaning took about an hour. Another hour of sharpening brought the iron to perfection.

My use for this plane is for jointing edges. It’s a really good thing to have certain parts of a boat fit together very well. For example, the bottom of the Fiddlehead is three long boards joined edge to edge. All that holds them together is glue … and a good fit. There are no other fasteners holding those boards together.

clamp a block to the planemake square edges
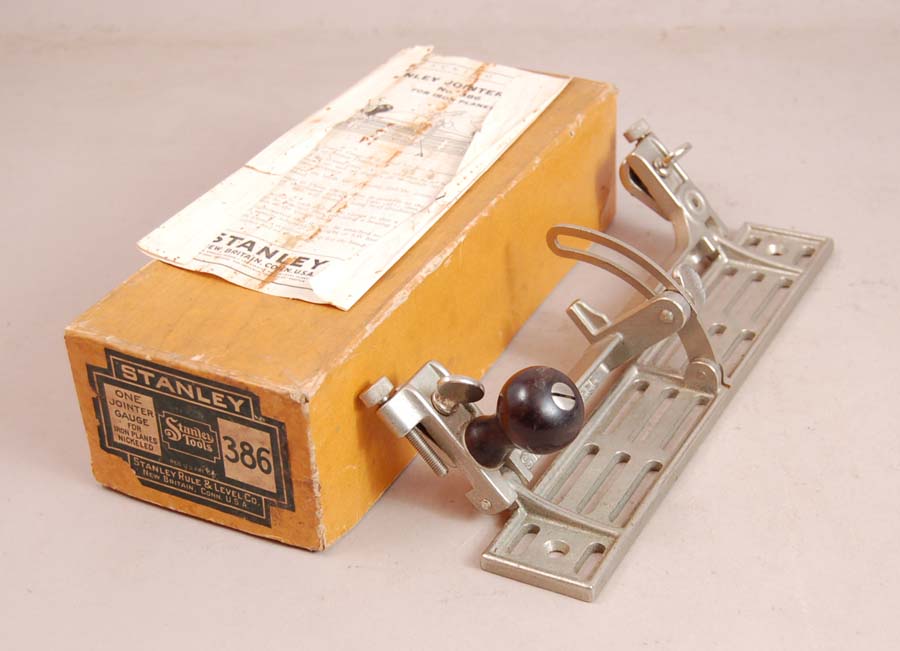
Of course, making square edges is usually desireable. So, how does one do that when running a hand plane along the edge of a board? With a fence. And there are fences for these planes, but they are rare and expensive.  I have devised an alternative, based on a method we used at the Wooden Boat School.  Clamp a block of wood (squared of course) to the nose of the plane and use it as a fence. Steady as you go and it works very well.

Filed Under: Hand tools, Woodworking

Getting Out Scantlings

August 27, 2008 by Bob Easton 1 Comment

Boatbuilding language includes terms and phases we don’t often hear. Some make sense once you understand their meaning. Others just need definition.

Take that long piece of fine Sitka spruce I bought a couple of weeks ago. It has lots of parts inside. All we have to do is get them out of the raw timber. A lot of boatbuilding is getting out parts. “Scantlings” is an archaic term for “small” and is used in nautical language both to talk of the dimensions of small structural components and of the components themselves.

One of the frequent activities of boatbuilders is making patterns. We have lots of dimensions on paper drawings that need to be transfered to our lumber. Sometimes we’re blessed with ful size drawings of components. Other times, we have to scale up from a drawing to full size, something called “lofting,” a topic for another day.  The Fiddlehead drawings contains one sheet with full size drawings for a few scantlings: the stems, parts for the frames, bulkheads, and carlin braces. Some of these need to be made in pairs, so it’s a good thing to make reusable patterns. I traced the drawings to thin plywood which I can carry to the lumber and draw around.

The spruce will be used for these parts and for a number of long thin parts. The long thin parts will remain inside a 13 foot section of the spruce for a while longer while I get these scantlings out of the remainder.

The first task is reducing thickness, from the rough sawn board to the desired thicknesses of 3/4 inch, 5/8 inch, and 7/16 inch. I reduced thickness first to 3/4 and got out the long part of the mid frame. Then reduced to 5/8 and got out the stems and carlin braces. Then, reduced to 7/16 and got out the rest of the mid frame pieces. Thickness reduction in some shops is done with power planers that use rapidly spinning knives. Thickness reduction in my shop uses hand planes. First, a Stanley #40 “scrub” plane that dates to about 1910 is used to scrub away material quickly. Its rounded blade can take fairly deep cuts and makes quick work when used diagonally across the lumber. A few passes up and down the lumber does the bulk of the work. When close to the desired thickness, I switch to the Stanley #5 “Jack (of all trades)” plane to smooth the marks left from the scrub plane. My jack plane dates to the late 1930’s and I keep it sharp enough to leave a surface that is very acceptable for framework. For the cases where the parts will be exposed and need fine finishing, follow up with a #3 smoothing plane (mid 1940’s heritage) brings the surface to baby butt smoothness.

When cutting the parts, I sometimes use one of the few power tools in my shop, the band saw and smooth the sawn edges with planes, rasps, or sometimes even sandpaper. The results are well made pieces, crafted with almost no dust.

An aside: as I read about people building workshops, one of the first things many woodworkers do is plan for powerful dust removal systems that attach hoses to every electric tool. Each of those tools works by pulverization that creates huge amounts of incredibly fine dust. Left uncaptured, the dust not only creates a mess, but more seriously many health hazards. Hand planes create no dust. Dust from band saws and rasps is large and heavy and usually falls quickly to the floor instead of lingering in the air. Sanding is something I minimize by keeping the planes sharp.

My tools are cheaper, and very much quieter, than all of the electric tools and a lot healthier to use. Instead of consuming electrons, my tools use a lot of human calories, giving me a good workout … and justification for a cool Coors, or maybe an occasional Snickers.

Filed Under: Boatbuilding, Eva Won, Fiddlehead

Got Wood!

August 20, 2008 by Bob Easton 1 Comment

It’s been a long time getting started on Harry Bryan’s Fiddlehead decked canoe. A 1:16 scale model was a good preliminary project and served the purpose of learning how the boat goes together. Now, it’s time for the real thing.

Last week, I bought the first few boards, enough to get the framework and bottom together. Harry calls for spruce and Northern White cedar as the first choice lumber, but advises alternatives should those not be available. Northern White cedar is rather plentiful in Harry’s Nova Scotia and in Maine, but not here in New York. The closest Northern White I can find is at the far Eastern end of Connecticut, quite a long drive from here.

My closest supplier of any sort of cedar is Maurice L. Condon in White Plains NY, about 35 miles from here. lumber on my truckM. L. Condon carries a kind of cedar they call Virginia White. It is actually a juniper and is also known as Atlantic White cedar. It has many of the same properties as Northern White, light in weight, excellent rot resistance, and good strength for its weight.

I wasn’t quite sure what to expect at Condon. Like most everyone, my lumber yard experiences are mostly at those places that sell construction lumber, the rough stuff we use for framing buildings. Condon is a specialty lumber seller. Most of their stock is hardwood, everything from oak and maple to exotics like purpleheart and ebony. Their softwood stock is also specialty woods such as the cedar I wanted, Western Red cedar, and Sitka spuce. Talk about feeling like the kid in the candy shop! M. L. Condon has what I need for this project, and lots more.

Not long after entering the yard, actually an open area surrounded by storage sheds (most all wood is sheltered from weather while being in open air), William came to help me. We had a short dscussion about what I wanted and he then used a fork lift to open up a stack of cedar and help me select some boards. I came away with four 16 foot long cedar flitches, a 20 foot long 6 inch wide board of sitka spruce and an 8 foot piece of Western Red cedar.

William fork lifted the order onto the truck rack that I recently built. The trip home was uneventful. Service at Condon was excellent, and I now have enough to get started.

Now a bit about the wood and its intended use.

small stack of lumberThe top piece in the stack is the Western Red cedar. It is the only piece that is surfaced four sides. It is a 2 by 6 of very straight grain, is milled vertical grain, and has a Greenland paddle inside.

That 20 foot long piece of Sitka spruce was too long to fit in my workshop, and has been cut to preserve the long lengths needed for the clamps, carlins, and rub rails. That board was not surfaced and measures a full 1 by 6 inches. This board is very clear, with only 4 small knots, none larger than the width of a pinky finger. It’s a beautiful piece of lumber that will provide key structural parts of the boat.

White cedars are sold as “live edge” flitches. They are rough cut, the result of running a complete tree through a saw, and what you get is boards that are four quarters thick and still have bark attached. cedar flitchThe flitches up in Maine were 20 feet long. These are 16 feet long. The part of the lumber we use for boatbuilding is the heartwood, the center material with the reddish tint. We discard the lighter color sapwood at the edge because it still contains sugars and other semi liquids that are not as impervious to rot as the heartwood. These 12-14 inch boards will yield 8-10 inches of good material. The cedar is also quite clear, with fewer knots than I remember in the cedar we had at the Wooden Boat School in Maine. The bottom of the boat, the planking, and the decks are all cedar.

I’ll need to triple the size of that stack of lumber to make the full boat, but this is enough to get started. I’ve got wood!

Click on any image to show a larger version.

Filed Under: Boatbuilding, Eva Won, Fiddlehead

  • « Go to Previous Page
  • Page 1
  • Interim pages omitted …
  • Page 6
  • Page 7
  • Page 8
  • Page 9
  • Page 10
  • Interim pages omitted …
  • Page 19
  • Go to Next Page »

Primary Sidebar

Footer

Recent Posts

  • New Frame Saw / Scroll Saw
  • Lamppost Sign
  • Goodbye PayPal – Goodbye Bob’s eBooks
  • Anarchist’s Workbench is Done
  • Why we keep offcuts…

Categories

  • About
  • Artwork
  • Boatbuilding
  • Boating
  • bowl carving
  • Boxmaking
  • Clocks
  • Drawings
  • eBook
  • etude
  • Eva Too
  • Eva Won
  • Fiddlehead
  • Fiddlehead model
  • Flying
  • frame saw
  • gilding
  • green woodworking
  • Grinling Gibbons
  • Guns
  • Hand tools
  • Humor
  • kerfing plane
  • Lettercarving
  • Mill Creek 13
  • Model building
  • Power tools
  • Rant
  • resawing
  • scroll saw
  • Shopmade
  • sign painting
  • Stonework
  • Swimming
  • Technology
  • The Wall
  • treadle lathe
  • Uncategorized
  • VSD
  • Woodcarving
  • Woodturning
  • Woodworking
  • workbench

Other stuff

  • About
  • Contact
  • Privacy Policy

Copyright ©2024 · Bob Easton · All Rights Reserved