• Skip to primary navigation
  • Skip to main content
  • Skip to primary sidebar
  • Skip to footer

Bob Easton

Chocolate powered woodworking

  • Home
  • Grinling Gibbons Tour

Bob Easton

Cub Scout Neckerchief Slides

May 3, 2011 by Bob Easton 9 Comments

photo of bobcat and tiger cub neckerchief slidesOne of our grandchildren is working his way through the first year of Cub Scouts. All forms of scouting, at least in the U.S., have a set progression of ranks, or levels. First year Cub Scouts usually see two ranks: the Bobcat and the Tiger Cub. Part of the Cub Scout uniform is a neckerchief, which is held in place not by a tied knot, but by a slide. One of the only areas of a scout’s uniform where there is latitude for personal expression is the neckerchief slide. Here’s where Grandpa steps in and does some woodcarving.

My woodcarving interest so far, has been caricature carving, and not so much animal carvings. However, these scouting symbols are not much different than caricatures. They are simplified representations of the various animals: bobcat, tiger cub, wolf and bear.

pattern and reference photos
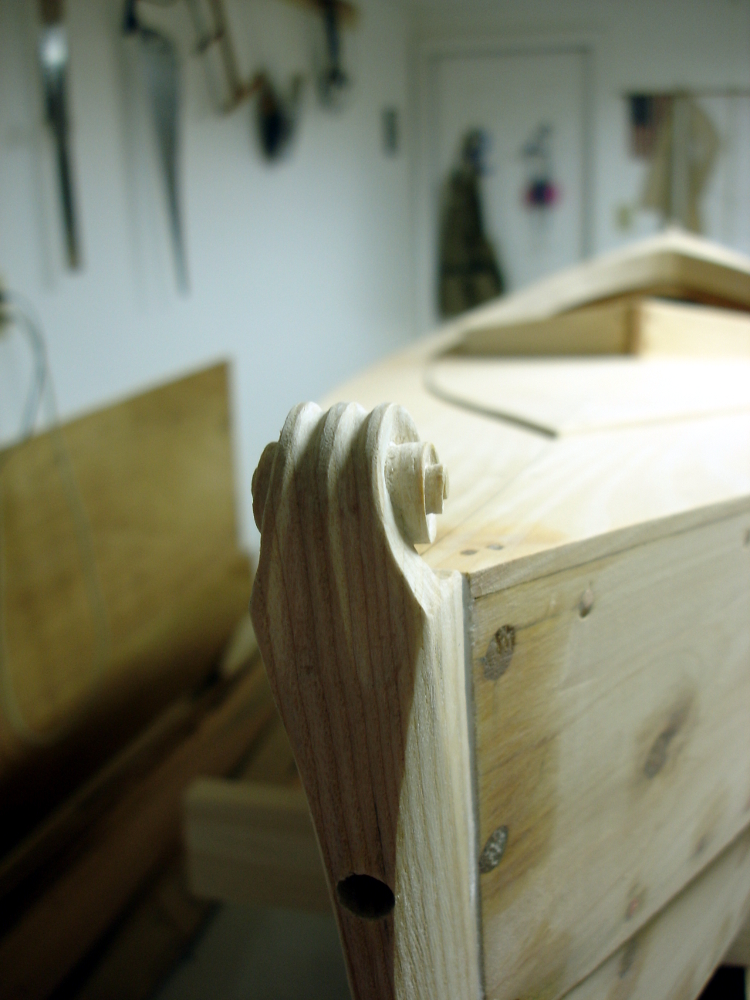
Carving these has been a multifaceted learning experience. Part of the learning was getting an actual neckerchief and determining what size hole works well (answer 3/4″). Next was making patterns from a combination of the official emblems and from lots of reference photos scavenged from the internet.

One of the discussion forums I frequent often has requests from people saying “Where can I find a pattern for such and such?” My answer to those sorts of questions (which I don’t actually post) is “Doh! find some pictures and make your own patterns. It’s easy!” Then again, “Engineering Graphics” was one of the best college courses I took some 40+ years ago … and had the most expensive textbook I’ve ever bought. I thoroughly enjoyed that course and use many aspects of it to this day.

6 photos of bobcat neckerchief slide6 photos of tiger cub neckerchief slideOne need know two major things to successfully carve these slides.  A couple of bobcats made it onto the burn pile before I learned the first thing.

1. A carnivore’s eyes are located midway between the tip of the nose and the base of the ears. Get this right and the rest of the head is not too difficult. As a minor point, youngsters such as the tiger cub are generally softer and rounder than adults.

2. Coloring and distinctive markings are as important, maybe more, than actual shape. So, painting is “the cat’s meow.”

This grandson is pleased with the results. His slightly younger cousin will also be pleased to learn that Grandpa is learning how to carve eyes.


Filed Under: Woodcarving

Sharpening Woodcarving V-Tools

April 22, 2011 by Bob Easton 9 Comments

My first foray into carving was way back in early grade school. Dad taught me to carve a simple Scotty dog from a bar of Ivory soap with a pen knife. No V-tool was needed for that work.

By the way, this is a simple beginner carving project. The parts of the dog are blocky, the soap easy to carve, and even a simple blocky carving gives a sense of accomplishment. Be careful of breaking off the tail.

Somewhere in the middle of Boy Scout years, carving a wooden chain was intriguing for a while (“a while” means 5 or 6 inches of chain). No V-tool was needed for that work.

More recently, carving the scrolls on the stems for the Fiddlehead canoe brought carving back to the forefront. No V-tool was needed for that work either.

photo of botched up v-toolThe small set of inexpensive Ramelson “Beginner” carving tools purchased for the Fiddlehead work included a V-tool, but it wasn’t needed for the project. Besides, it was cast lopsided with one side wall thicker than the other. Not long after taking up the most recent interest in carving, I decided to fix that V-tool. The first photo shows the result. With it unsuccessfully “fixed” … through many grindings, it is now reground to be a very short gouge with something like a #5 radius.

photo of several good v-toolsThere’s a BETTER solution! Learn to sharpen a V-tool correctly. Chris Pye, a traditional woodcarver once published a collection of eBooks he called “Slipstones.” One of those was a 102 page book titled “Select and Sharpen Your V-Tool.” Holy pages Batman! 102 pages???! Yes, it’s a very comprehensive tome, spending a lot of time describing v-tools and offering advice on how to select the one(s) you might want.

The part of the book about sharpening clarifies the “secret.” In short, it advises one to think of a V-tool simply as two chisels joined at the keel. Sharpen each chisel independently, but to the same angle, and “voila!” you have a sharp V-tool. If that brief explanation isn’t enough, there are about 50 pages in the eBook to explain the details.

Chris recently upgraded his web site, and in the process the eBooks slid into that deep dark spot full of lost stuff from reworked web sites. Chris has also started a new “Woodcarving Workshops” web site offering excellent video instruction for a very wide range of woodcarving topics. There he offers professional instruction (for a reasonable fee) as series of very concise and expertly produced videos. Take a look.

I asked Chris about the missing eBooks. He answered that he’ll bring them back eventually, but for now suggested that I forward on to those who might want them any that I have. So, for a limited time, get your copy of Chris Pye’s “Select and Sharpen Your V-Tool” ebook.

Filed Under: Hand tools, Woodcarving

CAUTION – Oily Rags Can Kill

March 25, 2011 by Bob Easton 6 Comments

Subtitle: The Apprentice System is Not Extinct

photo of firemen fighting a fireLast August, I wrote about a tragic oily rags incident where two elderly people lost their lives. I come back to it now because a trial has been held and has a finding of “neglect.” To us woodworkers, that was obvious from early reporting.

What makes it interesting is that we’re seeing lots of old woodworking books being republished, some describing the apprenticeship system of centuries past. Well, dear readers, that system is not extinct. It is still being practiced, in some aspects, today.

In this case, a “master” joiner had left an “apprentice” to apply some oil finish to work in progress and then close up the shop. The master then went to visit another customer. The master testified that he gave complete directions to the apprentice about materials disposal, and warned him of the possibility of combustion. There seems to be some dispute on this point, according to recent news. (hint: use Google translate if you don’t read German.) The apprentice disposed of most materials properly, but swept up a few rags and put them in a dustbin inside the shop. The resulting fire quickly engulfed the shop and the living quarters above where two people failed to get out.

I found it interesting that part of the defense was the point that current teaching about the danger of materials is in the third year. This was a first year apprentice who was apparently using materials without understanding their danger.

It’s not my purpose to determine any sort of blame, but to spread these cautions so you don’t have to wait for the third year of your apprenticeship to learn them.

Please dispose of oily rags properly.

  1. Submerge them in water until you have time to collect them all, wring them out, and BURN them.
  2. OR, spread them out flat, in a non-combustable area outdoors, and let them dry completely before adding them to the refuse for pickup.

Filed Under: Woodworking

  • « Go to Previous Page
  • Page 1
  • Interim pages omitted …
  • Page 63
  • Page 64
  • Page 65
  • Page 66
  • Page 67
  • Interim pages omitted …
  • Page 128
  • Go to Next Page »

Primary Sidebar

Footer

Recent Posts

  • New Frame Saw / Scroll Saw
  • Lamppost Sign
  • Goodbye PayPal – Goodbye Bob’s eBooks
  • Anarchist’s Workbench is Done
  • Why we keep offcuts…

Categories

  • About
  • Artwork
  • Boatbuilding
  • Boating
  • bowl carving
  • Boxmaking
  • Clocks
  • Drawings
  • eBook
  • etude
  • Eva Too
  • Eva Won
  • Fiddlehead
  • Fiddlehead model
  • Flying
  • frame saw
  • gilding
  • green woodworking
  • Grinling Gibbons
  • Guns
  • Hand tools
  • Humor
  • kerfing plane
  • Lettercarving
  • Mill Creek 13
  • Model building
  • Power tools
  • Rant
  • resawing
  • scroll saw
  • Shopmade
  • sign painting
  • Stonework
  • Swimming
  • Technology
  • The Wall
  • treadle lathe
  • Uncategorized
  • VSD
  • Woodcarving
  • Woodturning
  • Woodworking
  • workbench

Other stuff

  • About
  • Contact
  • Privacy Policy

Copyright ©2024 · Bob Easton · All Rights Reserved