There’s been a lot more sawing since the last post, and a lot more learned about saw tooth shapes.
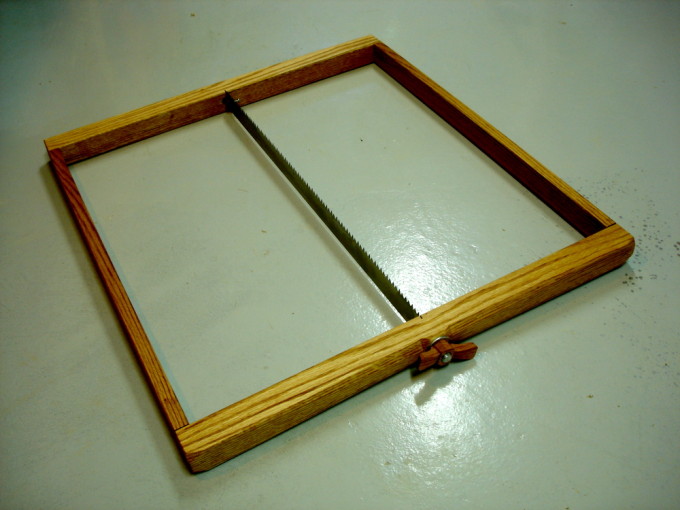
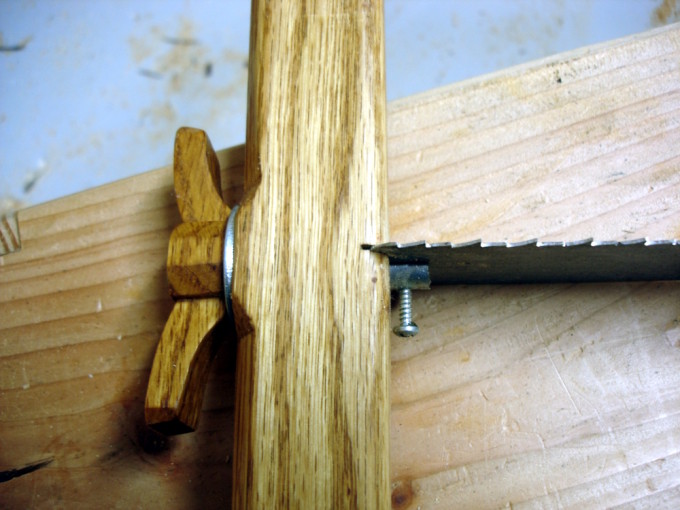
The first board resawn is four and a half feet long and will be used for decks. I tried three different saw blades while cutting this piece. I started with the blade shown in the previous two posts, the frame saw blade from Frog Tool Co. It worked well, but not as fast as I expected. I picked up that old Disston hand saw and used it for about six inches, and found it to be significantly faster. It was a bit harder to keep on the straight and narrow. Next, I whacked off a length of 4 TPI bandsaw blade and tried it. It cut pretty fast but was virtually uncontrollable, wandering wildly away from the line no matter how kindly I spoke to it. I abandoned it quickly and finished the job with the hand saw.
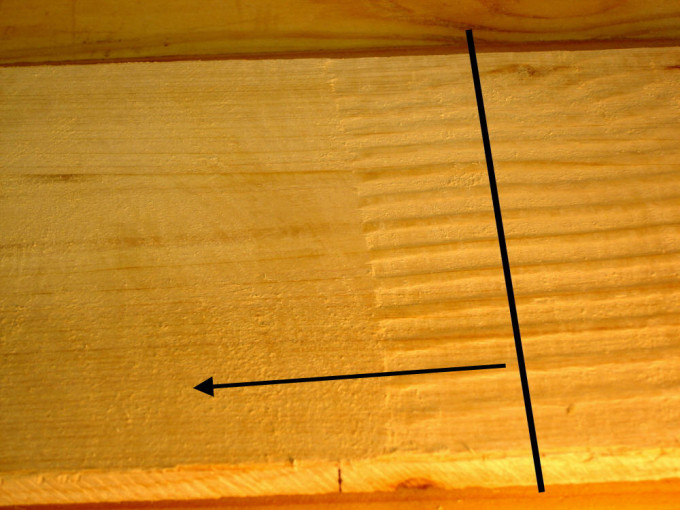
The photo on the right shows the sawn surface. Imagine the black line as the cutting edge of the saw blade. and the arrow as direction of movement. We’re looking at the board lying flat with a raking light shining across it. Those neat furrows on the right side were left by the Frog Tool blade. This is the first time I’ve seen anything like that surface. The smoother surface on the left is from the handsaw. Size reference: the board is 8 1/4 inches wide and 1/2 inch thick.
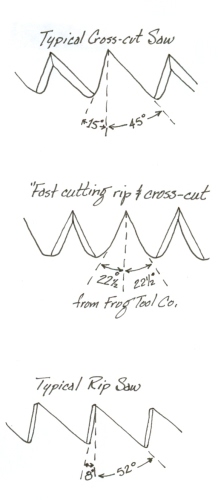 “What big teeth you have, Grandma.” It’s all in the teeth.
The “Fast cutting rip and cross-cut” blade from Frog Tool co. is actually a cross-cut blade. Note the drawing for cross-cut teeth. Each tooth has angles filed into the leading and trailing edges, making it behave like a chisel. These angles are called fleam. The leading edge of the teeth lean back from vertical about 15 degrees. This is the rake angle and is typical for cross-cut saws. Steeper is more aggressive; shallower is less aggressive.
The Frog Tool blade is filed cross-cut. That is, it has fleam. However the rake angle is quite a bit relaxed and is the same on both sides ot the tooth. This rake gives the blade the very interesting capability of being able to cut equally well in either direction. I’m guessing that the less aggressive rake is what yields those furrows, by letting teeth slip and slide more easily over the softer and harder parts of the wood’s grain. Having fleam is what makes it slower than the Disston hand saw.
Now, let’s look at rip filed teeth. They have no fleam. Instead they have a flat edge that tears rather than slices. That works well when cutting along the grain. The typical rip has a rake of 8 degrees, quite a bit more aggressive than the typical cross-cut tooth.
Lastly, we should understand set. Set is the angle a tooth’s tip is canted to one side or the other. Set alternates down the blade, one tooth left, the next right. It’s purpose is to widen the kerf the saw produces, to keep the blade from binding, and to ease waste extraction. Set isn’t a huge factor if there’s the right amount of it. Too little, the blade binds. Too much, the blade wanders. Imbalanced, the blade goes off line to one side or the other. Set was not a factor in the performance of any of the blades I tried.
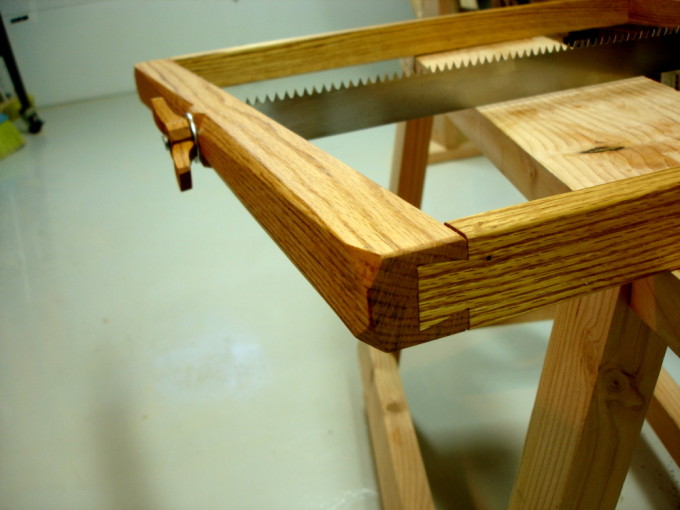
Resawing is actually a ripping operation, so there’s little surprise that a saw optimized for ripping cuts faster. My next steps are to follow Harry Strasil’s advice and convert that old Disston rip saw into a frame saw. It is a 1900 era handsaw with 5 TPI. The blade saw a lot of pitting once upon a time but was refurbished. It’s been sharpened enough times to leave teeth a variety of sizes. It arrived here surprisingly sharp, but can be better. Cut down and cast into the frame it can do this resawing job and still be used for most ripping tasks.
I’m part way through reshaping and sharpening, following Pete Taran’s very well written guide at Vintage Saws. As an aside, Pete Taran is almost single handedly responsible for a revival in crafting high quality western hand saws.
