• Skip to primary navigation
  • Skip to main content
  • Skip to primary sidebar
  • Skip to footer

Bob Easton

Chocolate powered woodworking

  • Home
  • Grinling Gibbons Tour

Shopmade

0 Boards remaining

February 6, 2022 by Bob Easton 4 Comments

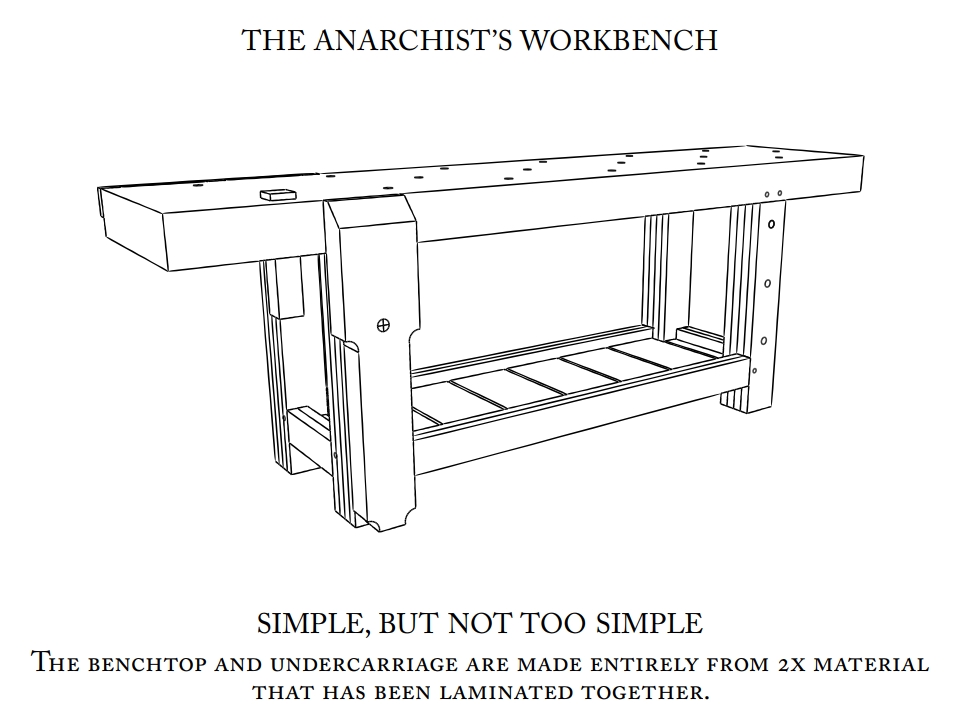
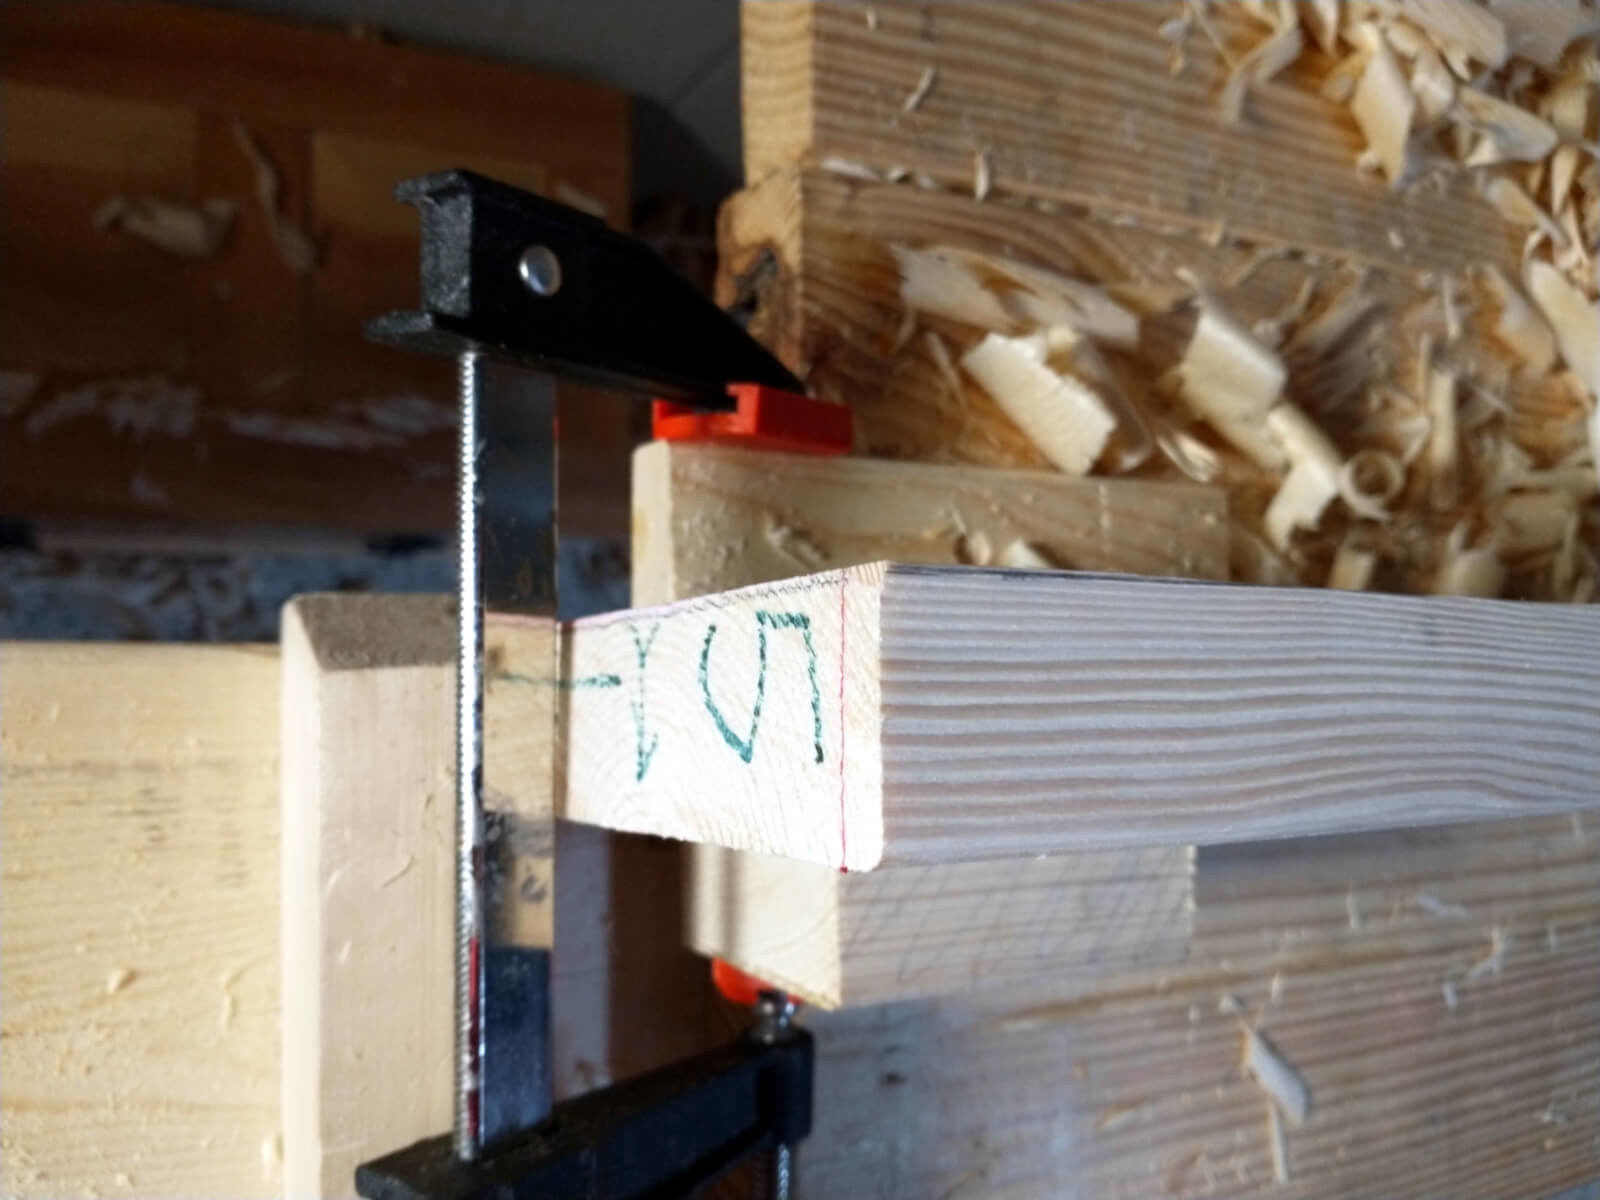
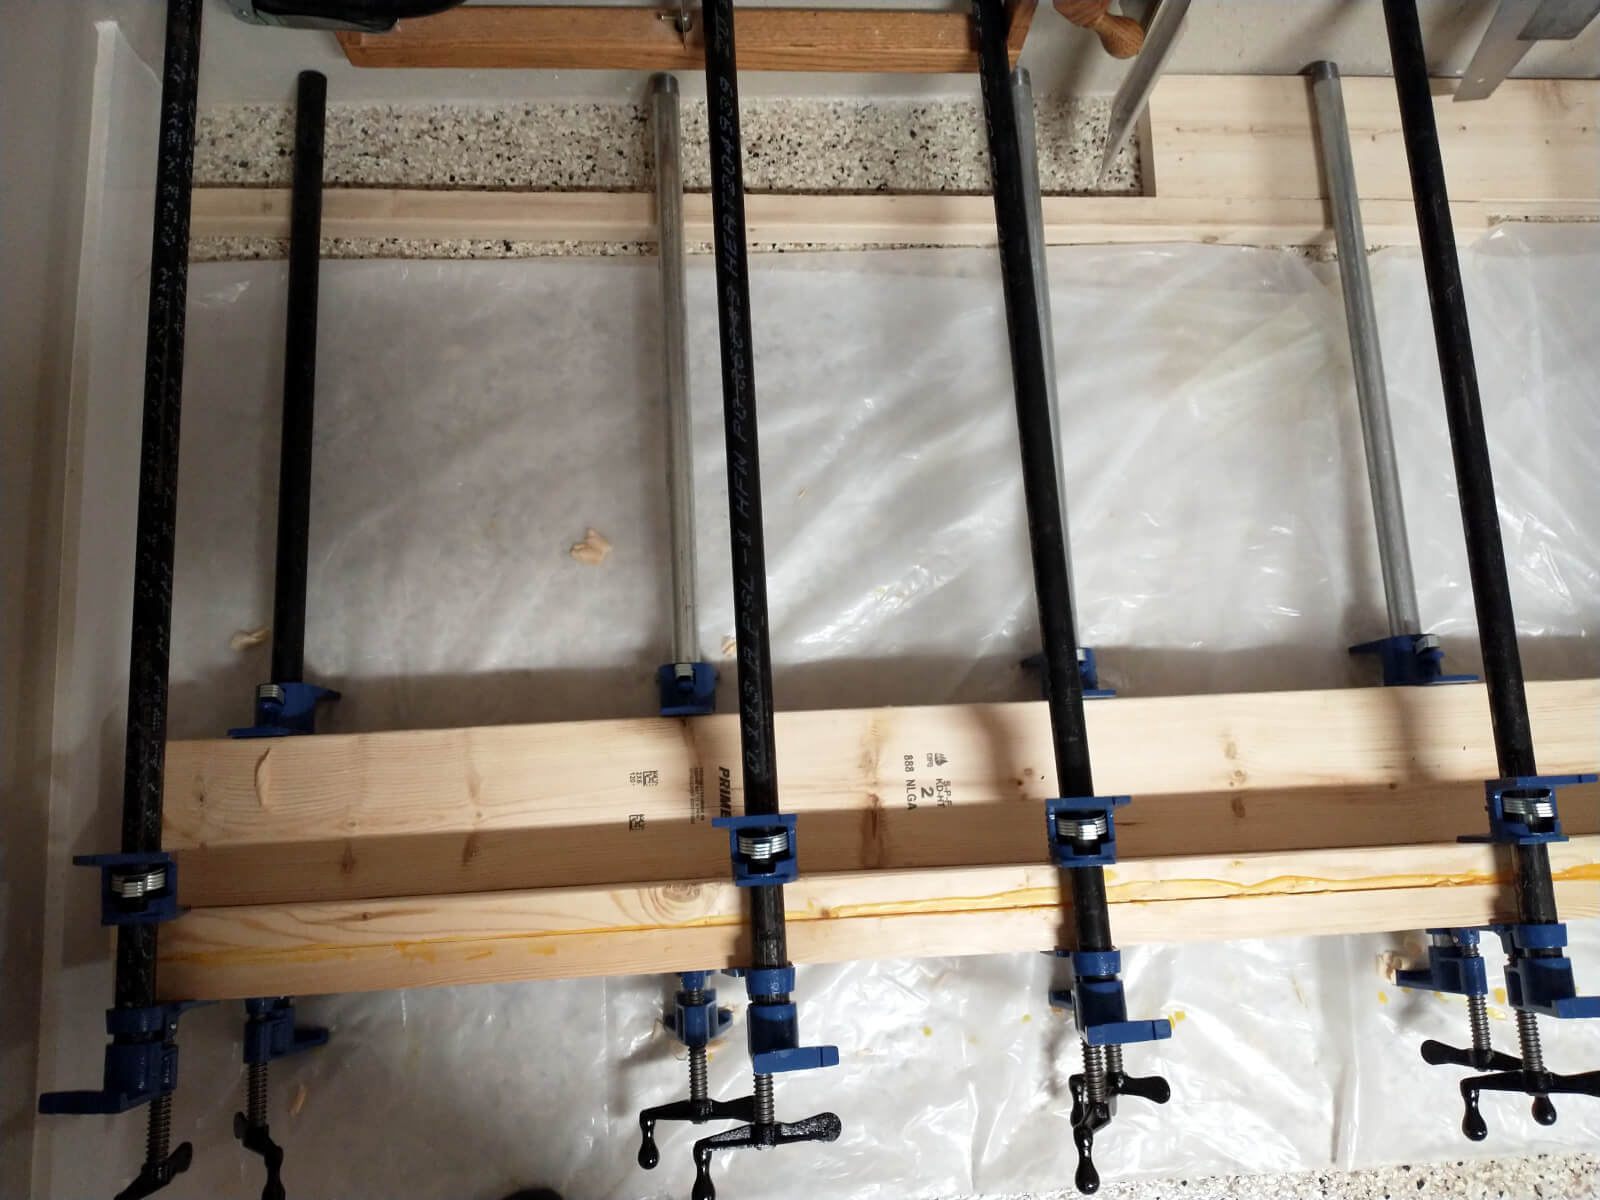
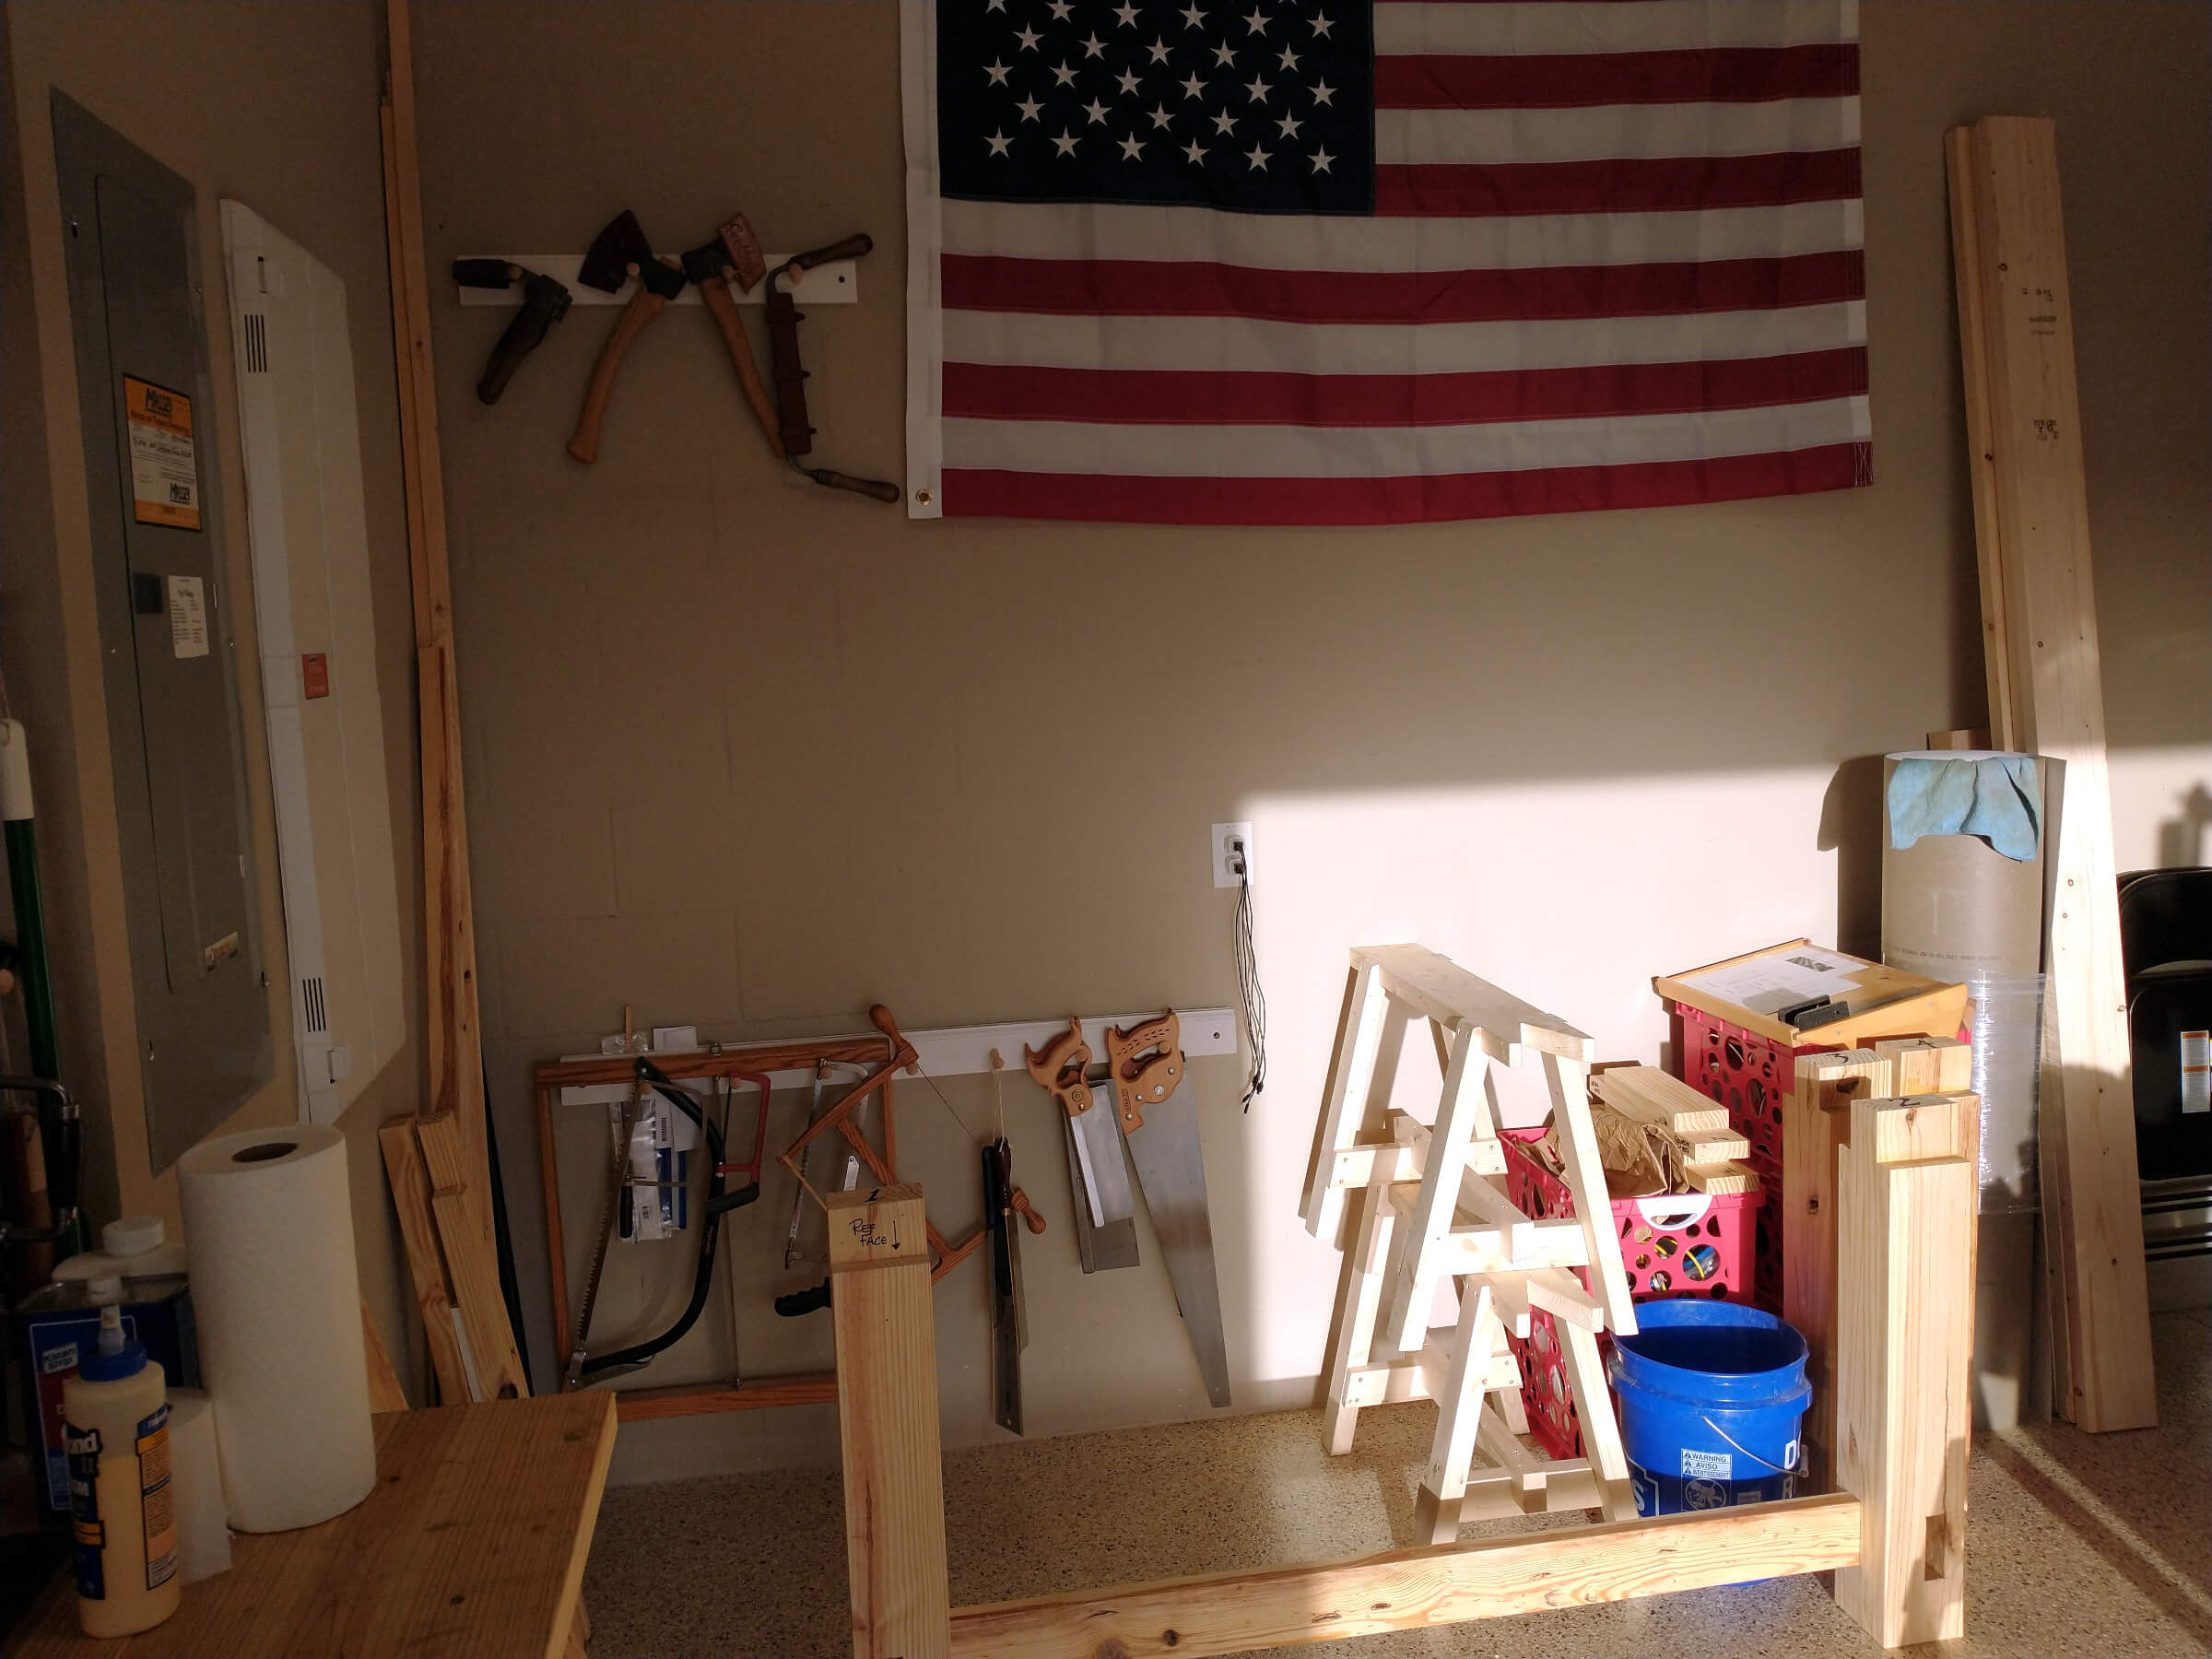
Three bundles of 6 boards each are ready. …almost. Those following my build of the Anarchist’s Workbench know what’s next; another glueup. Because this one is dealing with thick bundles of boards that have little flex, they need to come together without depending on clamps to close large gaps. Eliminate those gaps before gluing.

photo of #7 plane working on benchtop bundles

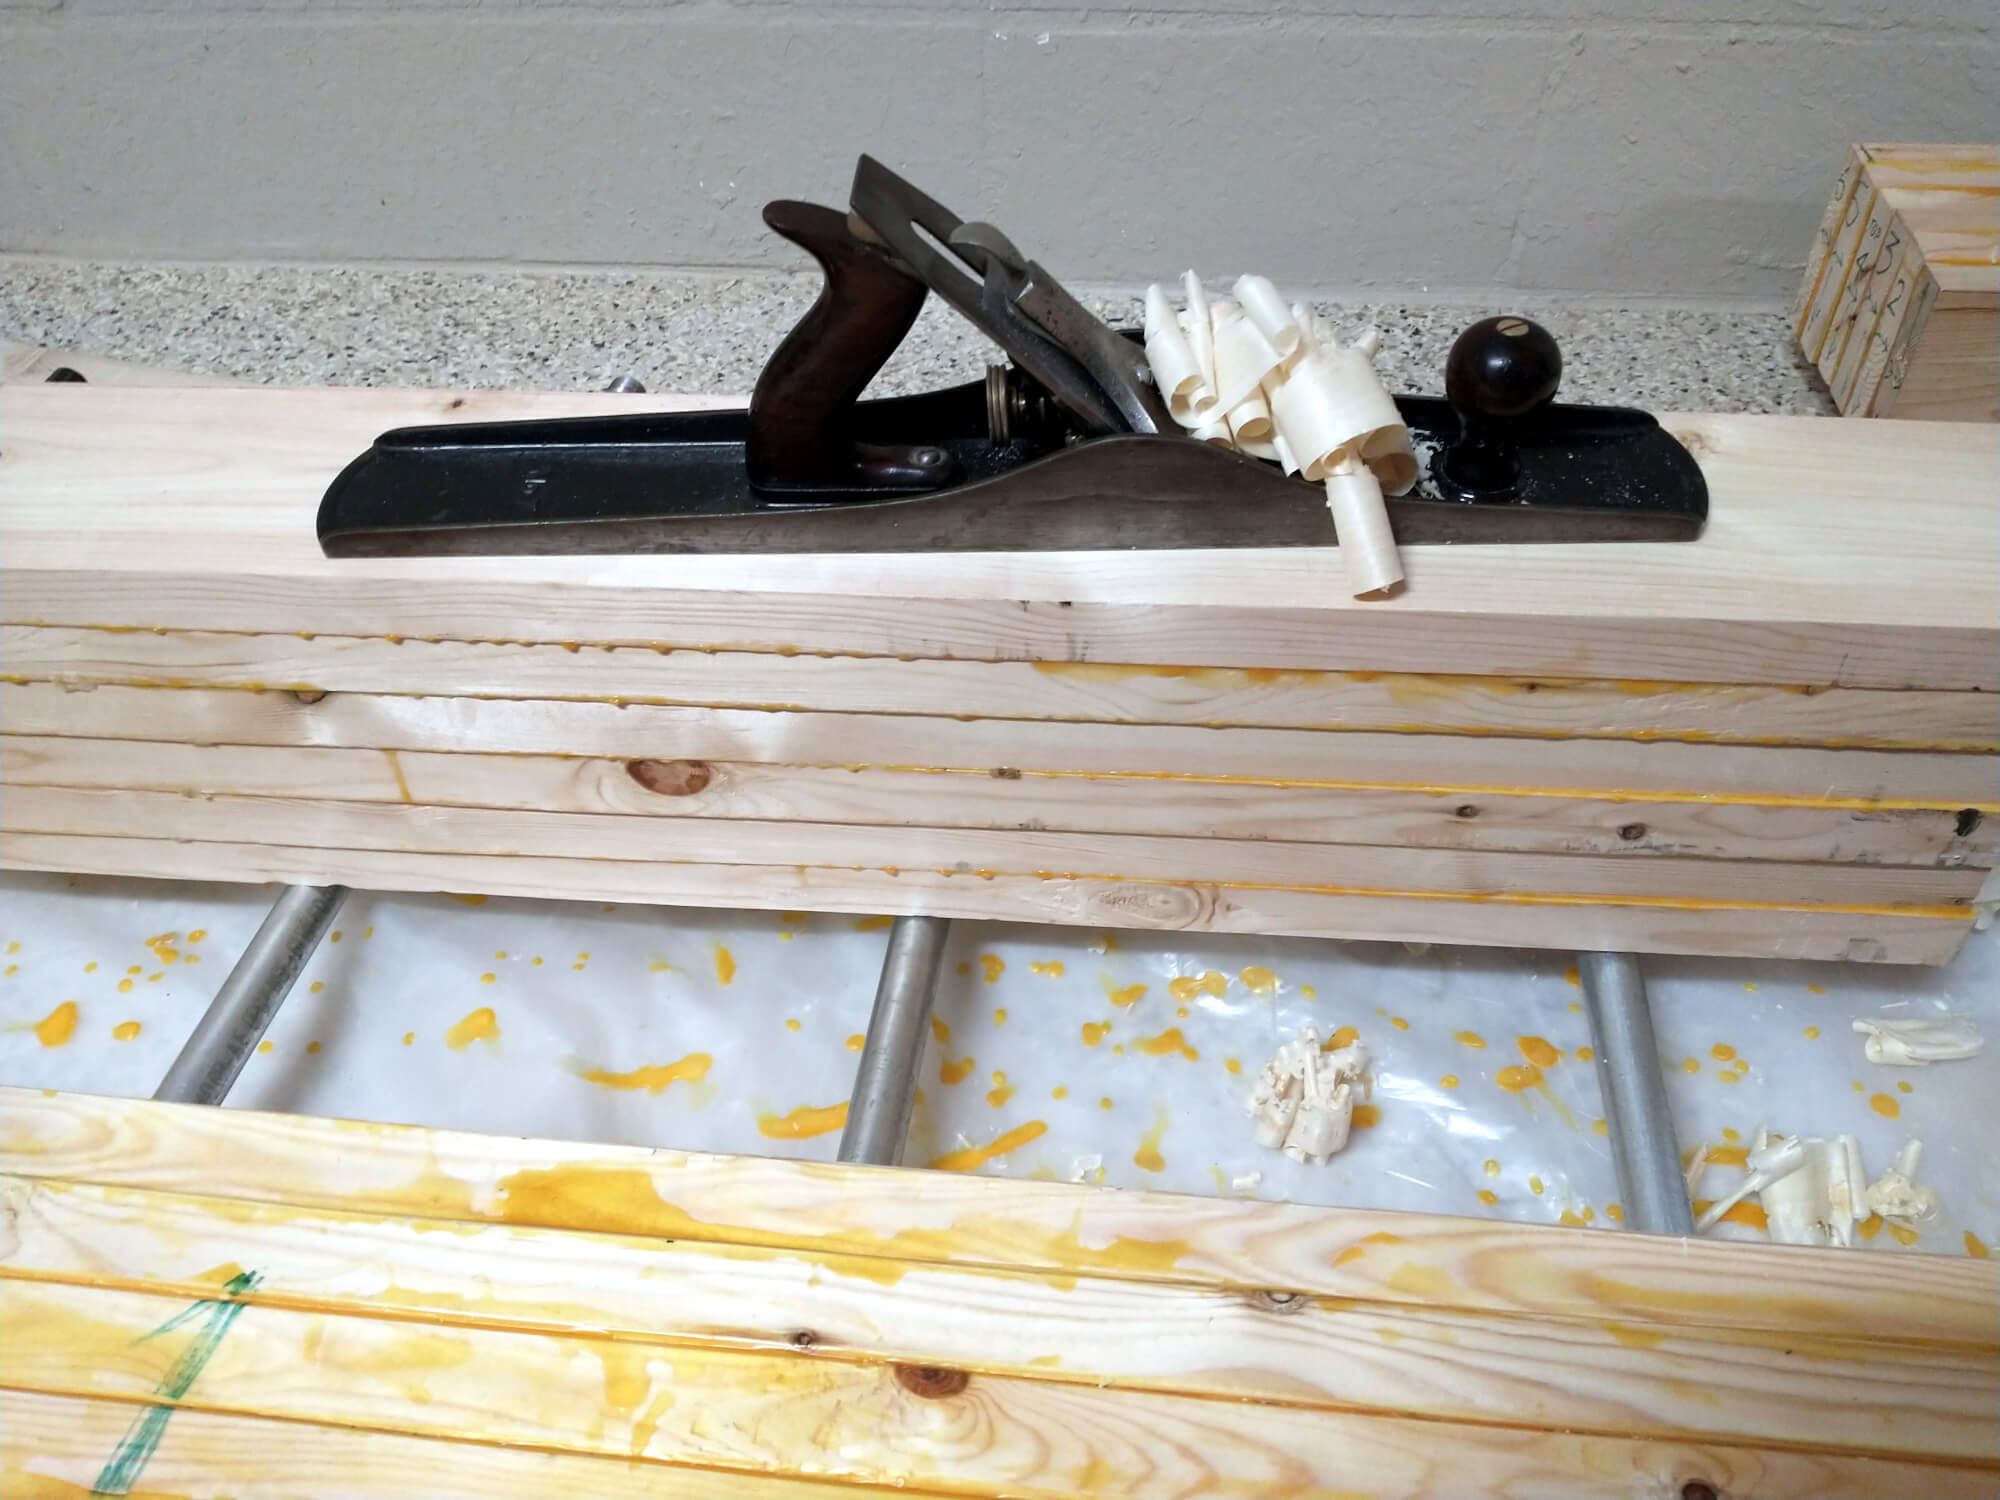
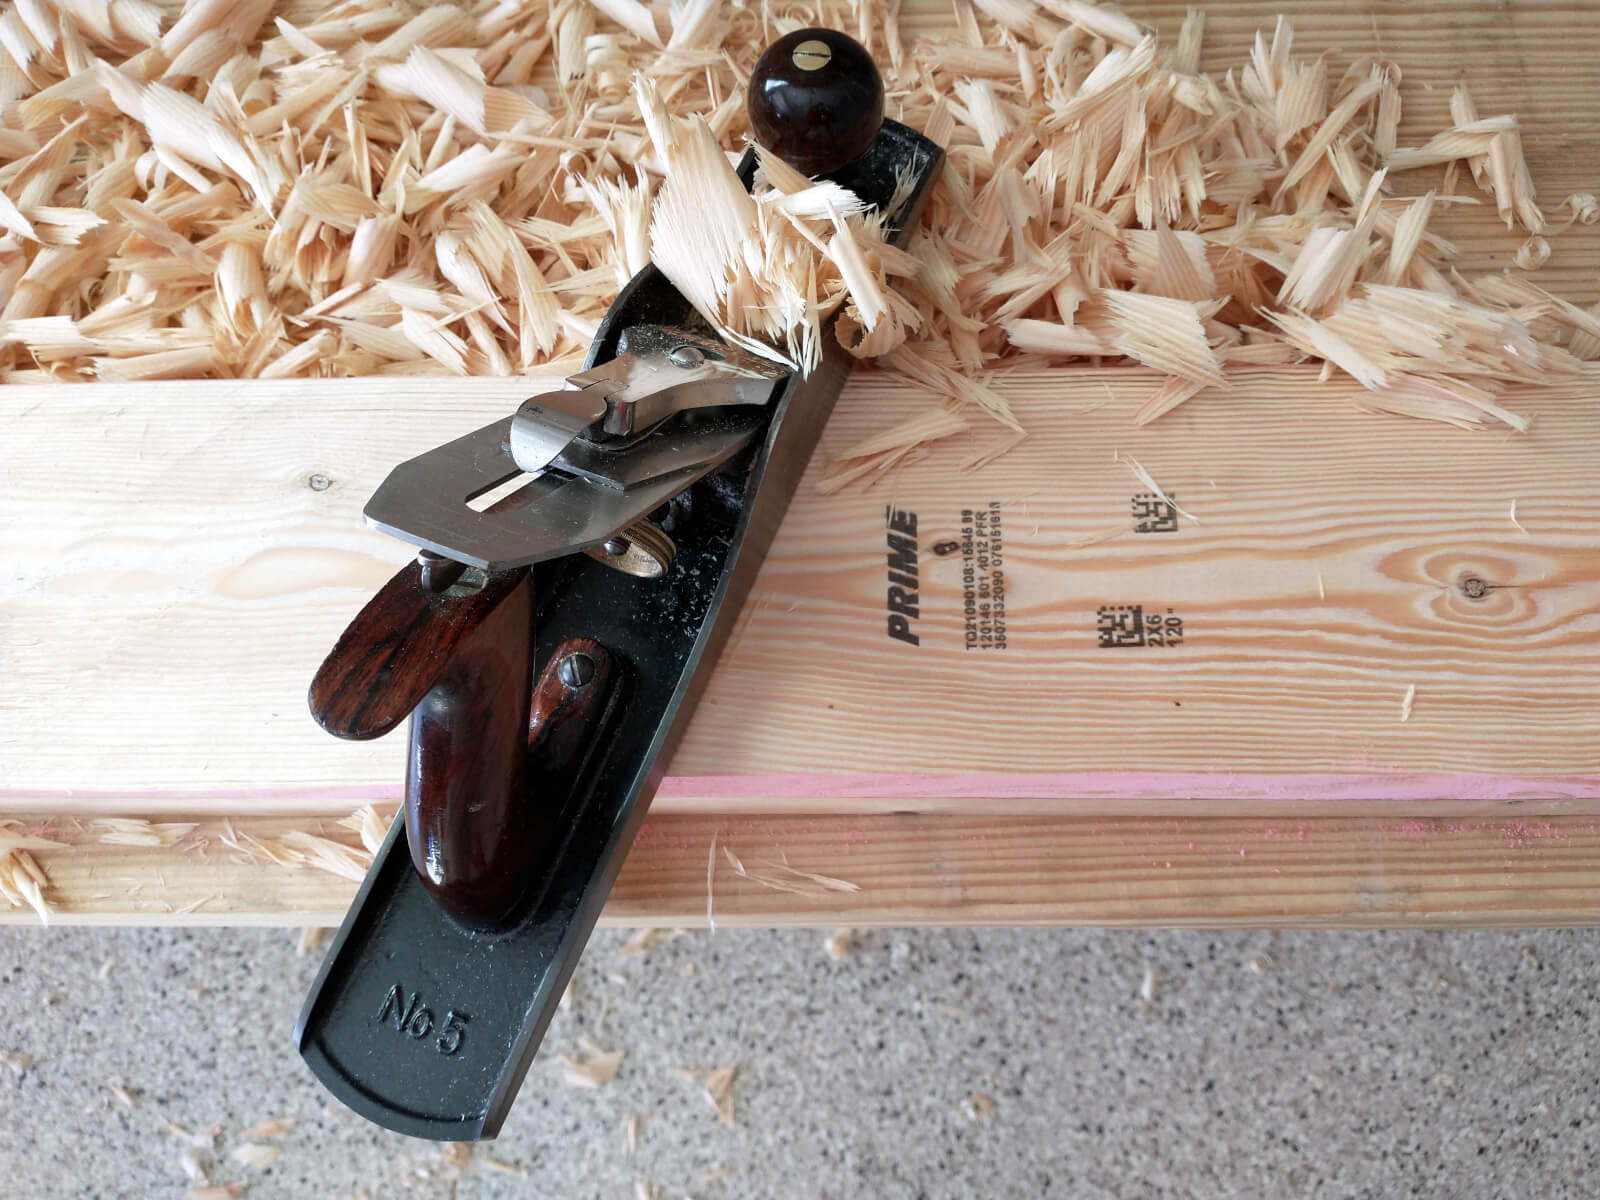
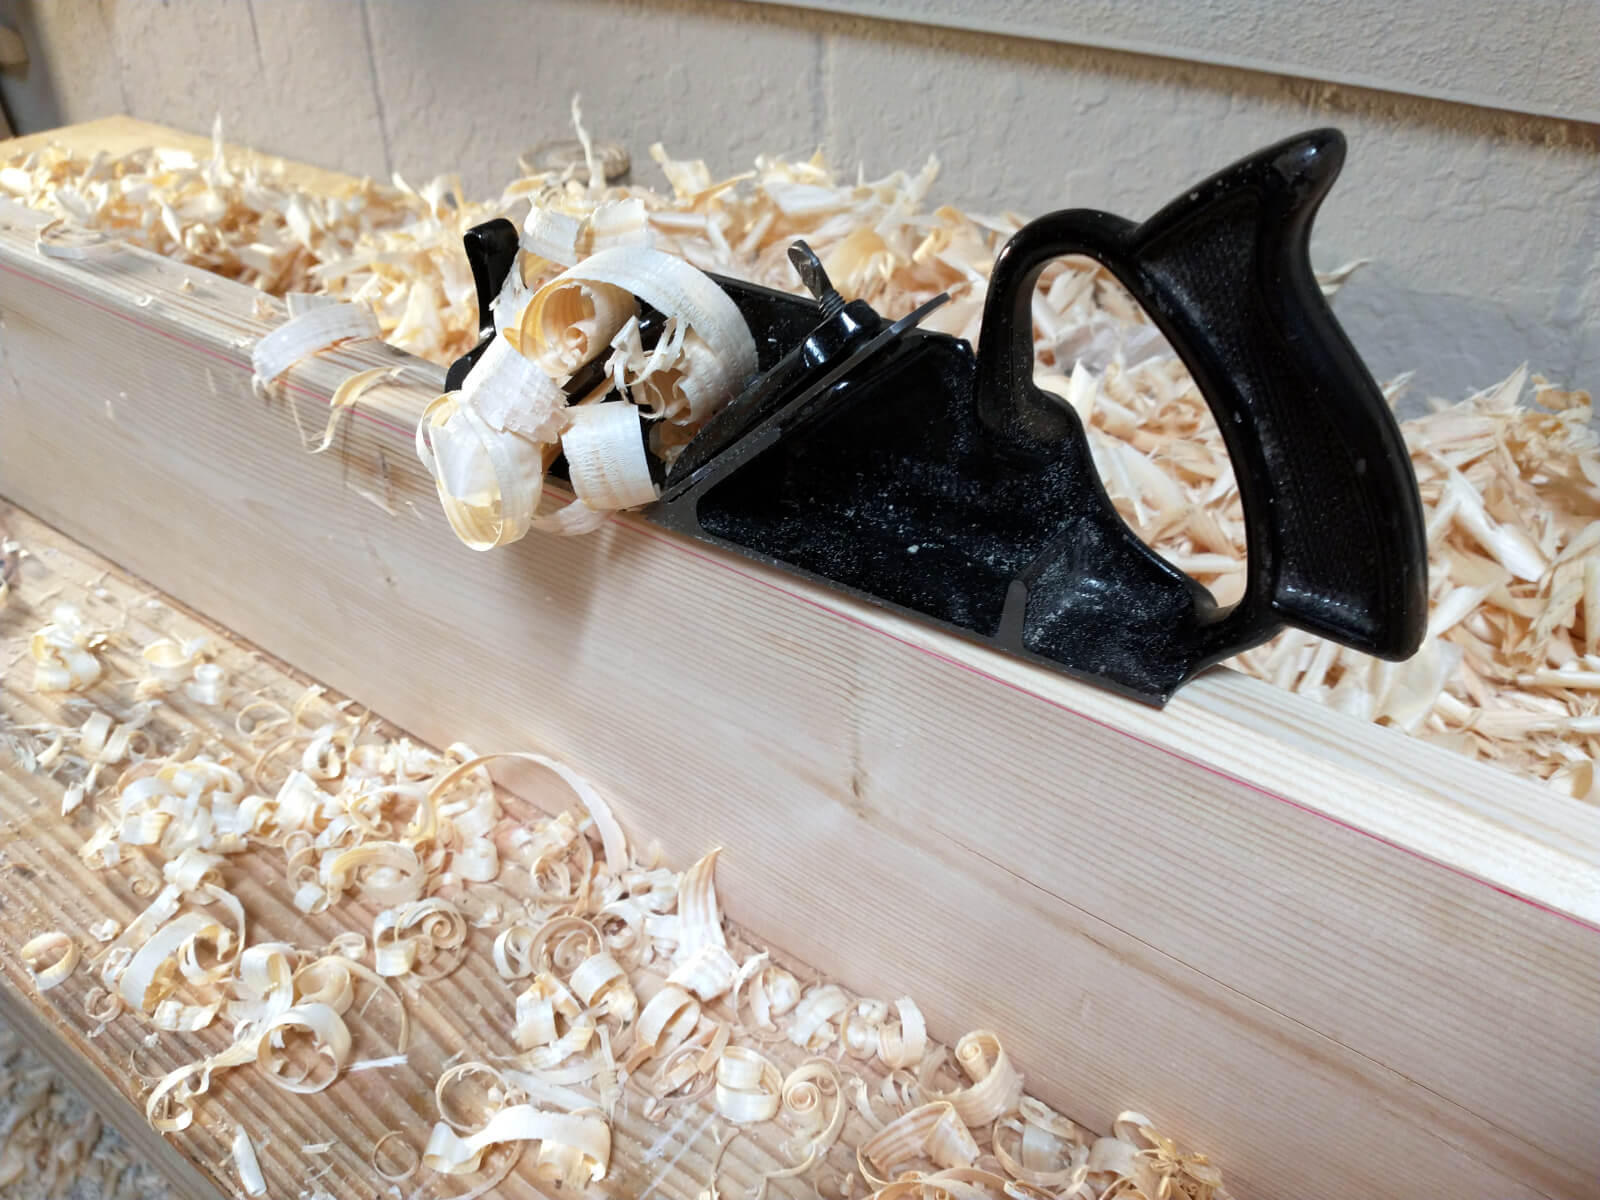
Steve Schuler, of The Literary Workshop Blog writes about liking lightweight planes. I do too. I do almost everything with a #5. Yet, for the first time in a dozen years I pulled out my big, 8 pound, 22 inch long, #7 to fine tune the mating surfaces of those 3 bundles. That Stanley #7 is a pre-WW2 era plane that I bought for working long boards used for boat building. Projects since then have been smaller and not warranted the extra length or weight. For this job, the weight is a bonus. Get that plane moving and it plows right through.

photo of full benchtop glued up and in clamps

I glued the bundles together with the top side uppermost so I could insure the top clamps closed everything up tight.

photo of rockers attached to the benchtop

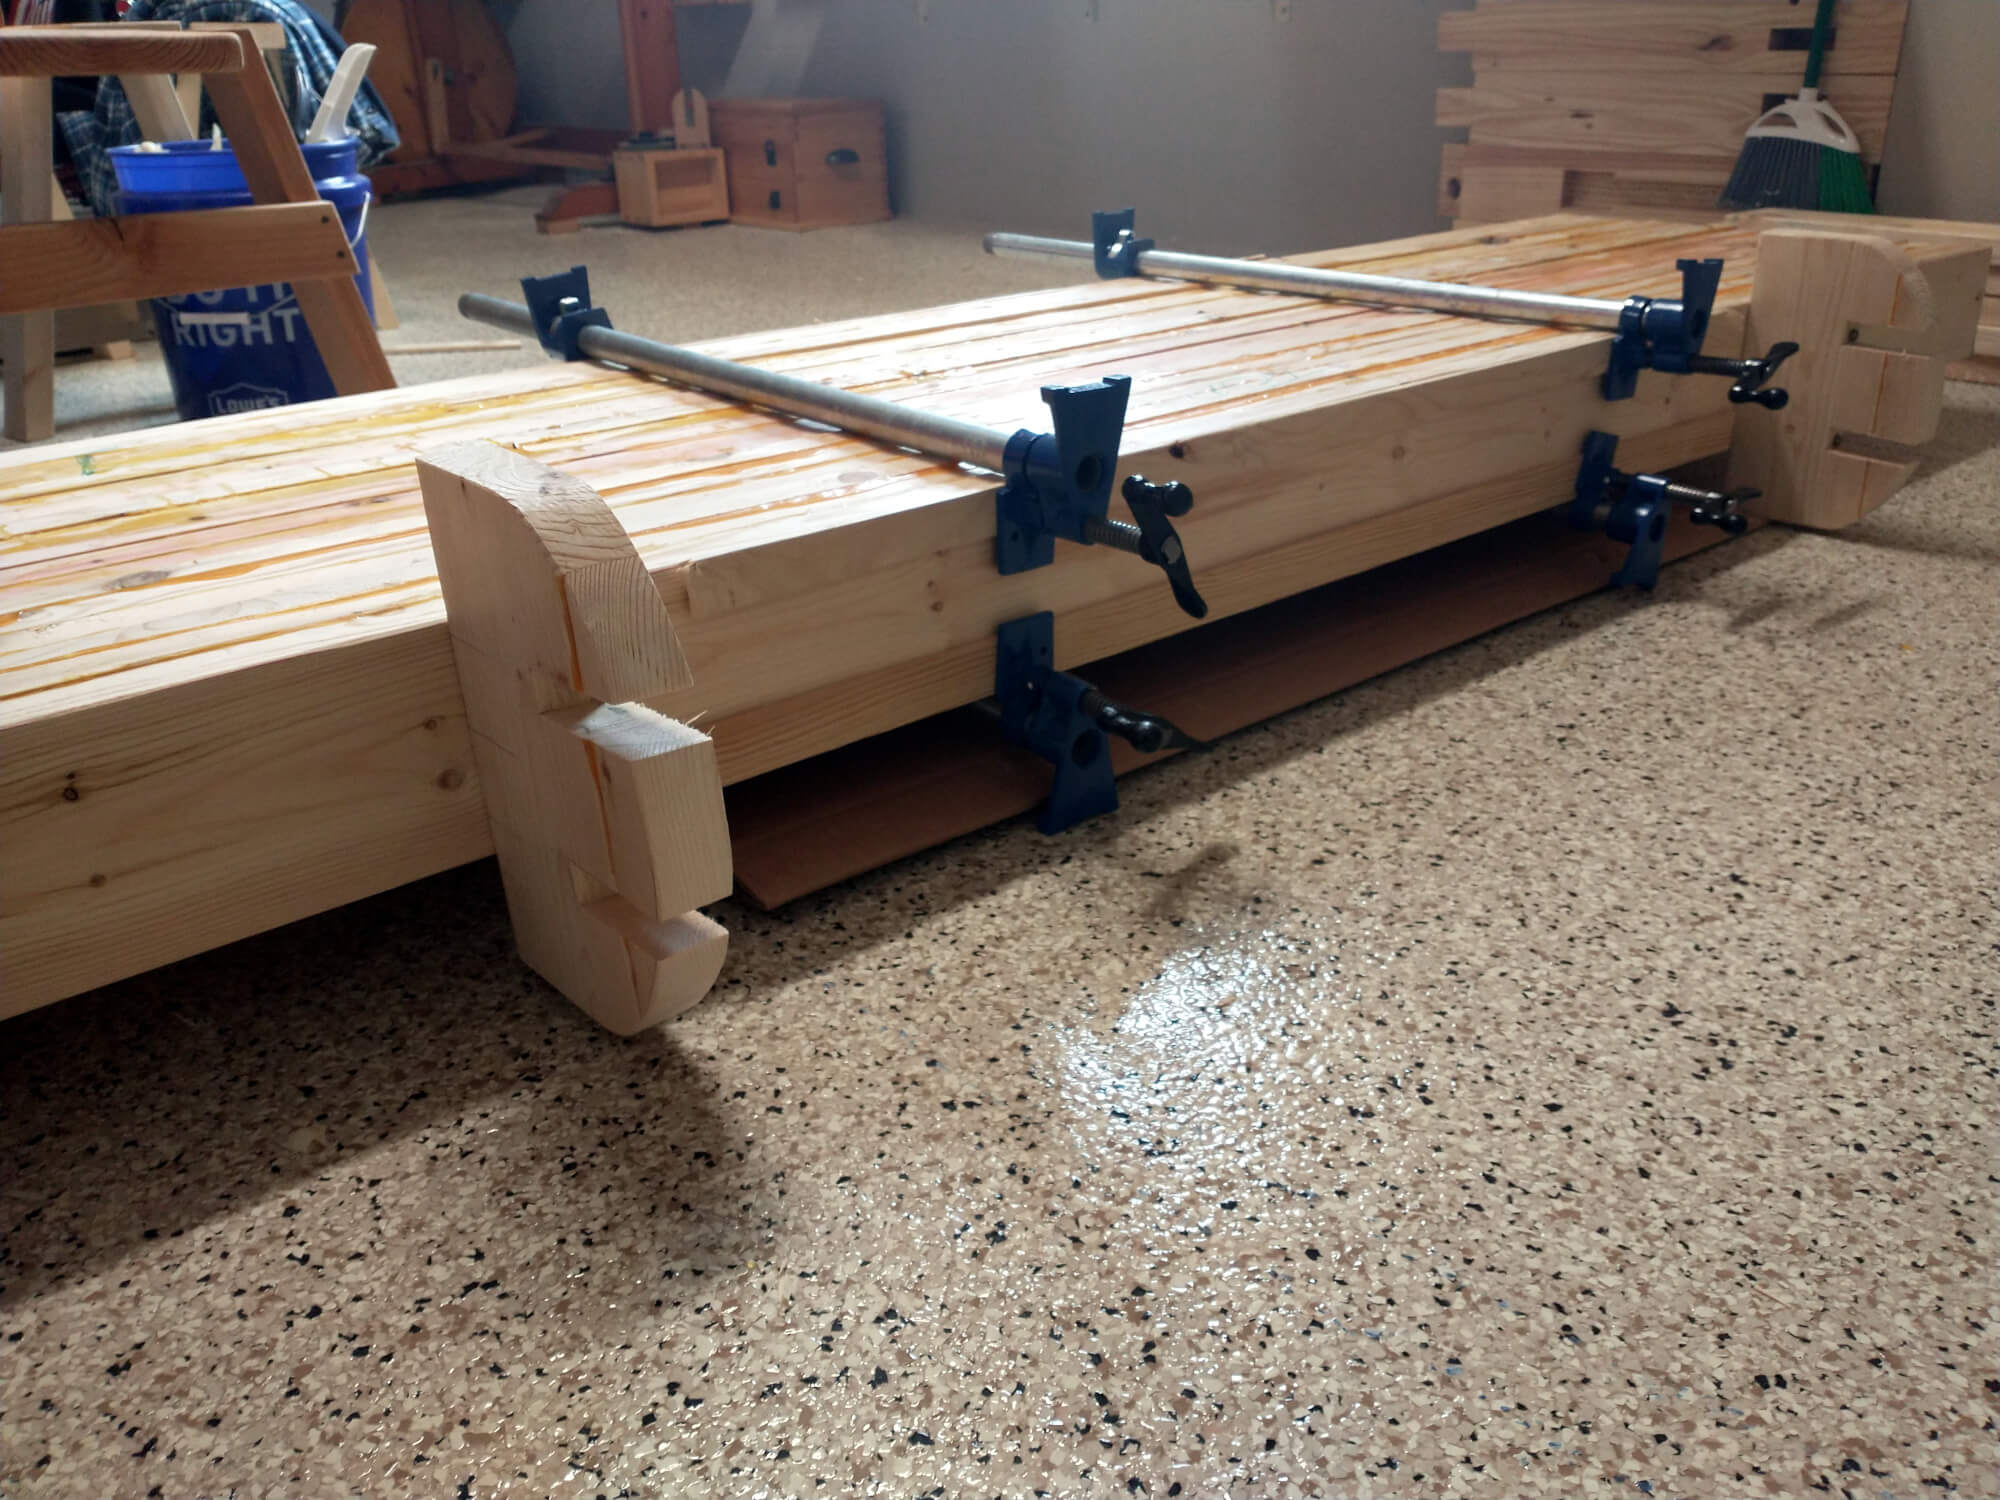
Then… the next work needed to be done on the bottom. How does one person flip a 240 pound board over by himself? Rockers. Yep, I made a couple of rocker boards, screwed them to the back edge of the benchtop and used a couple of clamps as handles. Worked great!

photo of planes flattening the bottom of the benchtop

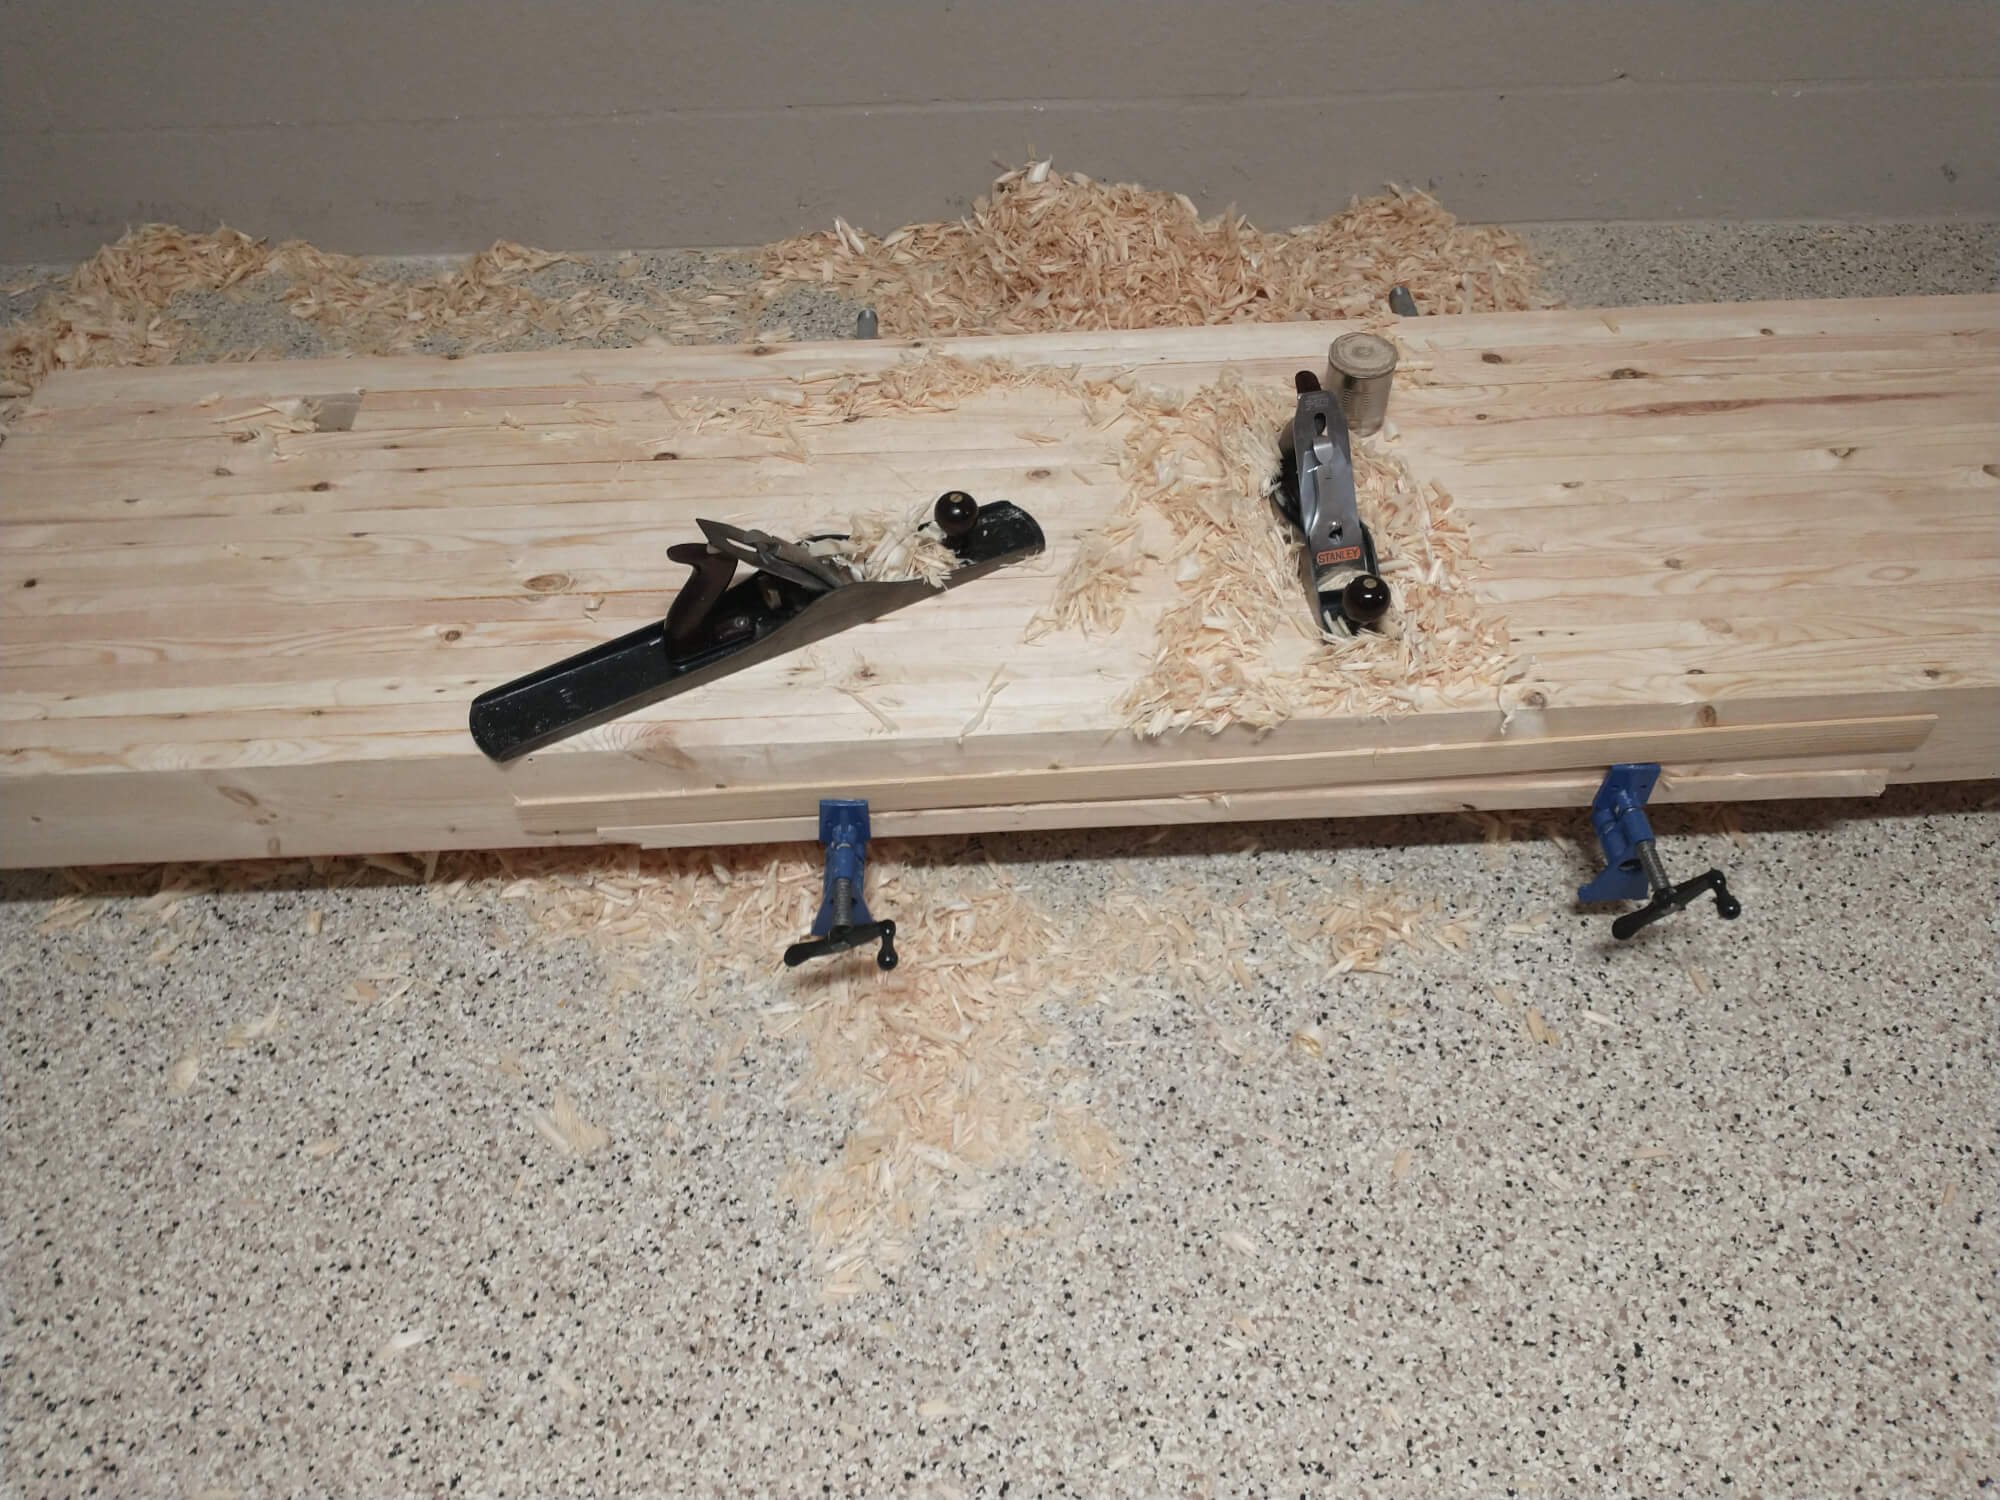
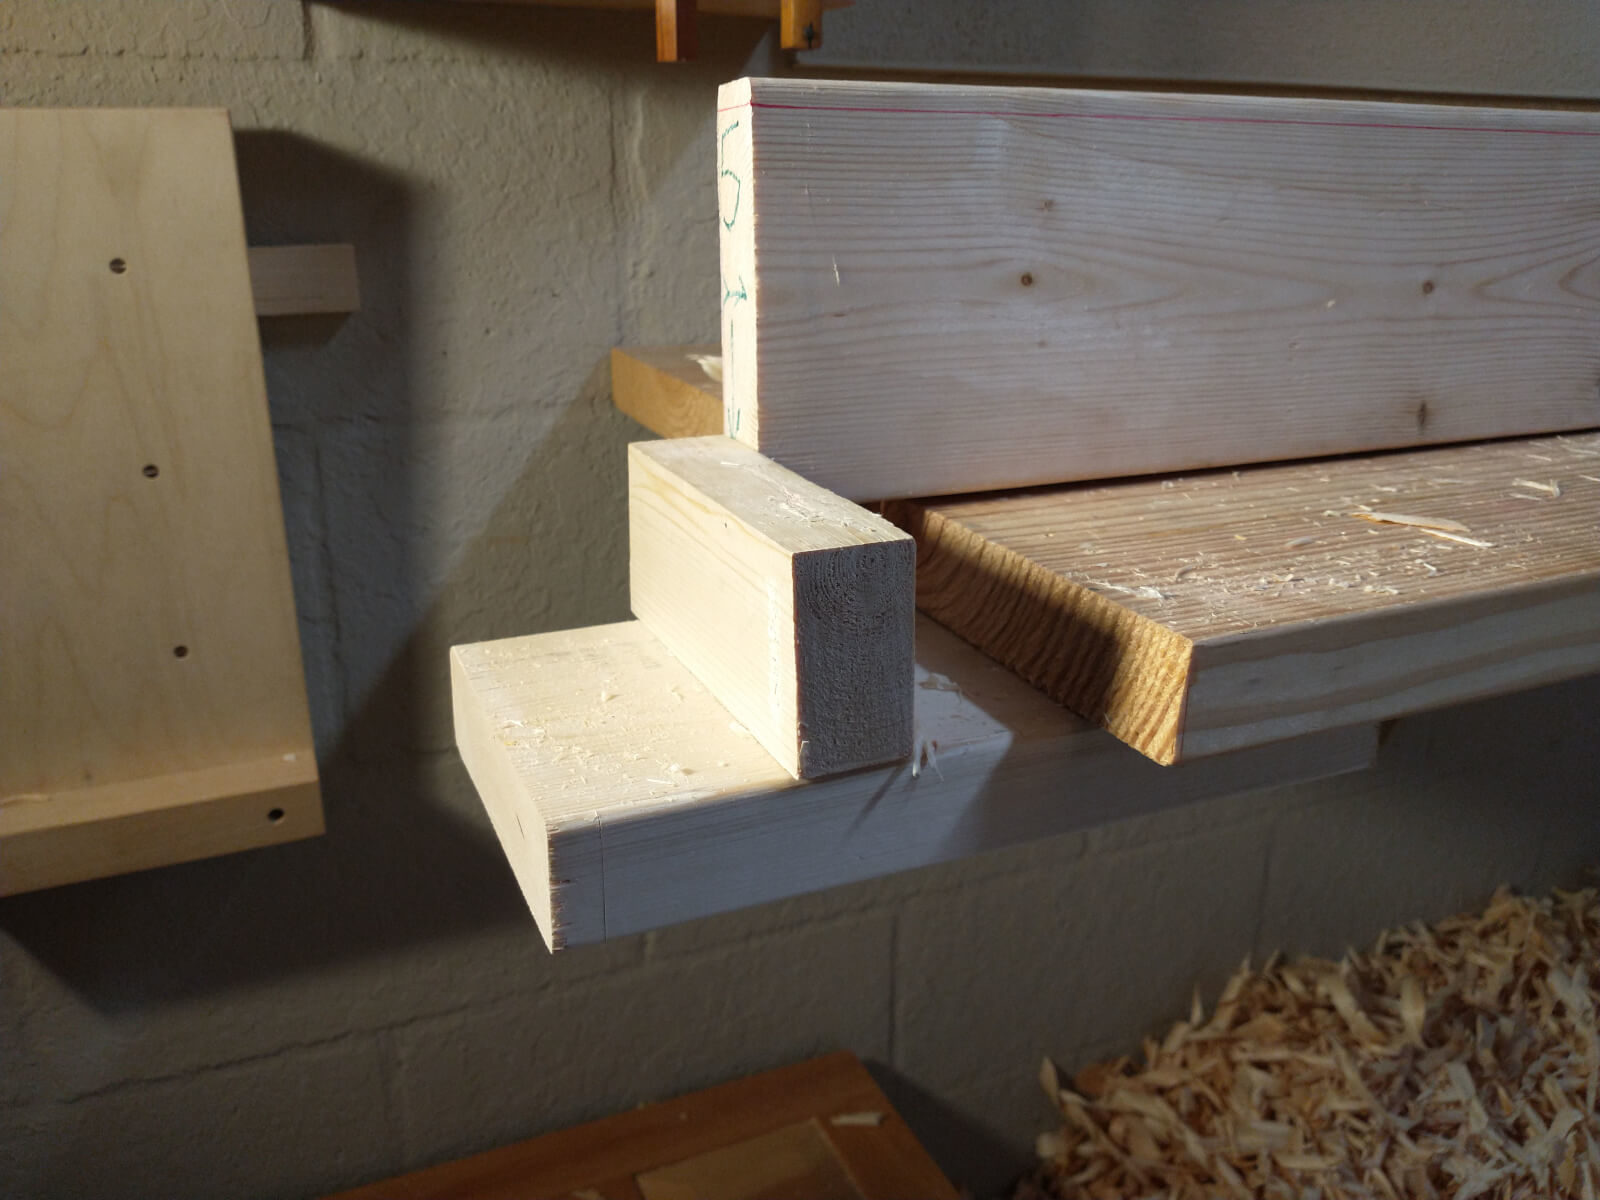
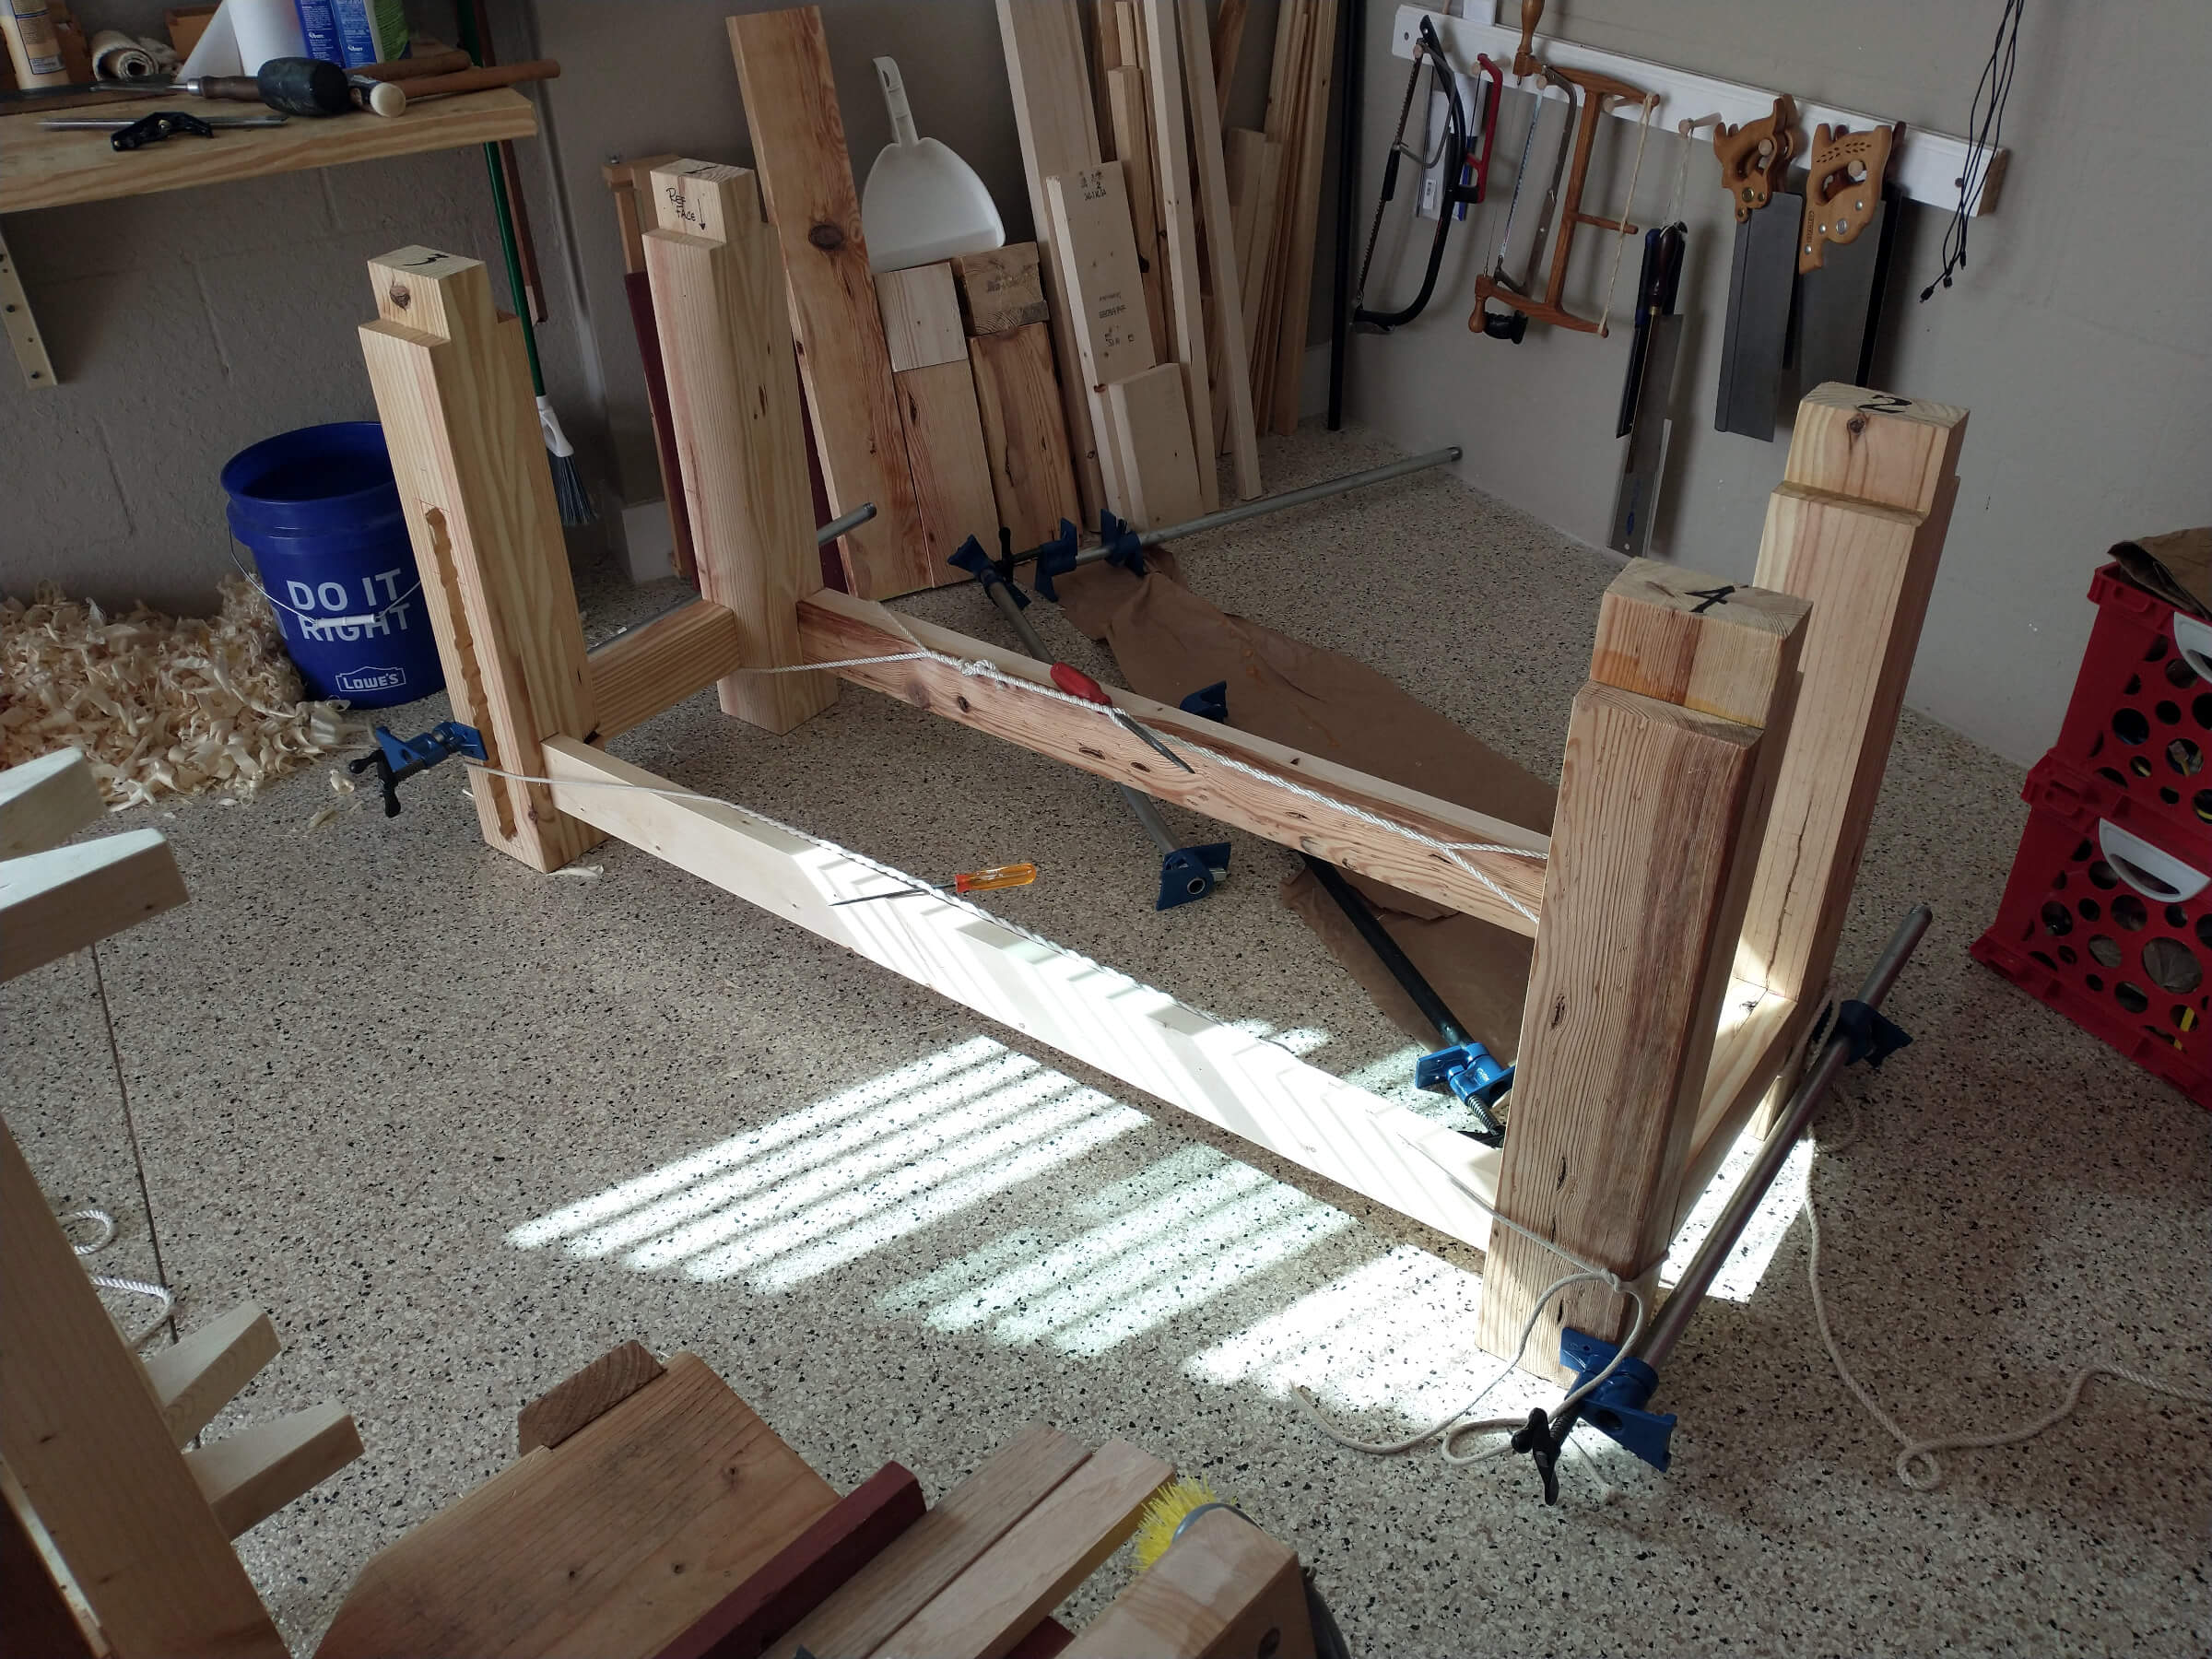
More donkey work. Down on the floor, I scrub planed the underside of the benchtop. No need for a fine surface here, scrub marks are OK. What was needed was a surface fine enough for marking leg mortises. With the undercarriage dry fitted together, I marked mortise positions using blue tape and a marking knife.

photo of drilling out mortise waste

Next, about lebenty-eight drilled holes, followed by chisel work, produced the mortises for the legs. All were drilled for drawboring and lots of pegs made from oak 5/8″ dowels.

photo of bench assembled, but still upside down

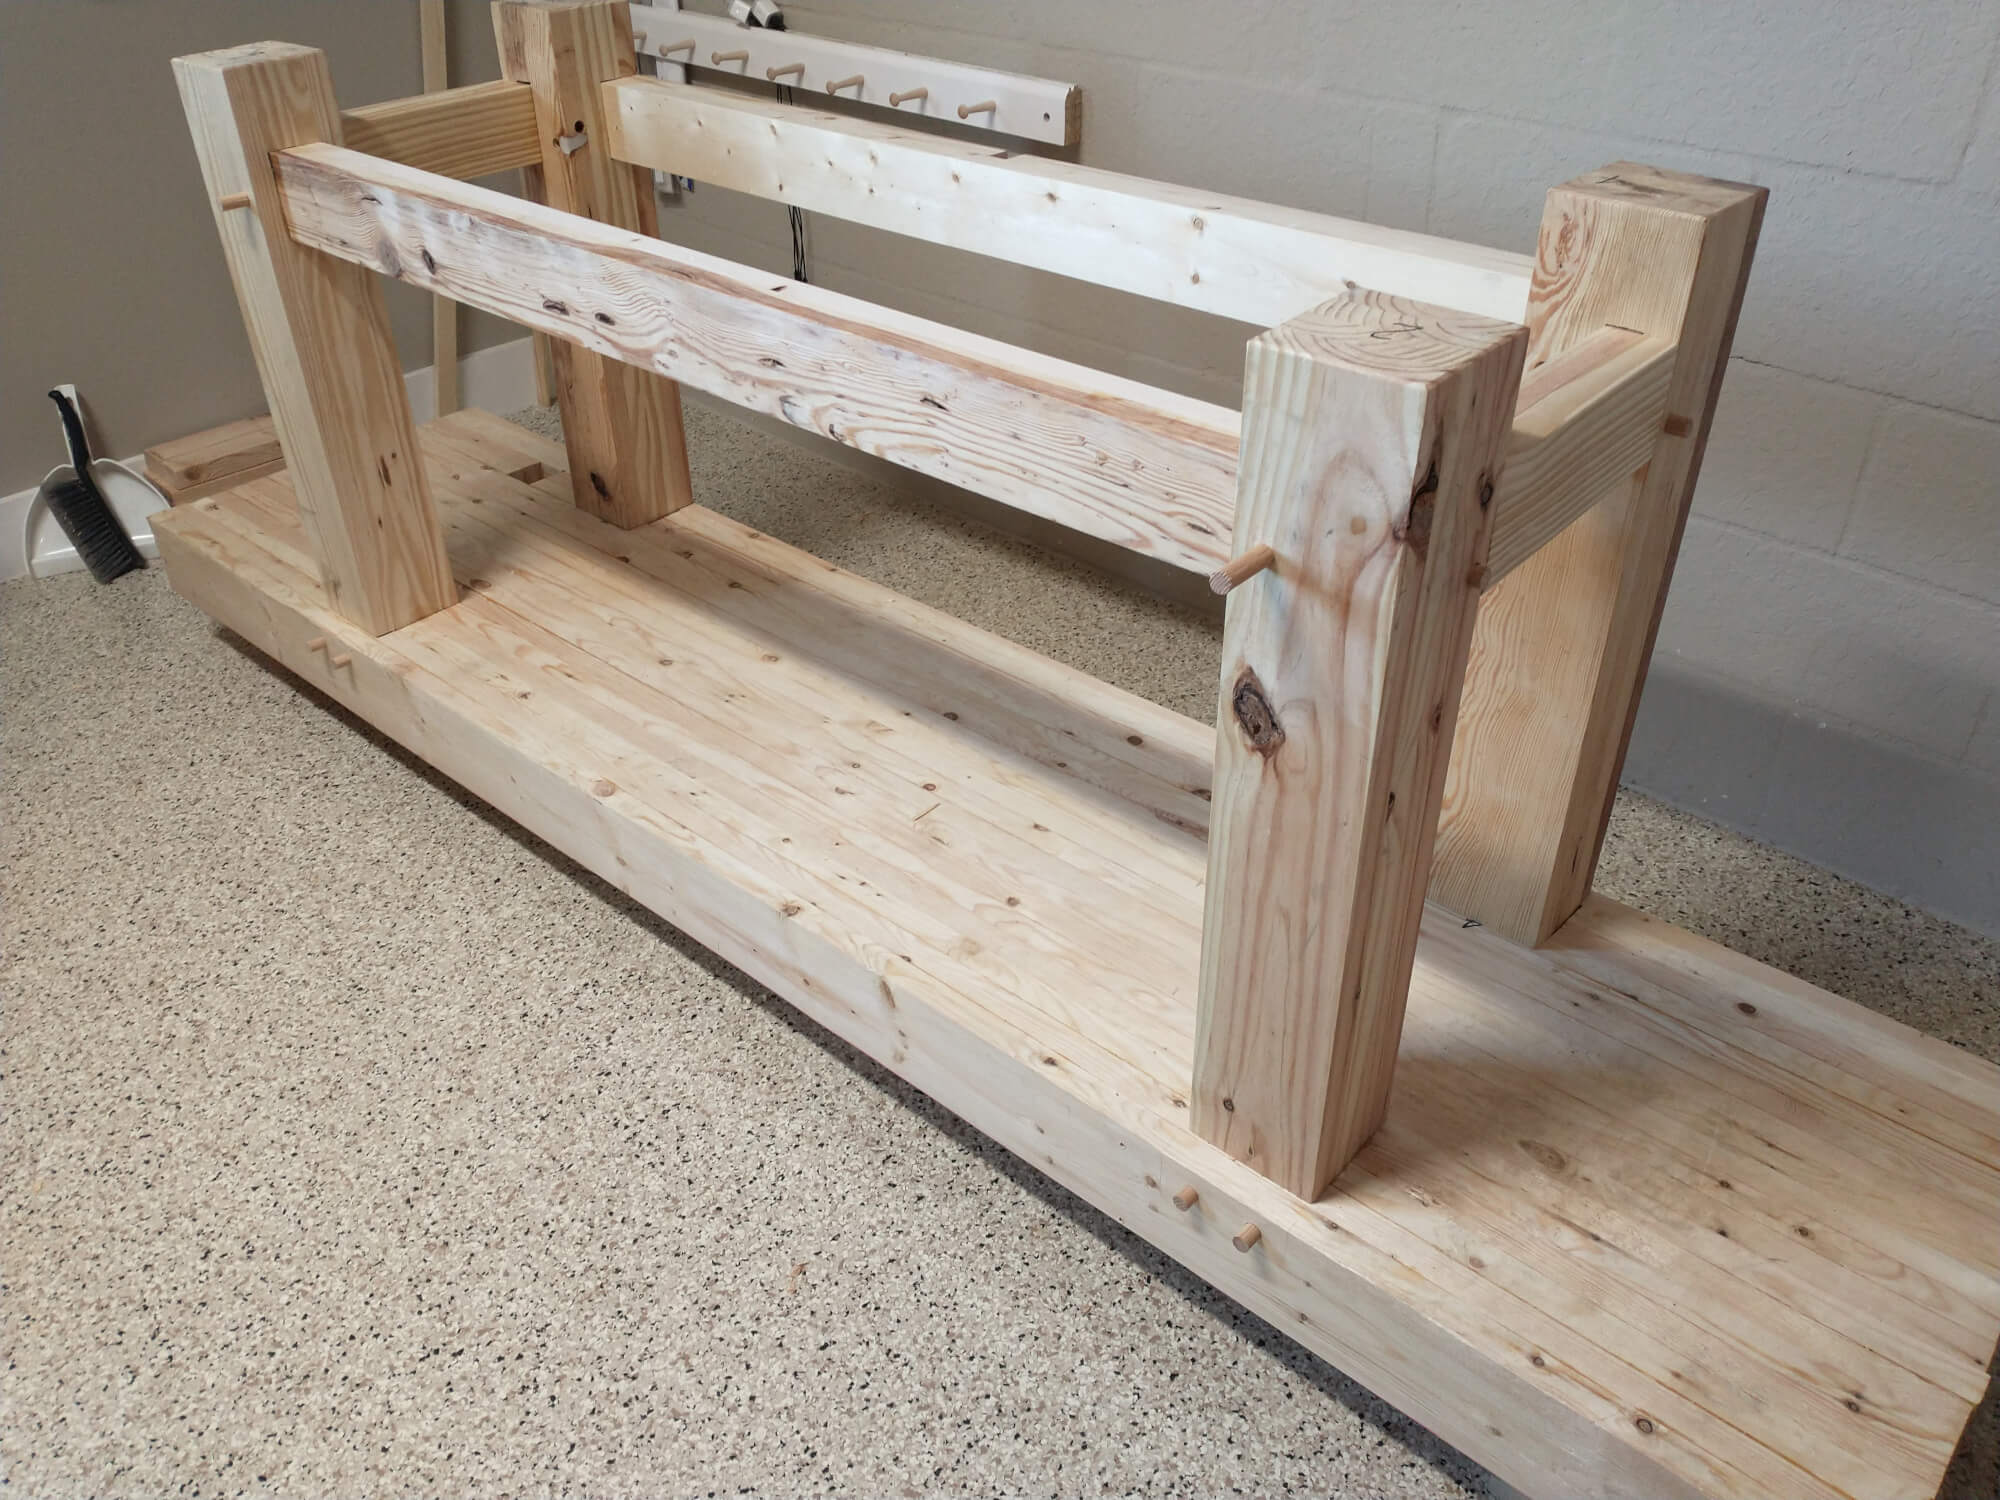
To afford “wiggle time,” I used Old Brown hide glue to glue up the undercarriage and then glued it to the benchtop. The mortises were snug enough to fit well, but loose enough to allow the 90 pound undercarriage to be wiggled into place. Lots of peg pounding brought all together. The only way it comes apart now is with a chainsaw. Can you spot the one assembly error I made?

Tomorrow, I’ll show how one person turns a 325 pound bench over without strain … and without cracking sounds (wood or bone).

Filed Under: Shopmade, Woodworking, workbench

Donkey work – 8 boards remaining

January 9, 2022 by Bob Easton 10 Comments

No power planer? Use a donkey.

drawing of Christopher Schwarz's Anarchist Workbench
Attribution: Lost Art Press under Creative Commons license CC BY-NC 4.0.

Schwarz describes building his Anarchist Workbench as mostly planing a bunch of boards and gluing them together. He emphasizes doing the planing and glue-up of any element (a leg, or a benchtop) in one day to avoid wood movement. That assumes a power planer. Well… I’m doing the job without a power planer, with only a couple of simple hand planes and a lot of “donkey work.” That makes me the donkey, and while it is tiring, it is also excellent aerobic exercise.

Schwarz also suggests using 2 x 12 lumber and ripping it into 2 sticks to make all of the 5 inch wide boards in this bench. I did that for the legs (16 sticks) and hated it. The best 2 x 12 lumber I can get here is #2 and not as nice as what Schwarz can find in his Kentucky / Ohio area. Our #2 Prime 2 x 12s have a very high resin content and knots as large as baseballs. OTOH, there’s an abundance of dry, straight, resin-free, 2 x 6 lumber with smallish knots. I’ve switched to 2 x 6 boards and find the donkey work much easier.

Colored chalk is for more than just sidewalks.

I arrived at a process by experience, and can now prep board for gluing fairly quickly. It goes like this…

  • Cut to length. I’m wanting a finished 8 foot bench, but know I’ll have to trim the ends. So, I cut boards to 8.5 feet, 102 inches.
  • Remove twist. There’s an important reason that Schwarz designated each board to be 1.25 inches thick, other than 4 x 1.25 equals an even 5 inches. After planing out the twist, there’s still enough thickness to get a 1.25 inch board from our standard construction lumber.
  • Determine which face and which edge will be front and top respectively. Plan for glue-up to follow the grain patterns that always place the bark side of a board facing the heart side of its neighbor. Mark the ends of the boards appropriately. See this article for preferred gluing directions.
  • Skim-plane one side of the board to ensure a flat surface for gluing. This is usually the heart side of the board, the side most likely to become convex.
  • Mark the edges for 1.25 inch thickness.
  • Plane a chamfer all around the edges down to the 1.25 inch mark and rub that chamfer with colored chalk.
  • Reduce thickness (the real donkey work) with a scrub iron in a #5 Stanley plane. I do this by diagonally planing across the width of the board with a setting as coarse as I can push. See those spiral shavings. Keep going until the chalk mark is almost gone, about 1/32 of an inch.photo of diagonal scrubbing
  • Change to lengthwise scrub planing to remove that last little bit of chalk mark and any noticeable high spots.
  • Follow up with a straight iron and light setting to smooth out the scallops from the scrub plane.
  • Next move to the top edge. Mark the board all around for 5.25 inch width.
  • With the board standing on edge, plane the width down using a Stanley #78 plane. Start with 45 degree chamfers from each edge, then knock off the peak to bring the width down. With very coarse cuts it goes fast.
    photo of Stanley #78 doing edge work
    I don’t aim for exact width here, because gluing up always leaves slight unevenness and that can be dealt with when a whole unit is complete. If it ends up at 5 inches great. If a bit more, no big deal.

Workholding on a temporary bench

This temporary, bouncy, booming bench has no vice and no planing stop. I make do by creating a planing stop from a couple of boards that I have screwed to the bottom of the bench.

photo of planing stop

Likewise, a couple of 1 x 2 boards screwed to the top of the bench make anchor points for a variety of clamping solutions. Not nearly as fast and easy as holdfasts, but OK. Pic below is looking down.

photo of clamping for doing edge work

Yes, we have no bananas.

The first group of 6 boards worked out with none having any appreciable bow. BTW, there are 3 groups of 6 boards that make up the benchtop. As I started the 2nd group, the first two boards had a slight amount of bow, not too much to be corrected during glue-up … unless the 2 together established a result like a banana. How to keep them free of bow while the glue sets? My solution was to use another board at right angles (no glue!) to pressure the bowed boards into straightness. The other factor is using a bunch of iron pipe clamps.

Here, we see the edges of the two boards glued together and behind them the board laid at 90 degrees that keeps everything straight. (Note to self: add some tape to the edge of the straightener board to prevent it from being glued to the others.)

photo of anti-banana clamping

It worked. No bananas.

My daily gratitude is for being blessed with good health, having a very short (20 seconds) commute to my workshop, and having plenty of time to spend with Eva. This 77 year old donkey is staying very active and is now only 8 boards away from completing the bench top.

Filed Under: Shopmade, Woodworking, workbench

18 Boards remaining

December 24, 2021 by Bob Easton 4 Comments

The top of the Anarchist’s Workbench wants 18 boards. Most of the base parts are done. Next the top.

Whoa, wait a minute, what’s happening? Why a new workbench? Longish story; shortish answer: we moved on June 10th this year. … from New York to Florida. We left many possessions in NY, into the hands of others. Among the things from my workshop there, I left behind that 12 foot long English bench, an infrequently used band saw, and a rag-tag bunch of clamps. (With moving costs based on weight, many heavy things can be replaced for less than the cost of moving them.) After a couple of other woodworking projects since moving in, I’m now getting a new workshop together, along with a new bench.

First a bit about the shop

We were very fortunate to find a home with a 3 car garage. This community is one where cars are kept inside garages, not on the streets, not in driveways. So, we have accommodations for both of our vehicles, and a 3rd bay that is becoming my new shop. This one is a few feet longer than the single car stall in the NY home and a LOT taller. We have 10 foot high ceilings throughout the house, including the garage. Since I like to keep tools “at hand” and not in tool chests, the ceiling height affords lots of wall space for mounting various tool racks. All I have to do now is learn to levitate to reach some of those tools.

photo looking toward the workshop

One of the first things we did after purchasing this newly constructed home was to have the garage floors coated with Liquid Floors, a polyurea / polyaspartic coating that is tougher and more durable than the epoxy I had in the old shop. It’s an amazing coating that makes cleanup incredibly easy. Yep, cleaned the floor before taking these pictures.

photo of window wall
another photo of the window wall
photo of the back wall

You can see some of the things from the previous shop, lathe, lathe tool chest, carving tools, hollow and round planes, bowl carving horse and many other tools. Not everything is yet in a good place, but getting closer.

P.S. Thanks Megan for the sawbenches, the first shop furniture built in this shop.

It takes a bench…

…to build a bench. There’s a hastily assembled temporary workbench under the window. It’s a couple of 8 foot long 2 by 12s screwed to a few brackets that are attached to the concrete block wall. It offers enough space for prepping the wood for building a better bench. Workholding is sometimes a challenge, leading to a variety of ways to employ blocks screwed to the bench top combined with a few clamps.

photo of temporary bench

It will definitely be temporary, because as much as it offers space, it is springy and boomingly loud. A good bench absorbs hammering as dull thudding sounds. This one booms loudly enough to be heard all over the neighborhood, and homes are close together here. It will eventually become the base for a lumber rack underneath the flag on the back wall of the shop.

photo of truck-side of the shop

BTW, those recumbent trikes get used every day. This community has a large number of golf courses and more golf carts per capita than NY has lawyers per capita. The trikes are our substitute for golf carts … and, no I don’t play golf. Been there, done that. And yes, those are retractable screens on the garage door openings. They keep the insects out and slow down the gators.

Anarchist Workbench in progress

I won’t try to sell anyone on this choice of bench. The sales page and over 100 pages of the book itself do that job. I was sold a long time ago, not because anything wrong with my earlier bench, but because I see this as the last bench a 77 year old woodworker will ever need.

Unlike the process recommended in the book, using power tools to prep the lumber, I’m doing it all by hand. Yep, staying active. Keeping the irons sharp in my scrub and #5 planes is key to the work moving along well. I also do glue-ups differently than what Schwarz suggests. He outlines planing a set of boards and then gluing them, something that can be done in a few hours with power planing. Hand planing isn’t nearly as fast, and letting 4 or 5 boards sit around for a few days while plaining others just gives them time to turn themselves into twizzler shapes. I glue-up any time a board is ready to add to the stack.

photo of the bench base

All of the base parts are done, and that left front leg now has the rough mortise refined into the correct dimensions for the Benchcrafted Crisscross vise, one of the heavy things I DID bring along.

Next, 18 boards for the top.

Why the move?

movie poster for Escape from New York

Short answer: New York, the state not the people, has been becoming increasingly burdensome / tyrannical / communist for many years and we just reached the point of “enough already!” My wife and I have been retired for a number of years, leaving fewer ties to the area. It was simply time to leave.

Florida provides us a real, palpable, feeling of freedom. We are free from government pandemania about our health decisions, and Florida’s COVID record proves the value of letting people rather than government make these decisions. Business is booming. People are enjoying their lives here; we’ve never lived in a place where total strangers we pass in the streets wave and say “hello.” Unemployment is very low. The state budget is under control. And we have great law enforcement without stupid bail policies.

Florida also has great weather (for the snow-adverse), an amazing variety of birds, alligators and other wildlife … and we go swimming in outdoor pools under sunny skies every day.

Filed Under: Shopmade, Woodworking, workbench

  • « Go to Previous Page
  • Page 1
  • Page 2
  • Page 3
  • Page 4
  • Interim pages omitted …
  • Page 22
  • Go to Next Page »

Primary Sidebar

Footer

Recent Posts

  • New Frame Saw / Scroll Saw
  • Lamppost Sign
  • Goodbye PayPal – Goodbye Bob’s eBooks
  • Anarchist’s Workbench is Done
  • Why we keep offcuts…

Categories

  • About
  • Artwork
  • Boatbuilding
  • Boating
  • bowl carving
  • Boxmaking
  • Clocks
  • Drawings
  • eBook
  • etude
  • Eva Too
  • Eva Won
  • Fiddlehead
  • Fiddlehead model
  • Flying
  • frame saw
  • gilding
  • green woodworking
  • Grinling Gibbons
  • Guns
  • Hand tools
  • Humor
  • kerfing plane
  • Lettercarving
  • Mill Creek 13
  • Model building
  • Power tools
  • Rant
  • resawing
  • scroll saw
  • Shopmade
  • sign painting
  • Stonework
  • Swimming
  • Technology
  • The Wall
  • treadle lathe
  • Uncategorized
  • VSD
  • Woodcarving
  • Woodturning
  • Woodworking
  • workbench

Other stuff

  • About
  • Contact
  • Privacy Policy

Copyright ©2024 · Bob Easton · All Rights Reserved