• Skip to primary navigation
  • Skip to main content
  • Skip to primary sidebar
  • Skip to footer

Bob Easton

Chocolate powered woodworking

  • Home
  • Grinling Gibbons Tour

Shopmade

New Bow Saw

December 6, 2008 by Bob Easton 5 Comments

A few weeks ago, I cursed a wretched coping saw as I cut the oval hatches in the Fiddlehead’s bulkheads. A week or so later, I needed a turning saw to cut the long gradual curves on the Fiddlehead’s bottom, and actually hacked together a temporary saw from a hacksaw frame and part of a used bandsaw blade. It worked, but it’s a good thing the curved line wasn’t too far from the edge of the board.

Those incidents led me to make a bow saw. Of the available designs, I found the Gramercy Tools design most appealing. The design is classic, yet uses a moderm pair of brass pins to hold the blade. The pins can accommodate blades that already have pins pressed in, or blades that have open eyelets. The Gramercy bow saw is available from Tools for Working Wood as a completed saw for $139.95, or as individual parts. Gramercy offers a very complete set of drawings for people who want to make their own. I chose to buy only the pins and blades and make all the wooden parts myself. While they use Hickory, I used Oak because that’s what I had on hand.

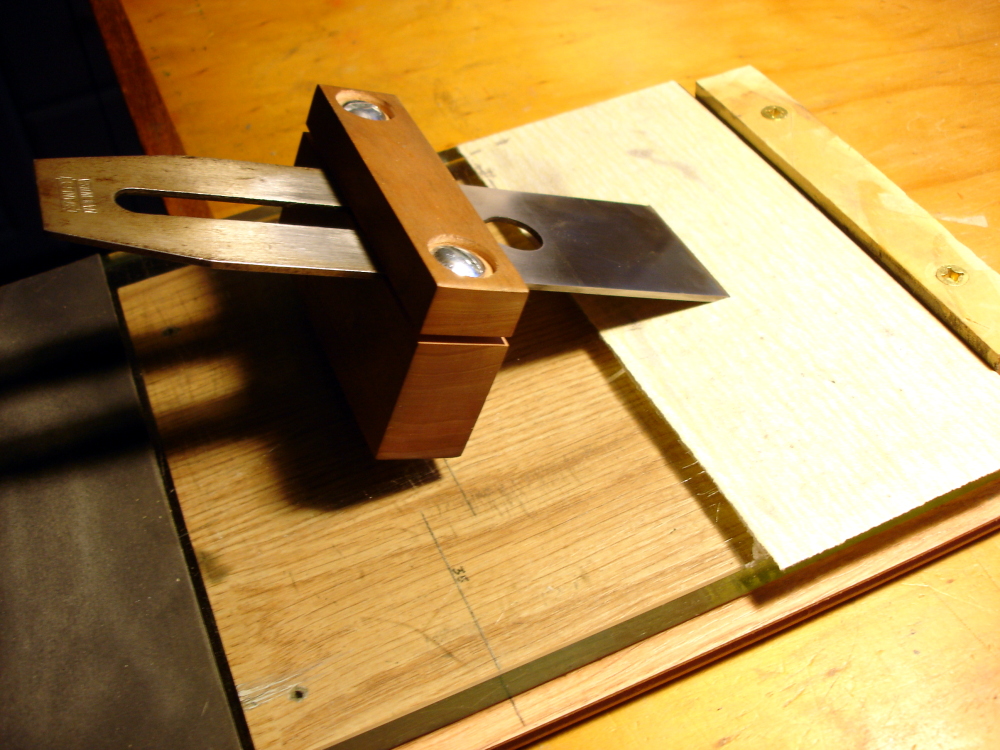
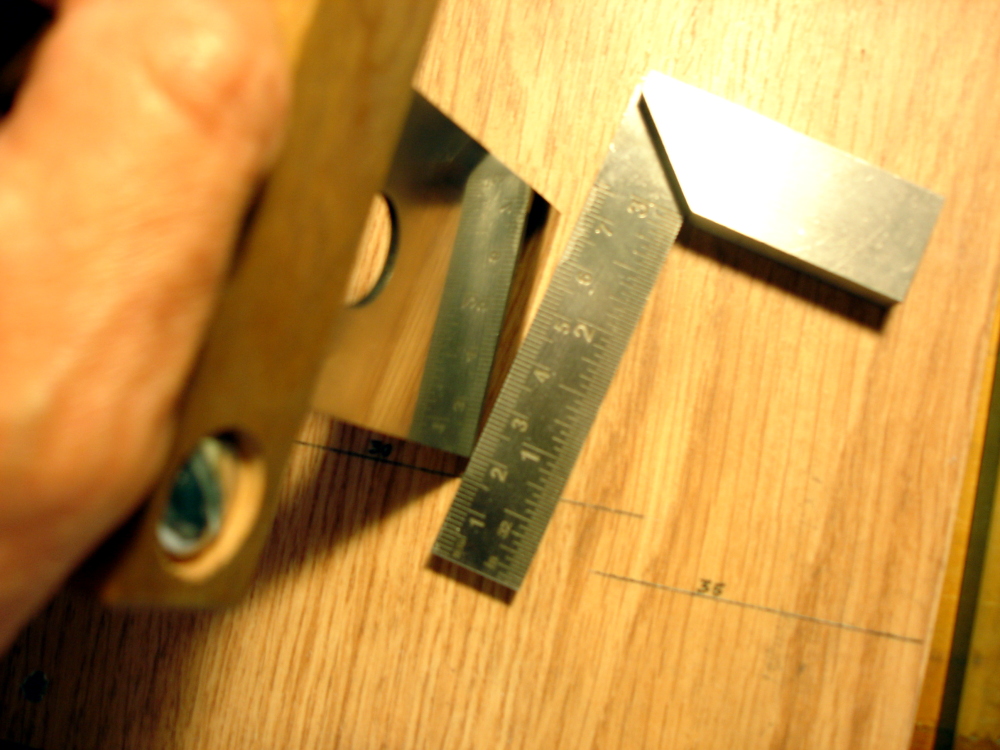
Features that appealed to me are: the classic style, the curved faces of the mortise joints on the stretcher (fun cutting them, allows for slightly varying blade lengths), and the subtle sculpting of the various curves and edges, including a finger rest near the base of the cheeks.

The pins are glued into the handles with epoxy. I used a couple of coats of boiled linseed oil for finish. It still needs a good cord for tensioning. The fuzzy hemp is temporary, enough to try it out. The blade is 12 inches long. This blade is the coarsest of a set of three, 10 tpi.

That little squiggly block of wood represents the first cut, an S shape about an inch long, through 4/4 cedar. The saw ends up being very light and pleasing to use. While I thought the handle a bit small when I was turning it, I find that it falls very naturally into the hand. Gramercy did a fine job on the design. This one is a keeper!

For Luke and Dan: Yes, I used electrons while building this saw. I used a bandsaw to resaw the oak to useful dimensions, and I used an ancient miniature lathe to turn the handle, toe, and toggle. The lathe was only moderately easier than hacking them out with a pocket knife. Oh yes, there are also electric lights in the shop. The remainder of the making used hand tools, rasps and the eggbeater drill.

So now, we’ll have many fewer colorful words while sawing.

Update (12/13): Those brass pins from Gramercy are so smooth that the saw frame wants to rotate around them a little too easily. More tension? The blade already sings a high C when plinked. A small sliver of 320 grit sandpaper inserted along with the pin provides exactly the right friction. For long time coping saw users, this saw is a great upgrade. Break the habit of taking short stokes, Use the entire length of the blade and be amazed at how easily the saw works.

Filed Under: Hand tools, Shopmade

A 10¢ Sharpening System

May 10, 2008 by Bob Easton

My first plane and chisel sharpening work was freehand. I taught myself how to achieve a very sharp edge with a minimal amount of equipment. The techniques take a bit of concentration and practice, but are basic skills learned by many generations of craftsmen.

Yet, there was this lingering curiosity about the sharpening jigs found in the tool catalogs like this one or this one. Could they help me produce a better edge? They certainly look great but they’re way out of the price range I’m willing to pay to satisfy a curiosity.

plane jig holding an ironThen, I stumbled across Derek Cohen’s “10¢ sharpening system.” Well, not quite 10¢. I had a nice piece of cherry, but not suitable fasteners. I spent $1.40 and a couple of hours labor, a very acceptable price for an old galoot of Scottish heritage.

Curiosity satisfied. I’m not sure I get a “better” edge using a sharpening jig, but I can certainly produce an edge that is more repeatable. That is, each freehand sharpening result will be sharp, but might not be exactly xx degrees, whereas the jig always produces the same angular result. Using the jig removes the need to concentrate on maintaining a precise angle from stroke to stroke. The job is easier using the jig, but I enjoy knowing that I can be successful without it.

So, this entry is the place where I’ll keep the extension settings for the plane irons I currently have. Brent Beach’s extension calculator gave me these values.

Extension settings

These are for my particular jig which is 1 and 1/2 inches tall on the long side and just over 1/2 inch tall on the short side.

For Stanley and Sargent irons that are typically 0.08 inches thick, use the tall side and these extensions.

  • 25° primary bevel – 3 and 12/32nds
  • 28° micro bevel – 2 and 32/32nds
  • 30° primary bevel – 2 and 24/32nds
  • 33° micro bevel – 2 and 14/32nds
  • 35° primary bevel – 2 and 8/32nds
  • 38° micro bevel – 2 and 1/32nd

For spoke shaves with short blades about 0.06 inches thick, use the short side of the jig.

  • 25° primary bevel – 1 and 11/32nds
  • 28° micro bevel – 1 and 6/32nds

The rest of the system

reflections on the back of an ironMany sharpening systems exist. The latest fashion uses diamond stones. Just before that was the Japanese water stones fad. Before that, and good enough for many generations, were oil stones, usually Arkansas stones. Somewhere along the way, some folks stumbled upon using sandpaper, the “Scary Sharp(tm)” method. There are proponents, and good sensible arguments for each approach. I shuddered at the cost of the water stones, and fell back upon a couple of two sided India stones I’ve had for decades. They’ll do in a pinch, but aren’t the optimal grits. So, I stopped by a glass store and bought an outcut of 1/2 inch plate glass. That and several grades of sandpaper from “the borg” rounds out the kit. I don’t go to the 1200 and 2000 grit levels suggested by some, but hone to 600 grit and then strop on a piece of card that’s prepped with white rouge. That’s plenty good enough to polish the back of an iron to a mirror finish and produce edges to hair shaving sharpness.

By the way, the first picture shows the jig in use sharpening the iron from a jack plane. It is working on 220 grit sandpaper that’s mounted on one end of my 1/2 inch piece of plate glass. That, in turn, sits atop a bench hook to keep it from sliding around.

Filed Under: Hand tools, Shopmade

  • « Go to Previous Page
  • Page 1
  • Interim pages omitted …
  • Page 20
  • Page 21
  • Page 22

Primary Sidebar

Footer

Recent Posts

  • New Frame Saw / Scroll Saw
  • Lamppost Sign
  • Goodbye PayPal – Goodbye Bob’s eBooks
  • Anarchist’s Workbench is Done
  • Why we keep offcuts…

Categories

  • About
  • Artwork
  • Boatbuilding
  • Boating
  • bowl carving
  • Boxmaking
  • Clocks
  • Drawings
  • eBook
  • etude
  • Eva Too
  • Eva Won
  • Fiddlehead
  • Fiddlehead model
  • Flying
  • frame saw
  • gilding
  • green woodworking
  • Grinling Gibbons
  • Guns
  • Hand tools
  • Humor
  • kerfing plane
  • Lettercarving
  • Mill Creek 13
  • Model building
  • Power tools
  • Rant
  • resawing
  • scroll saw
  • Shopmade
  • sign painting
  • Stonework
  • Swimming
  • Technology
  • The Wall
  • treadle lathe
  • Uncategorized
  • VSD
  • Woodcarving
  • Woodturning
  • Woodworking
  • workbench

Other stuff

  • About
  • Contact
  • Privacy Policy

Copyright ©2024 · Bob Easton · All Rights Reserved