• Skip to primary navigation
  • Skip to main content
  • Skip to primary sidebar
  • Skip to footer

Bob Easton

Chocolate powered woodworking

  • Home
  • Grinling Gibbons Tour

Woodcarving

Lovin’ the Pink Panther and Red Chalk

September 17, 2013 by Bob Easton 2 Comments

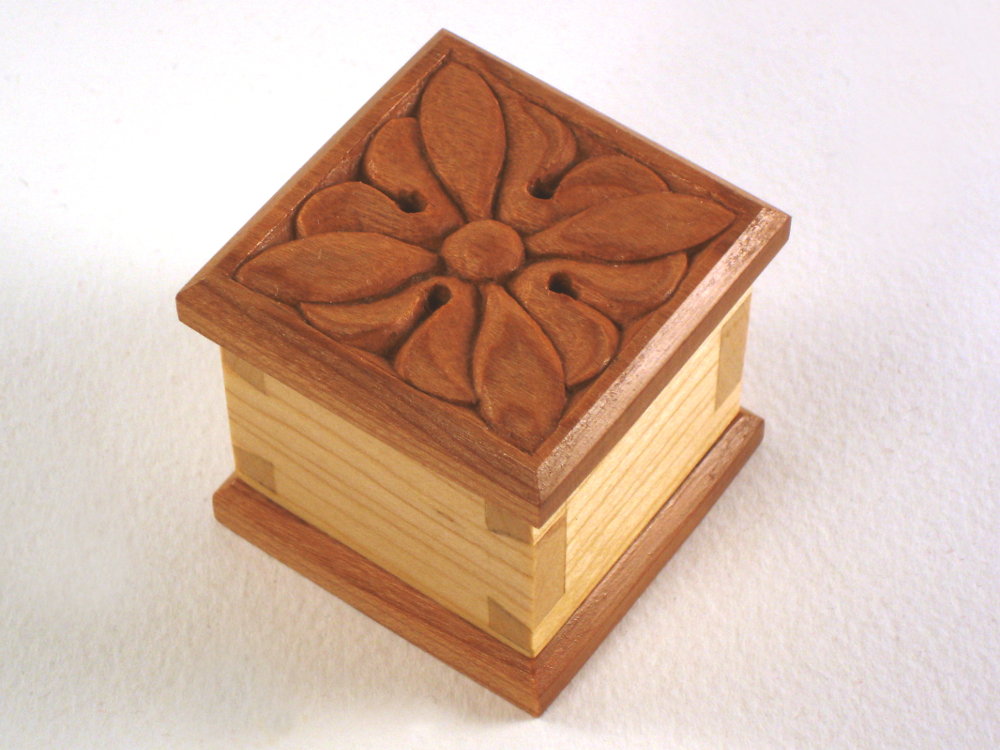
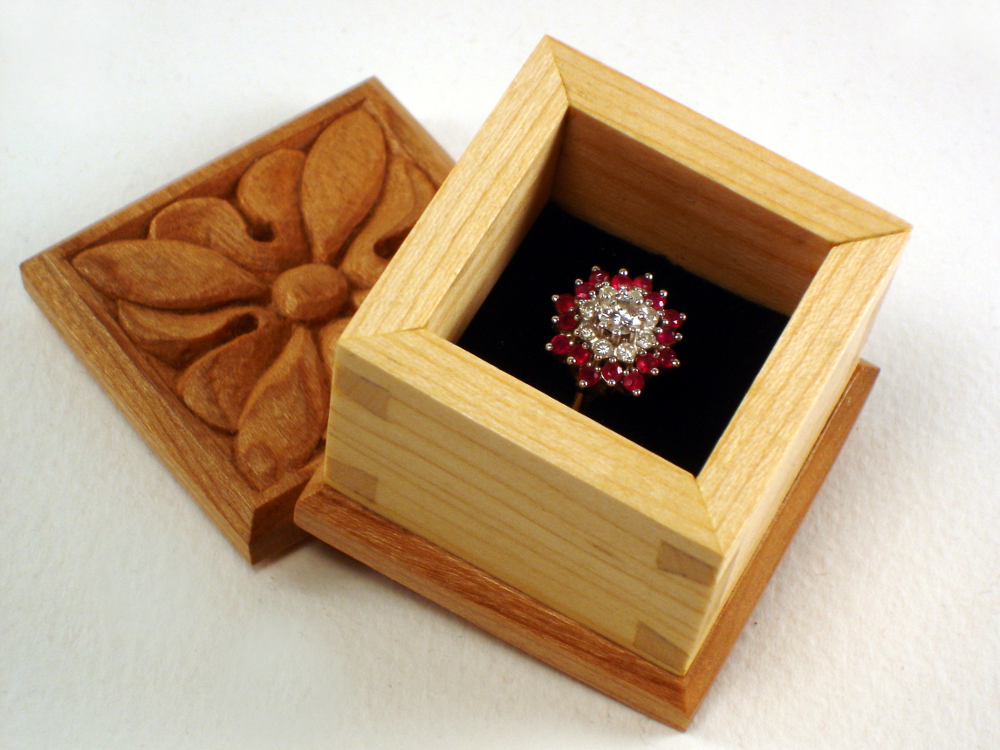
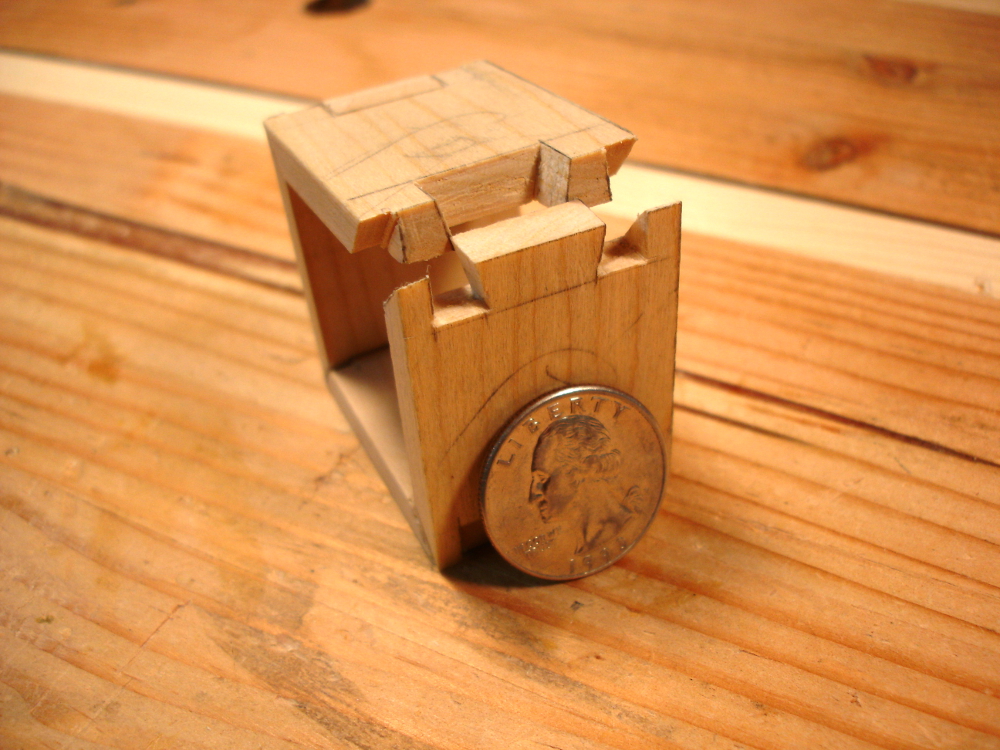
A box I’m building has a flush fit lid. Holding the lid in temporary positions for various marking and fitting operations needed some temporary “posts” to prop it at the right heights.  How to prop it up? Wood? Sure, why not? I cut lots of wood.

photo of posts made of foam insulation
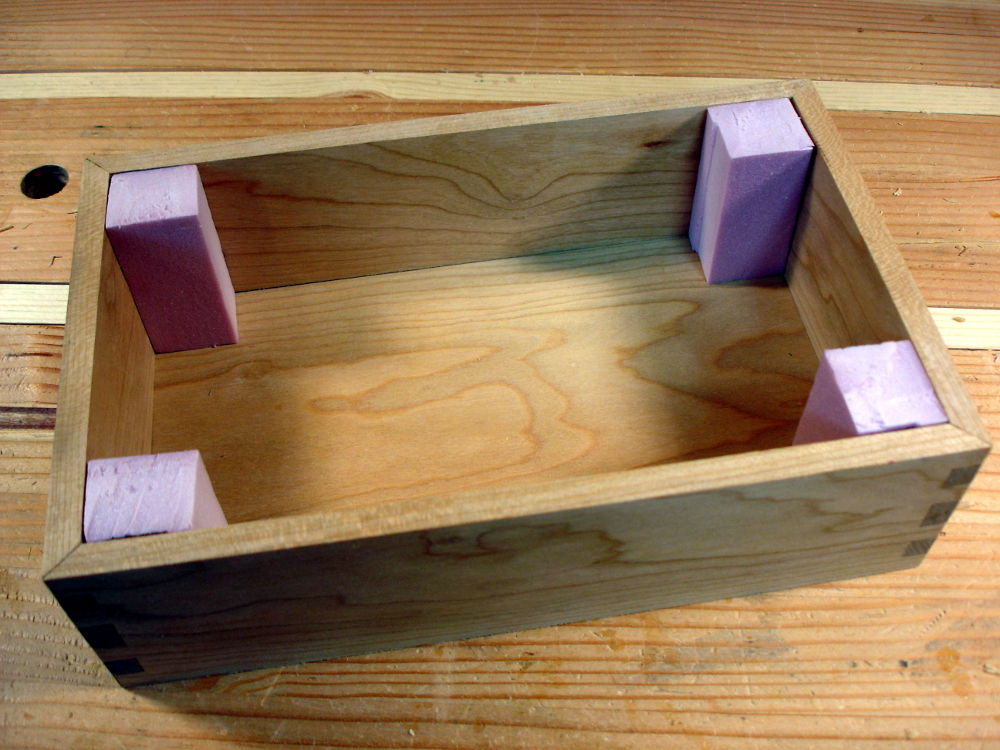
However, is there something that can be shaped faster? Oh yeah. A package that arrived a few months ago used Owens Corning “Pink Panther” foam insulation as padding.

Perfect. It’s about an inch thick and easy to cut with a knife. Pink posts standing in the corners did the job nicely, and are quickly cut to new heights for final fitting.

Ponce on that!

Transferring carving patterns to the work piece is a challenge. Carbon paper used to be the normal process. Today, the stuff is becoming incredibly rare and expensive. Staple’s smallest package is 100 sheets for $16. I only need a few sheets, not 100. Beyond that, it’s also much drier than the old messy stuff we had long ago and does a really poor job of transferring.

Mary May offered a helpful tip in her latest newsletter, but it uses laser printer output, more modern than carbon paper but not as popular as ink-jet printers.

photo of making pin holes in a pattern
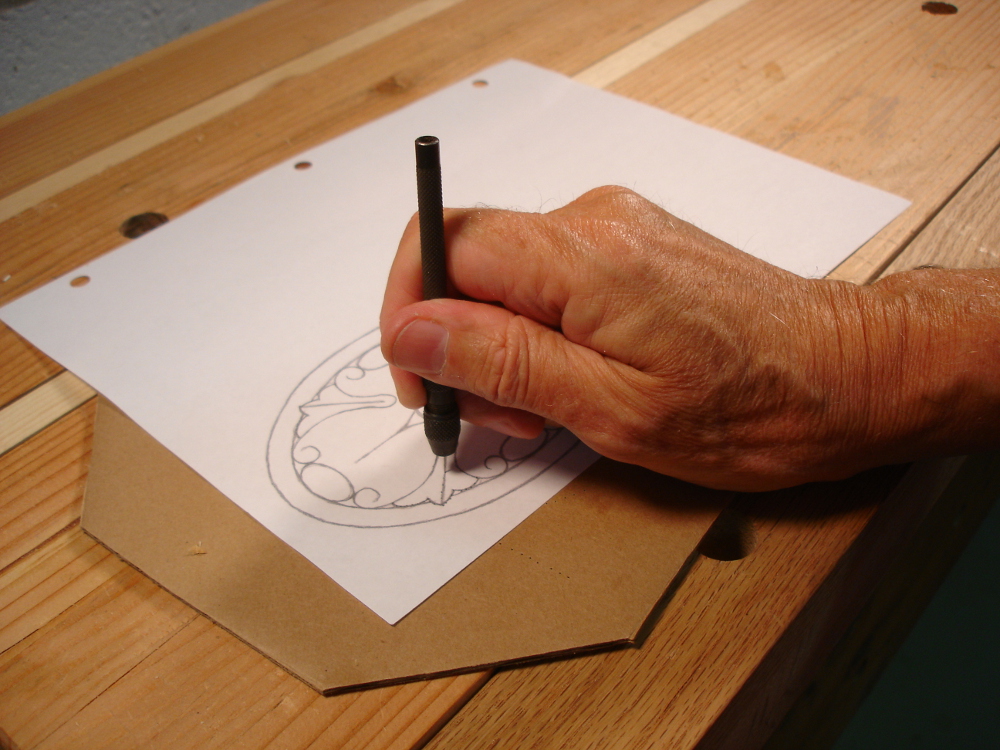
Dad, in his sign painting days, used paper patterns riddled with tiny holes and a ponce bag to force colored chalk through the holes. You might have to go to both a fabric store and an art supplies store to get a ponce bag and the tool to make the holes (ponce wheel). Looking around, I found enough stuff already on hand to make my own tools.

Hole making: they’re just pin holes, use a pin. Chuck it in a pin vise (on hand from times when I made models) and go to it. photo of poncing pad, pattern, and box of chalk dustHint: put a piece of corrugated cardboard under the pattern.

Ponce pad: they’re simply fabric bags full of chalk. An old handkerchief, some chalk used for striking lines (hello carpenters), and a bit of string is all one needs.

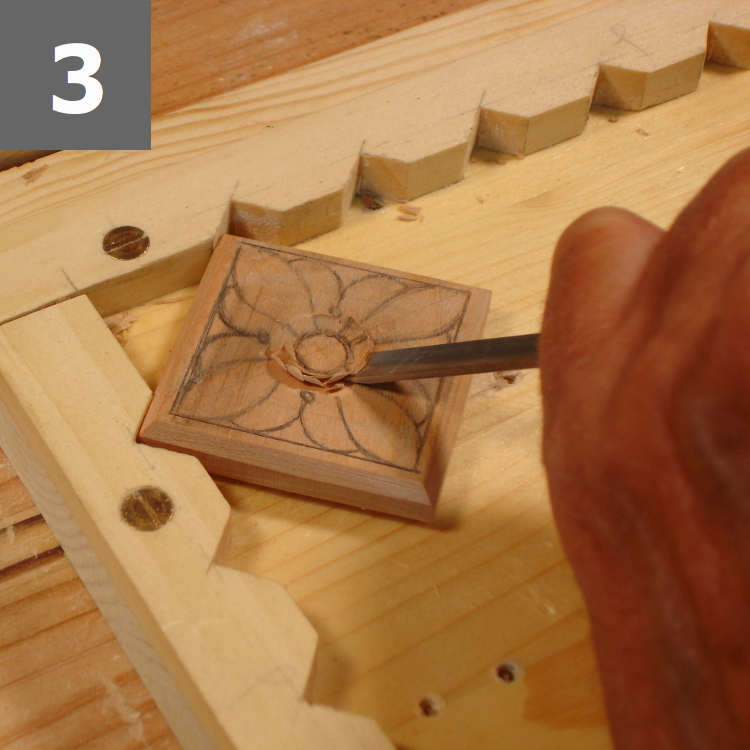
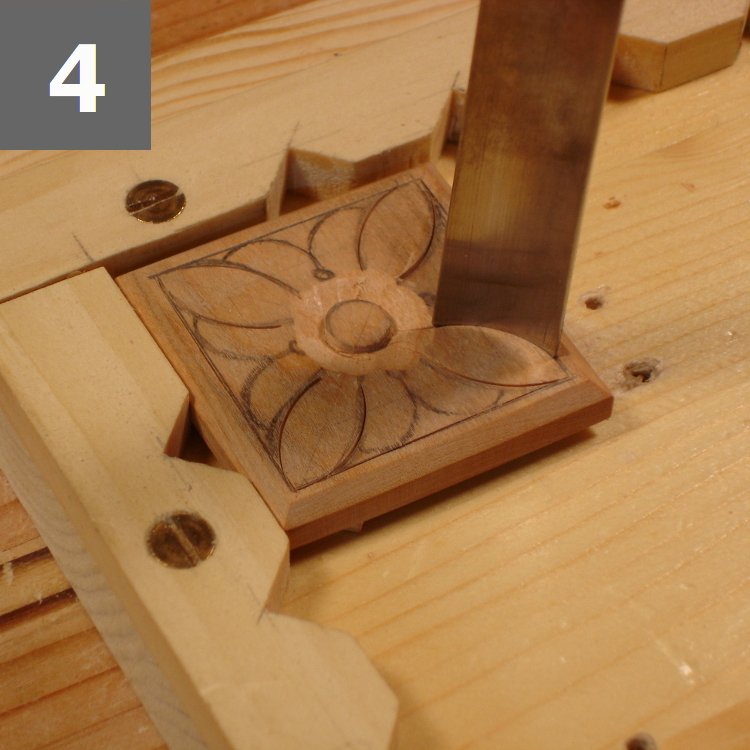
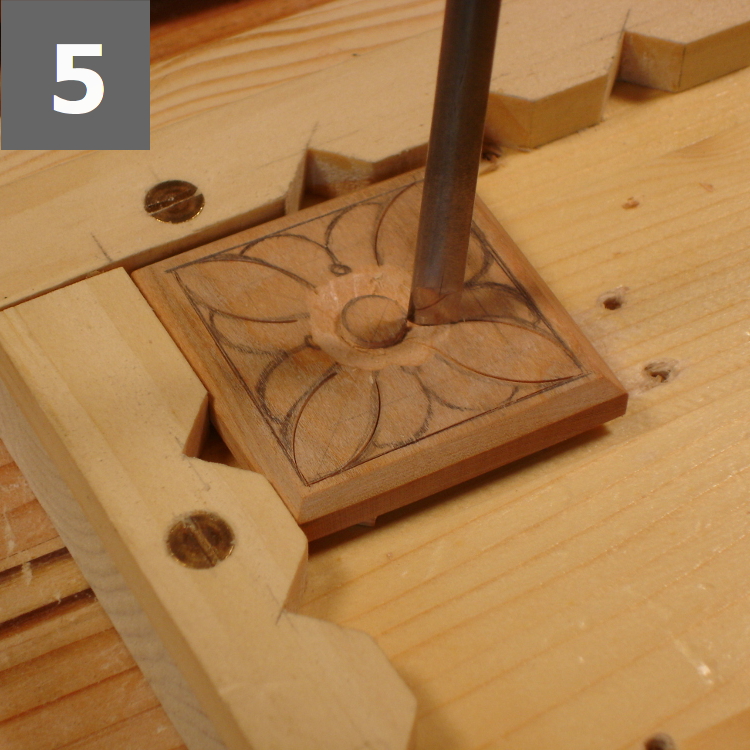
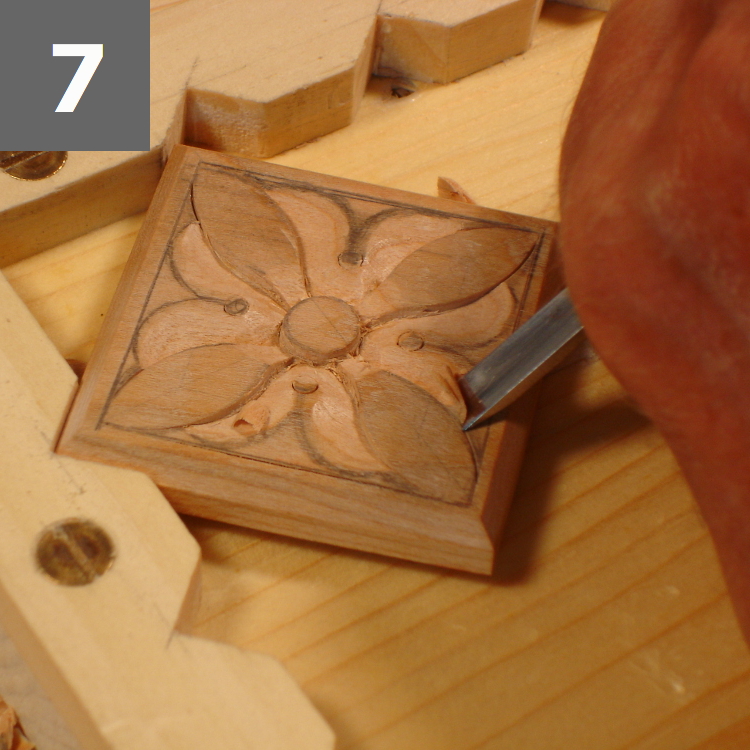
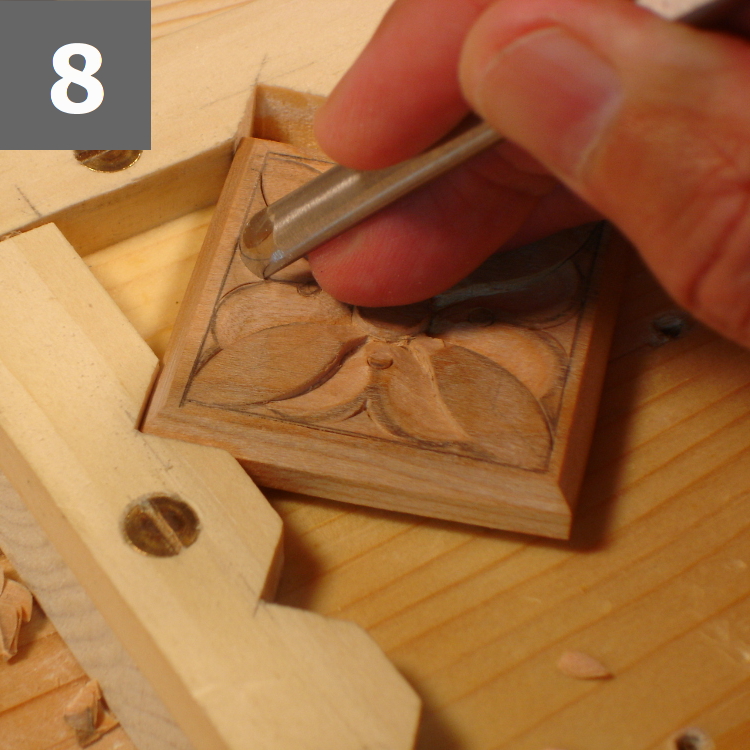
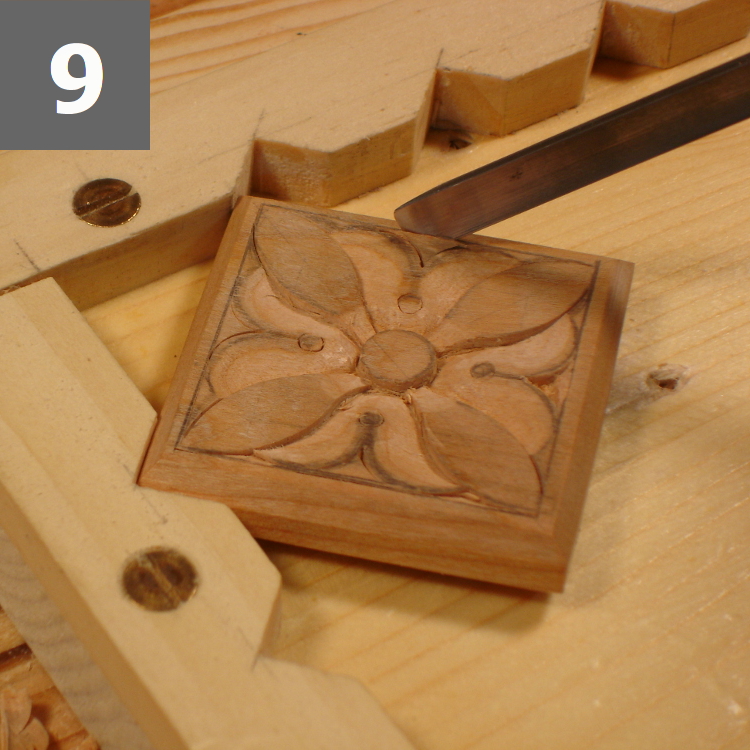
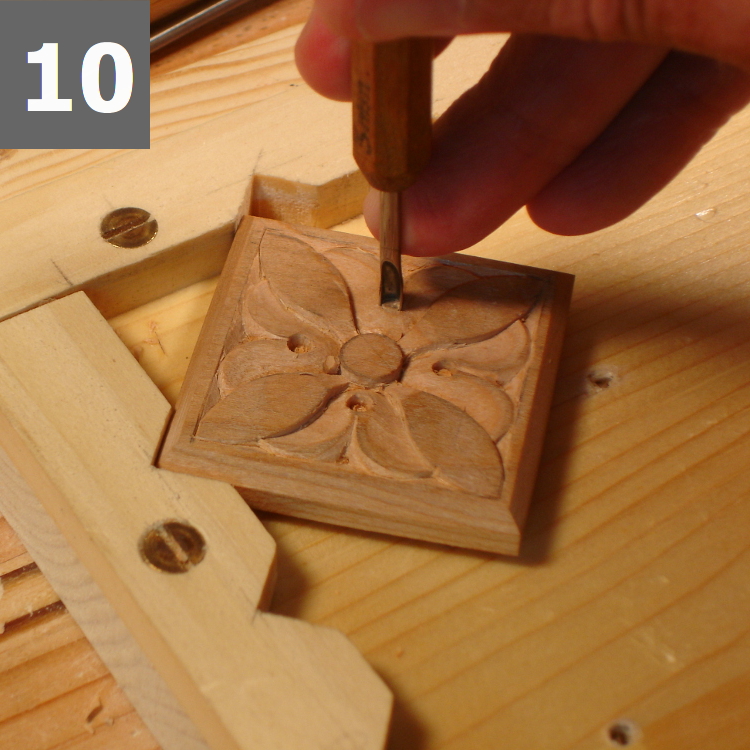
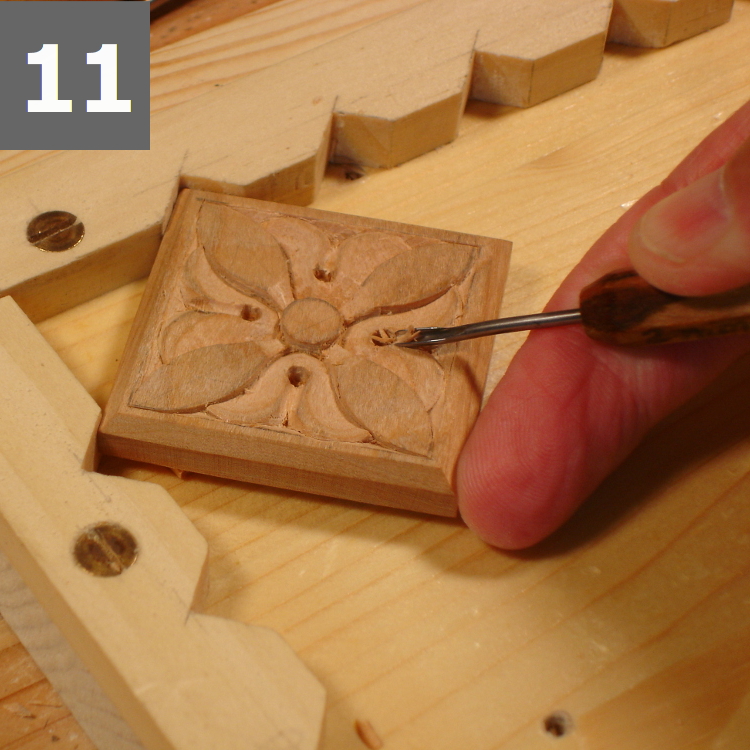
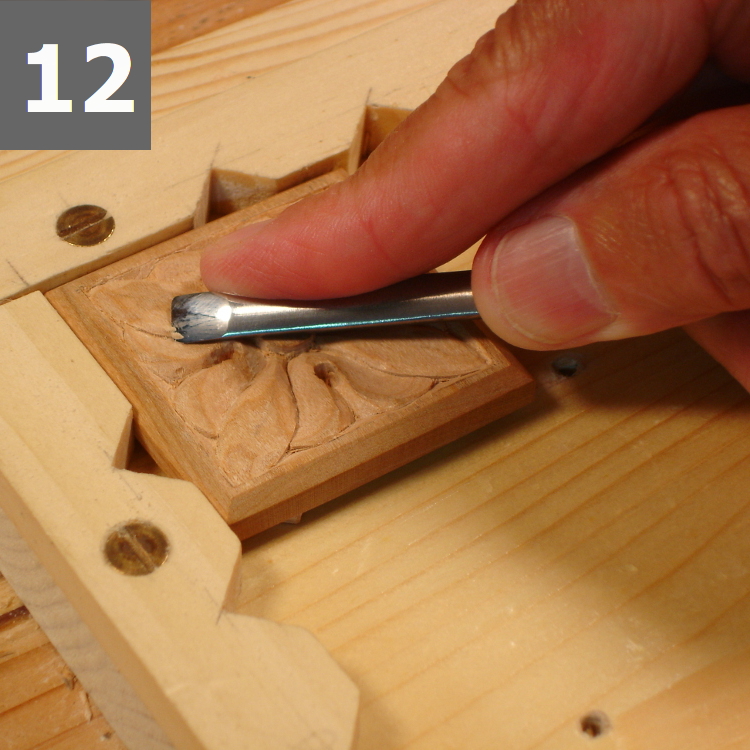
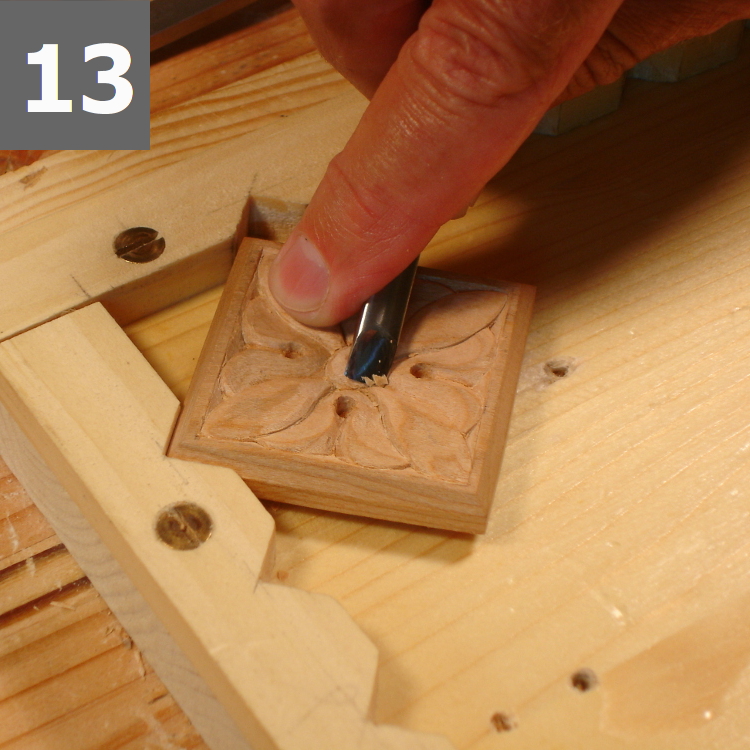
It works! For simple patterns, the chalk marks are enough, and last long enough to do the carving. photo of ponced pattern
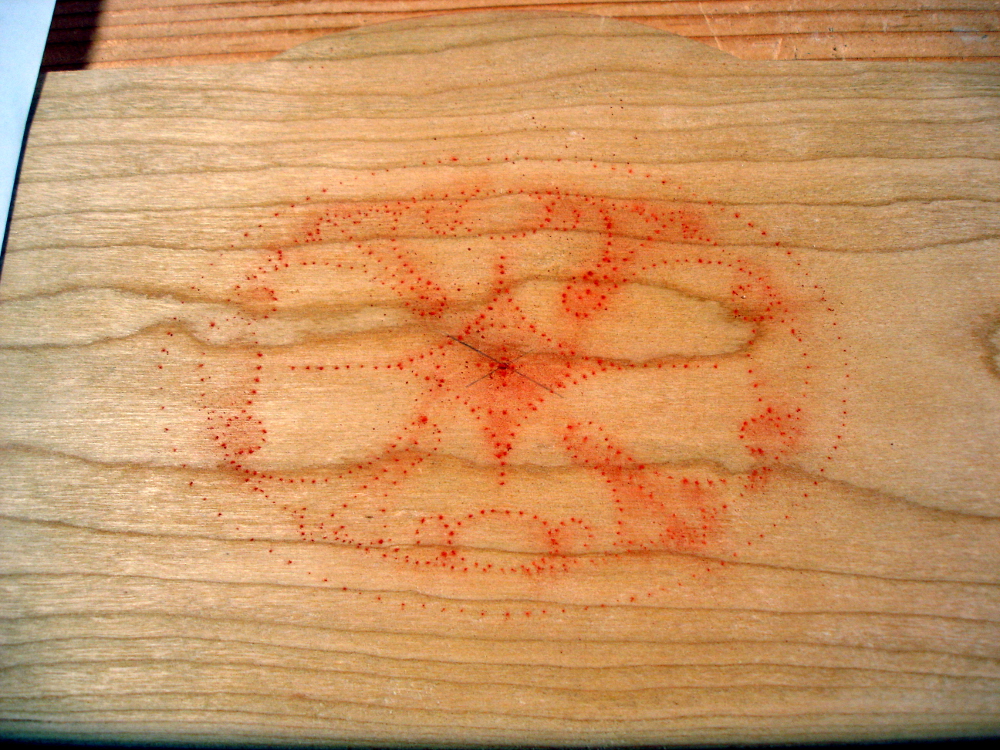
For more complex patterns, I go over the design with a pencil.

Last hint: Keep your patterns and pattern making tools all on one place so you won’t have to play this song when you need a pattern again.

Not a box

photo of a pile of shavings
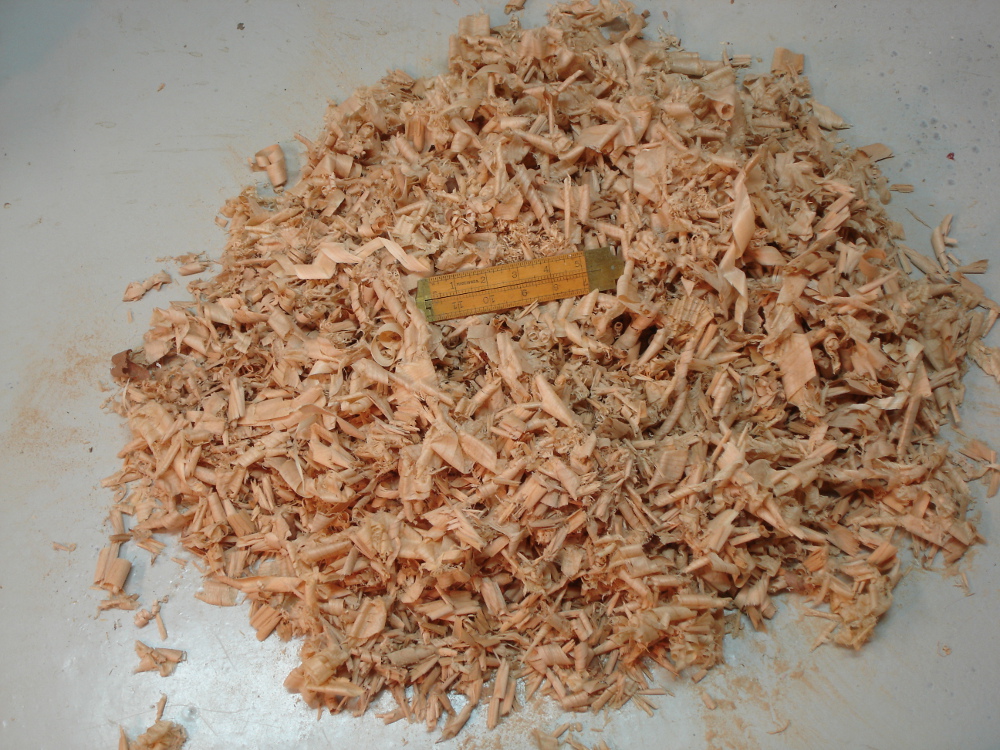
I sweep the shop floor once in a while. These are the shavings and dust that come from resawing and shaping the wood for the current box. I enjoy doing it all with handtools, and enjoy even more having outlaw country or soft jazz replace the noise of whining tools and dust collectors. Besides, these shavings have many more interesting shapes than the dust in those cyclone bags.

Filed Under: Boxmaking, Woodcarving

“Square Rose” Carving on a Small Box

September 6, 2013 by Bob Easton 2 Comments

My primary interest in boxes, whether joined or turned, is to have a base for carving. Carving is the real interest. Boxes are the “canvas.” Yet, that doesn’t mean the boxes have to be simple or plain, or some kind of outsourced junk. I make every box, by hand, using only hand tools.

photo of completed ring boxThis cute little box is the result of a salvage effort. The evening before leaving for an excursion a few months ago, I resawed a Cherry board, reducing it from the standard 7/8 inch thickness to two boards slightly over 3/8″ each. I left the two boards on the bench. On returning a few weeks later, I found both boards cupped. Even though the original board had been in my shop for several months, I guess it wasn’t fully acclimated and my forgetting to sticker the resawn boards photo #1 of open ring boxaggravated the tendency to cup.

I tried a few “remedies” advised from various internet sources with no delight. So, I cut the boards to narrower widths and flattened them. The result was boards now 1/4″ thick, very nice for a couple of small boxes. This is one of them.  By the way, the color contrasts on this box result form using Cherry heartwood for the bottom and lid, and Cherry sapwood for the sides.

photo of ring box joineryJoinery: It’s simply described as mitered dovetails. The intention is to provide good looking miters, instead of plain, semi-beautiful, butt joints, on visible areas like top edges. Actually making them is a bit more work than the simple description implies. Getting the miter perfect is an acquired art.

Carving: That’s the real reason for the box. I don’t pretend this to be thorough instruction, but an illustration of some of the steps. This sweet little flower is a classic design that shows up in a lot of architectural carvings. It’s made like this:

  1. (no photo) Define the straight outlined edges using a 1″ chisel canted about 30 degrees.
  2. (no photo) Define the edges of the center bud. — #6 6mm gouge
  3. Remove material all around the center bud. — #3 6mm gouge
  4. Define the  outer part of the four diagonal pedals. — #4 14mm gouge
  5. Define the inner part of the four diagonal pedals. — #3 6mm gouge
  6. Carve the leaves.  — #3 6mm gouge
  7. Continue carving the leaves. — #3 6mm gouge & #6 6mm
  8. Define the edges of the leaves. — #6 6mm gouge
  9. Remove material between edges of leaves and the frame edge. — #3 6mm, or flat skew chisel
  10. Pierce the eyes in the leaves. — #11 3mm micro gouge
  11. Complete the eyes in the leaves. — #11 2mm micro gouge
  12. Round over the pedals. — #3 6mm gouge
  13. Round over the center bud. — #3 6mm gouge

Photo of step 3 Photo of step 4 Photo of step 5 Photo of step 6 Photo of step 7 Photo of step 8 Photo of step 9 Photo of step 10 Photo of step 11 Photo of step 12 Photo of step 13

Finish is shellac and high grade wax, hand rubbed to a satin surface.

The box measures 1 3/4″ x 1 3/4″ x 1 3/4″ (4.4cm x 4.4 cm x 4.4 cm) outside, and 1 3/16″ x 1 3/16″ x 1 3/16″ (2.8cm x 2.8cm x 2.8cm) inside.

Lastly, I added a slotted and fabric covered “cushion” so the box can be used as a ring box. It’s currently available on Etsy, if anyone is interested.

Really lastly …. the size of the box is mostly irrelevant. This little one requires as many steps as a larger one, and is exactly as much fun to make.

Filed Under: Boxmaking, Woodcarving

Cub Scout Neckerchief Slide

May 13, 2013 by Bob Easton 3 Comments

A young scout was awarded his fourth rank recently, the Bear. As before, another neckerchief slide. Carved in basswood. Finished with acrylic colors topped with satin poly.

photo of bear slide from 6 points of view
Earlier slides:

  • Wolf
  • Bobcat and Tiger Cub

Other carvers and their scouting slides

Filed Under: Woodcarving

  • « Go to Previous Page
  • Page 1
  • Interim pages omitted …
  • Page 12
  • Page 13
  • Page 14
  • Page 15
  • Page 16
  • Interim pages omitted …
  • Page 27
  • Go to Next Page »

Primary Sidebar

Footer

Recent Posts

  • New Frame Saw / Scroll Saw
  • Lamppost Sign
  • Goodbye PayPal – Goodbye Bob’s eBooks
  • Anarchist’s Workbench is Done
  • Why we keep offcuts…

Categories

  • About
  • Artwork
  • Boatbuilding
  • Boating
  • bowl carving
  • Boxmaking
  • Clocks
  • Drawings
  • eBook
  • etude
  • Eva Too
  • Eva Won
  • Fiddlehead
  • Fiddlehead model
  • Flying
  • frame saw
  • gilding
  • green woodworking
  • Grinling Gibbons
  • Guns
  • Hand tools
  • Humor
  • kerfing plane
  • Lettercarving
  • Mill Creek 13
  • Model building
  • Power tools
  • Rant
  • resawing
  • scroll saw
  • Shopmade
  • sign painting
  • Stonework
  • Swimming
  • Technology
  • The Wall
  • treadle lathe
  • Uncategorized
  • VSD
  • Woodcarving
  • Woodturning
  • Woodworking
  • workbench

Other stuff

  • About
  • Contact
  • Privacy Policy

Copyright ©2024 · Bob Easton · All Rights Reserved