The running dog caught the car. Now what? I built a lathe. Now what? My first interest in building the lathe was like that running dog’s, “Just do it!” “Gotta make one of those!”
Along the way came carving and a fascination for carving on turned objects. Let’s go.
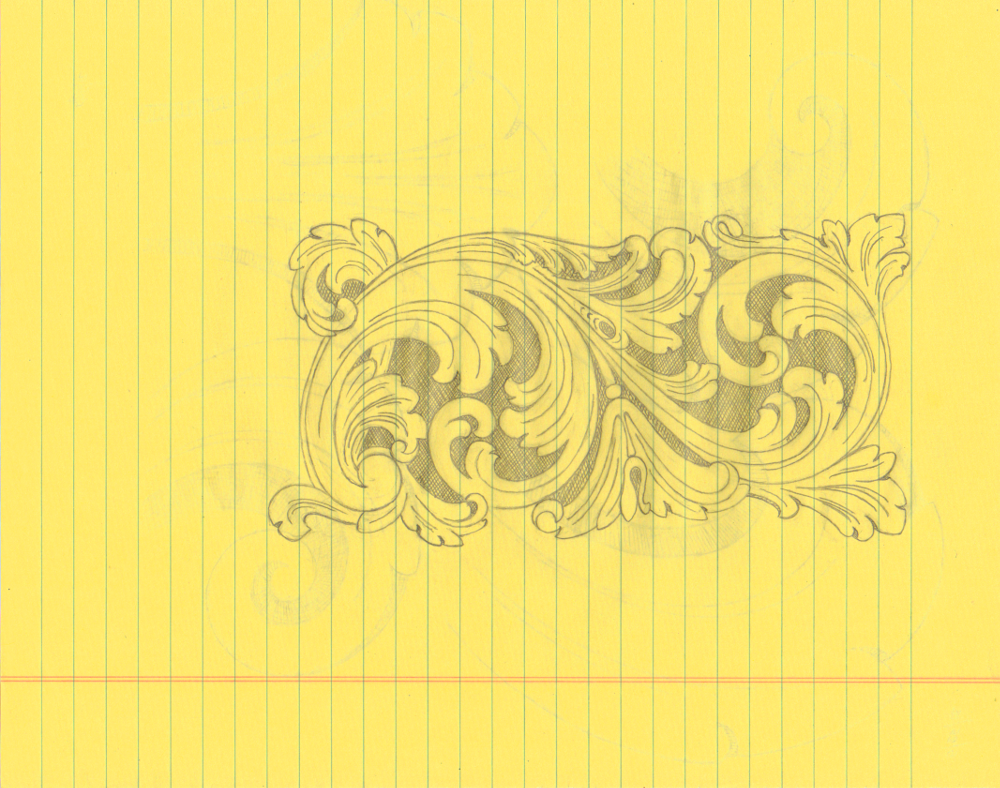
 This first turned object carving is a challenge piece, a skill builder. I selected it because it has several different sorts of carving on one piece. It is a combination of two pieces from Frederick Wilbur’s “Carving Classical Styles in Wood.”
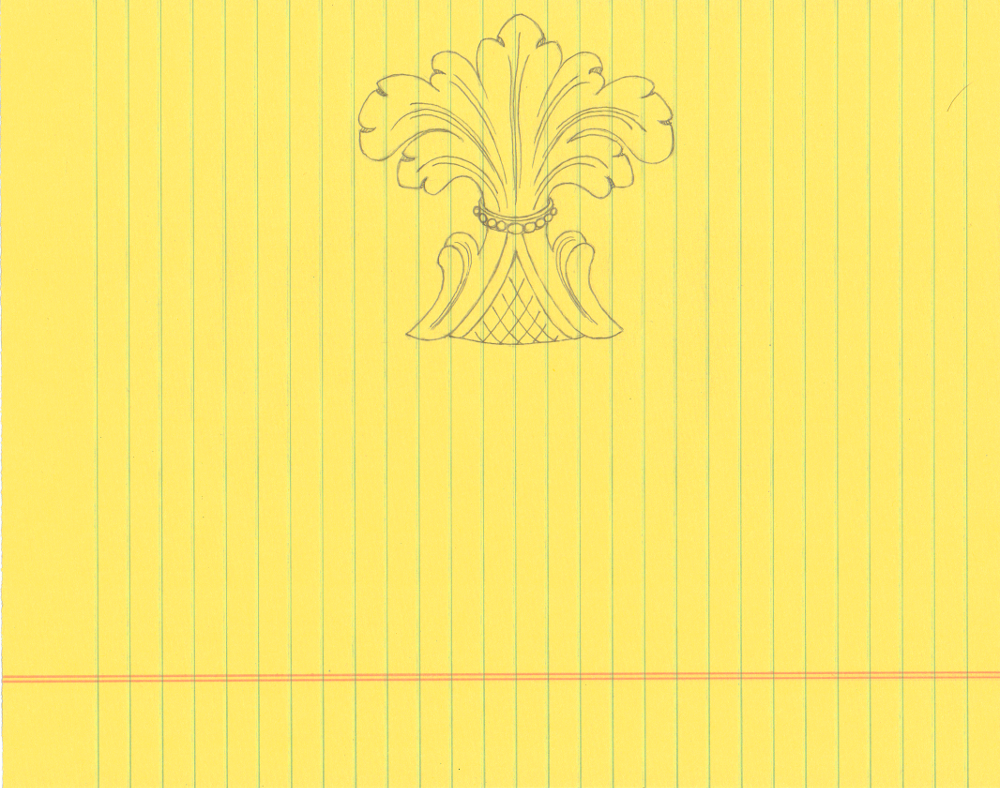
Pineapples have long been used in architectural decoration as symbols of hospitality. Like the running dog needing a car, I really don’t need a pineapple or a symbol of hospitality. Call me hermit, not hospitable. Yet, it is a challenging carving project. My interpretation takes the form of a small finial about 6 inches tall. There a photo of one in Wilbur’s book. To that, I added a ring of beads just above the pedestal’s cove … for more challenge. I omitted the leaves at the top … to accommodate the blank I had on hand. I sketched up a drawing and headed for the lathe. The wood for this project is Northern Basswood from Wisconsin. It is moderately soft and has a very straight and even grain, excellent for carving.

Turning was relatively easy after all the firewood making beads and cove practice. I dulled the points of the outside calipers, and worked to the measurements from my sketch. Most of the surface was left as cut by the turning gouges. The only places I sanded were areas that will not be touched by carving tools, the base pedestal and the large half bead below the leaves.
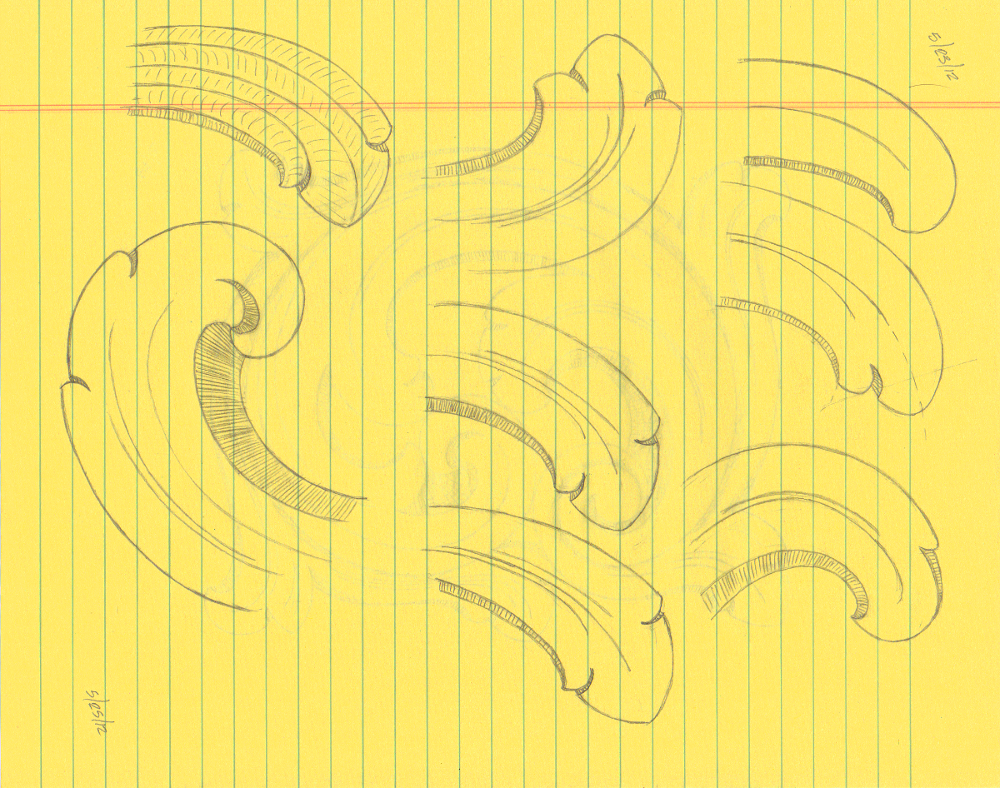
Layout for carving is the fun part. I’ve watched Mary May’s amusement at the engineers who are frequently her students (myself included). She does layout the way an artist does, estimating spaces and proportions with a very keen eye. Engineers use scientific techniques and tools. Wilbur suggests leaving the pineapple in the lathe and using an indexing head to mark out 16 segments.

My lathe doesn’t (yet) have an indexing head, and besides I wanted 13 segments … because nature does it that way. More on that shortly.
How to get 13 segments? The enginerd way, of course! Wrap a piece of paper around the turning to mark off the circumference. Strike 2 parallel lines indicating the circumference. Connect with a base line. Lay a ruler across the parallel lines in a manner to divide into 13 segments. Mark each. Drop a perpendicular at each mark. When done, cut off a strip to use as a ruler. Wilbur’s “in the lathe” advice is good for one part of the layout. I put the pineapple back in the lathe and used the tool rest for drawing axial lines. Next, laying out the field of diamond segments.
Here’s where nature comes in. All sorts of things in nature grow in spirals: pine cones, pineapples, sunflower seeds, flower petals, leaves around a stem, and on and on. Often they grow in double spirals. Look at a pine cone or pineapple from the end to see the effect, or watch this Vi Hart “Doodling in Math” video. The double spirals in nature always use a pair of adjacent numbers in the Fibonacci sequence. (1,1,2,3,5,8,13,21,…) Our lovely pineapple often uses 8,13. Thus, my interest in 13 segments. Now, how to lay out the other spiral of 8? That’s where my head started hurting too much and I decided making both spirals as found in nature would be one too may challenges for this project. Apparently, most who create pineapples for pediments and other architectural purposes agree. Those pediments all have symmetrical diamonds.
My solution for marking off the spirals was to fetch an image of a protractor from that world wide web thingy, strike off a 135 degree angle, glue it to a magazine cover for a little more substance, cut it out along the baseline and 135 degree line leaving a strip about 1/2 inch wide, and use the resulting flexible ruler to mark the spirals. No photos. Doing such required 5 hands and a monkey to obtain a smooth curve and manage the pencil, leaving none for the camera. Aren’t enginerds clever?

OK. now how do we hold it for carving? The vise on my carving bench doesn’t have enough extension to hold the piece securely. Both vises on my 12 foot work bench have plenty of capacity, but that bench is way too low for carving. Oh, my aching back. Bingo: F-clamp! I turned a small cup for the pointed end of the blank. Secured all in an F-clamp, and clamped that in the vise of my carving bench.
The rest was all carving. “In the zone” carving. Time disappears. Shapes emerge. Until…. other time-sensitive projects are demanding attention.

So, I’ll stop for now. My learning goal has been accomplished. In addition to the enjoyment, two notable carving points stand out:
- Those beads just above the pedestal benefit from a “secret” discovered in Mary May’s video about carving a cluster of grapes. (Hint: the shape of the “holes” where the beads meet.)
- Fishtail gouges and a skew chisel are incredibly useful.