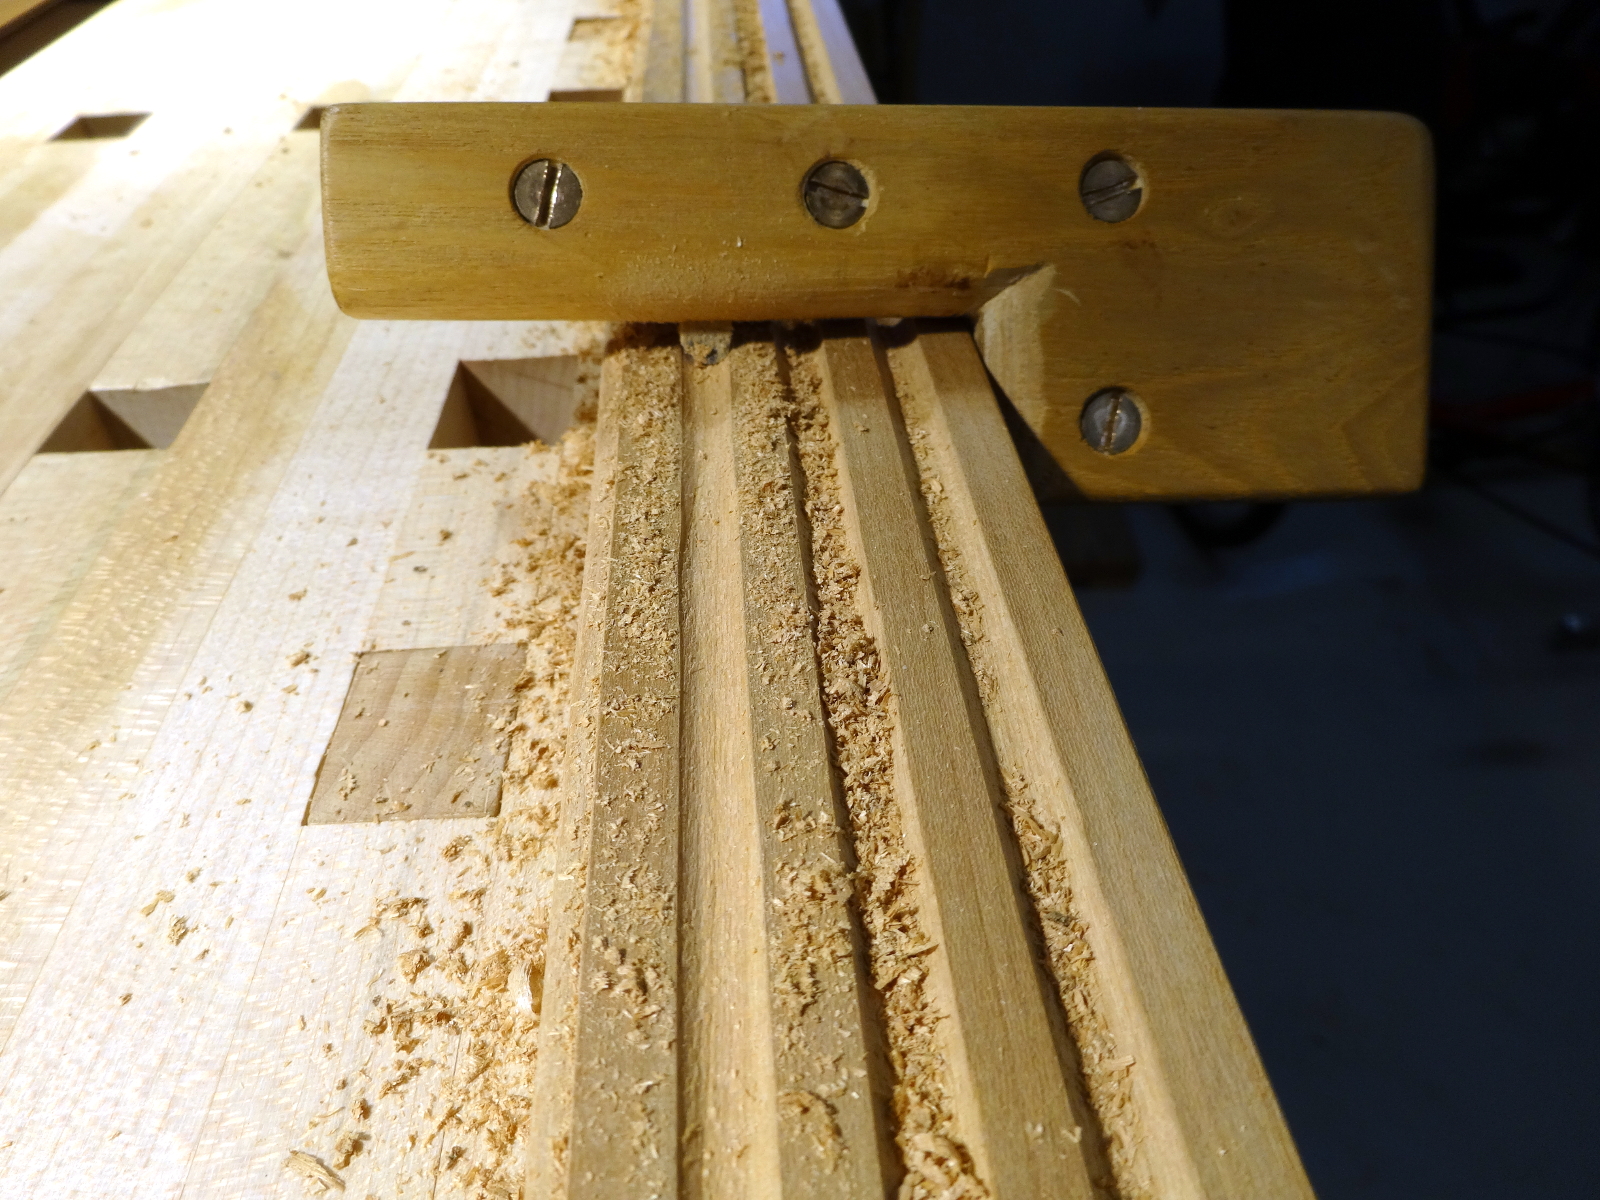
Scratching? OK. Carving with a “scratch stock.”
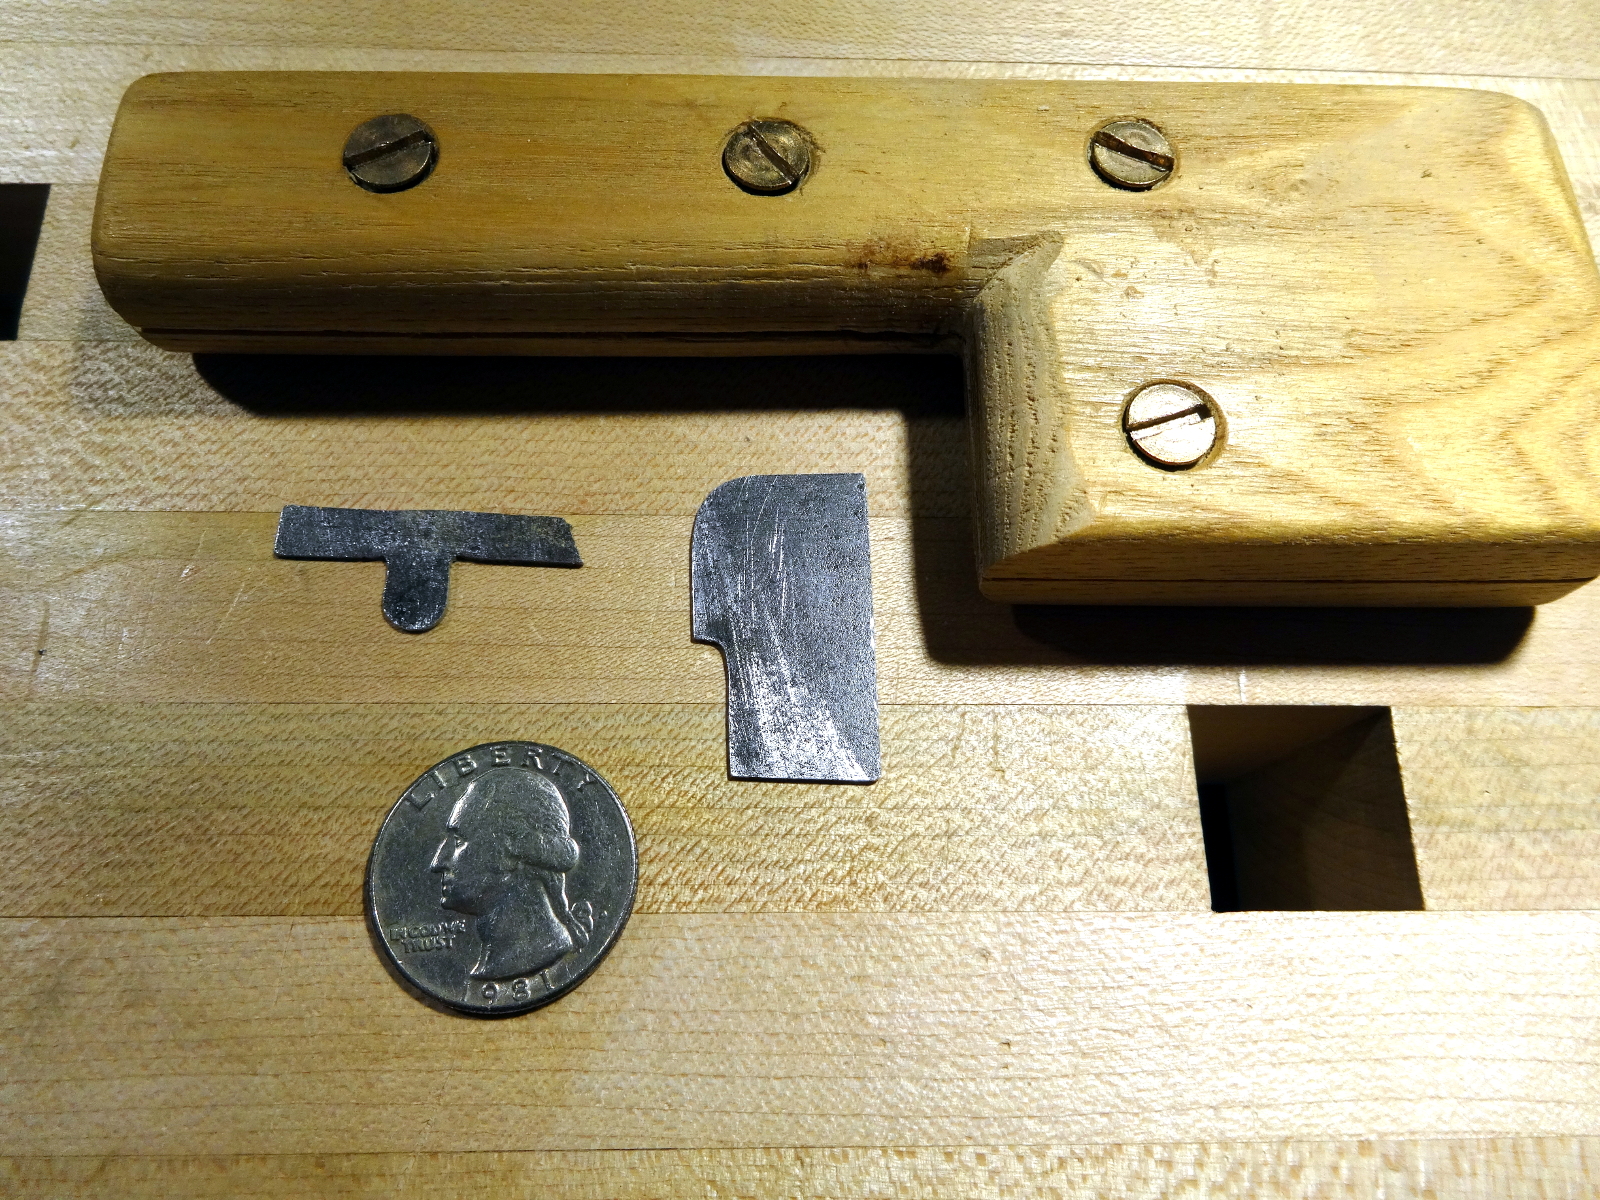
Old saw blades should never go to waste. Little pieces of them can be cut for use in a scratch stock. A scratch stock is simply a device to hold a cutter. I made this one long ago. It was handy for decorating the edges of parts of my treadle lathe and a bit more recently for edges of some hand carved signs. For this project, the stock and 2 bits made it easier to carve smooth edges and several runs of fluting.
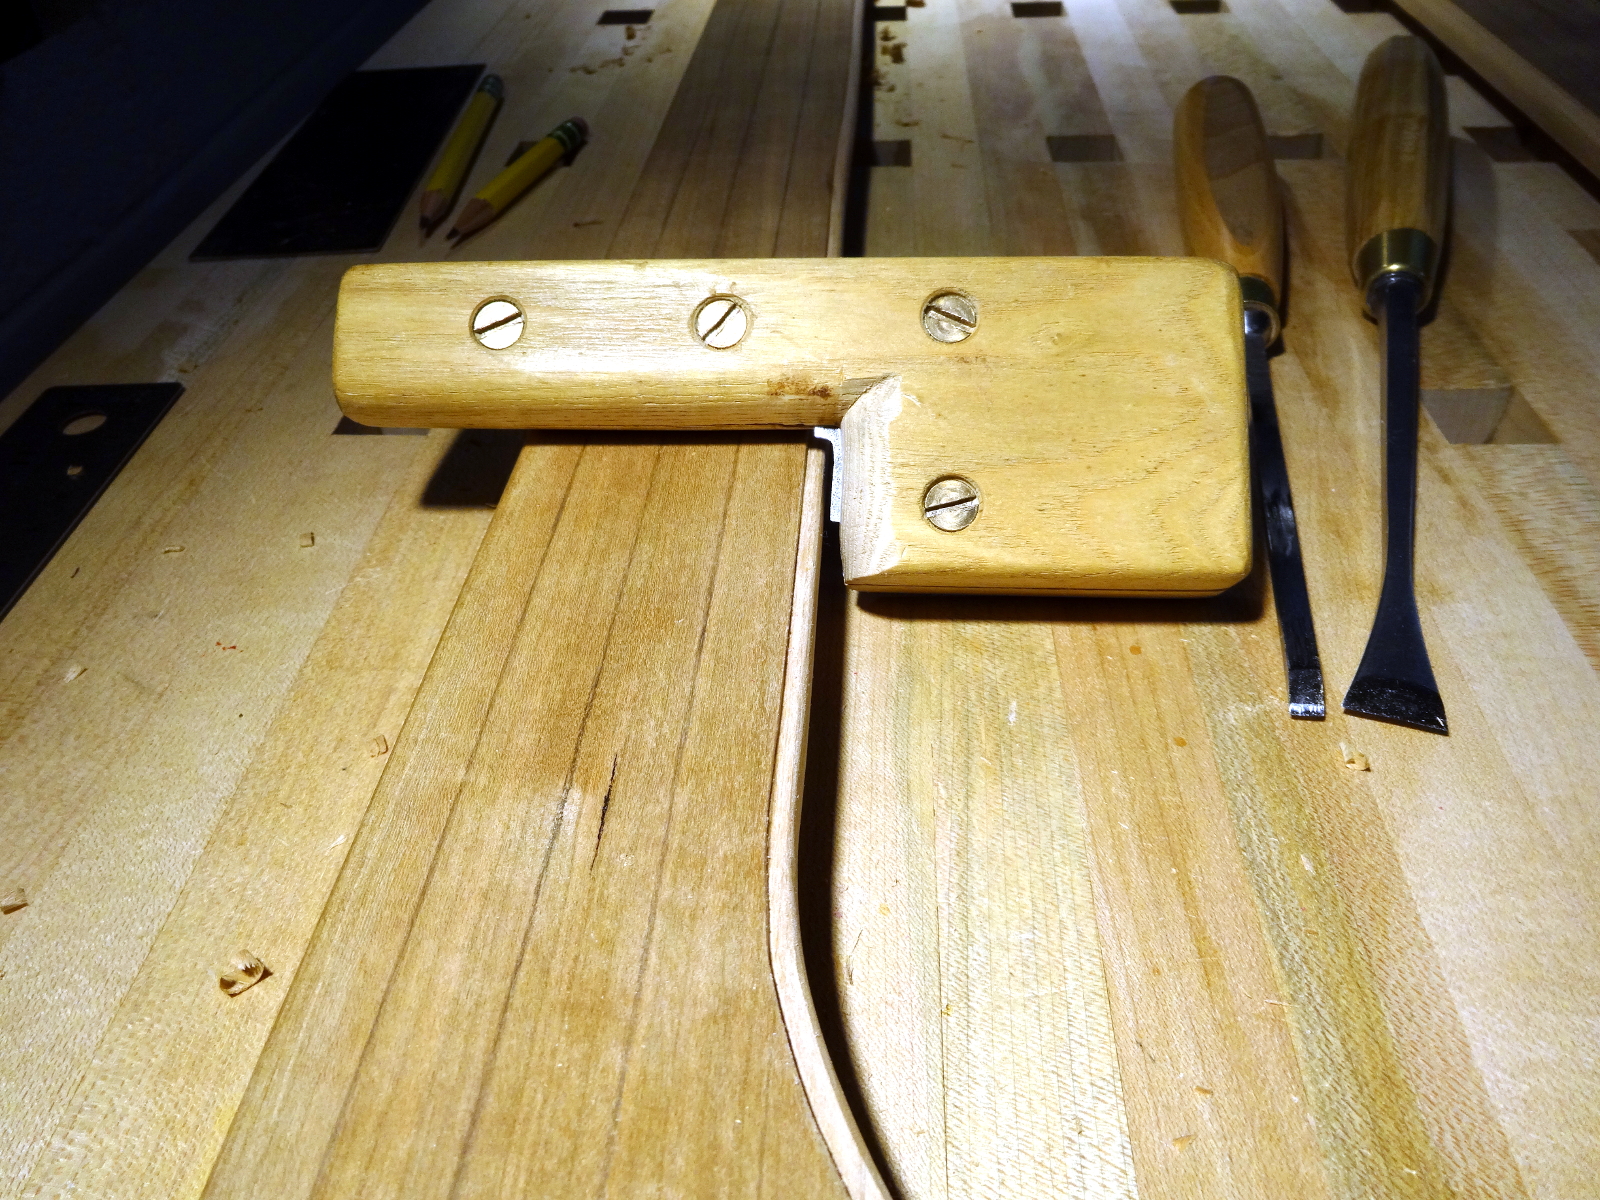
Once I had glass in hand (yes it arrived, more below) the openings could be checked for proper size and the edges around the openings carved to shape. The shape is simple, a slight recess for a shadow line and a round over. I made a cutter and scratched the long straight stretches with the scratch stock. The straight stretches went surprisingly fast. Scratch stocks can create tear out across areas where grain is changing. So, I used a few curved carving gouges to work the top arches and curved bottom corners. I repeated for all three glass openings.
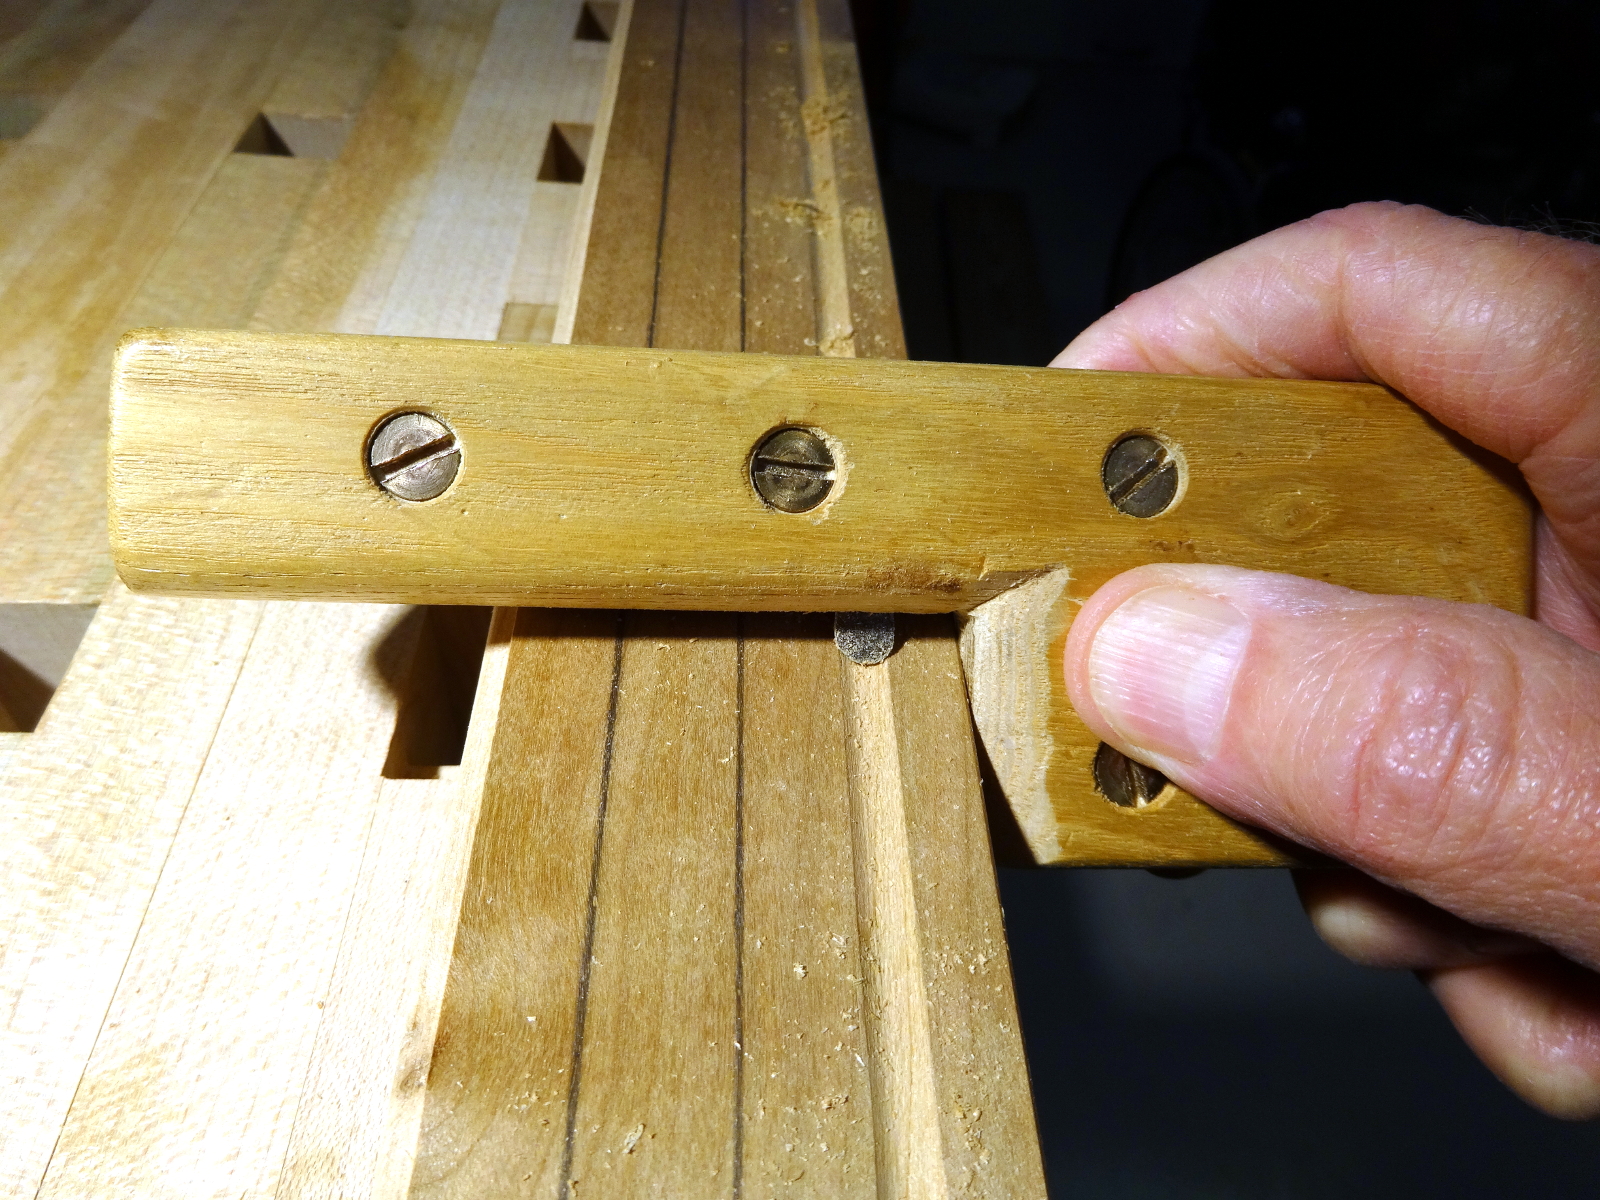
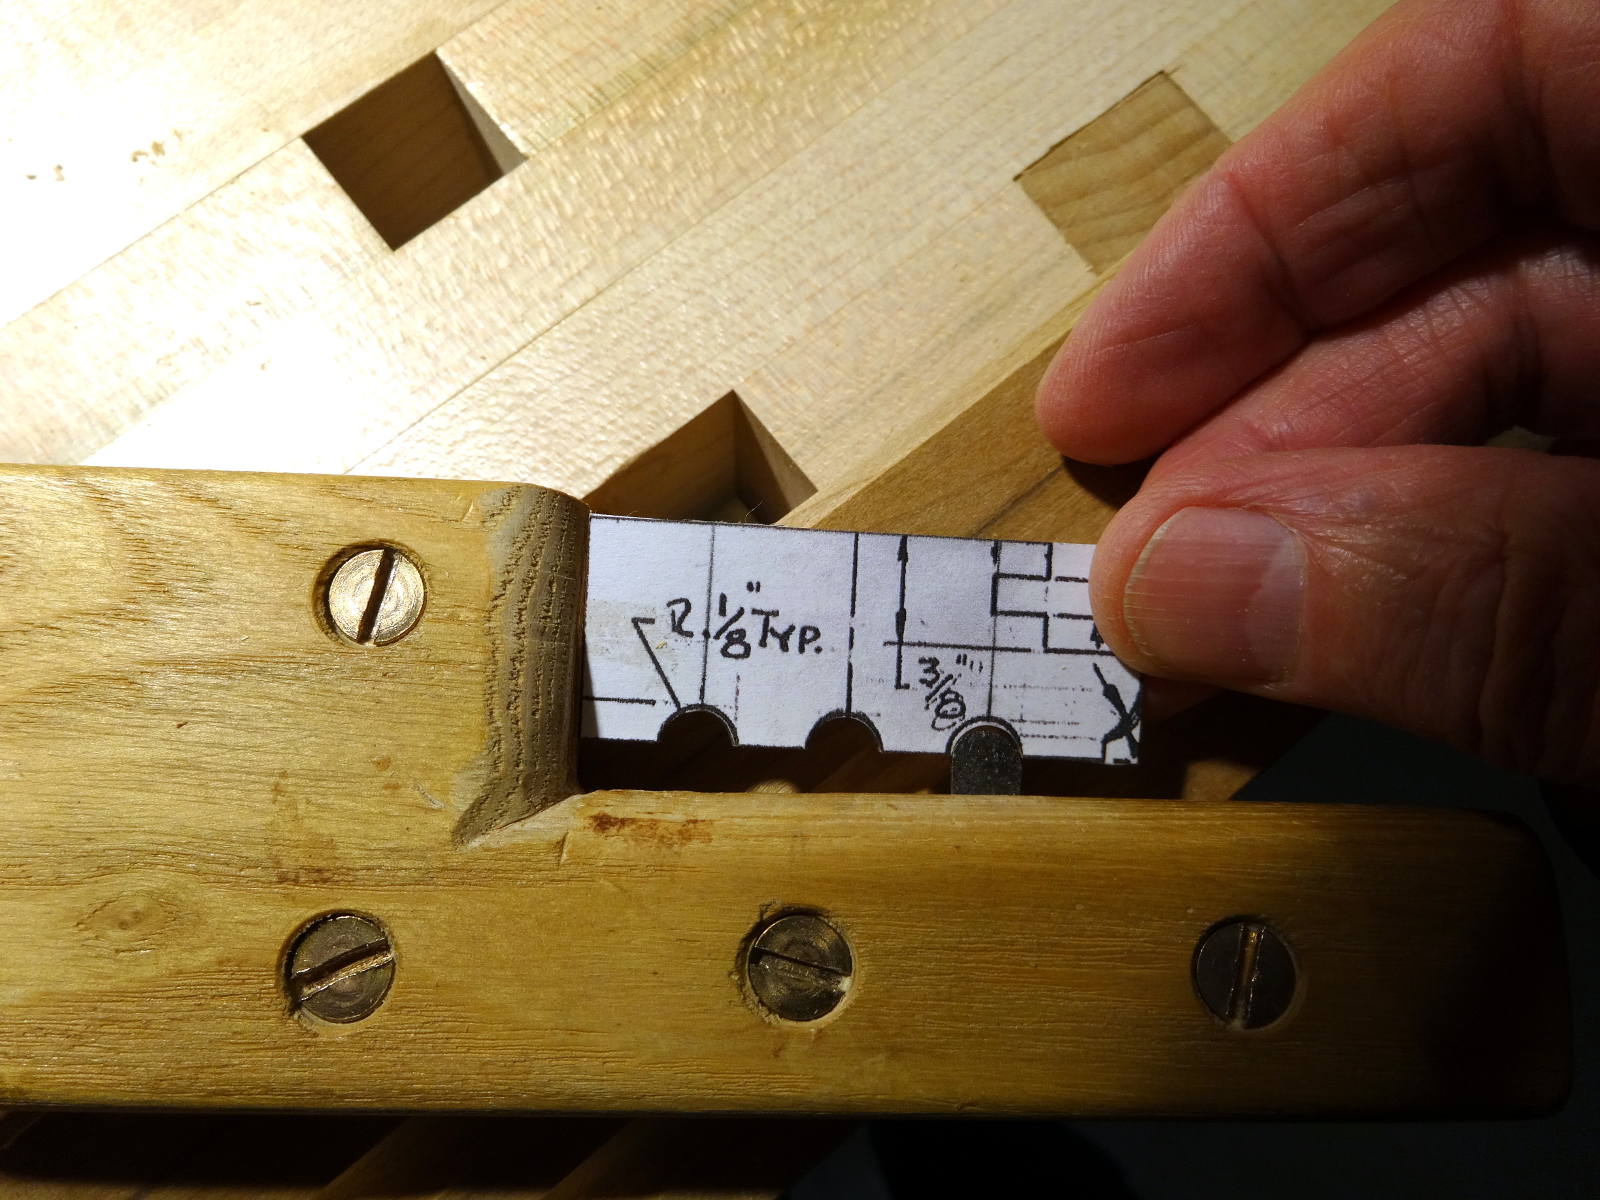
The door features 3 fluted columns on either side of the glass. They are about 1/4 inch wide and 1/8 inch deep. It’s a real good thing if they end up straight and evenly spaced. This is where scratch stock work excels. Having a good registration surface keeps the flutes straight. The group of pictures below shows the process.
Follow-up is very light sanding with paper wrapped around a dowel.
Glass – part 3
Yes, I have glass. After waiting months, I gave up on Mr. Holder and found a glass shop in Carlstadt NJ that took the order and delivered in 3 weeks. Accurate Glass and Mirror did fine work, exactly as I requested. Beautiful bevel on the door glass. I’m very satisfied with it. This would be a good place for a picture, but photographing glass is an elusive activity (not gonna show you the useless pictures I took).
Meanwhile, an acquaintance in a clock collectors group told me of another way to contact the unresponsive Mr. Holder, who still has an “F” rating at the Better Business Bureau and has upped the complaints count to 14. After several messages through a new path, he answered brusquely, advising me that (1) he “doesn’t do refunds” (2) everyone always get the promised glass (3) but not always on a schedule they like. The curtness of his message sounded like, “shut up, and wait … and don’t argue.”
Just for grins… If glass arrives from Mr. Holder, should I make another of these clocks? Anyone interested? Be forewarned, it’s not an inexpensive clock.
Gratitude – not having whatever problems leave Mr. Holder so angry.
Other articles in this series…
- Regulator Clock – Done
- Regulator Clock – Woodworking completed
- Regulator Clock – Scratching the frames
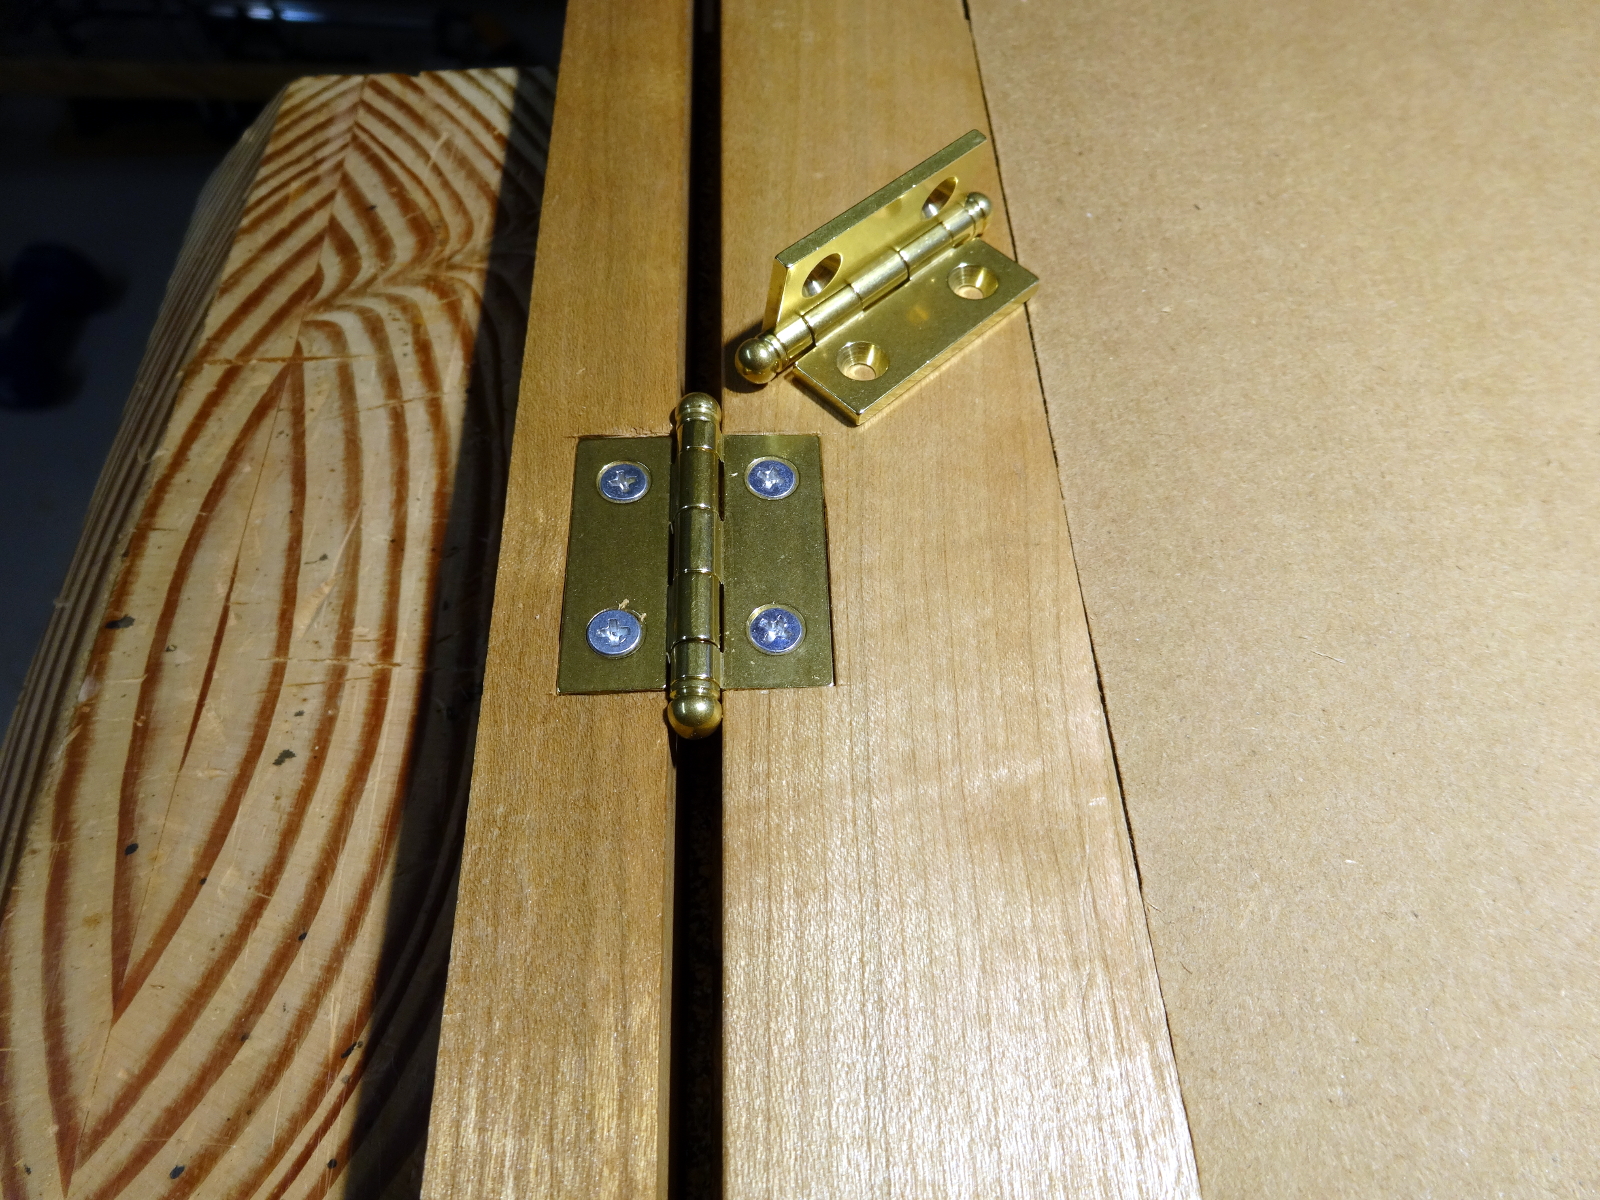
- Regulator Clock – Door Hinged
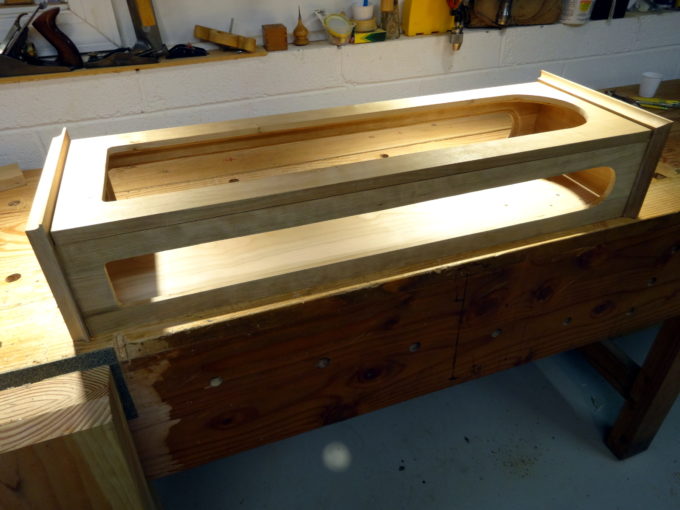
- Regulator Clock – Case Dry Fitted
- Regulator Clock – Jelly Side Down
- Regulator Clock – Case Frames – 2
- Regulator Clock – Glass – 2
- Regulator Clock – Case Frames – 1
- Regulator Clock – The Works work
- Regulator Clock – Glass
- Regulator Clock – Tongue & Groove planes
- Regulator Clock – Completed Mouldings
- Regulator Clock – Stick Mouldings
- Regulator Clock – Plate Mouldings
- Regulator Clock – Egg and Dart Moulding
- Regulator Clock – Eat Dessert First
- Regulator Clock – original description
- Regulator Clock – Stock Prep
- Regulator Clock – Plans for Moldings
- Taming the Rabbet
