• Skip to primary navigation
  • Skip to main content
  • Skip to primary sidebar
  • Skip to footer

Bob Easton

Chocolate powered woodworking

  • Home
  • Grinling Gibbons Tour

Bob Easton

Regulator Clock – Egg and Dart Moulding

September 20, 2017 by Bob Easton 6 Comments

Gratitude: being able to eat dessert first.

picture of three segments of egg and dart moulding

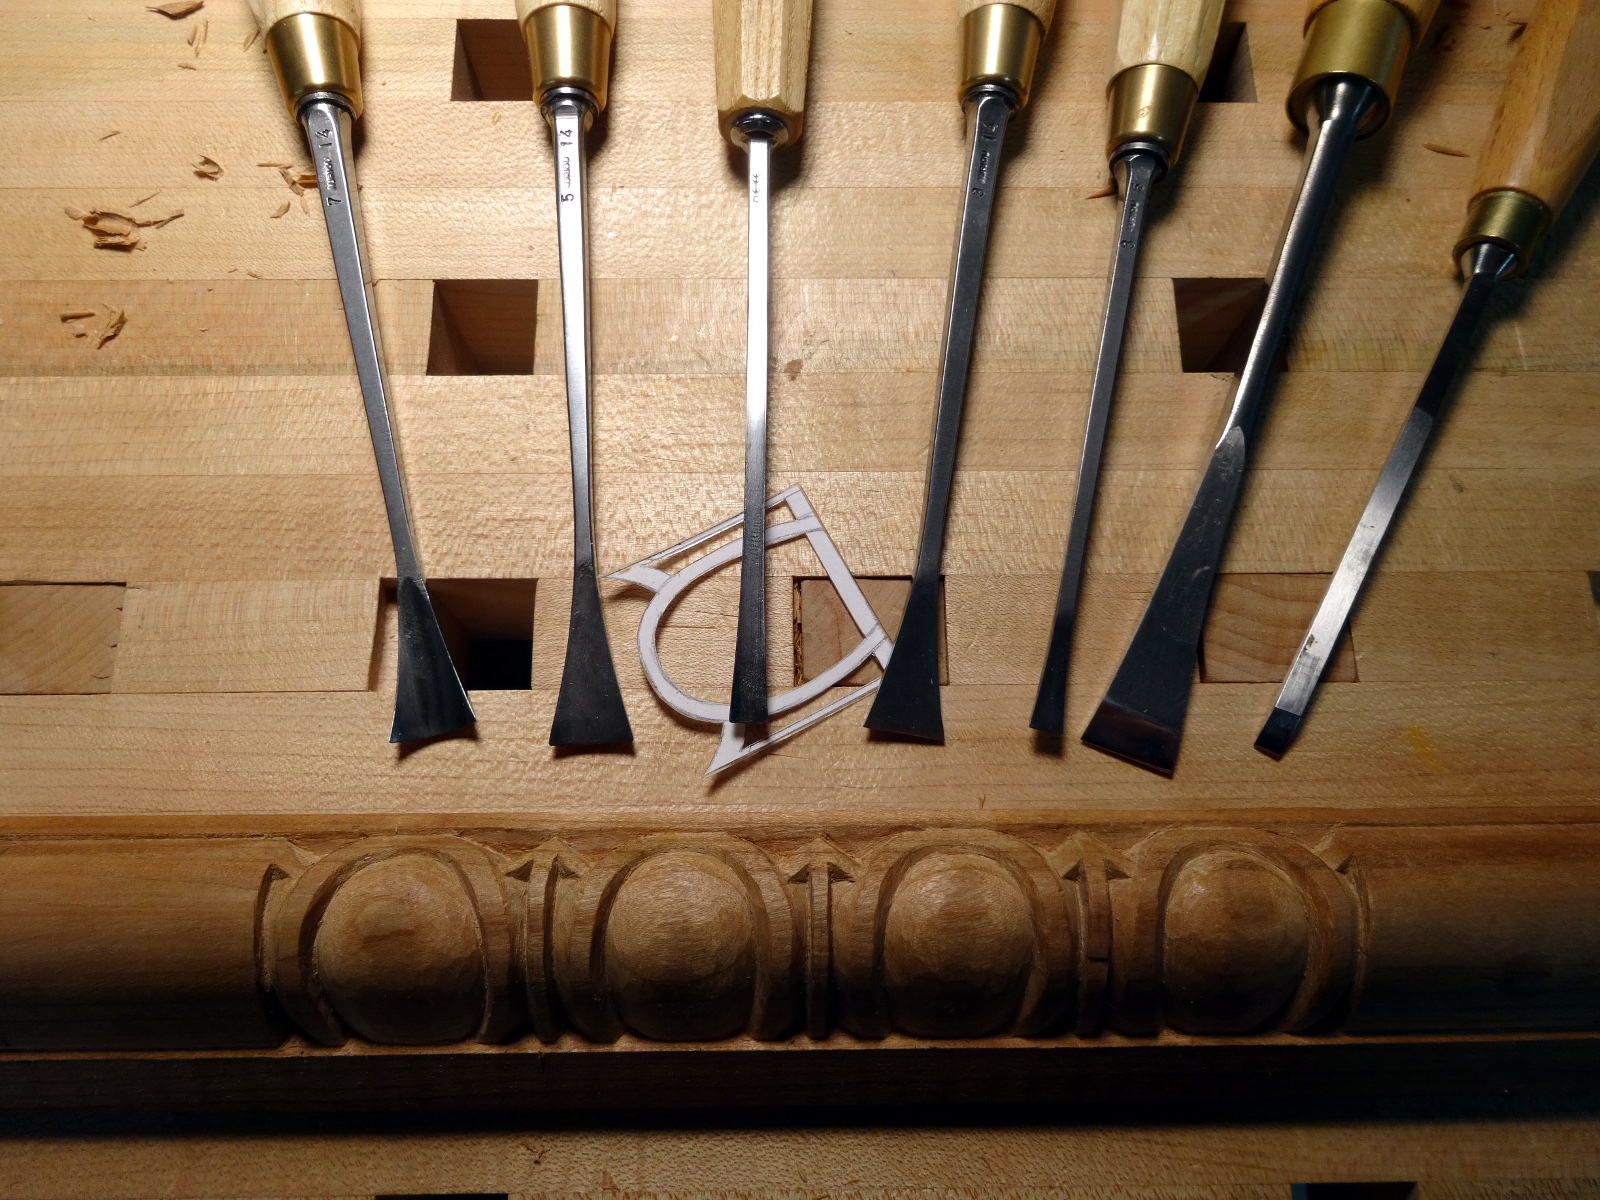
Yes, carving is my dessert, and I’m enjoying it. In fact, going purposefully slow drags out the work for more enjoyment. OK, that’s an easy excuse for being a slow carver.

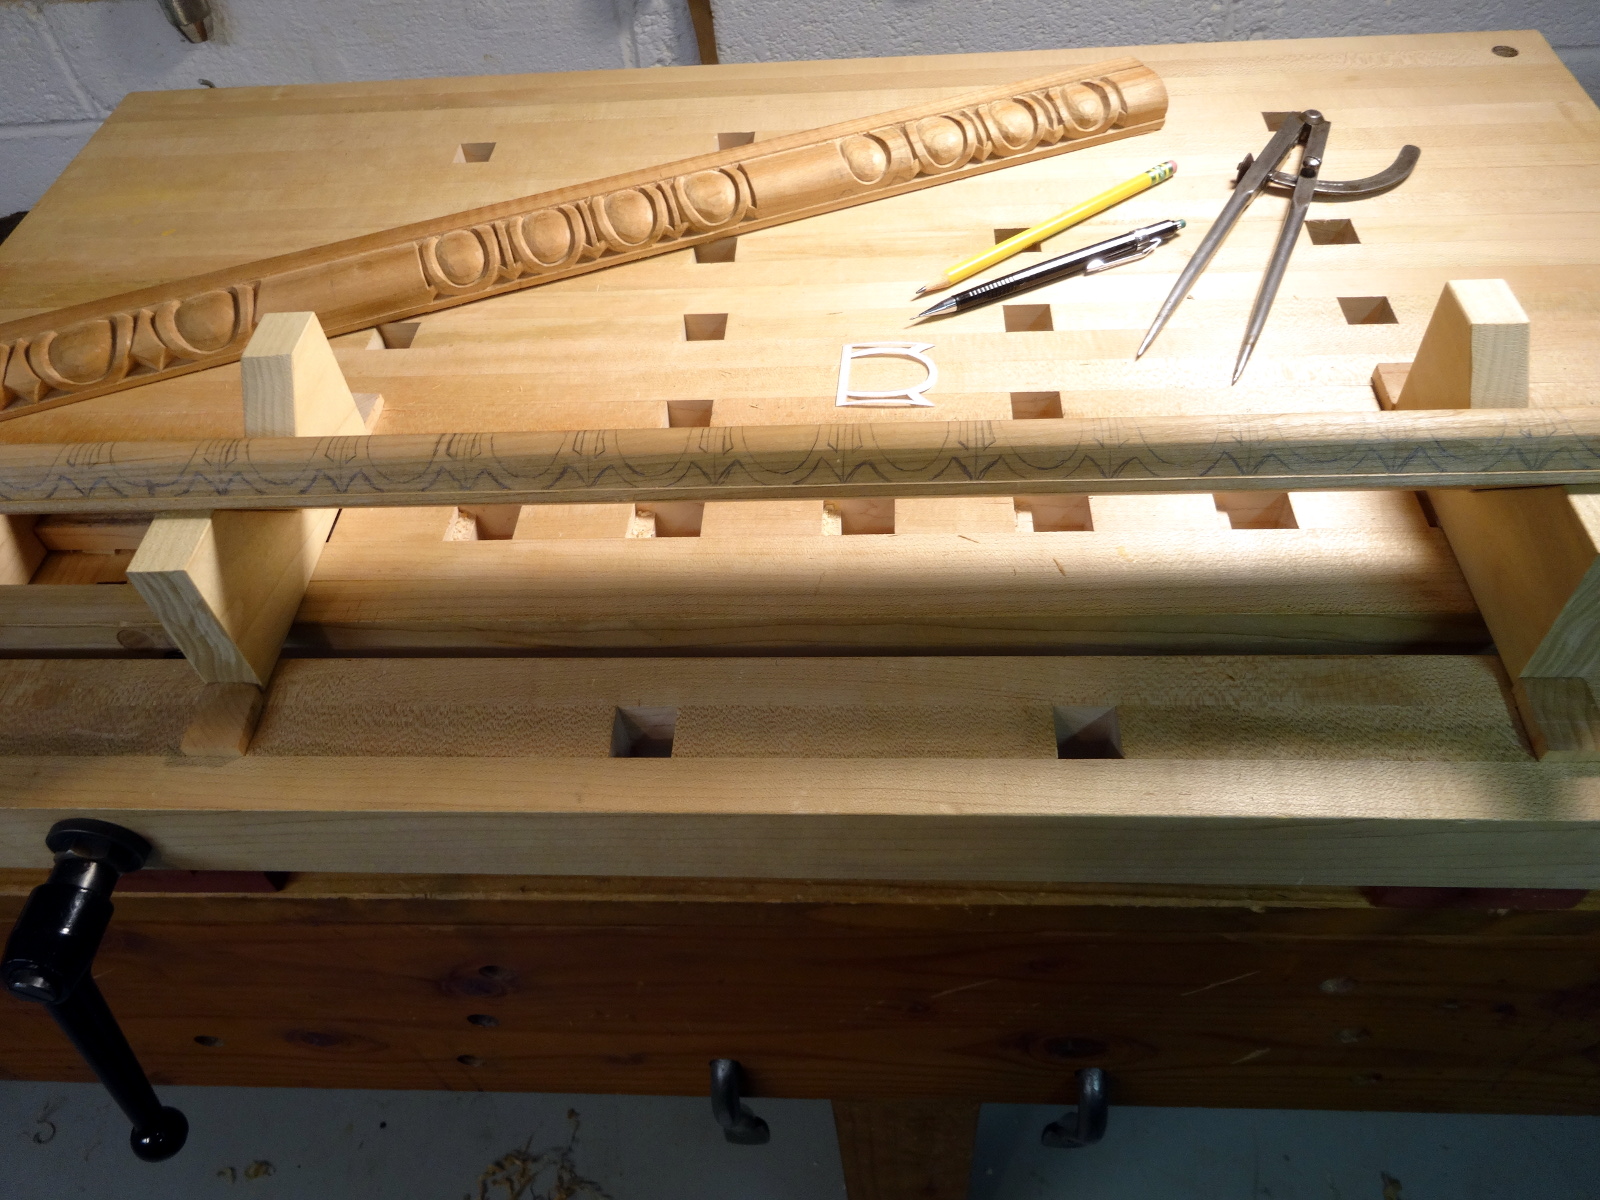
There are now three segments of egg and dart moulding that will be set aside until other parts are done. The side pieces will end up being shortened by about 3 eggs, eggs that I used for “warm up” or practice as I carved.

Details…

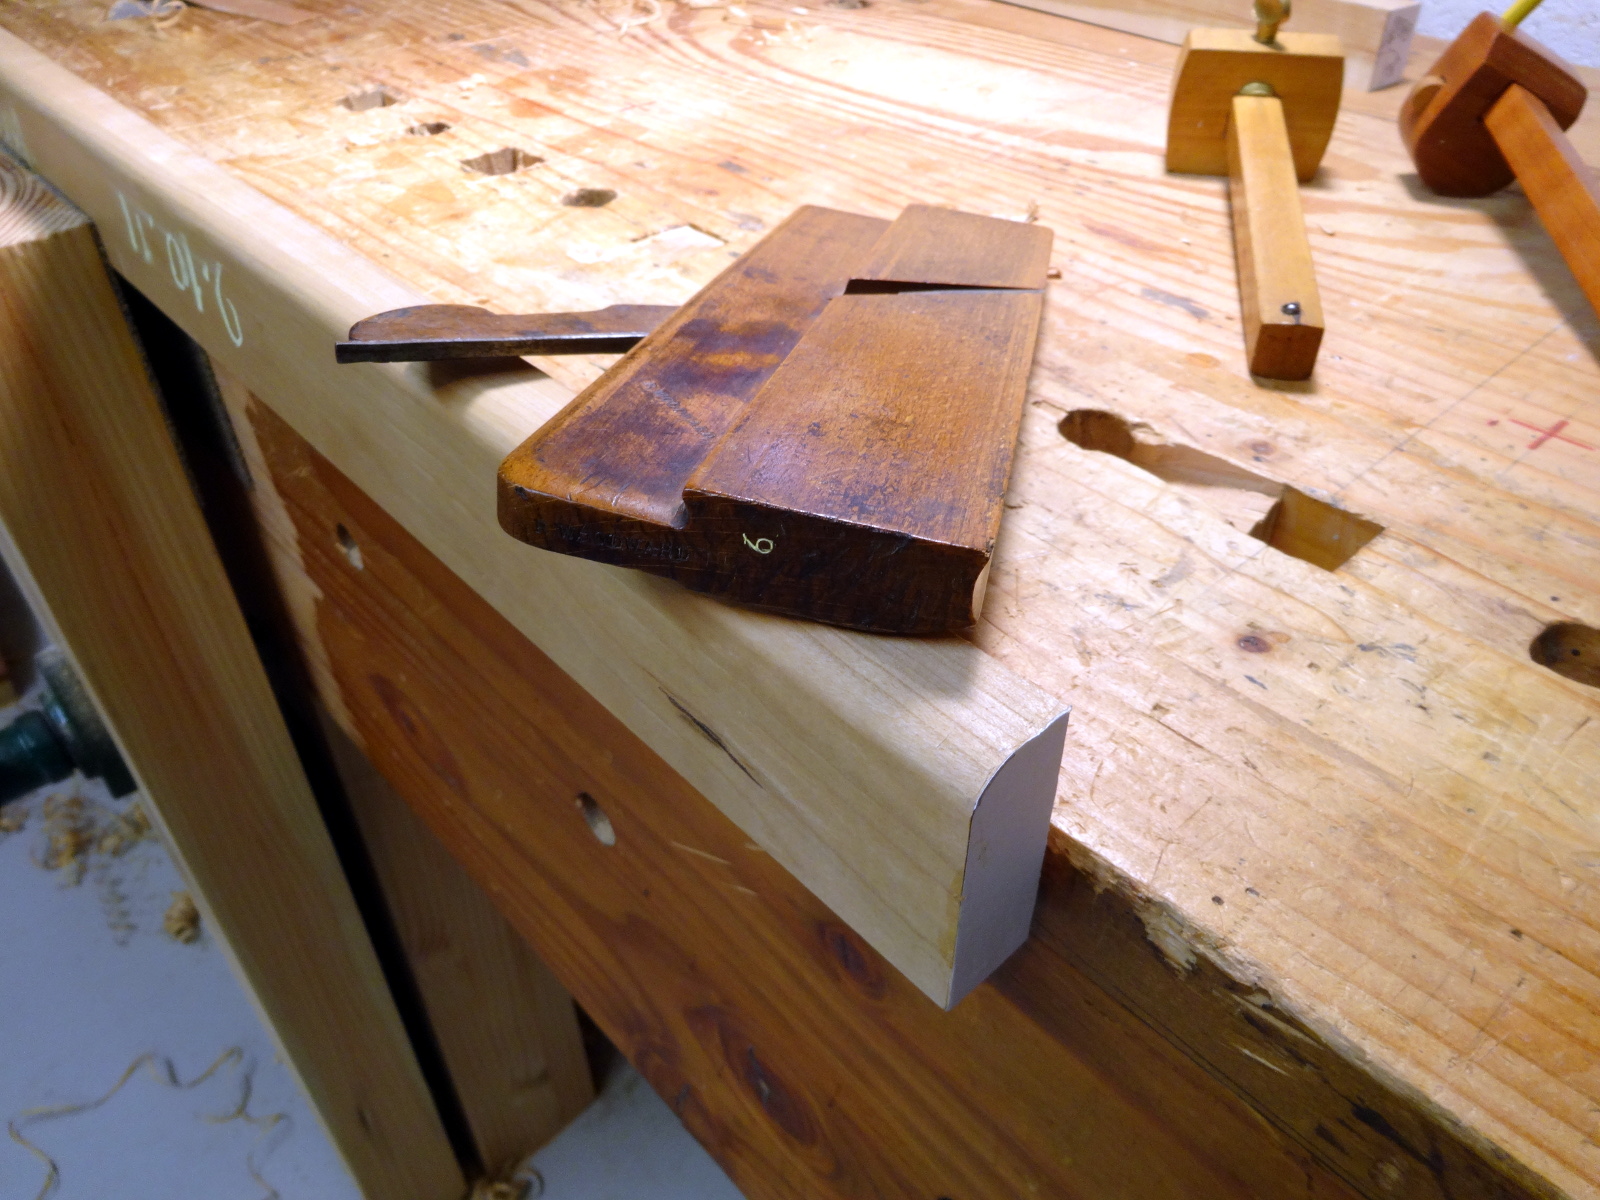
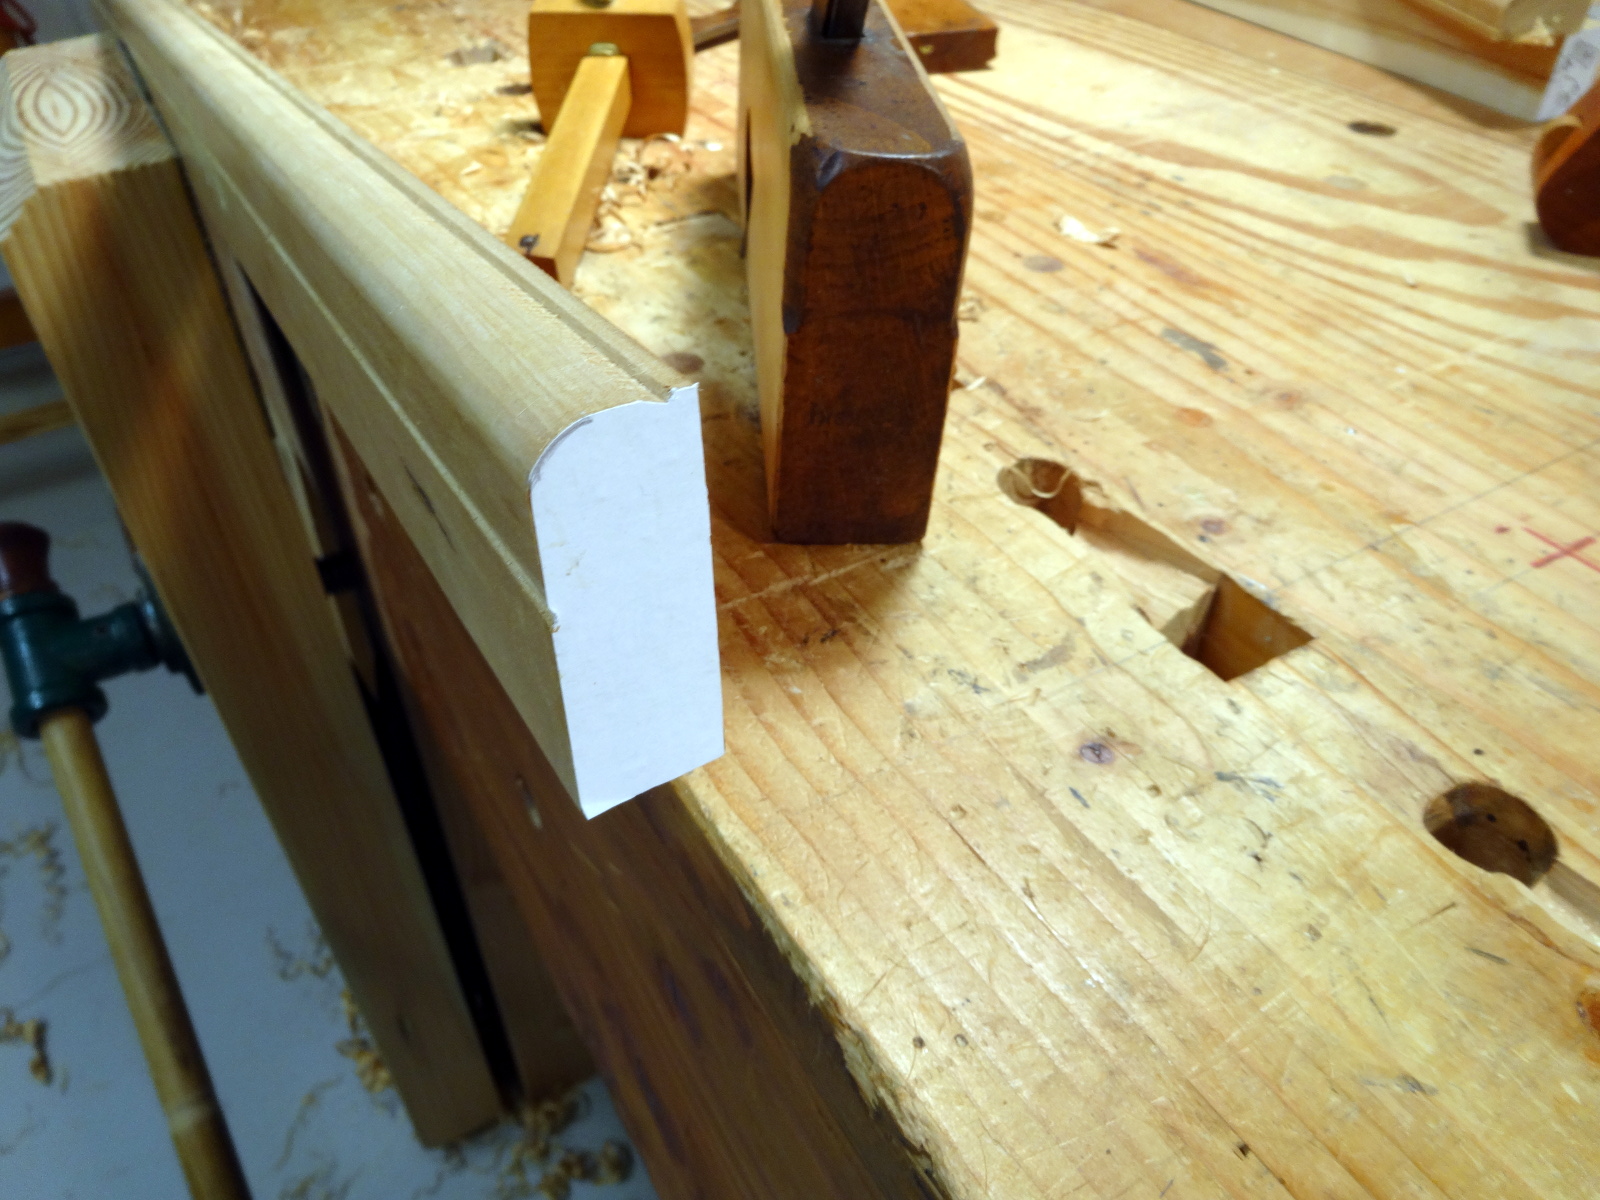
Since the last entry, I abandoned those vee-blocks and got a 4 foot long bar clamp to hold the workpiece. Taking a tip from Paul Sellers, I place the bar clamp in the carving bench’s vice and have a lot more flexibility in adjusting the workpiece for the best carving angles.

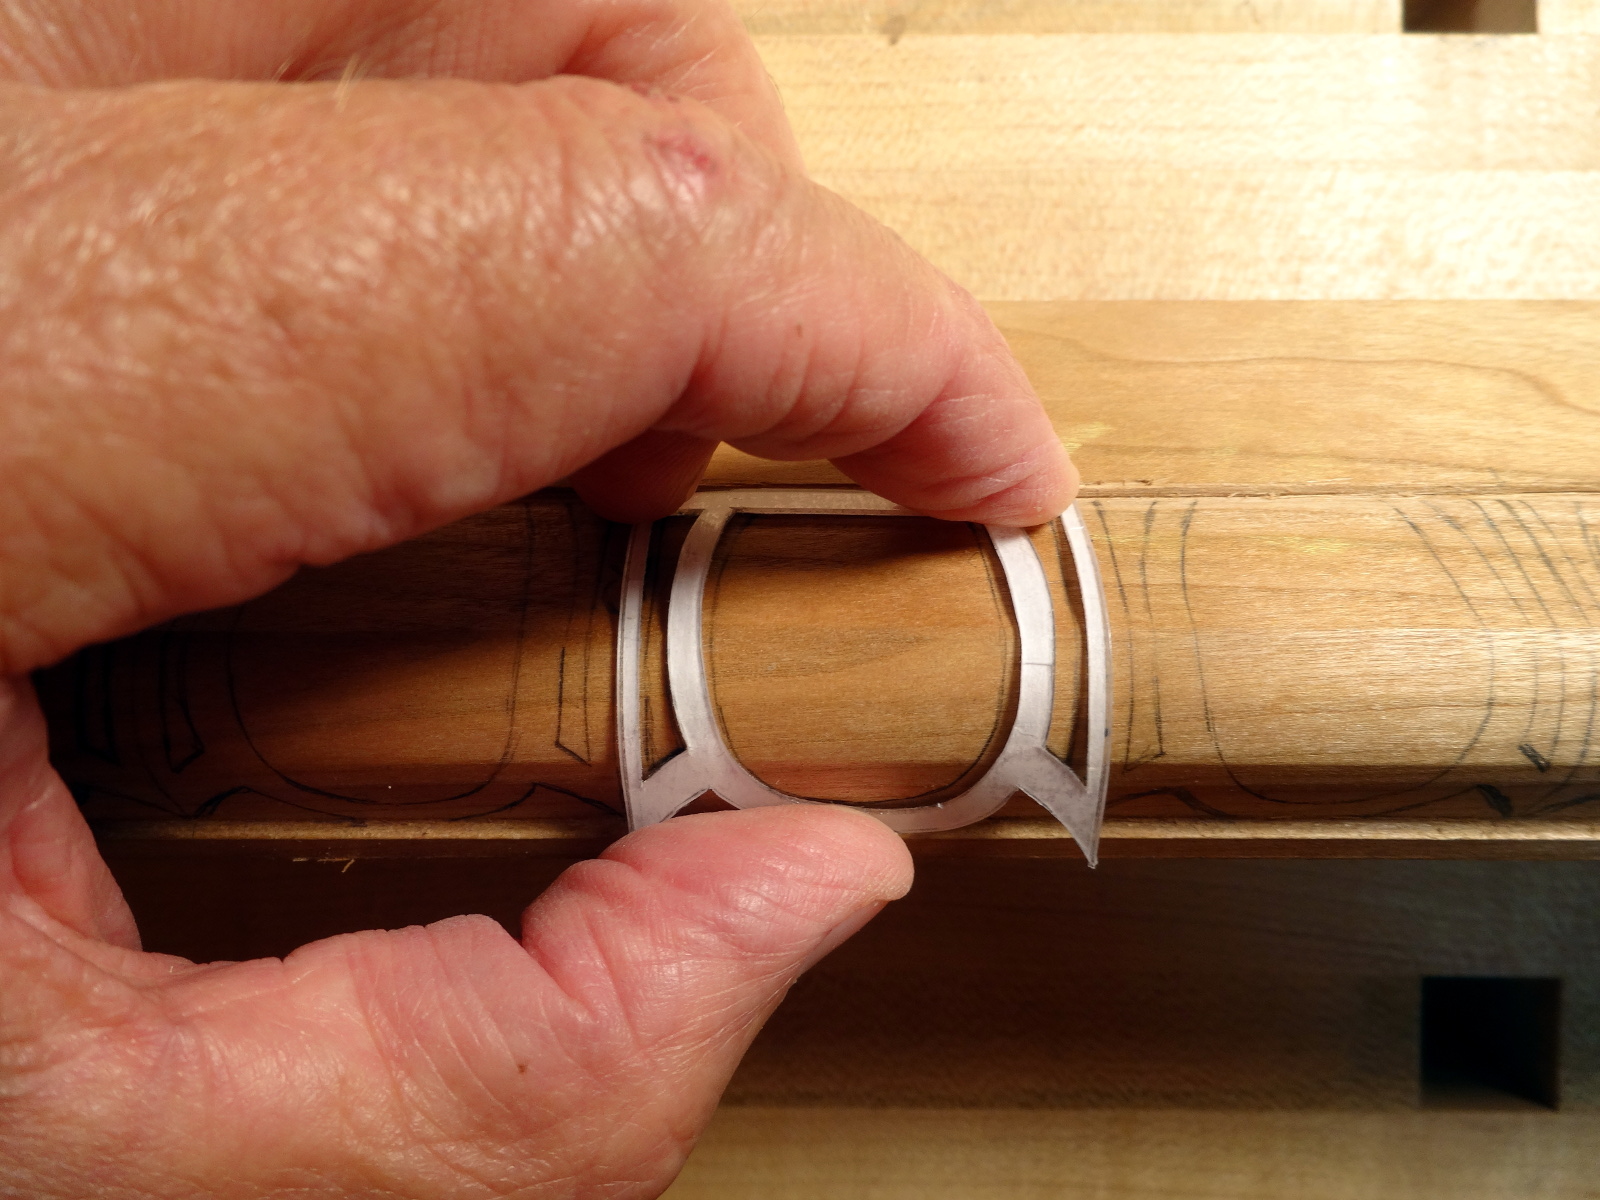
I laid out two of the eggs a bit wider, only about 1/8 inch, to allow for the miter cuts for the corners.

After carving, I got out the decades old Jorgensen miter saw and tuned it up with some trepidation. It is actually a very smooth running tool, but the incident of a 93 degree miter left me doubting whether to use it. Long story short, after a lot of practice I have learned that the two edges of the workpiece that rest in the miter box must be as close to absolutely square as possible. A workpiece that is out of square by only a degree or two, will result in an unacceptable miter. These miter cuts had to be “right on” because I intentionally left little extra room for trimming to fit. I wanted to get the fit right without long interruptions in grain pattern. Care in the initial squaring of the workpiece really paid off! One joint is virtually perfect “off the saw,” and the other needed only a few swipes of correction to get a good fit.

Next, I think I’ll do the harder of the remaining moulding pieces. The long sticks will be easy in comparison to the mouldings on the edges of boards, which include edge grain moulding runs. Boards next.

Other articles in this series…

  • Regulator Clock – Done
  • Regulator Clock – Woodworking completed
  • Regulator Clock – Scratching the frames
  • Regulator Clock – Door Hinged
  • Regulator Clock – Case Dry Fitted
  • Regulator Clock – Jelly Side Down
  • Regulator Clock – Case Frames – 2
  • Regulator Clock – Glass – 2
  • Regulator Clock – Case Frames – 1
  • Regulator Clock – The Works work
  • Regulator Clock – Glass
  • Regulator Clock – Tongue & Groove planes
  • Regulator Clock – Completed Mouldings
  • Regulator Clock – Stick Mouldings
  • Regulator Clock – Plate Mouldings
  • Regulator Clock – Egg and Dart Moulding
  • Regulator Clock – Eat Dessert First
  • Regulator Clock – original description
  • Regulator Clock – Stock Prep
  • Regulator Clock – Plans for Moldings
  • Taming the Rabbet

Filed Under: Clocks, Woodcarving

Regulator Clock – Eat dessert first

August 28, 2017 by Bob Easton 6 Comments

Gratitude: I’m always grateful for having so many choices.

Whether it is carving wood, making boxes, creating websites, or building boats, I have so many choices that things sometimes get set aside.

Jeweler's clock

My original article about this clock was 3 and 1/2 years ago. The clock has a mechanical movement, one that is fine enough to be categorized as a “regulator.” In the age of mechanical movements, regulators were used as reference sources for setting other clocks. Building a regulator clock is a “bucket list” project for me. I watched the clock catalogs as fine, robust mechanical movements faded away, being replaced by quartz crystals and cheap Chinese plastic. The very few fine brass mechanical movements still being produced are becoming ever more expensive. So, I grabbed one a few years ago before the price became stratospheric. Once I acquired the mechanical movement, I roughed out some cherry lumber and set the project aside.

Now, I’m getting back to it. The cherry lumber is well acclimated. I still have the original drawings, 8 large sheets. The movement and other parts are still in their original boxes waiting to go to work.

Most of it will be built according to plan, except… I’m a woodcarver and wanted more carving detail than the original plan. More than the original, but not as much as the baroque Vienna Regulators. I have redrawn the stack of top moldings, replacing the dentil molding with egg and dart.

  • drawing of top and bottom moldings
  • detail drawing of top molding changes

This is where we come to eating dessert first. The moldings will be the most fun because making them is building new skills. So, moldings are the dessert I’m eating first, especially the egg and dart. Then, the other molding profiles, and lastly the case. About half of the moldings are directly on the edges of parts of the case, on boards. The rest are on sticks that wrap around the case. Let’s start with the sticks. To get to the desired dimensions, a couple of them are laminated. I glued them up long ago with hide glue and have oriented the profiles to avoid exposing join lines. (click photo to enlarge.)

Now for the most fun, the egg and dart. Prepping the wood for the egg and dart is relatively easy. It is basically a stick with one corner rounded over. After 4-squaring the stick, a #9 hollow does most of the work. I added extra shadow lines along the top and bottom of the egg and dart pattern by first using a marking gauge and then deepening those marking lines with a rebate  plane tilted about 45 degrees. A pair of dividers and a plastic pattern (Thank You Mary May) helps with laying out the carving pattern.

  • photo of egg and dart stick with #9 hollow plane
  • photo of egg and dart stick with extra shadow lines
  • photo of egg and dart pattern

After that, it’s a simple matter of carving. Well…. my carving bench doesn’t hold a 40 inch work piece. The answer is a pair of vee-blocks and some creative clamping. The last picture in this episode is of a practice piece. It has promise and I learned from it.

  • photo showing vee-blocks on the carving bench
  • photo of an egg and dart practice piece

Other articles in this series…

  • Regulator Clock – Done
  • Regulator Clock – Woodworking completed
  • Regulator Clock – Scratching the frames
  • Regulator Clock – Door Hinged
  • Regulator Clock – Case Dry Fitted
  • Regulator Clock – Jelly Side Down
  • Regulator Clock – Case Frames – 2
  • Regulator Clock – Glass – 2
  • Regulator Clock – Case Frames – 1
  • Regulator Clock – The Works work
  • Regulator Clock – Glass
  • Regulator Clock – Tongue & Groove planes
  • Regulator Clock – Completed Mouldings
  • Regulator Clock – Stick Mouldings
  • Regulator Clock – Plate Mouldings
  • Regulator Clock – Egg and Dart Moulding
  • Regulator Clock – Eat Dessert First
  • Regulator Clock – original description
  • Regulator Clock – Stock Prep
  • Regulator Clock – Plans for Moldings
  • Taming the Rabbet

Filed Under: Clocks, Woodcarving

Small Wonders
at The Cloisters in New York

May 2, 2017 by Bob Easton Leave a Comment

It is an extraordinary exhibit! It’s still on for another few weeks. If you go, take a magnifying glass (or use your phone camera’s zoom feature) to see the details. These carvings are TINY! Most of them are in the neighborhood of 2 inches in diameter.

As best as anyone knows, these objects are about 500 years old and appear to have been created in the Netherlands. At least that is where most of them have been found, passed from generation to generation in the families of patrons and collectors. Precisely who made them and precisely where, no one knows.

One of the conservators, Peter Dandrige believes that the vast majority of them came from one carver, or from that carver’s workshop. David Esterley isn’t quite convinced of that. He’s seen other instances of many people taking up a popular genre and working with it until the market waned. In either case, it’s thought that the creation of these miniatures was done only for about one generation.

Peter Dandrige and David Esterly gave a talk at the exhibit on Sunday, April 30. Peter is one of the conservators who examined these carvings with all manner of imaging techniques, such as “micro CT.” David Esterly, as many of us know is a renown, current day, carver. Both offered a great amount of speculation about these miniatures. Peter talked of discovering how the carvings are made of layers, as shown in the video. David talked of wood carving techniques, brought along a block of boxwood to show how dense and tight grained it is, and even had a “layer” of his own that he had begun carving in the style of these 500 year old carvings. David said he used his smallest tools and still ended up with a result 30-50% too large.

Much of the speculation, of course, was about the making of these miniatures. Peter believes that the holes found in many layers were more than for assembly, but also for work holding while carving. David suggests otherwise, that mere pins would not have been enough to take the pressure of working. He speculates that the carver(s?) used tabs extending beyond the edge of each scene as pads for clamping.

Since they are so small, the best way to see them in close detail is to use either of two resources:

  • The exhibition’s catalogs (there are two) have many very high quality photos, along with a number of essays. My choice among the two is the one published by “AGO Research” the people who did the actual research.
  • An online site “The Boxwood Project,” has an extensive collection of high resolution photos and a zoom tool  that lets one magnify these carvings to the point of being able to see tool marks.

For carvers, there’s an excellent essay, “The Making of Gothic Boxwood Miniatures” at the Boxwood Project site. That essay offers more photos of the layering technique and a photo of some tools used by yet another artist, 150 years later, to create similar miniature carvings.

Lastly, here is a borrowed screen capture at about 75% zoom from one of the images at The Boxwood Project site. (click for a larger view)

screen capture - Adoration of the Magi miniature boxwood carving


Filed Under: Woodcarving

  • « Go to Previous Page
  • Page 1
  • Interim pages omitted …
  • Page 17
  • Page 18
  • Page 19
  • Page 20
  • Page 21
  • Interim pages omitted …
  • Page 128
  • Go to Next Page »

Primary Sidebar

Footer

Recent Posts

  • New Frame Saw / Scroll Saw
  • Lamppost Sign
  • Goodbye PayPal – Goodbye Bob’s eBooks
  • Anarchist’s Workbench is Done
  • Why we keep offcuts…

Categories

  • About
  • Artwork
  • Boatbuilding
  • Boating
  • bowl carving
  • Boxmaking
  • Clocks
  • Drawings
  • eBook
  • etude
  • Eva Too
  • Eva Won
  • Fiddlehead
  • Fiddlehead model
  • Flying
  • frame saw
  • gilding
  • green woodworking
  • Grinling Gibbons
  • Guns
  • Hand tools
  • Humor
  • kerfing plane
  • Lettercarving
  • Mill Creek 13
  • Model building
  • Power tools
  • Rant
  • resawing
  • scroll saw
  • Shopmade
  • sign painting
  • Stonework
  • Swimming
  • Technology
  • The Wall
  • treadle lathe
  • Uncategorized
  • VSD
  • Woodcarving
  • Woodturning
  • Woodworking
  • workbench

Other stuff

  • About
  • Contact
  • Privacy Policy

Copyright ©2024 · Bob Easton · All Rights Reserved