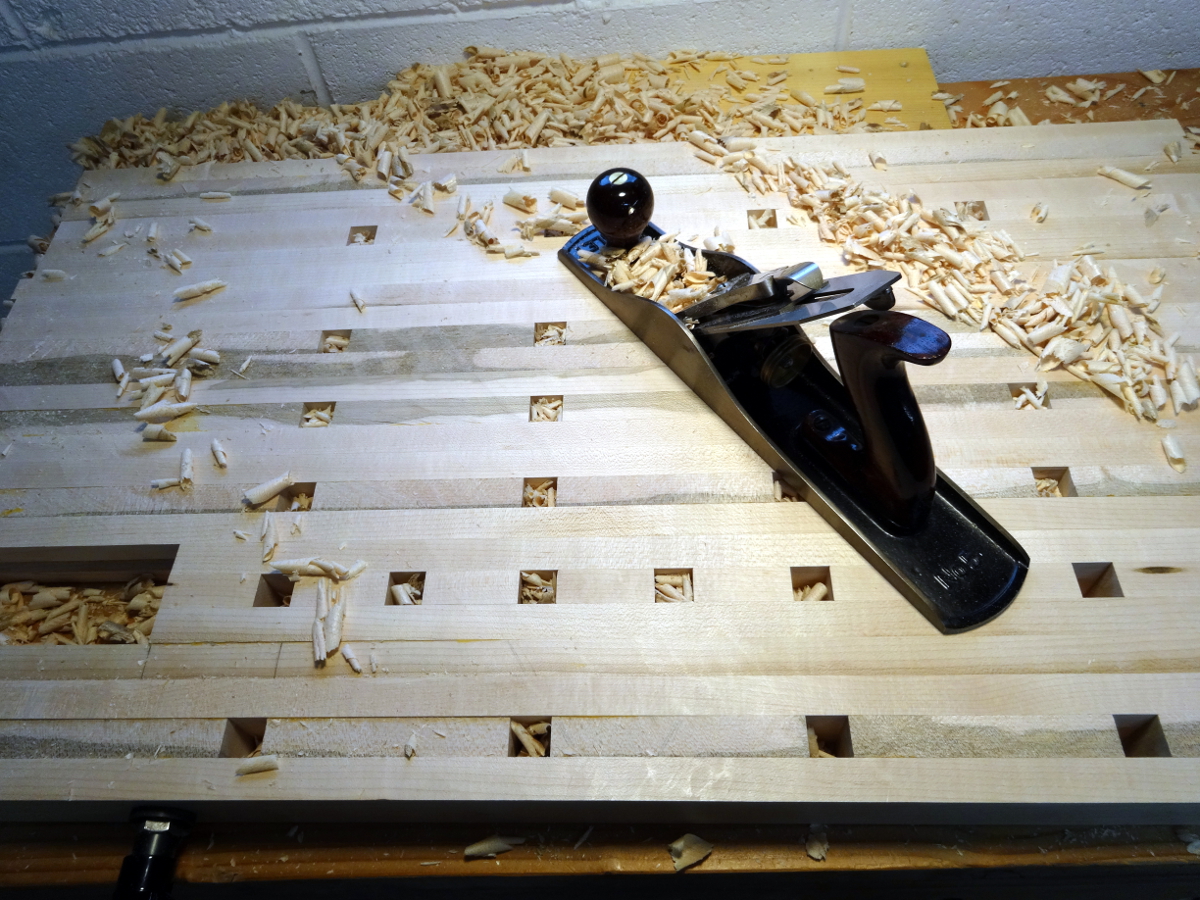
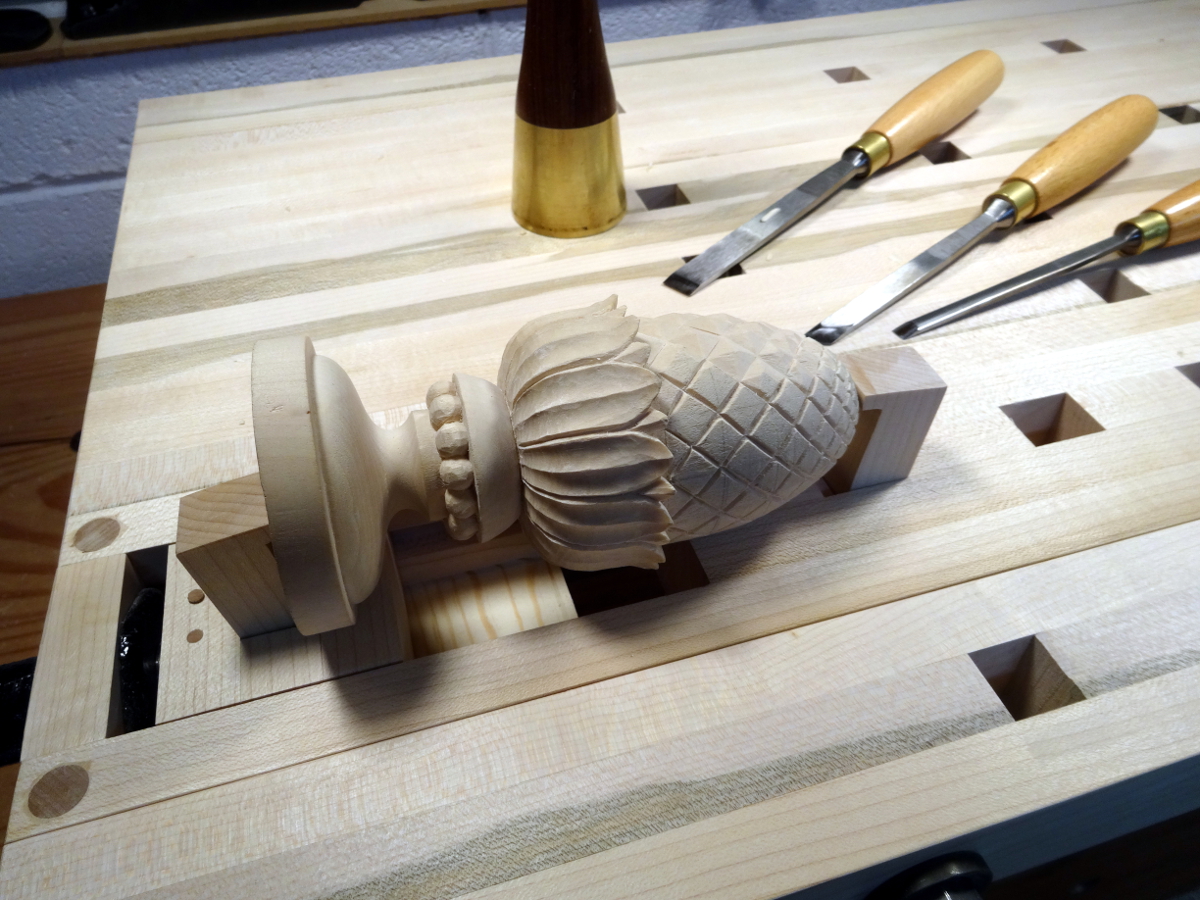
 My first Bench On Bench was delightful. It brought carving and joinery tasks to a very comfortable height. Two and a half years later, I still appreciate it, but know of ways to improve it. The most wanted improvement is better work holding capability for carving work. Pinching stuff between dogs in the front vise and the “floating planing stops” just wasn’t working well enough. Shims of various sizes were almost always needed. The front vise itself grew to be a bit floppy, the result of installing the vise screw nuts loosely in softwood sockets. As they floated and wiggled around, they also wallowed the sockets. The best part about the bench was the vise screws, 1/2 inch veneer press screws that were available several years ago from Tools for Working Wood, but are not to be found anywhere today. The handles on those screws can be pulled out and rotated, very convenient for moving them when “tight” leaves them sticking up in the way. Those are keepers! Lastly, the excellent Gramercy holdfasts were rarely useful due to the smaller size of most of my work pieces.
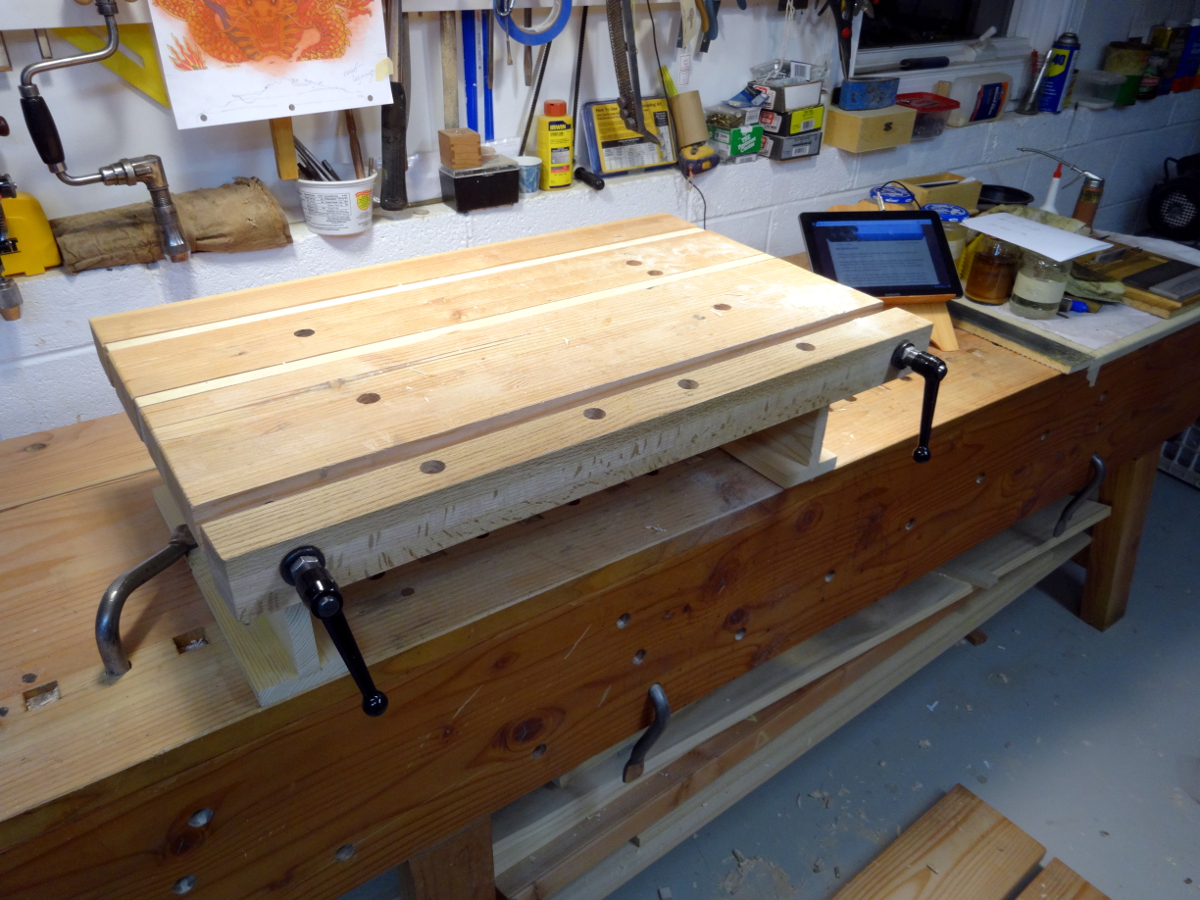
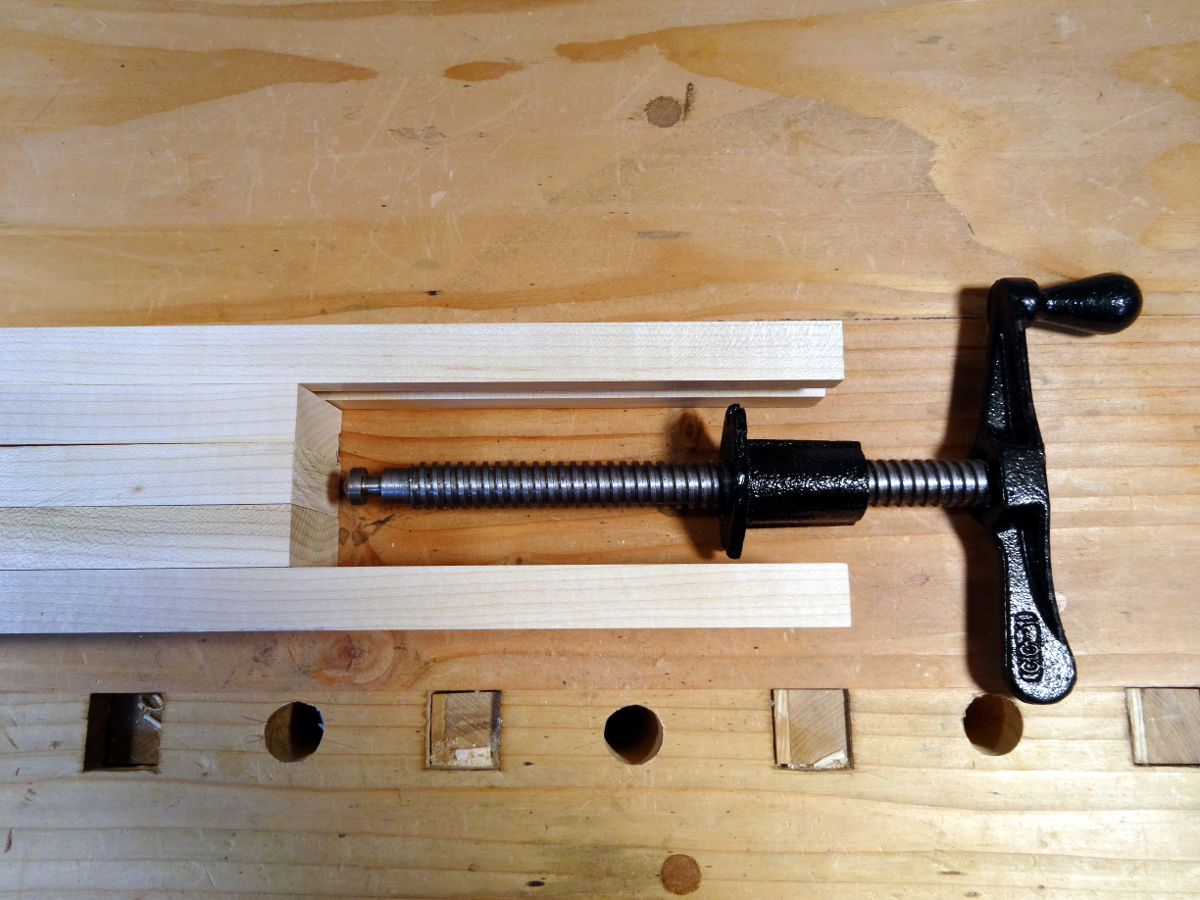
Along comes Chris Schwarz with the “Milkman’s Workbench.” Intended as a portable bench, it has a few features I like and thought would be useful. In the end, I borrowed a few ideas from that bench. The first was lamination from maple instead of fir. This is the last workbench I’m going to build; I might as well use hardwood. The next feature was the wagon vise. However, I’ll use another veneer press screw instead of the wooden screws. I can’t justify the tooling cost for making just one of those wooden screws, and for what it costs to buy one ready made, I can buy a couple of top of the line carving gouges. The last feature was square dogs and their recessed self-storage. I’ll keep the full width front vise and the excellent screws with adjustable handles. I find that vise better suited for the way I work.
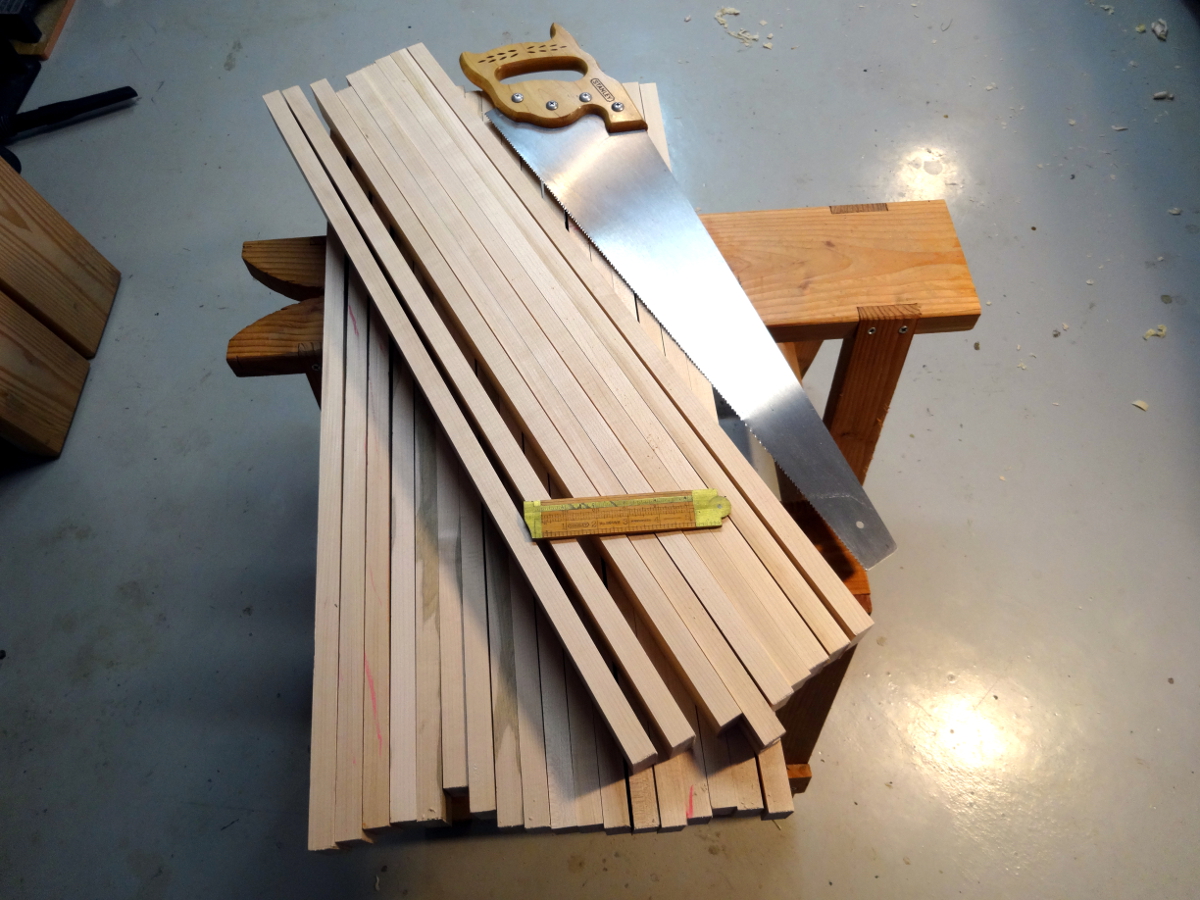 One of the nearby home centers actually carries maple. It’s “mystery maple” since the specific variety isn’t identified. There was some minor spalting in two of the three best boards. My right thumbnail Janka gauge determined the stuff was OK. That’s the discoloration seen in a few spots. Even though the specific type is unknown, it was straight, free of knots and a joy to work.
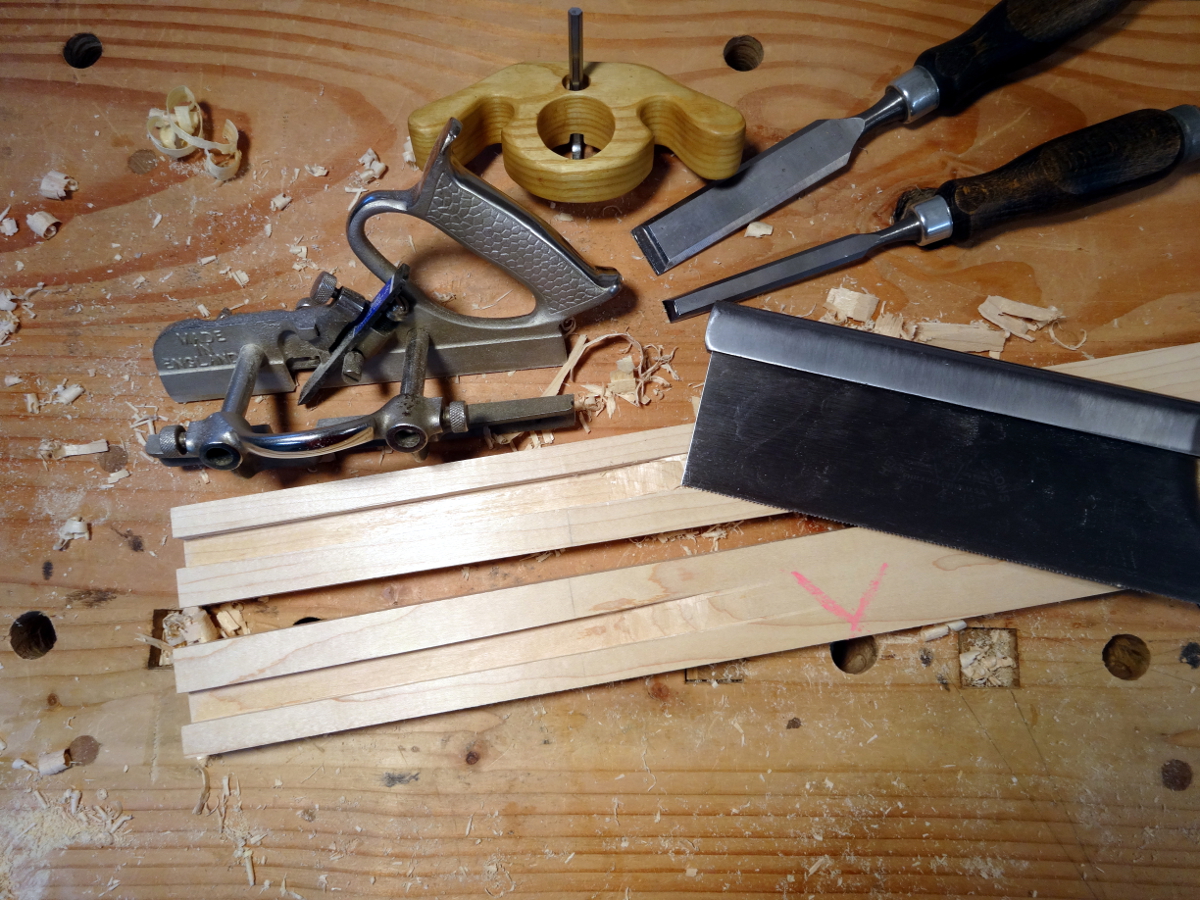 Yes, it is a lot harder than most stuff I work with, and yes the Record 044 didn’t want to plow a 1/2 inch groove without a bit of help, and yes, cranking a 1 inch auger through it with an 8 inch brace was a bit of work. Yet, it is remarkably predictable and finish planing leaves a glass like surface.
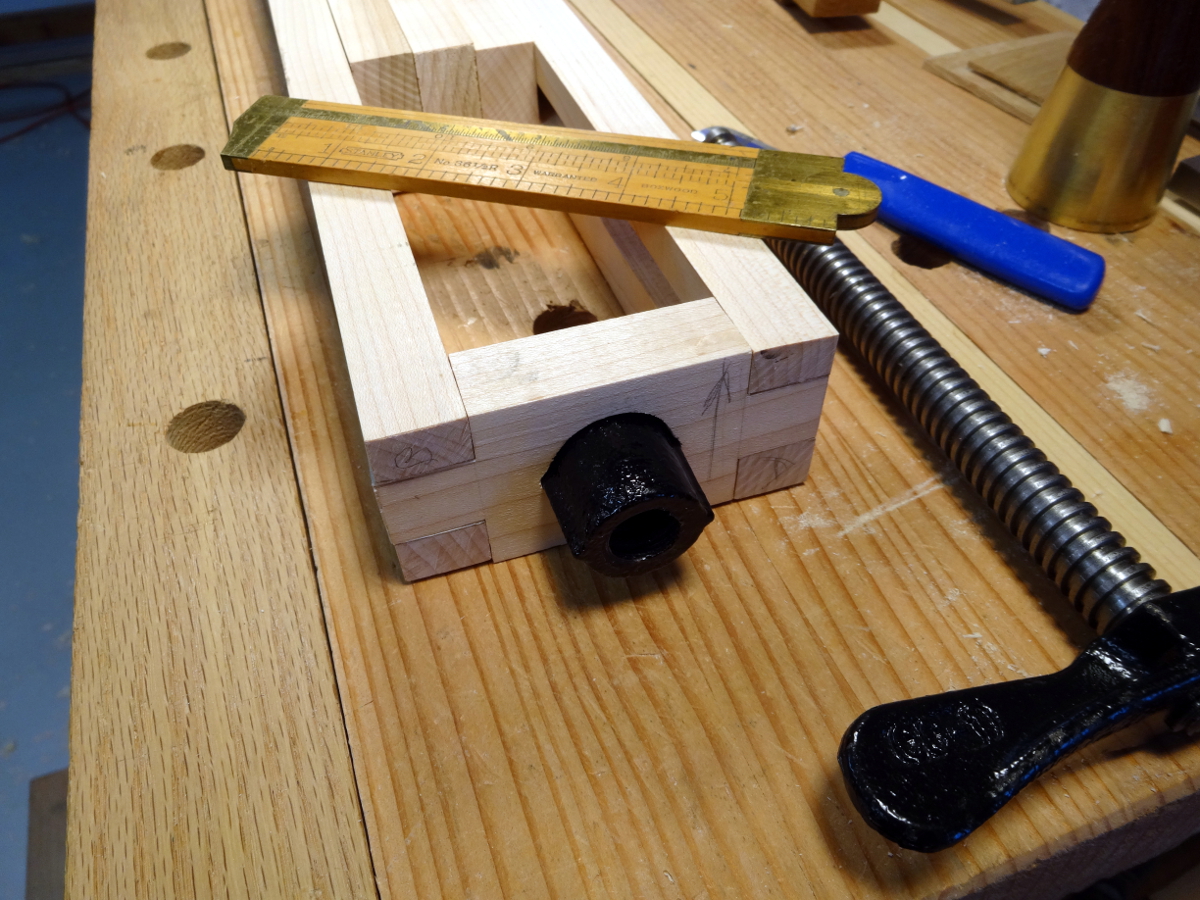
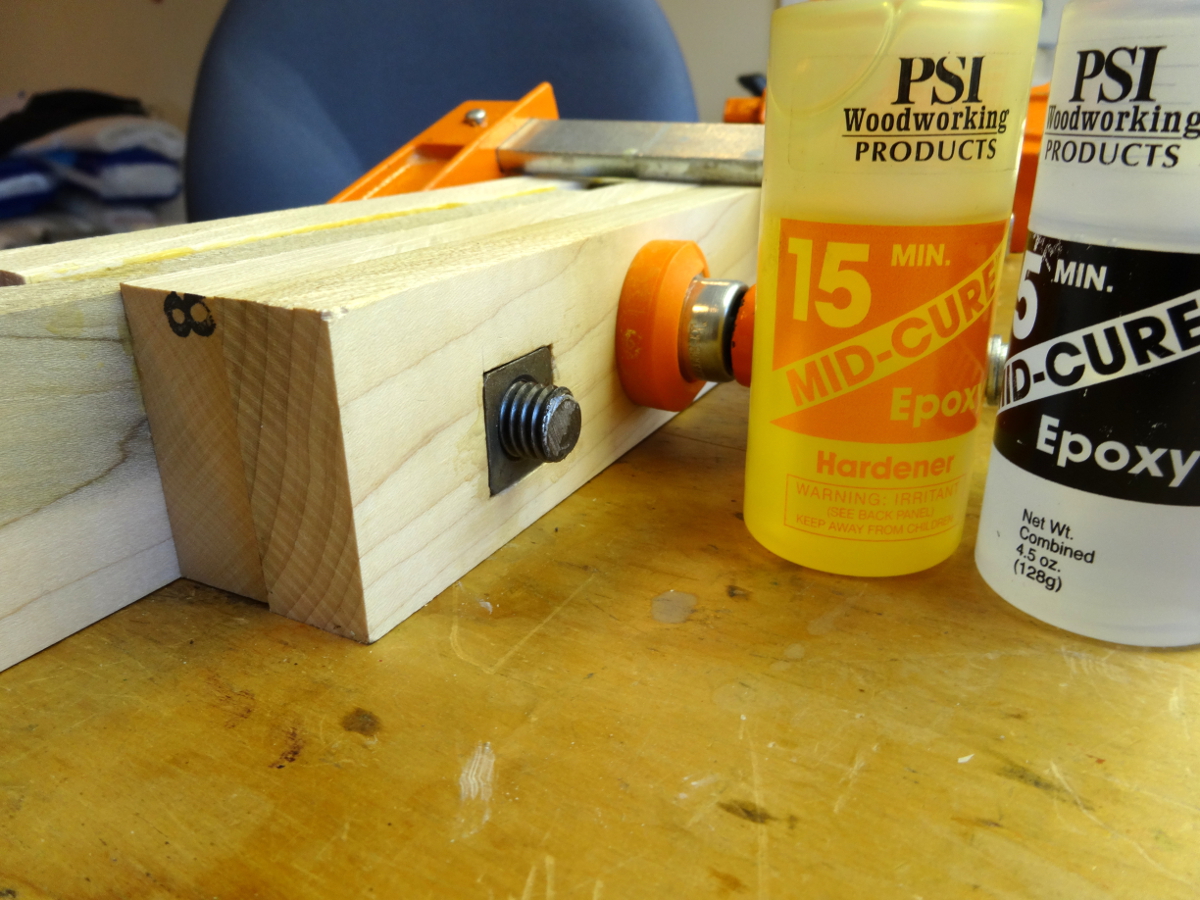
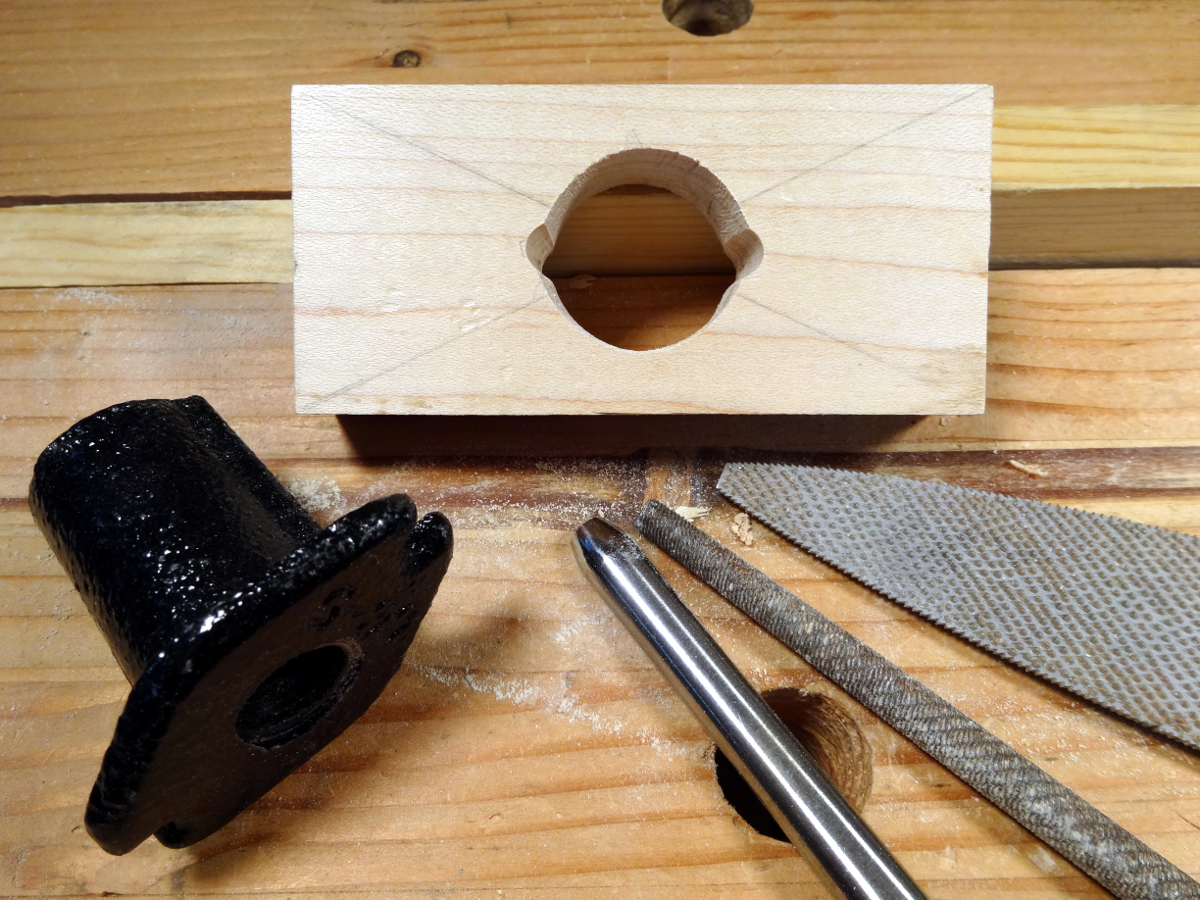 The new veneer press screw doesn’t deserve nearly as much praise. It is advertised at most all woodworking supply sources and out of stock in almost all. Once acquired, the threaded socket that is advertised as a “1 inch press fit” is found to be an elliptical shape with ribs on the side and must have been the seventieth son of the seventieth son to be so asymmetrical. There’s enough play in the threads to never have to worry about them seizing, but maybe that’s why they hold a setting so well. Fitting something like this is when one learns to really appreciate how well Michel Auriou’s rasps perform (the one on the right, not the rat tail).
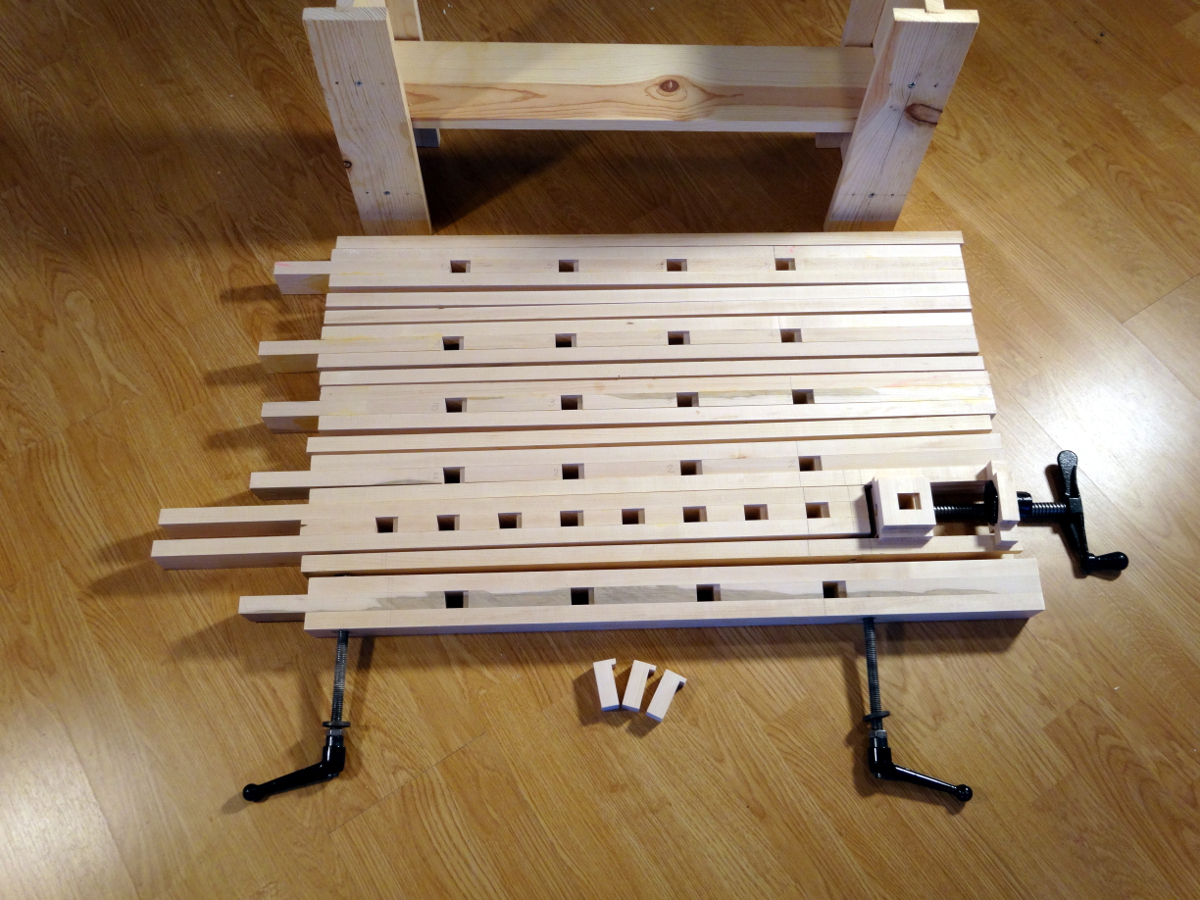
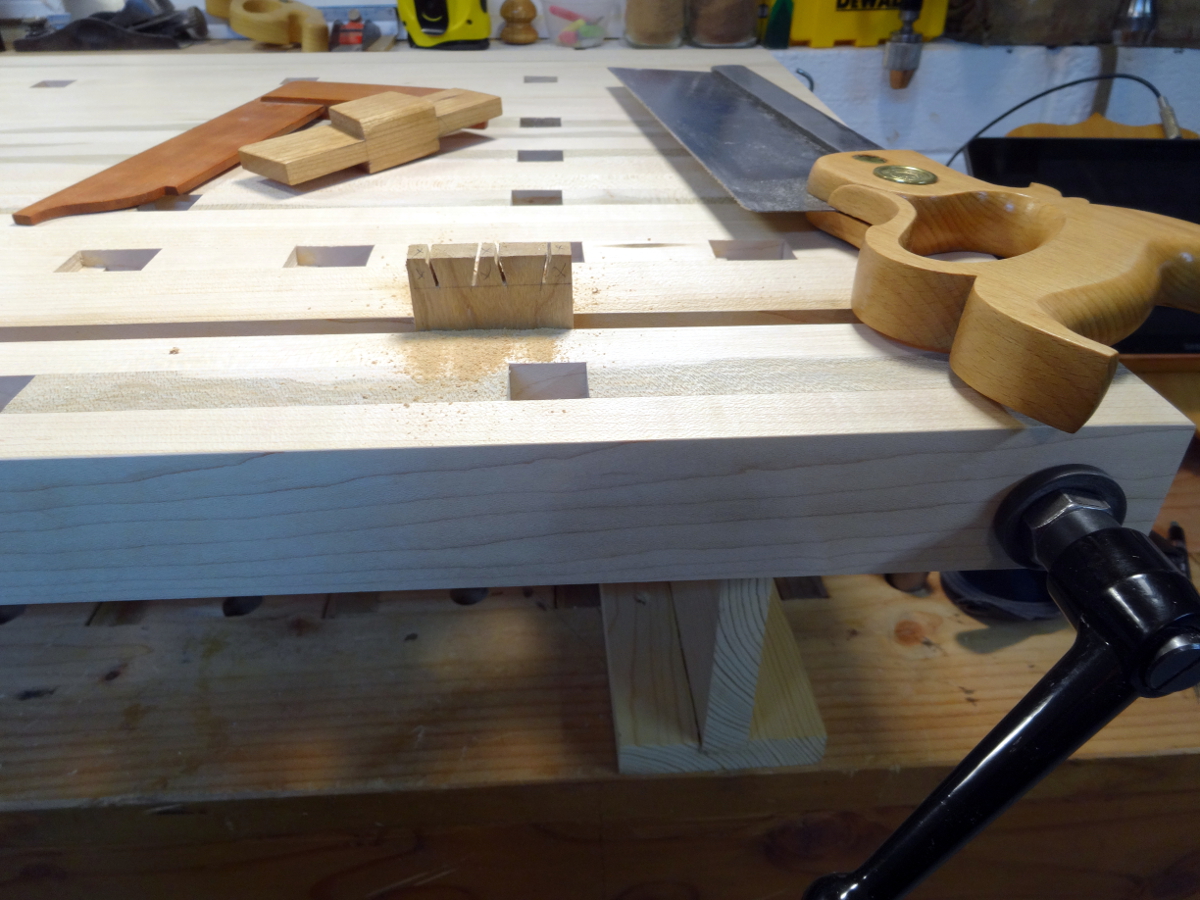
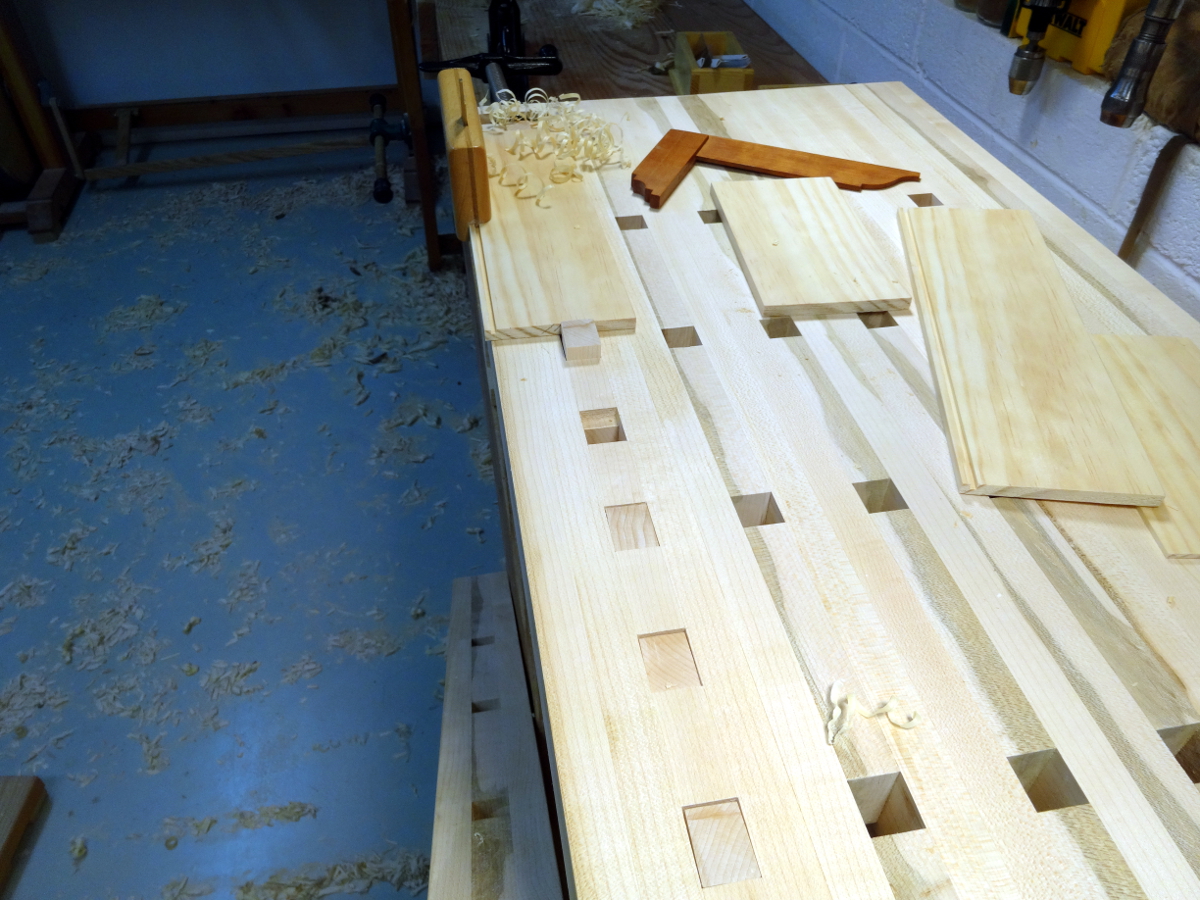
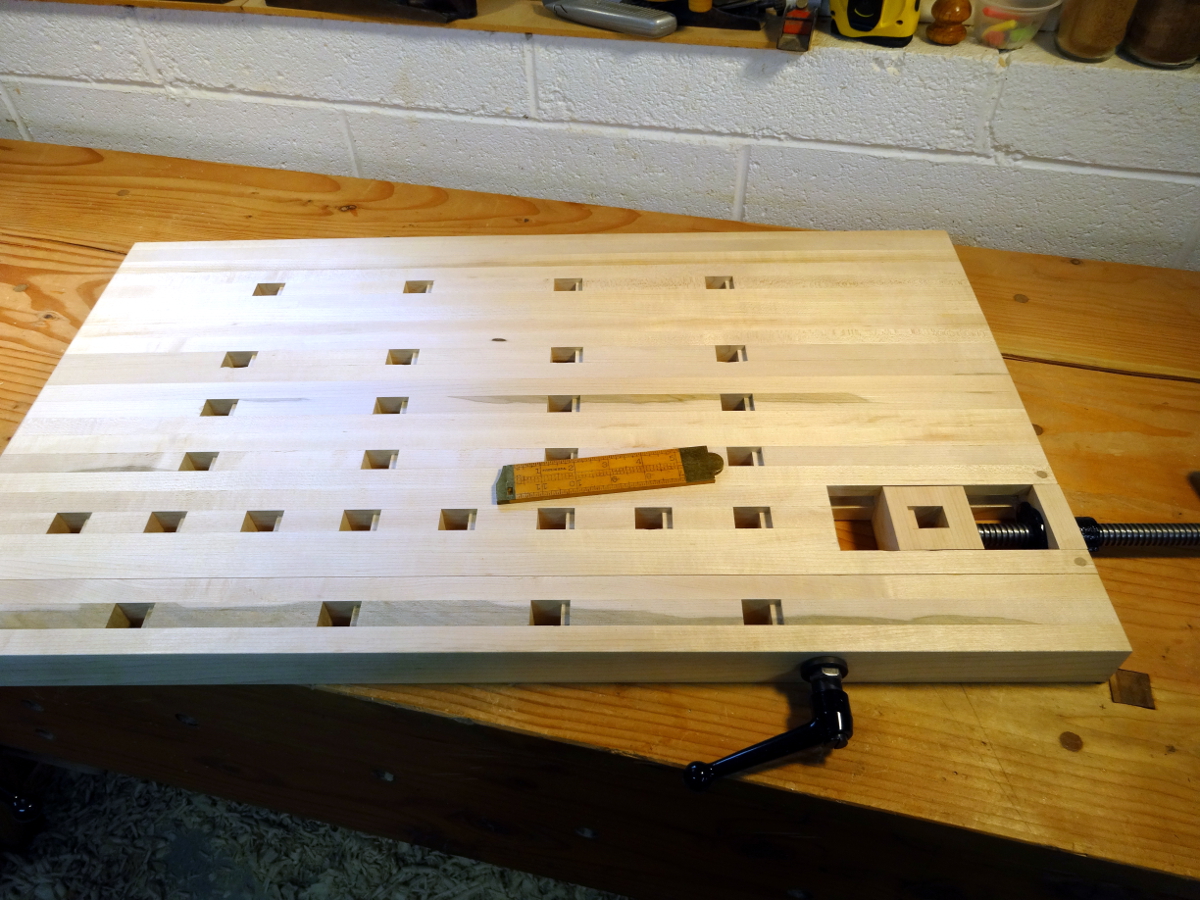 About 3/4 of the way through gluing up the pairs of strips that accommodate dog holes, I remembered that some of my working methods really want clear space on the right end of the bench. Actually, I find myself doing several operations that overhang the right side. Oooops, that vise screw is going to be in the way. OK — Plan B! Just flip it over … and smooth finish the bottom side … and make some more dog recesses.
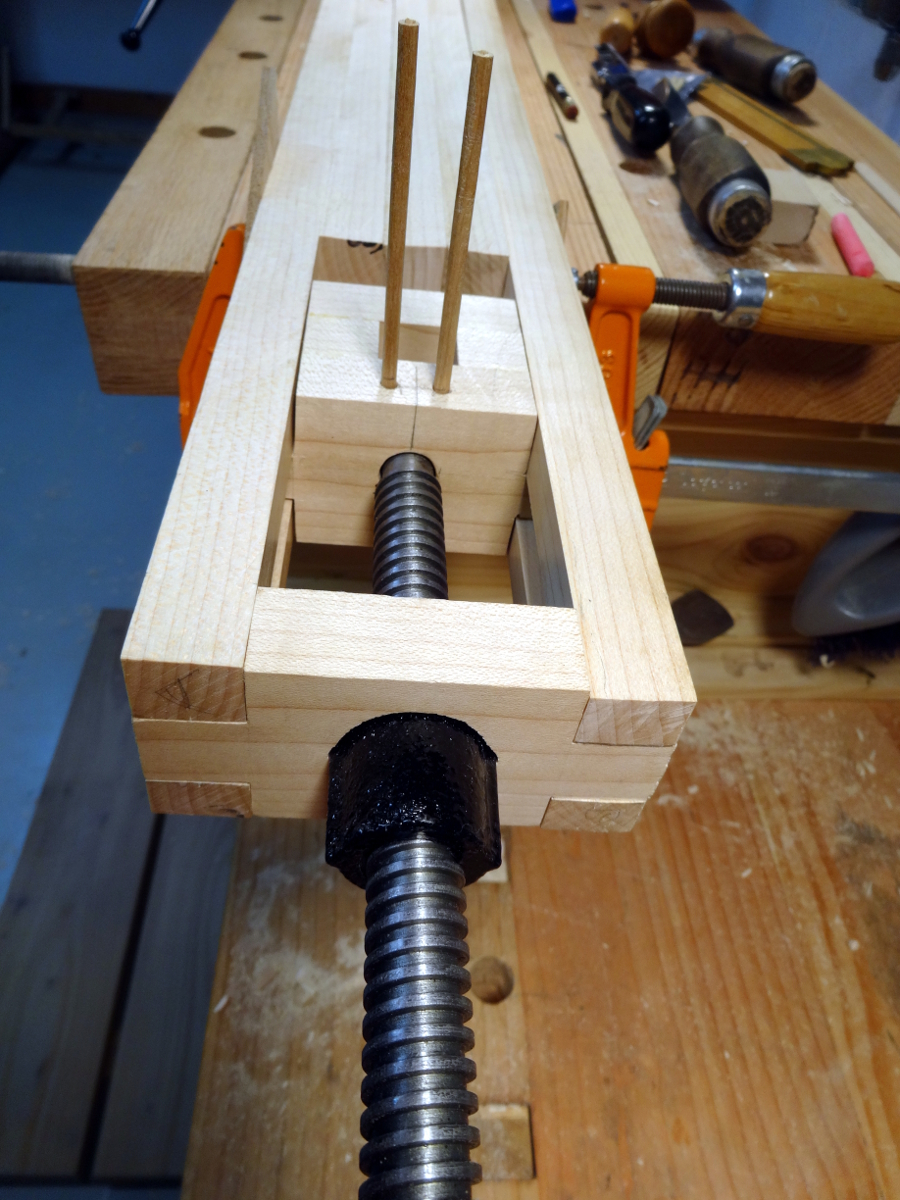
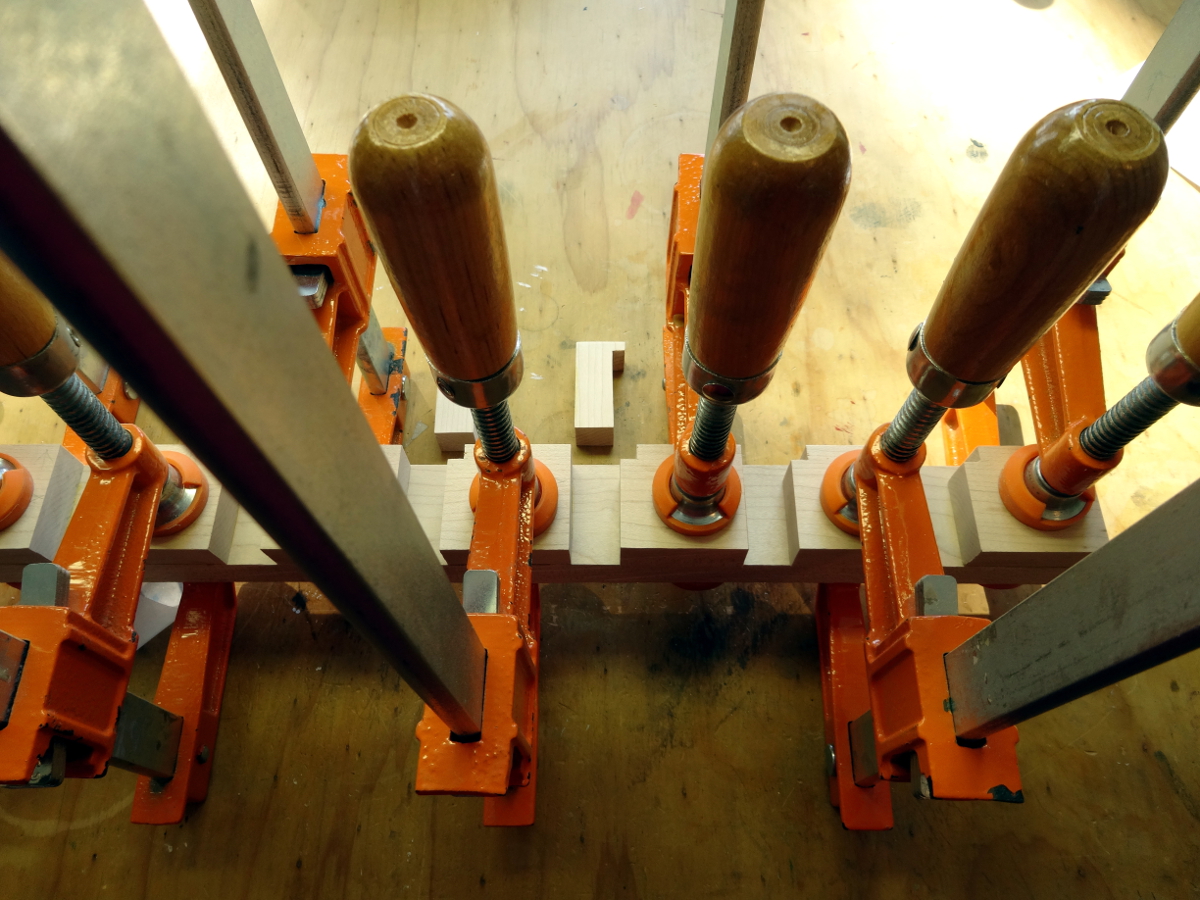
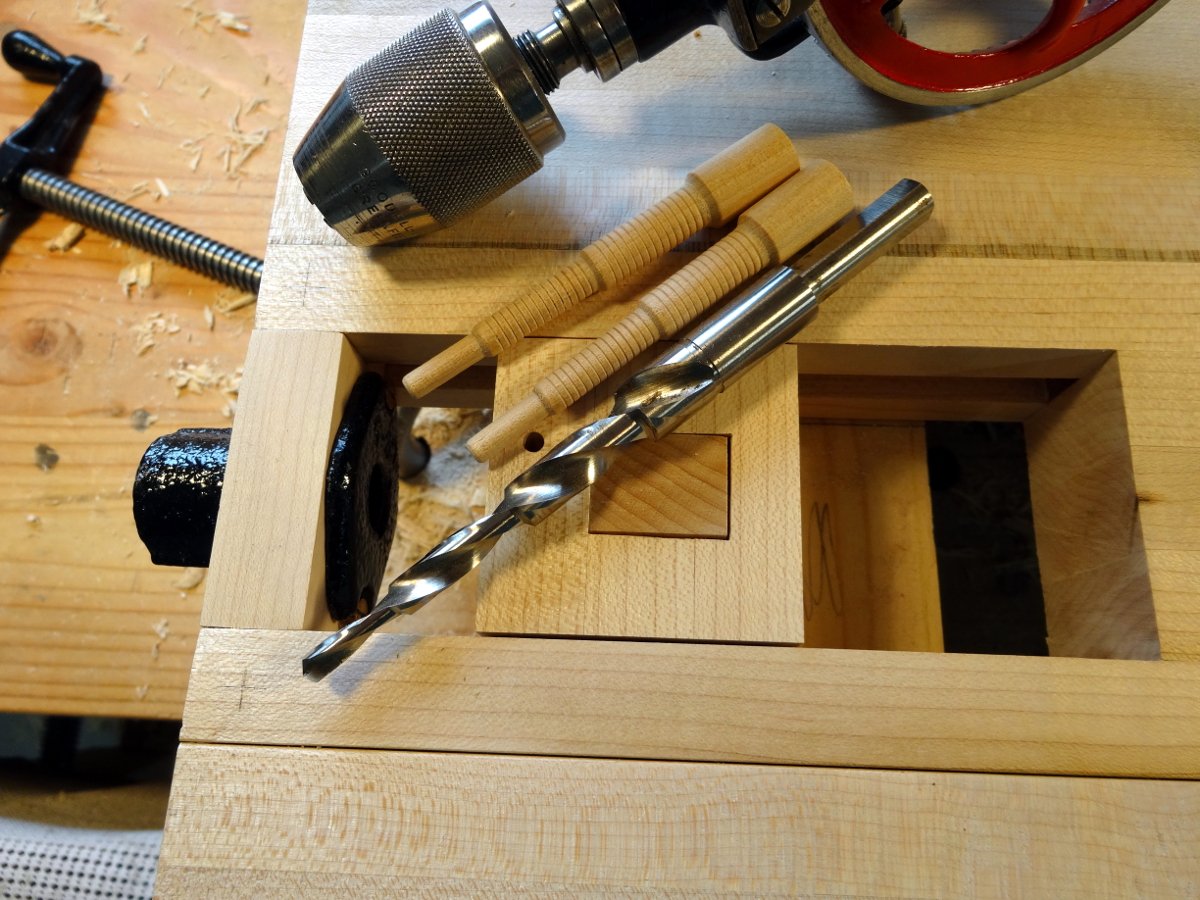
The rest is a matter of careful assembly, lots of gluing and clamping, lots of planing, a bit of drilling and fitting. By the way, the entire project was done with only hand tools. No electrons murdered. No sandpaper martyred. Very sharp plane blades, and well groomed card scrapers gave excellent results. There’s only one area not completely finished. I did not glue the end block for the vise. It is temporarily fixed with press fit Miller Dowels. It is the dry season now, about 25% humidity. In late summer humidity goes to 90%. I’ve left this area free of glue in case it needs to be disassembled and adjusted.
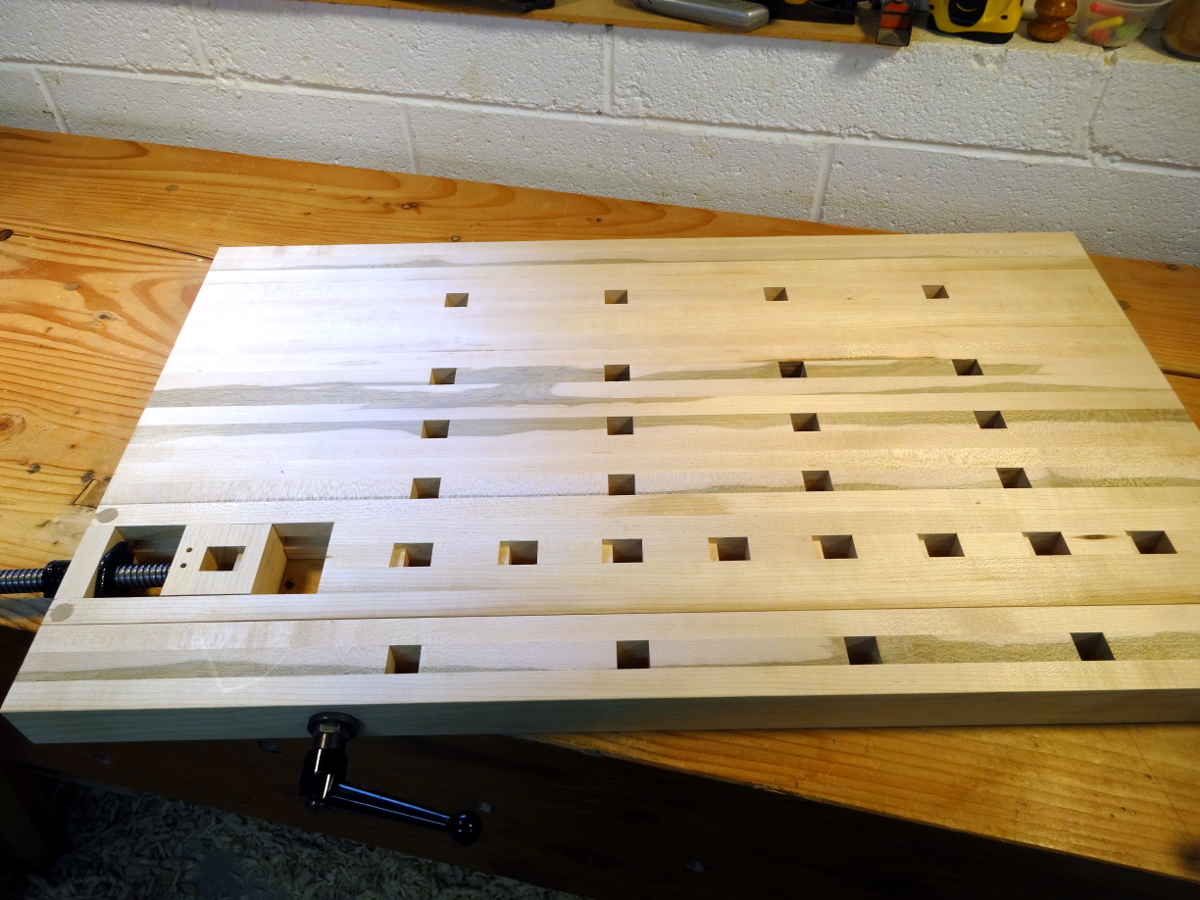
Update: I forgot to mention dimensions in the original post. The bench top measures 31.5 inches by 18.5 inches. The top surface is 8.5 inches above whatever it sits on. It weighs 32 pounds.
The work holding capability is better than I aimed for, and the fit and finish is a big step above the previous version. All of the methods I practice can now be done easier and more reliably with this bench.
Click any image to see a larger view as a slideshow.

Bob,those press screws you can’t find are widely available with a tiny bit of work. The handles are called adjustable handles readily available at machinery supply stores. McMaster-Carr is one source. http://www.mcmaster.com/#control-handles/=qwaqfk. Just choose what size thread you want then add threaded rod to suit length. These are only available in standard machine threads. But if I recall correctly those screws at TFWW were not acme threads either. I use some epoxy on the threaded rod so they don’t come loose. Sizes go up to 5/8-11 at MCMCarr. Not sure what’s available elsewhere.
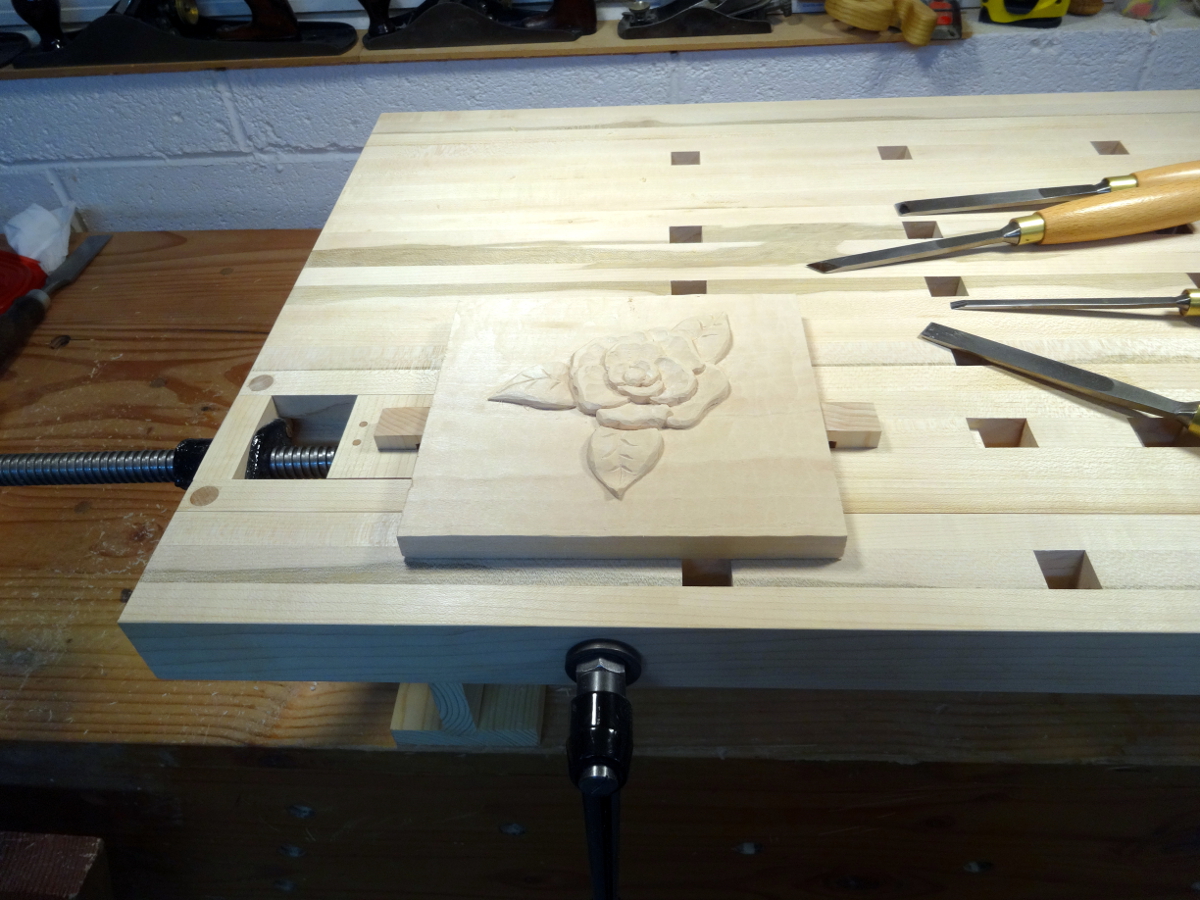
Nice bench! I really like the round carving you are holding in one of the pictures. Looking at it made me sad that I cant carve anything and the time to learn may have already passed 🙁
David,
Yes. I knew about McMaster-Carr having the handles. I just wasn’t at the point of fabricating the screws to them. Your suggestion is a very good one for someone wanting the same. And, yes you are also correct that the TFWW screws are not ACME.
THANKS for the suggestion that others might follow.
PhilM,
It’s never too late! I’m an oldster who only started carving a short while ago. Anyone who ~wants~ to learn can and I know a superb teacher. Full disclosure, I do web technology support for Mary May, a master carver in the classical style. She has an online carving school with quite an accumulation of videos. You can get a taste of it at: http://www.marymaycarving.com/carvingschool/
Wonderful bench, is it from the plans out of FW 2005 that Jeff Miller published? I made one similar which I use for carving, joinery, and other work this old back can’t straighten up from anymore! I take it to whatever classes I teach and I’ll bet at least a third of my students end up building the bench as well. Similar to you, I drilled more dog holes and then have a 1/4″ thick piece that bridges them so I can fasten plagues to the bench.
Hello John,
Old backs certainly appreciate raised benches. This bench had no formal plans other than some sketches I made for size calculations. Some parts (actually, the base) are from the previous bench, as are some features, such as the full width (Moxon-like) front vise. The wagon vise, in particular, is an adaptation from Schwarz’s Milkman’s bench, although wagon vises are all quite similar.
Speaking of classes, one of the last classes I took (won’t say where) had a dozen half-built BoBs over in the corner … not ready for use by all the people who would have liked to use them. Instead, we lifted every (heavy) bench in the place up upon teetering stacks of blocks. 🙂
Keep havin’ fun with the stringy mahogany cousin. It’s too bad the real mahogany market was so poorly managed way back before people understood good resource management.