• Skip to primary navigation
  • Skip to main content
  • Skip to primary sidebar
  • Skip to footer

Bob Easton

Chocolate powered woodworking

  • Home
  • Grinling Gibbons Tour

bowl carving

Bowl #3

February 13, 2020 by Bob Easton Leave a Comment

photo of small bowl
photo of small bowl
photo of small bowl
photo of small bowl
photo of small bowl

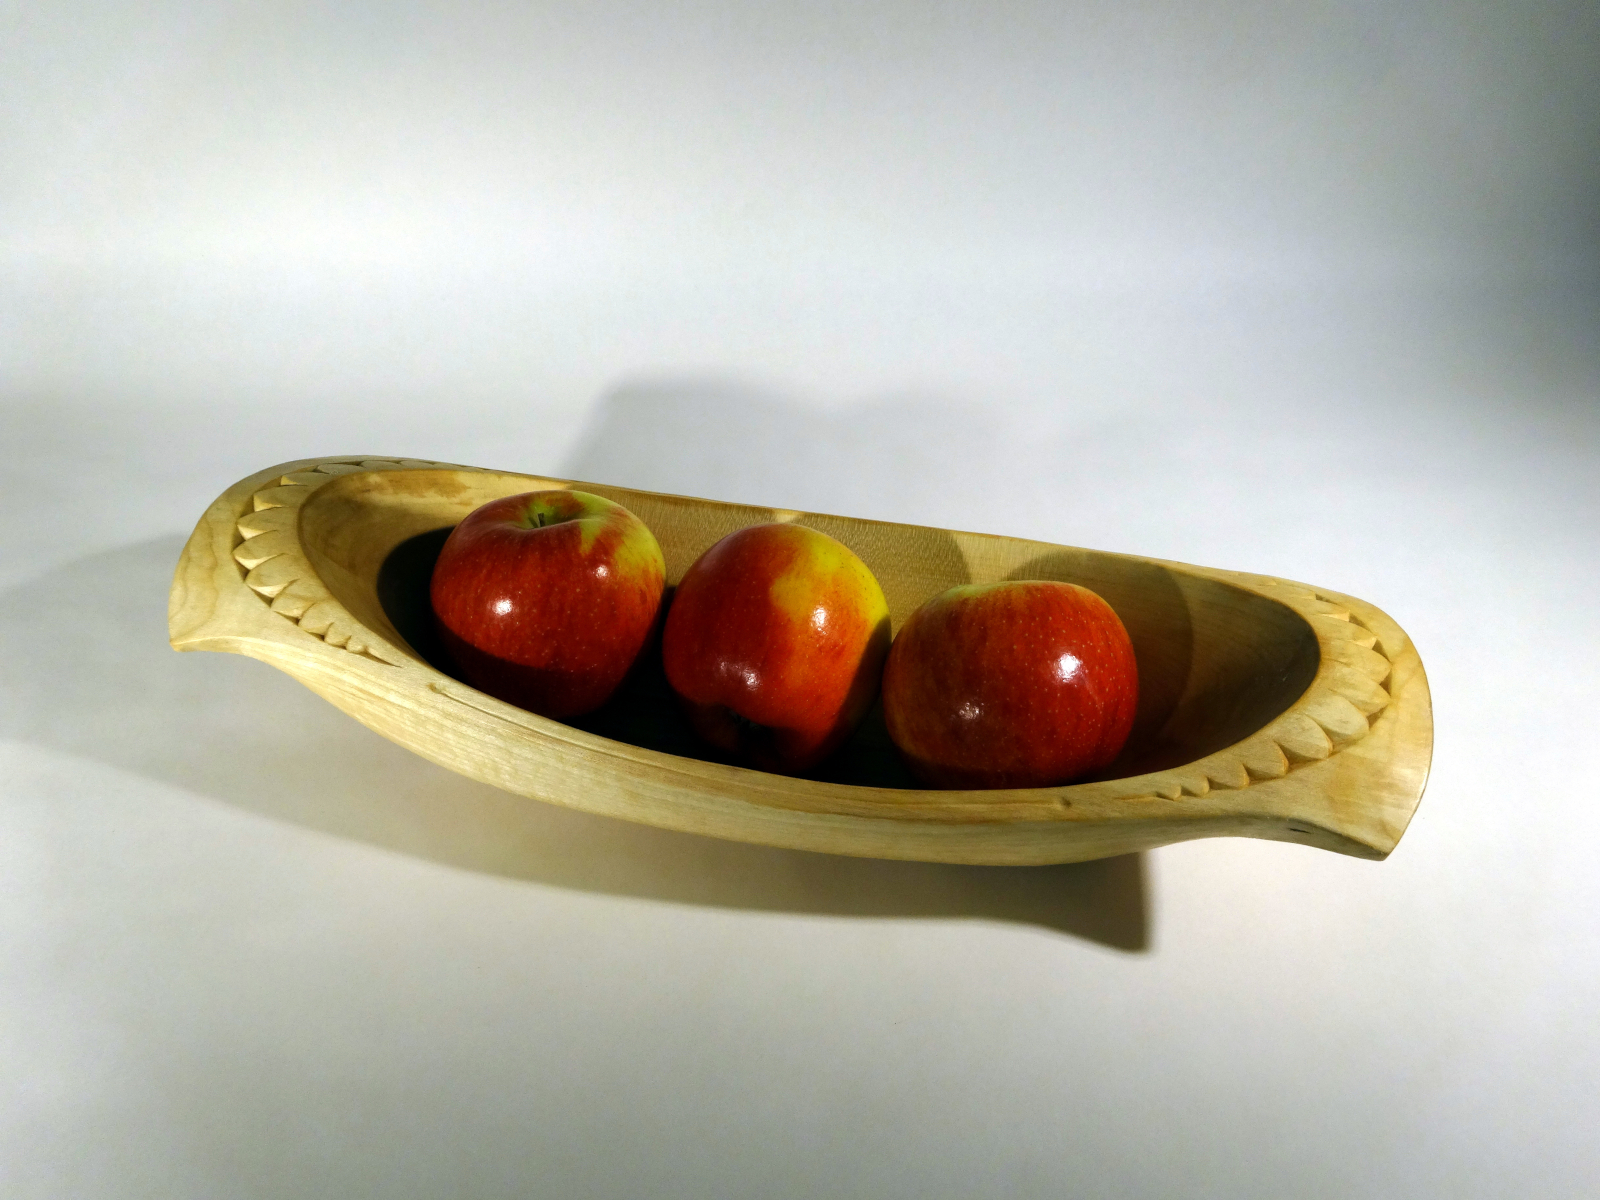
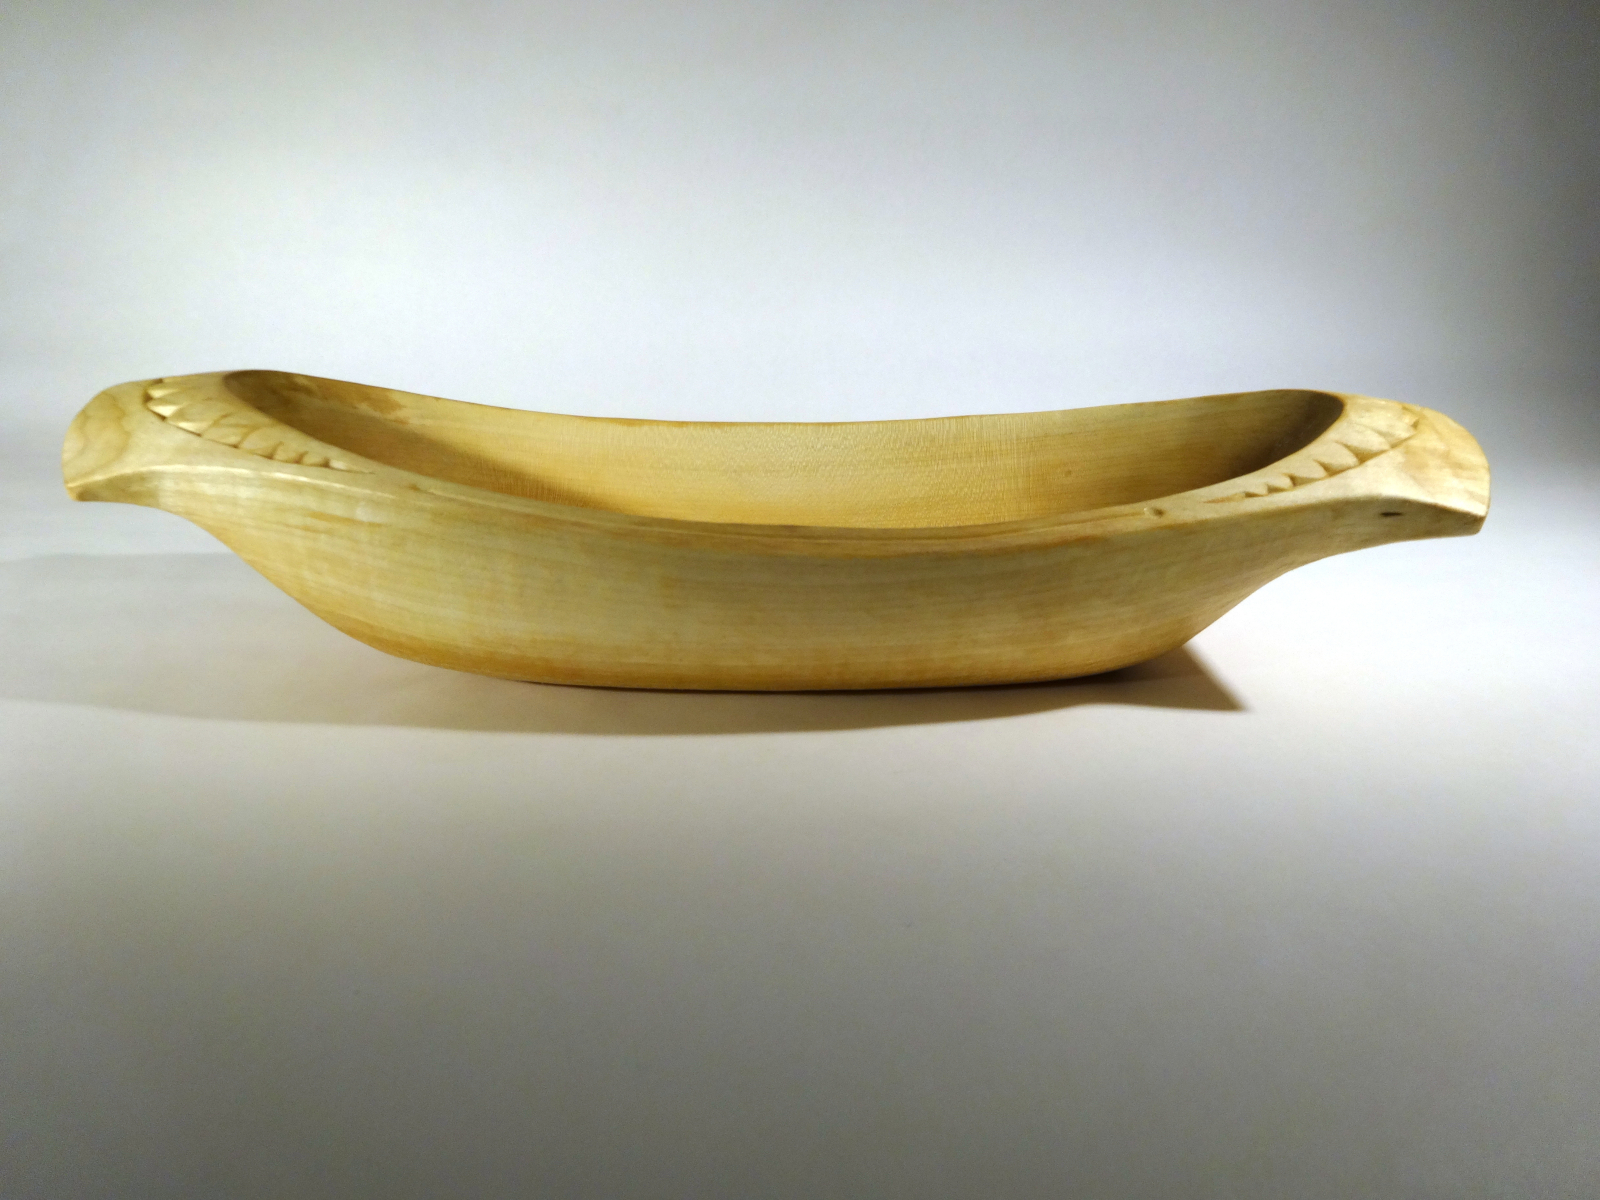
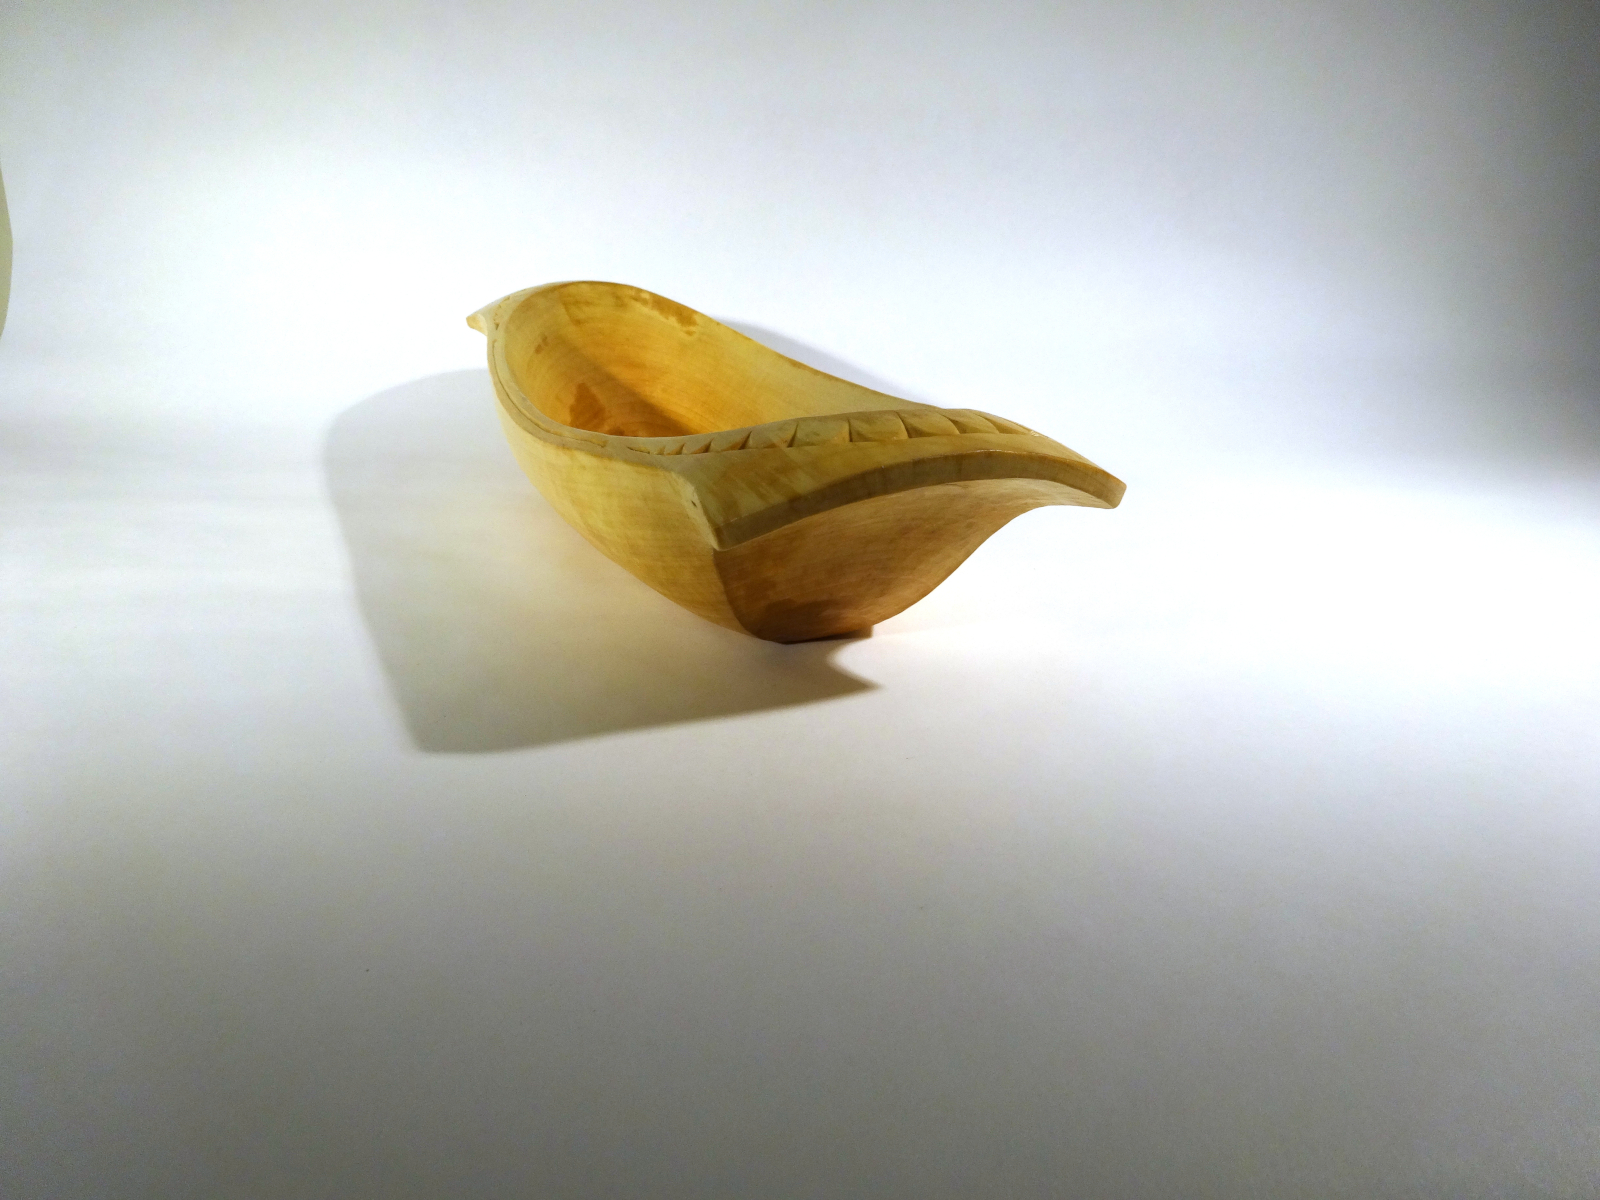
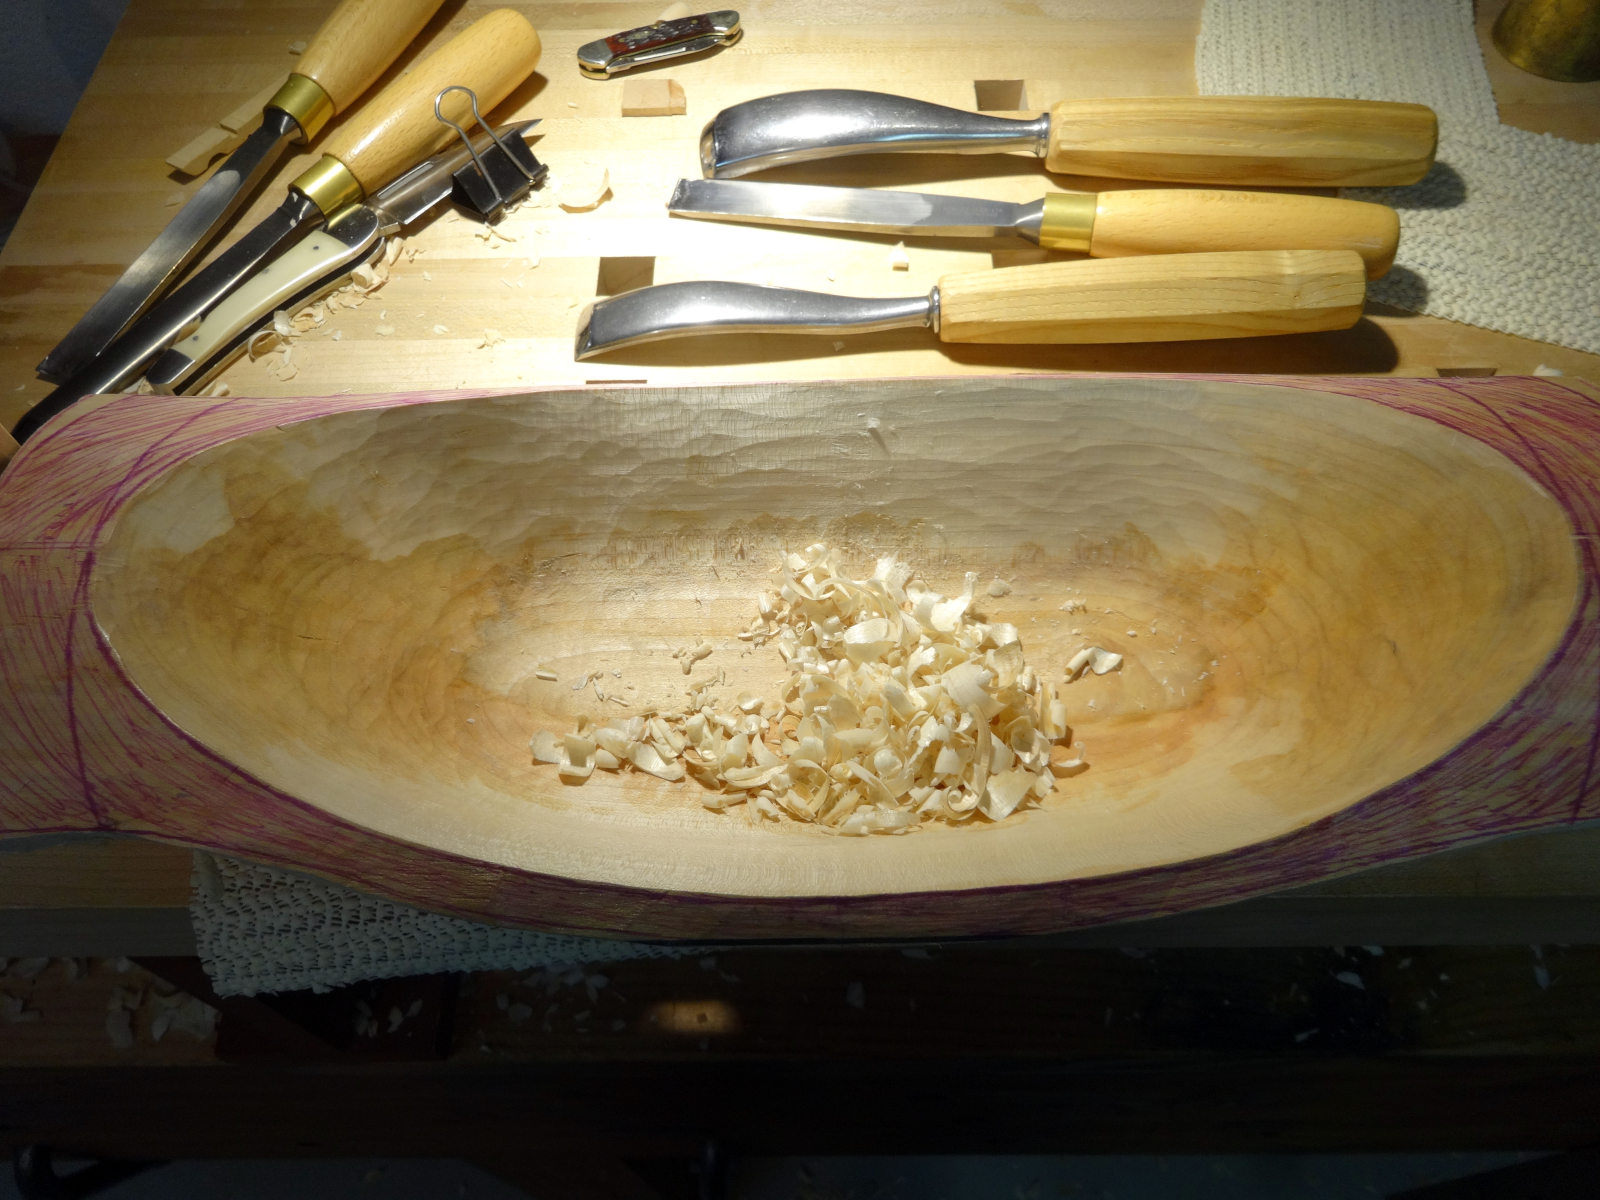
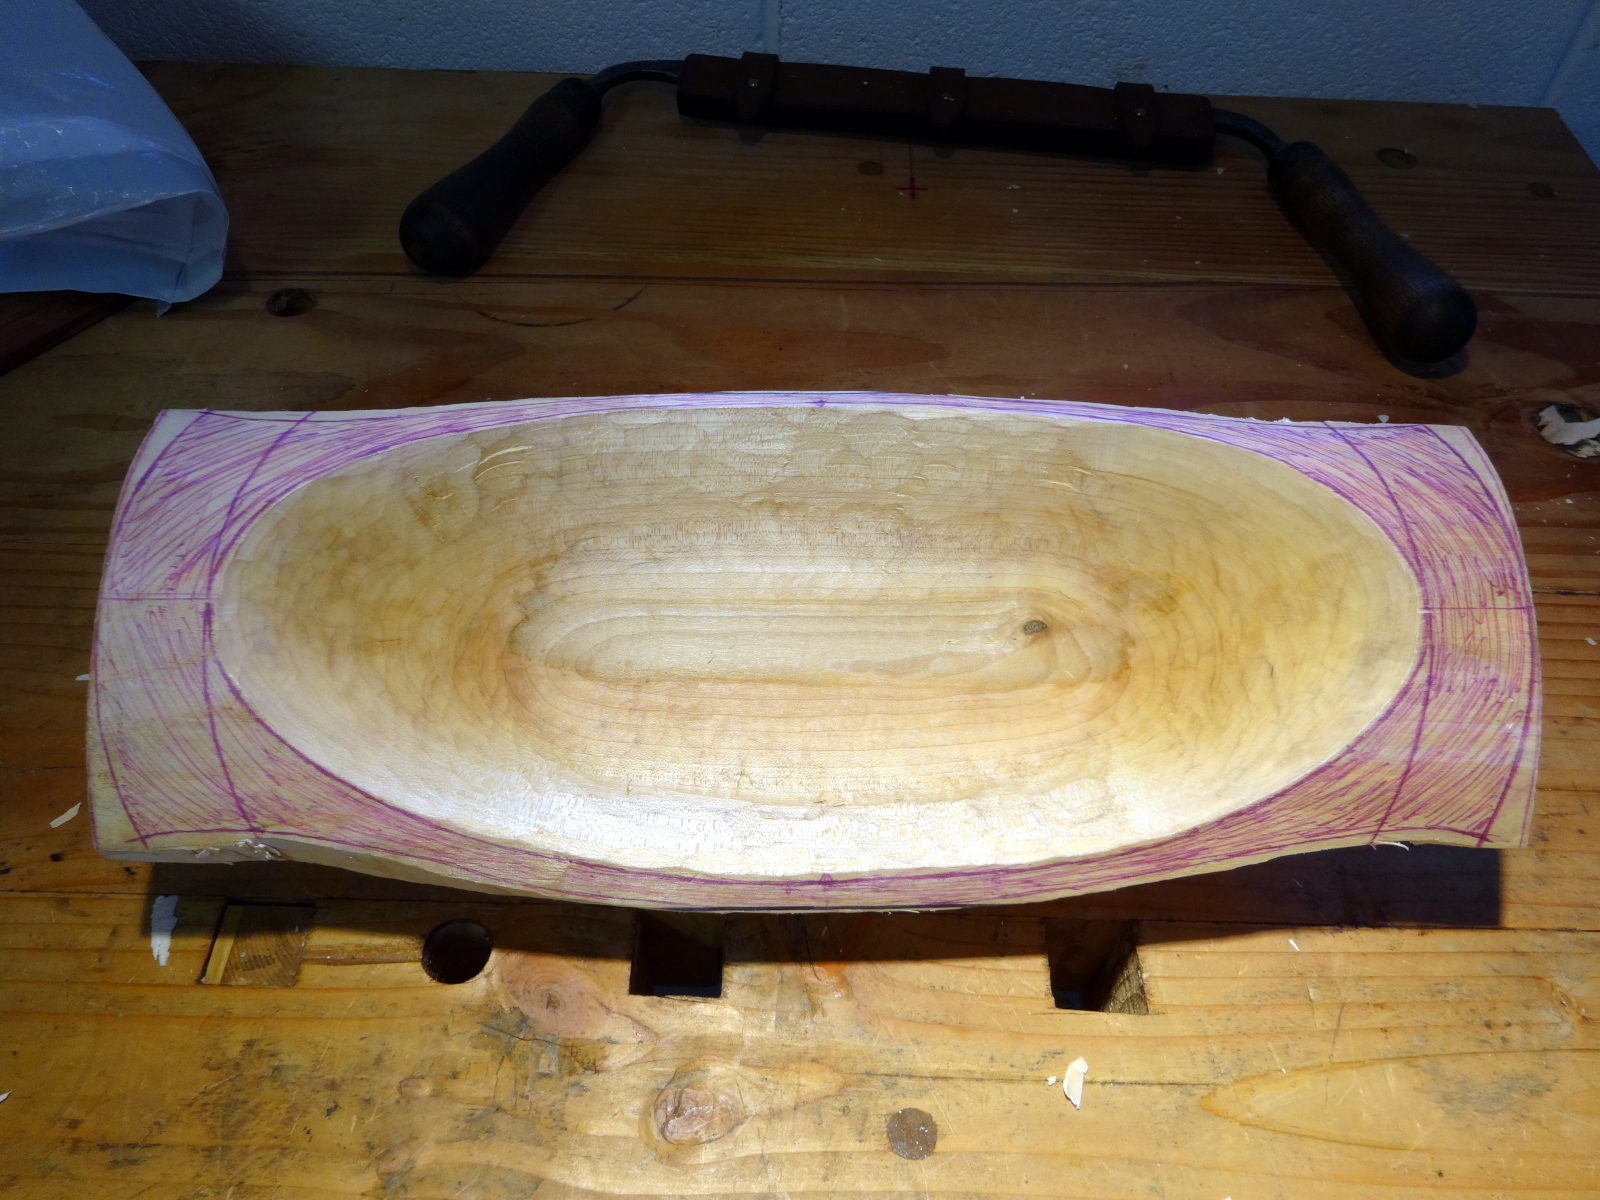
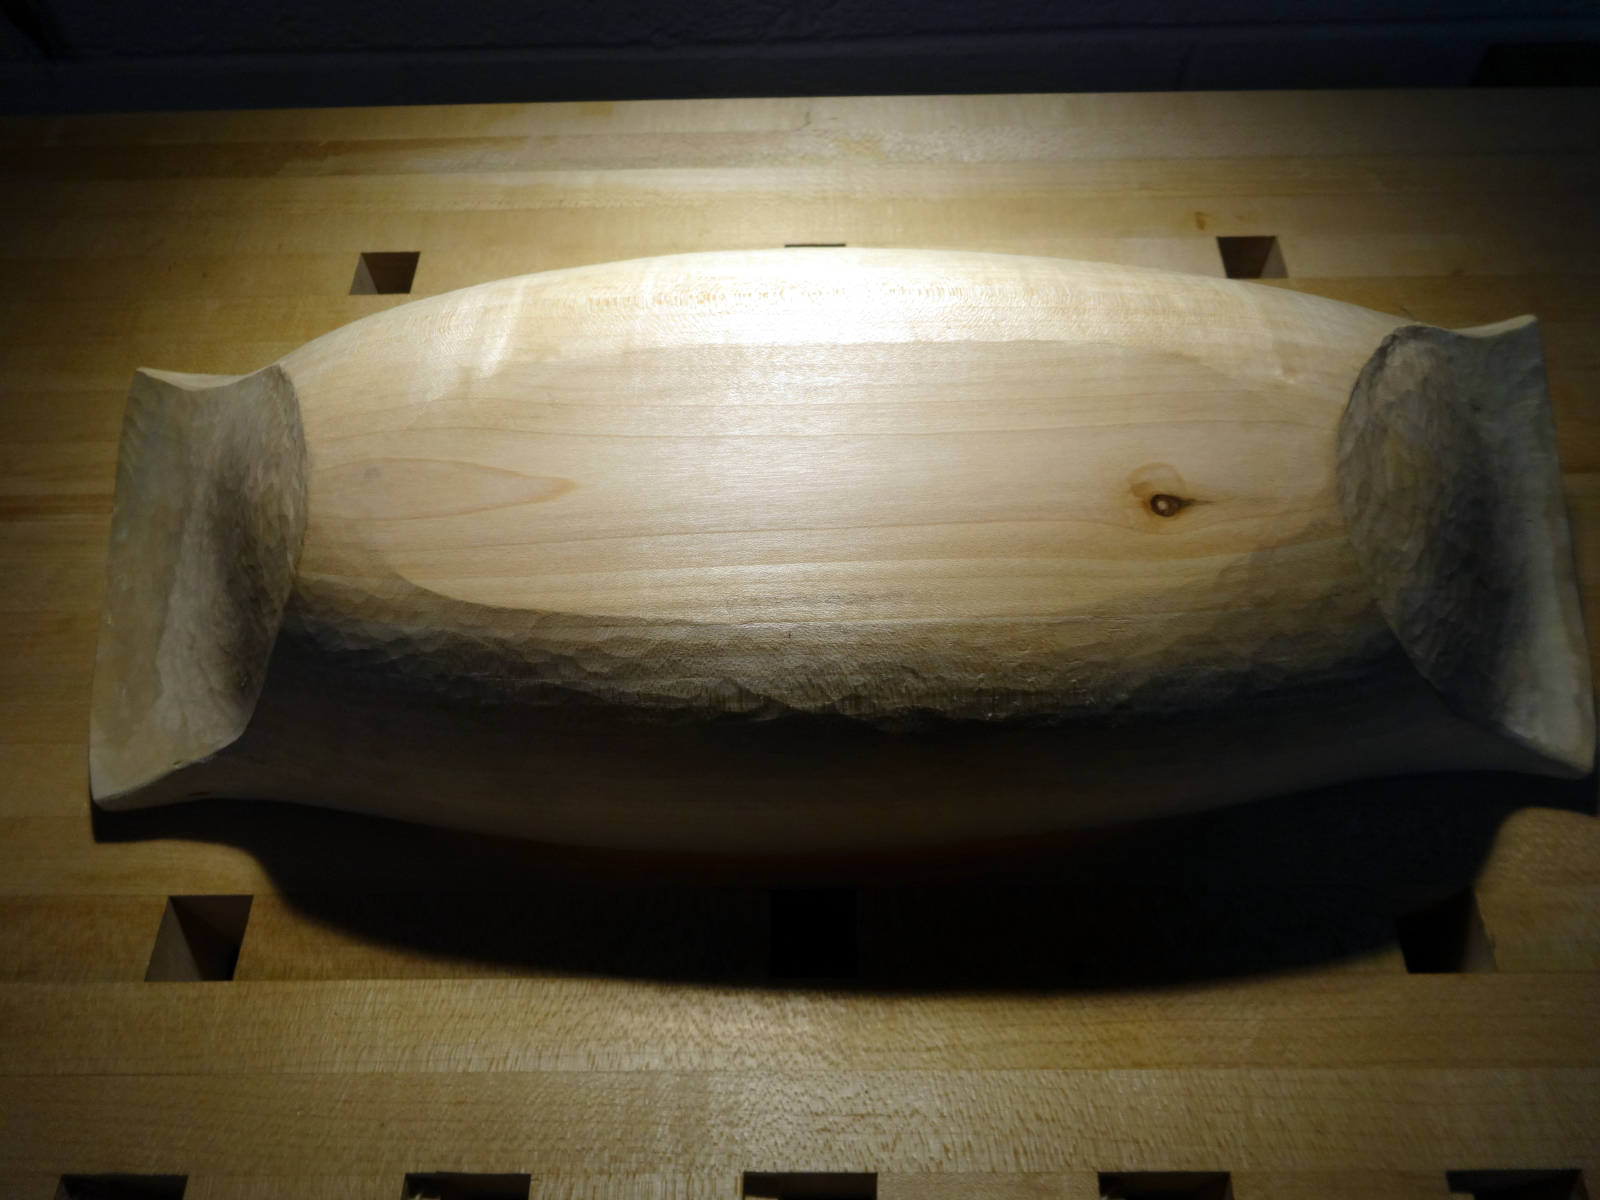
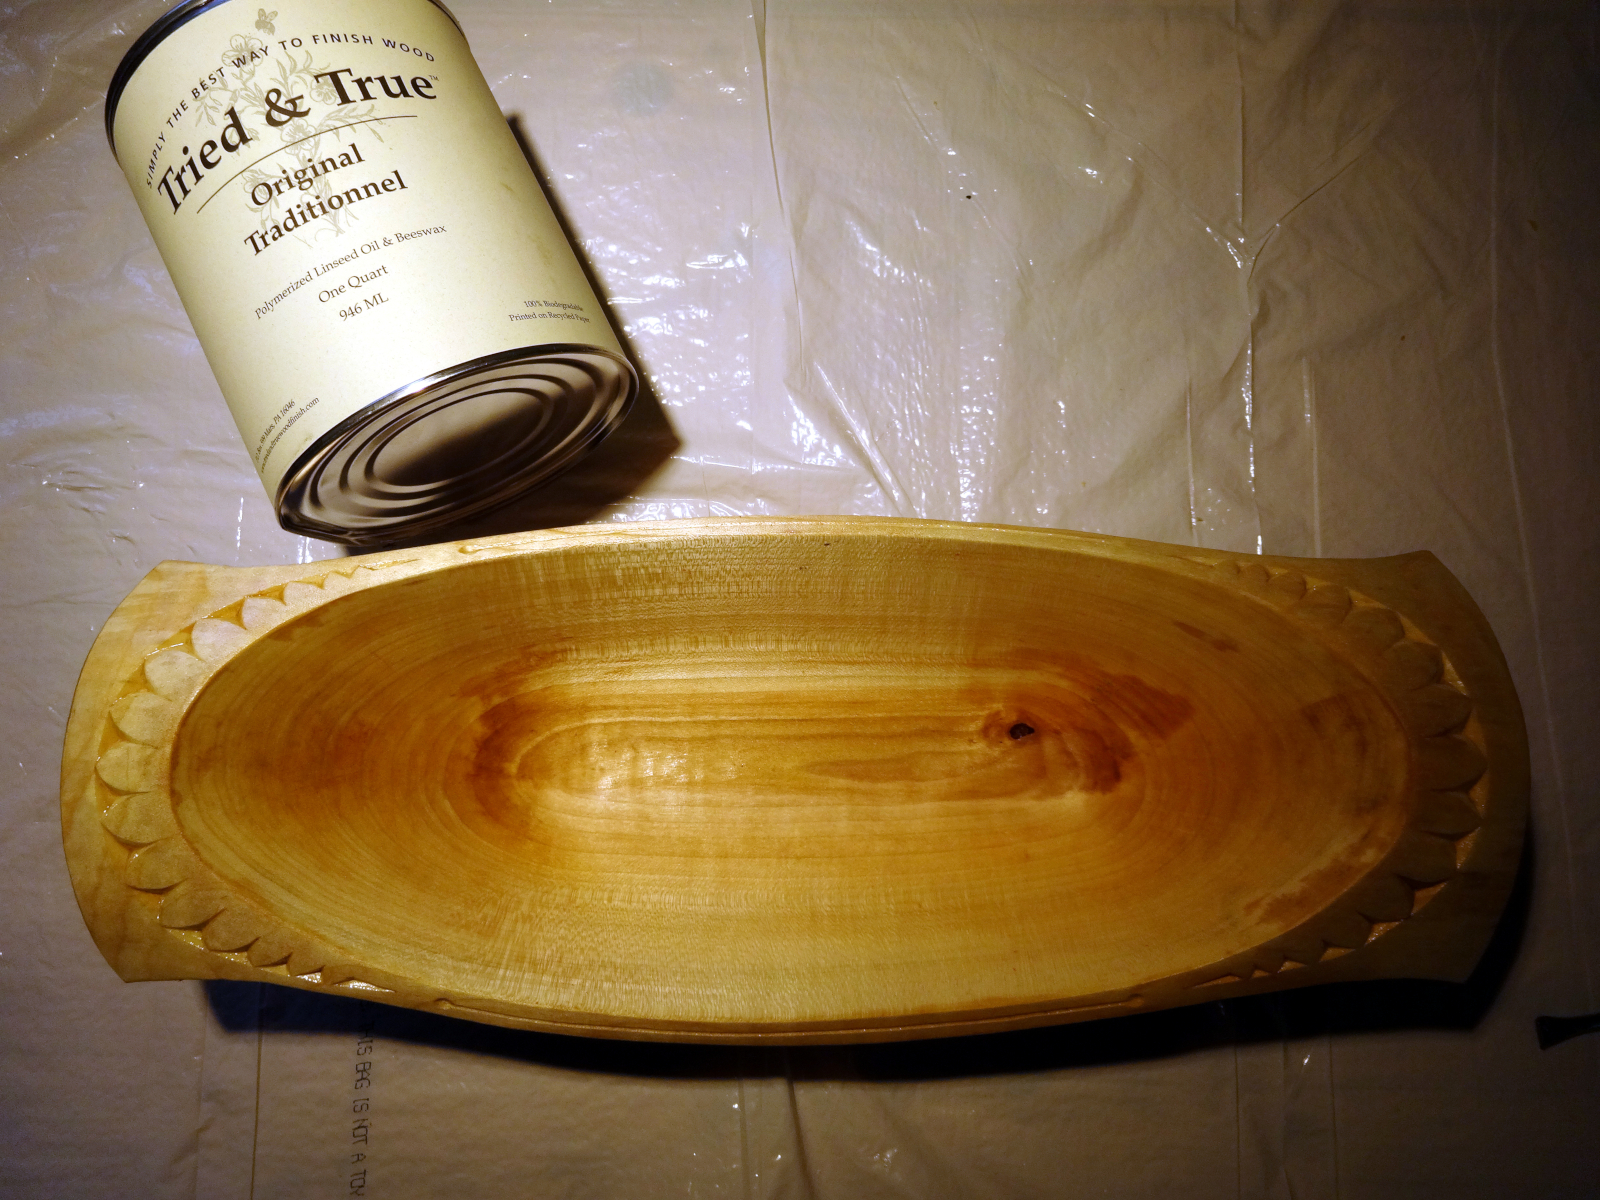
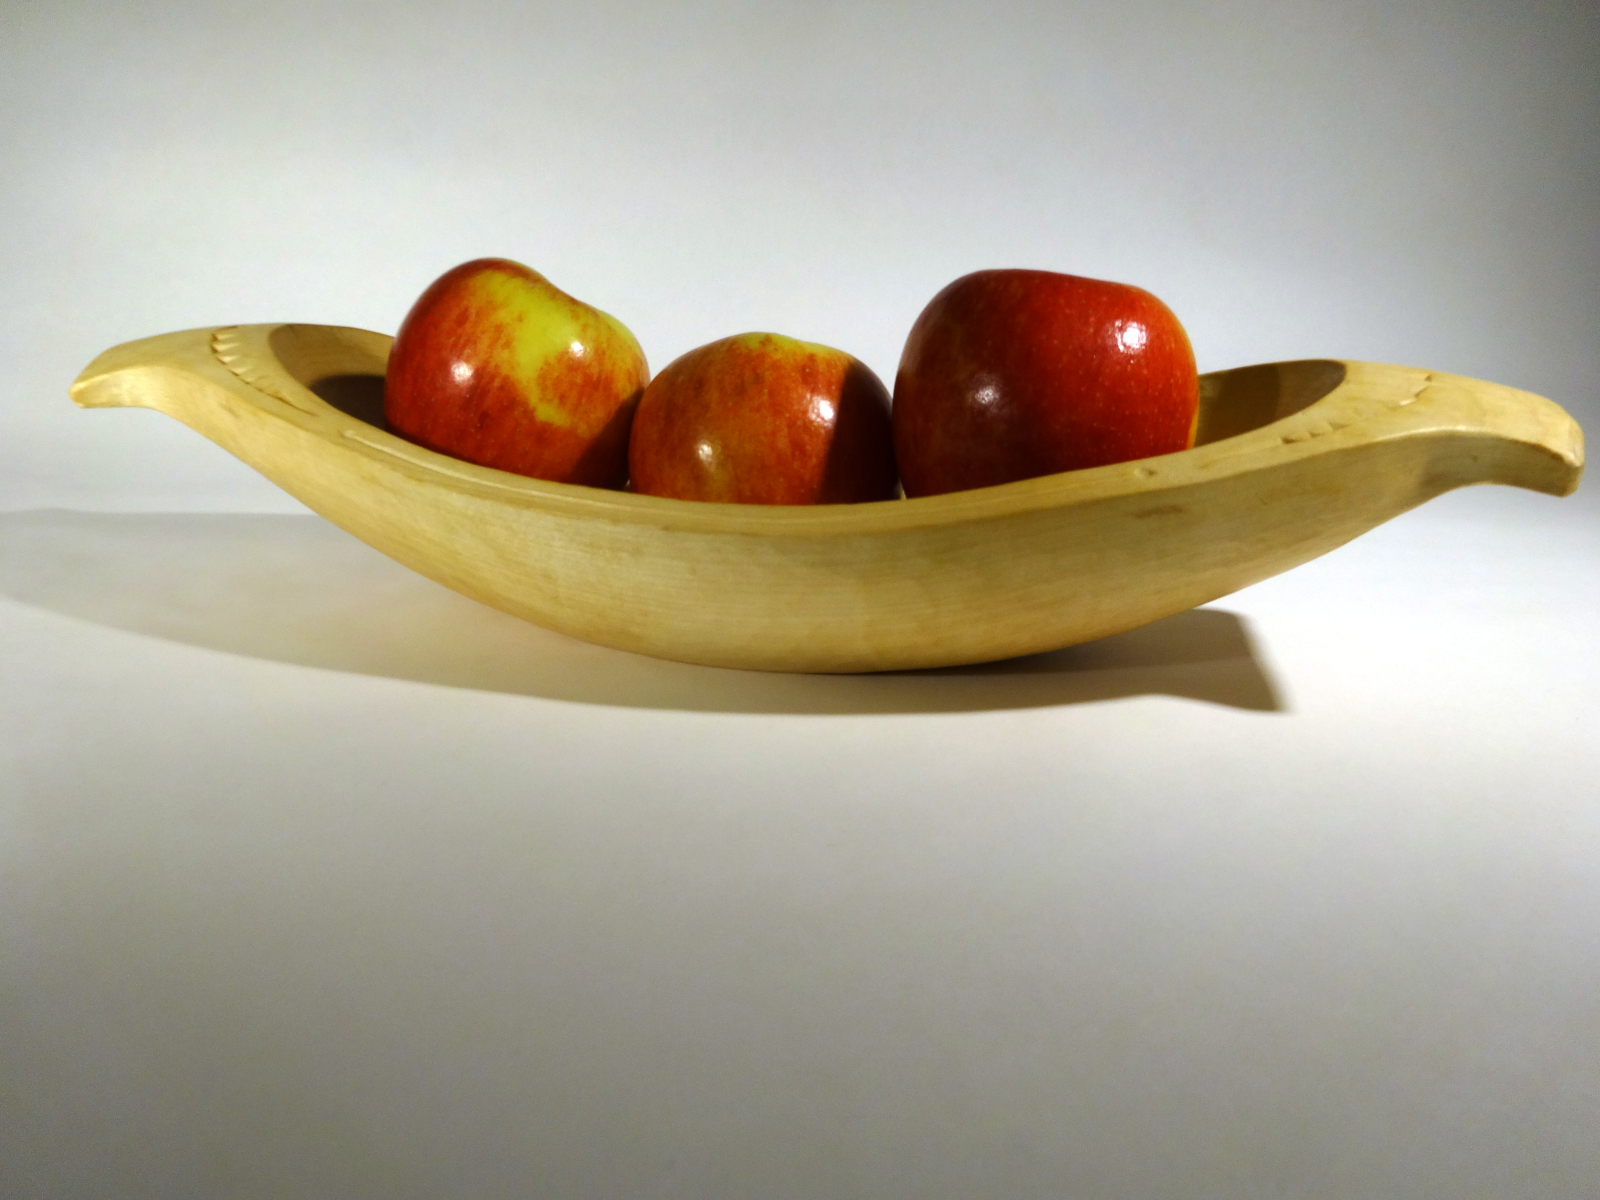
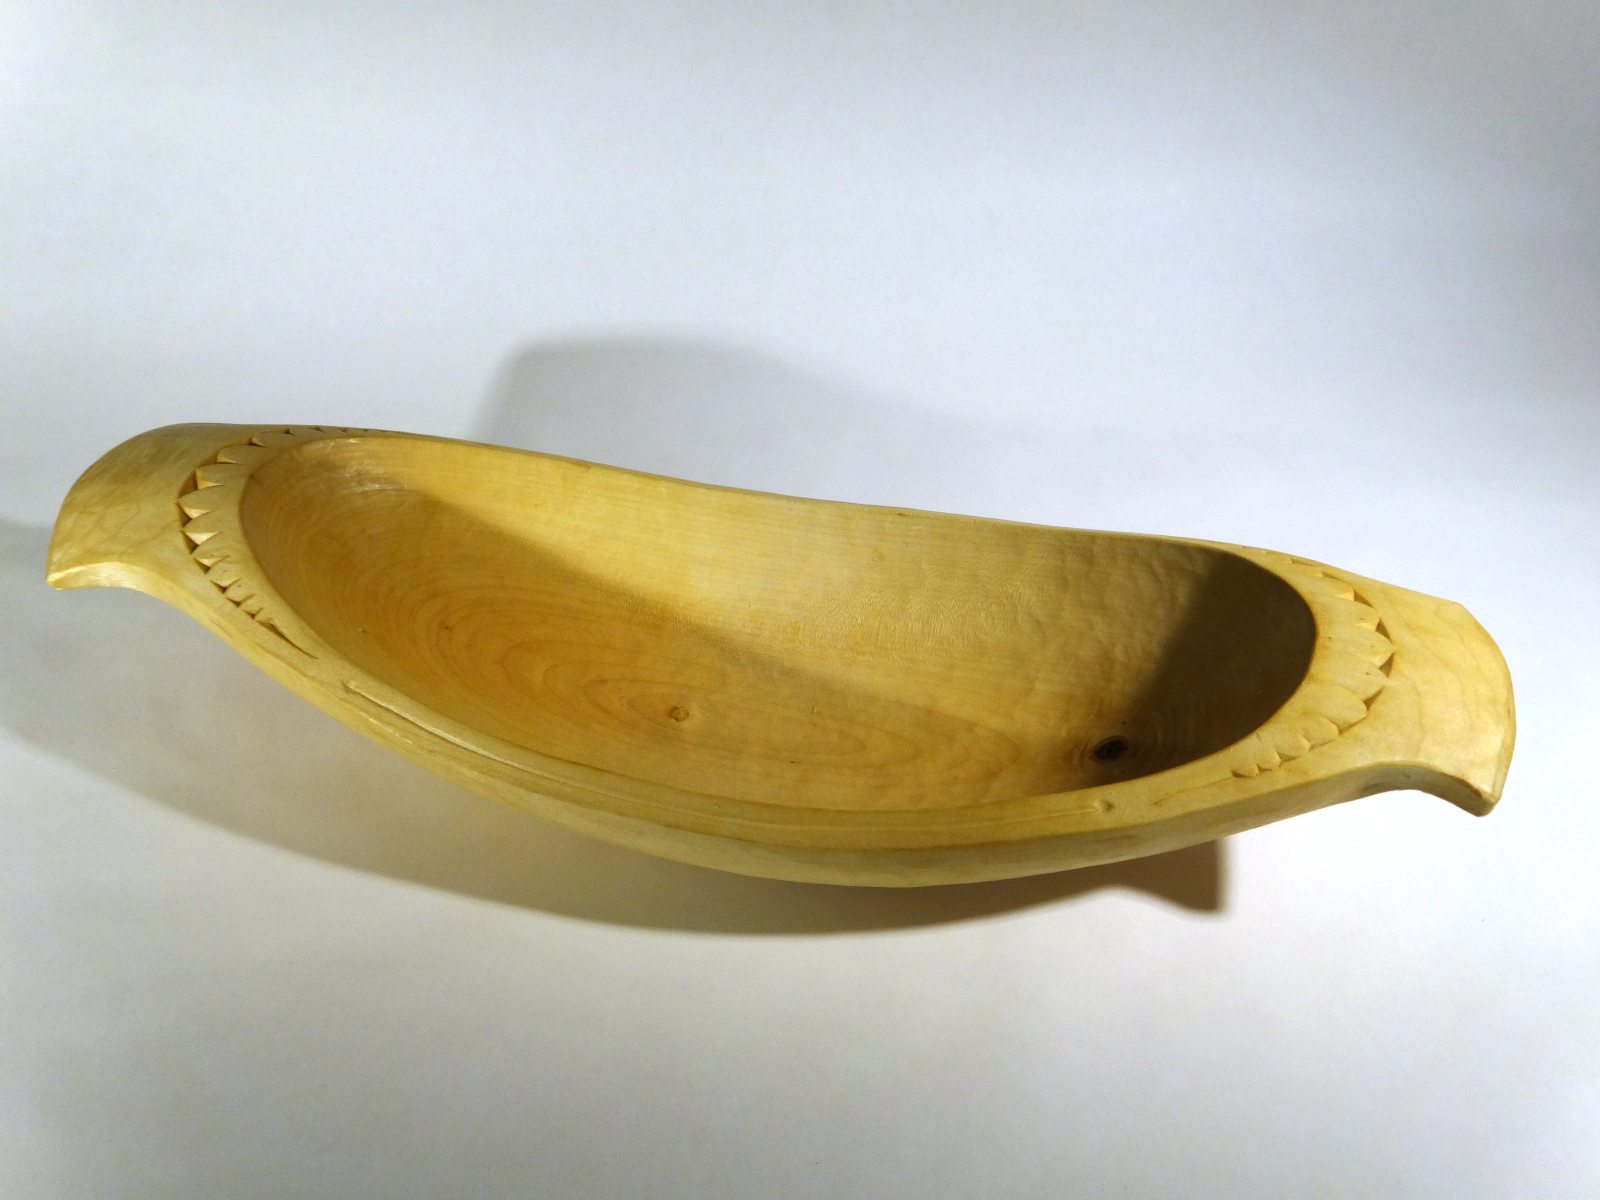
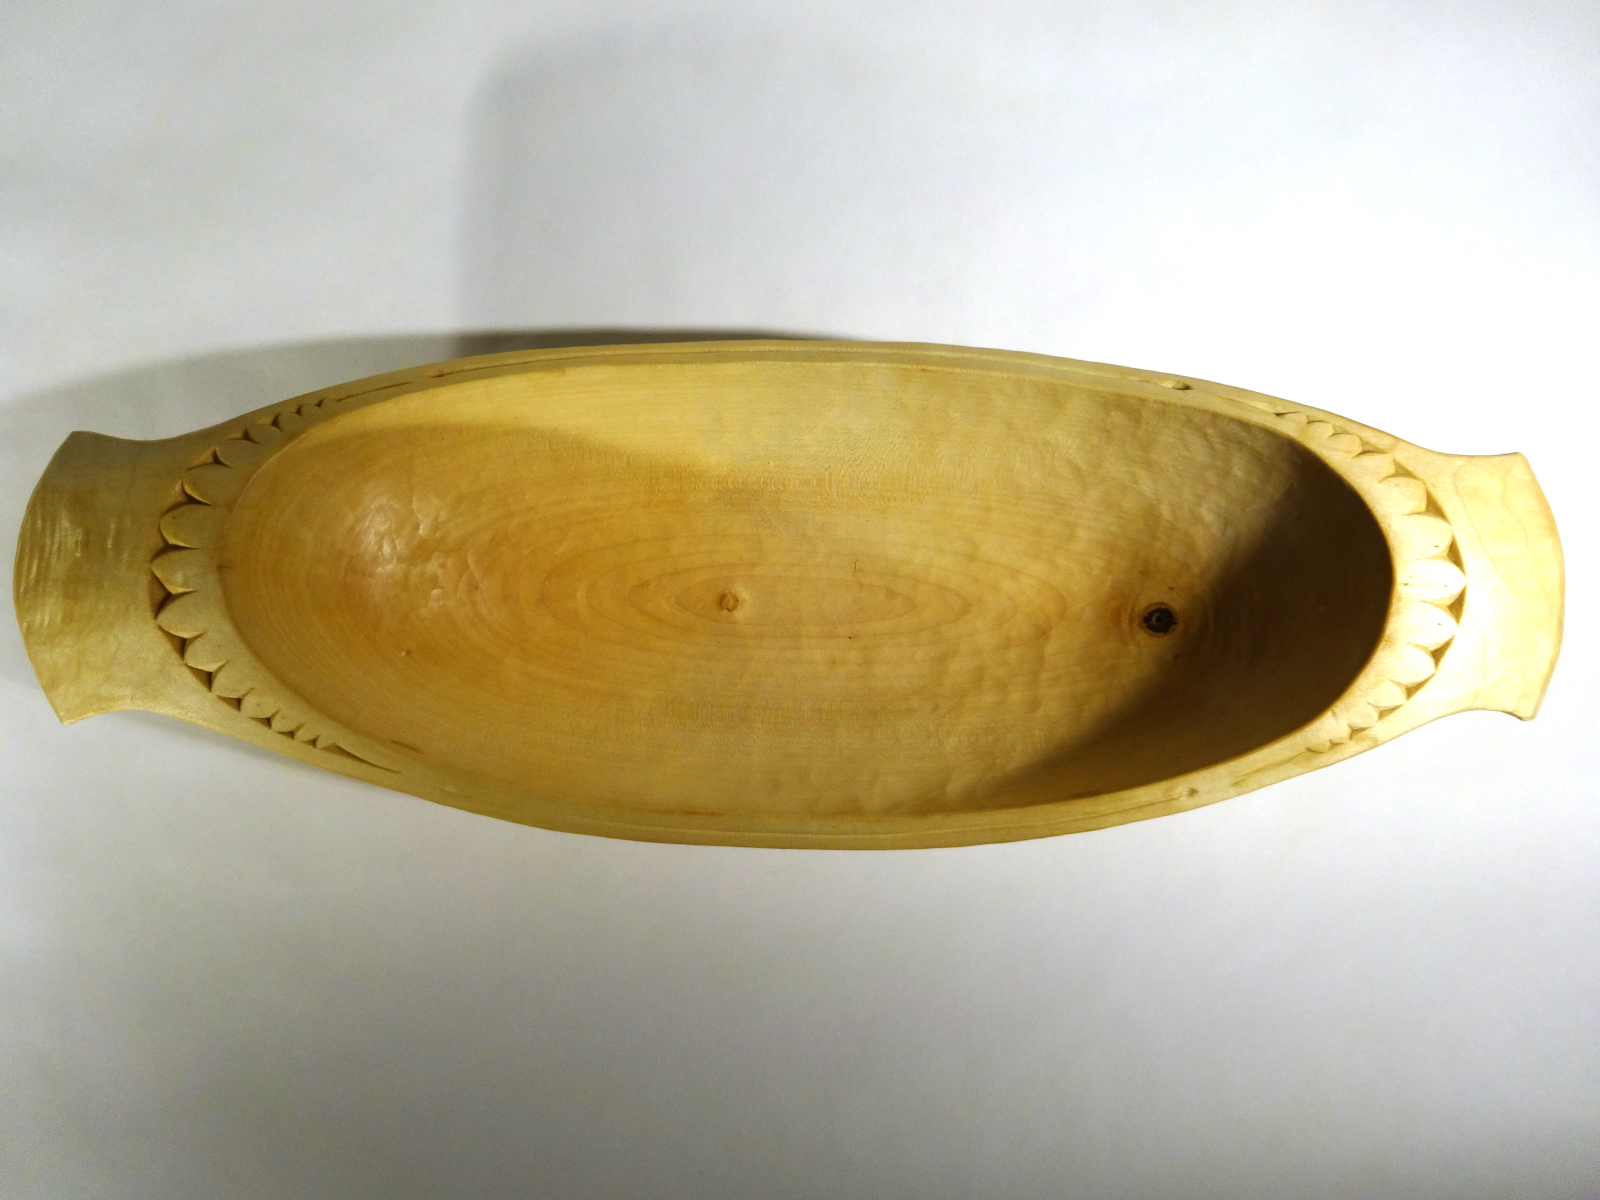
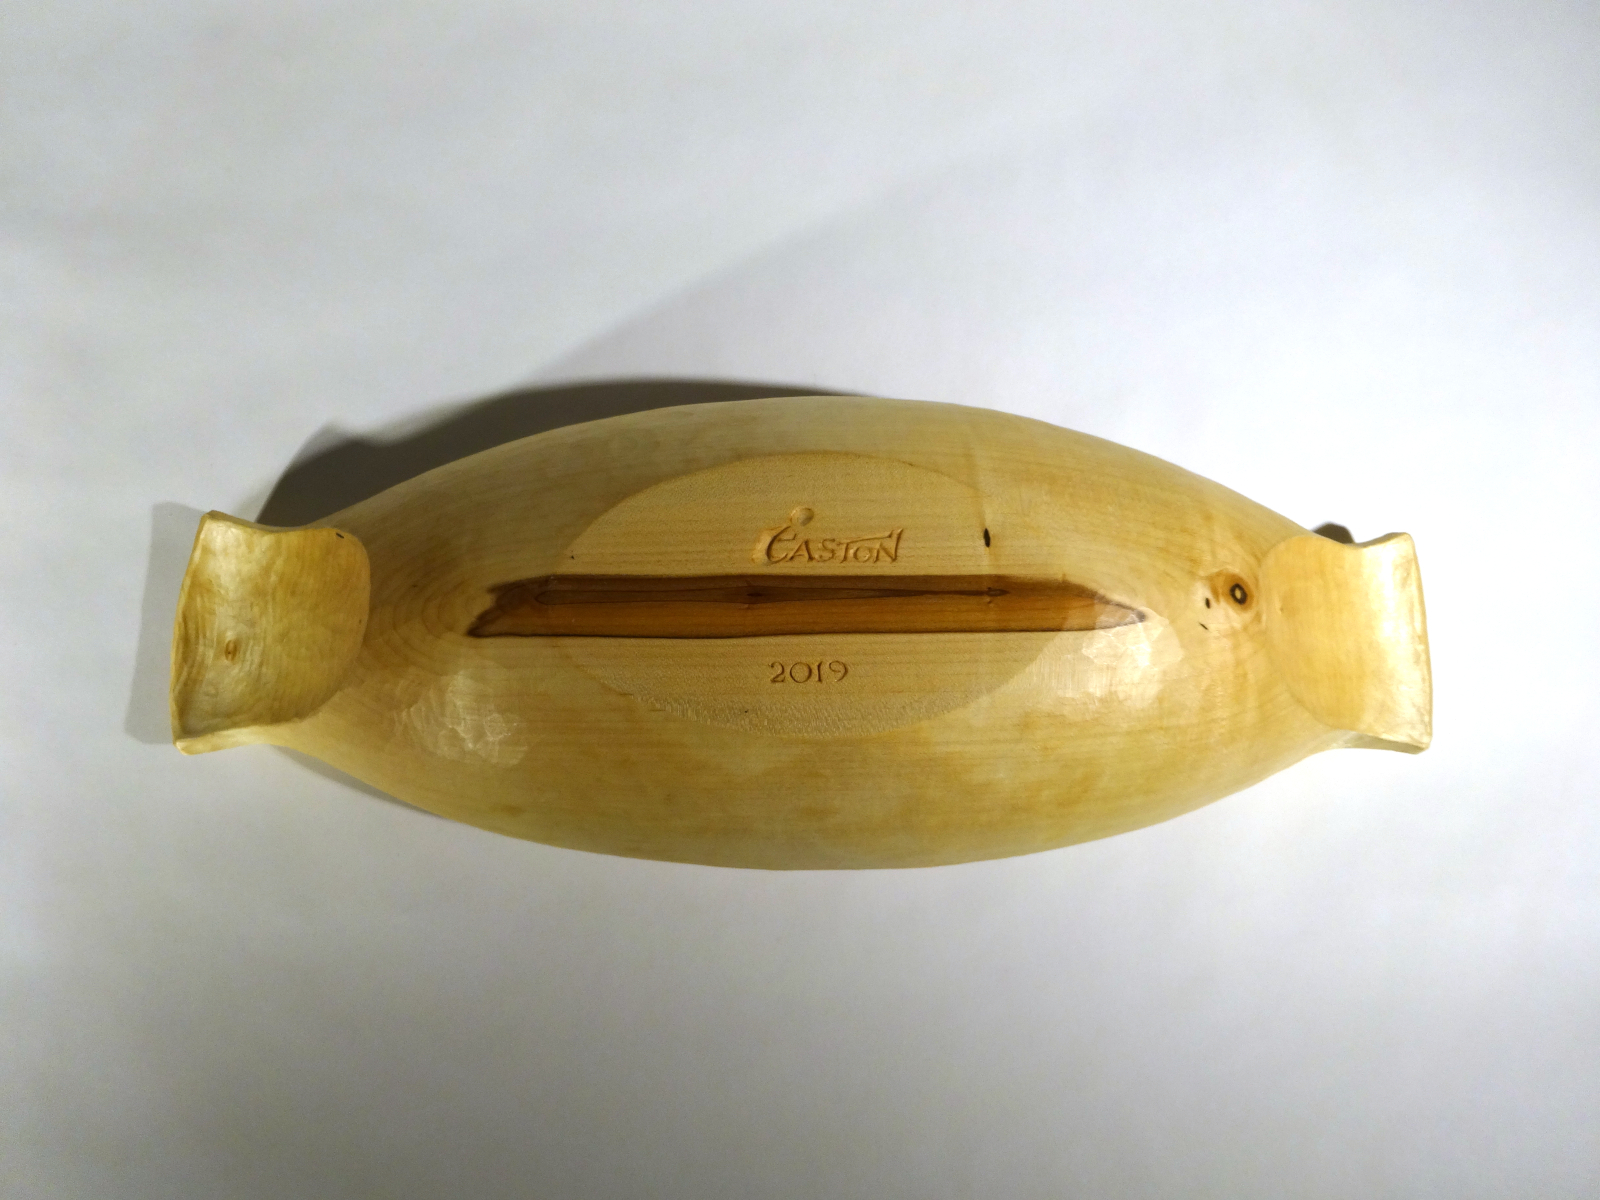
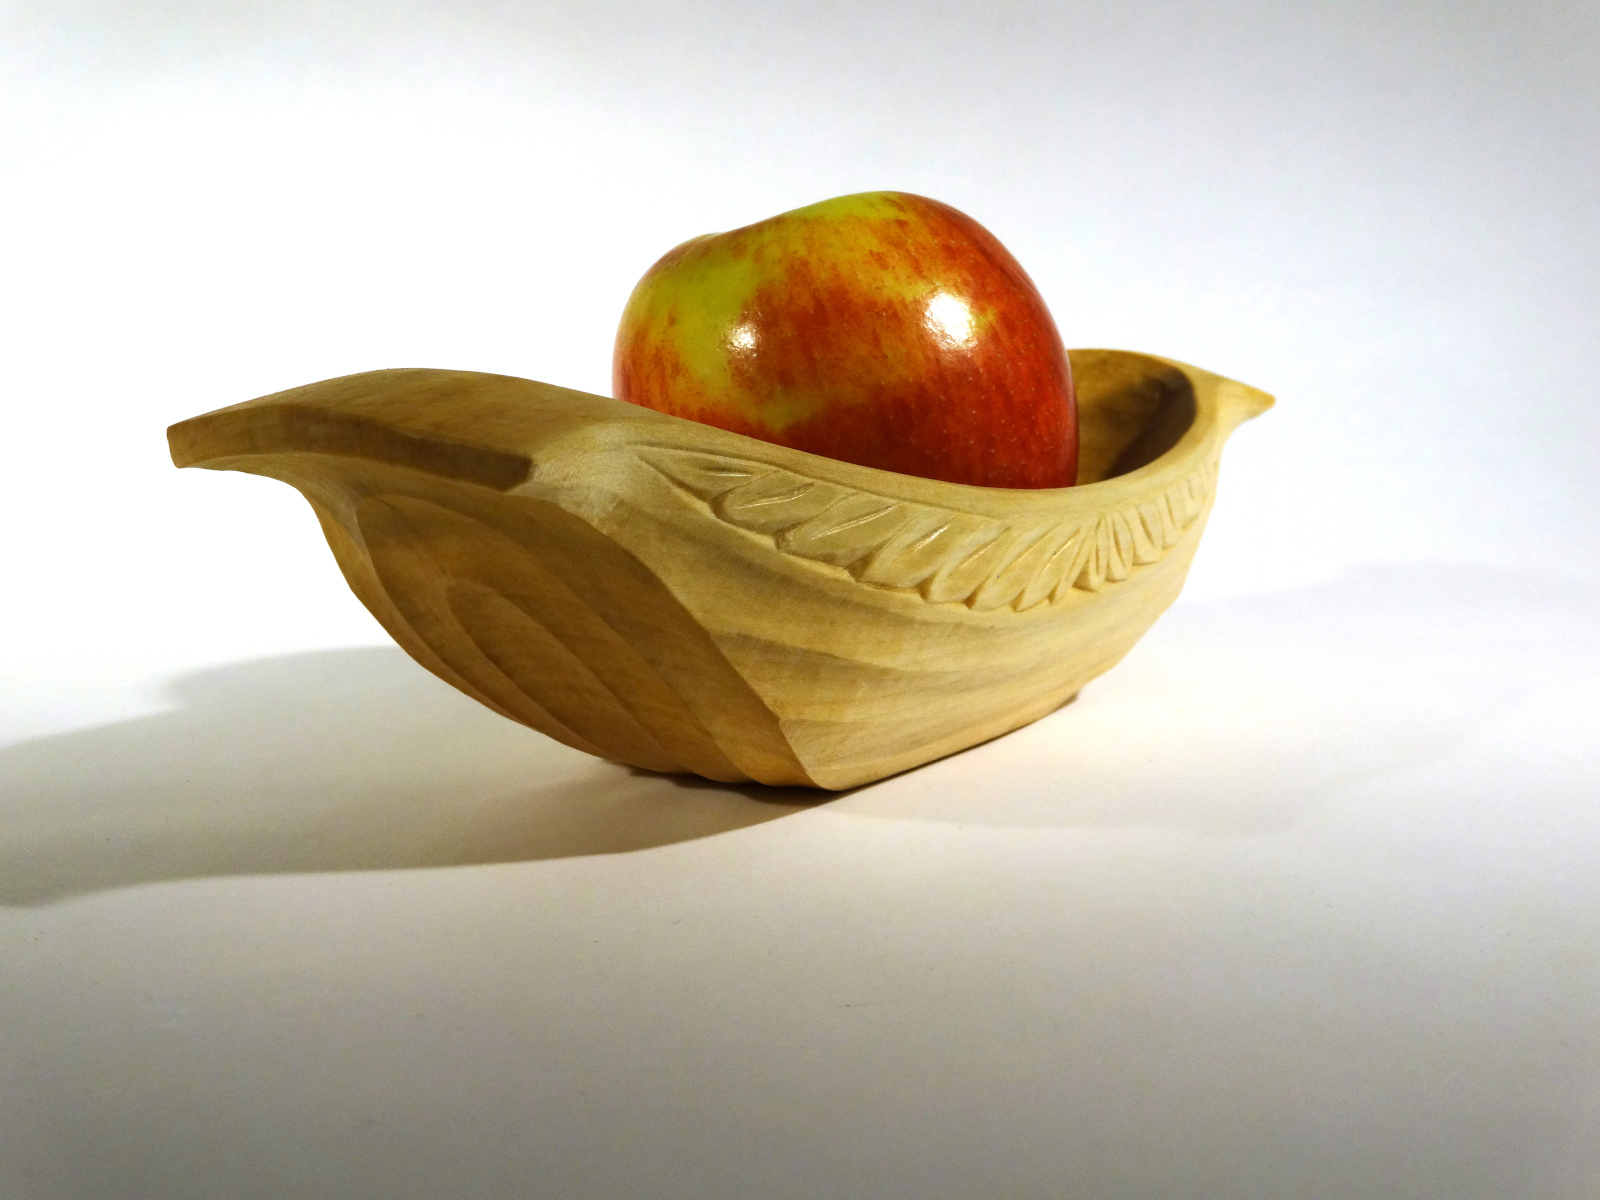
Silver Maple. Length: about 9″  Width: about 3 1/2″  Height: about 3″  Finish: food safe flaxseed oil

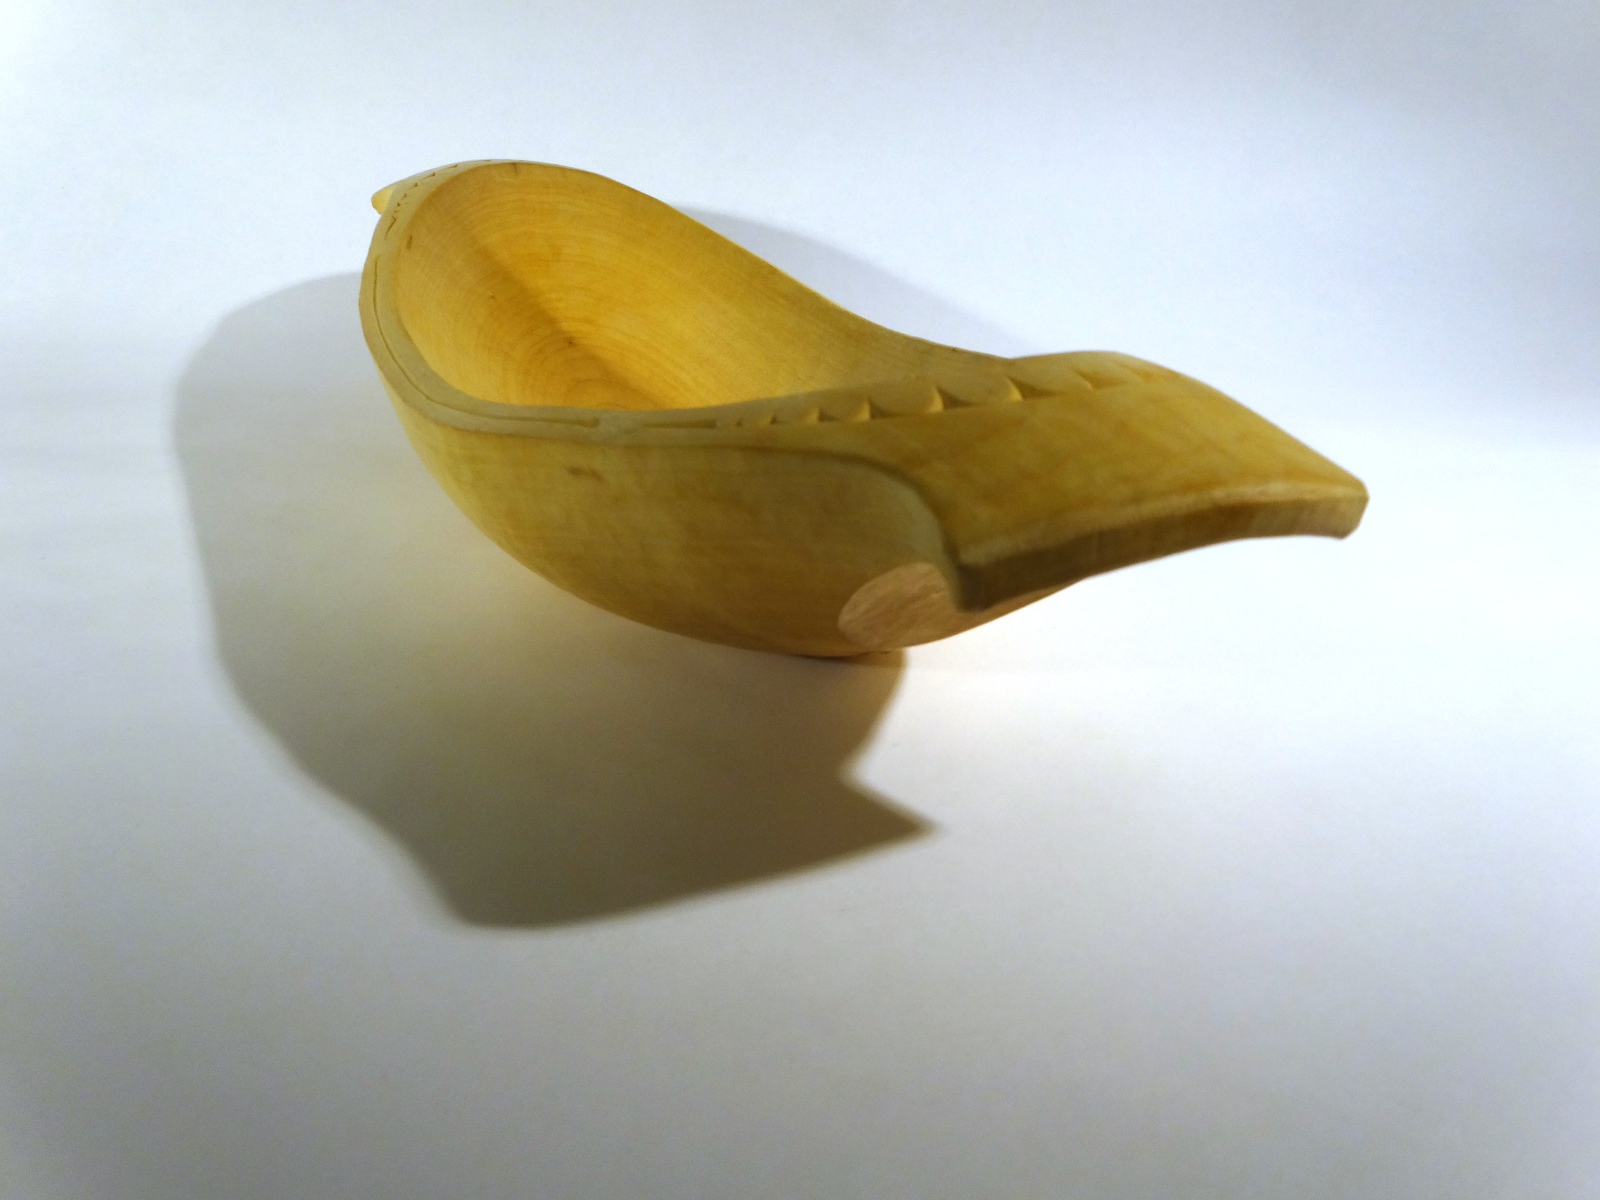
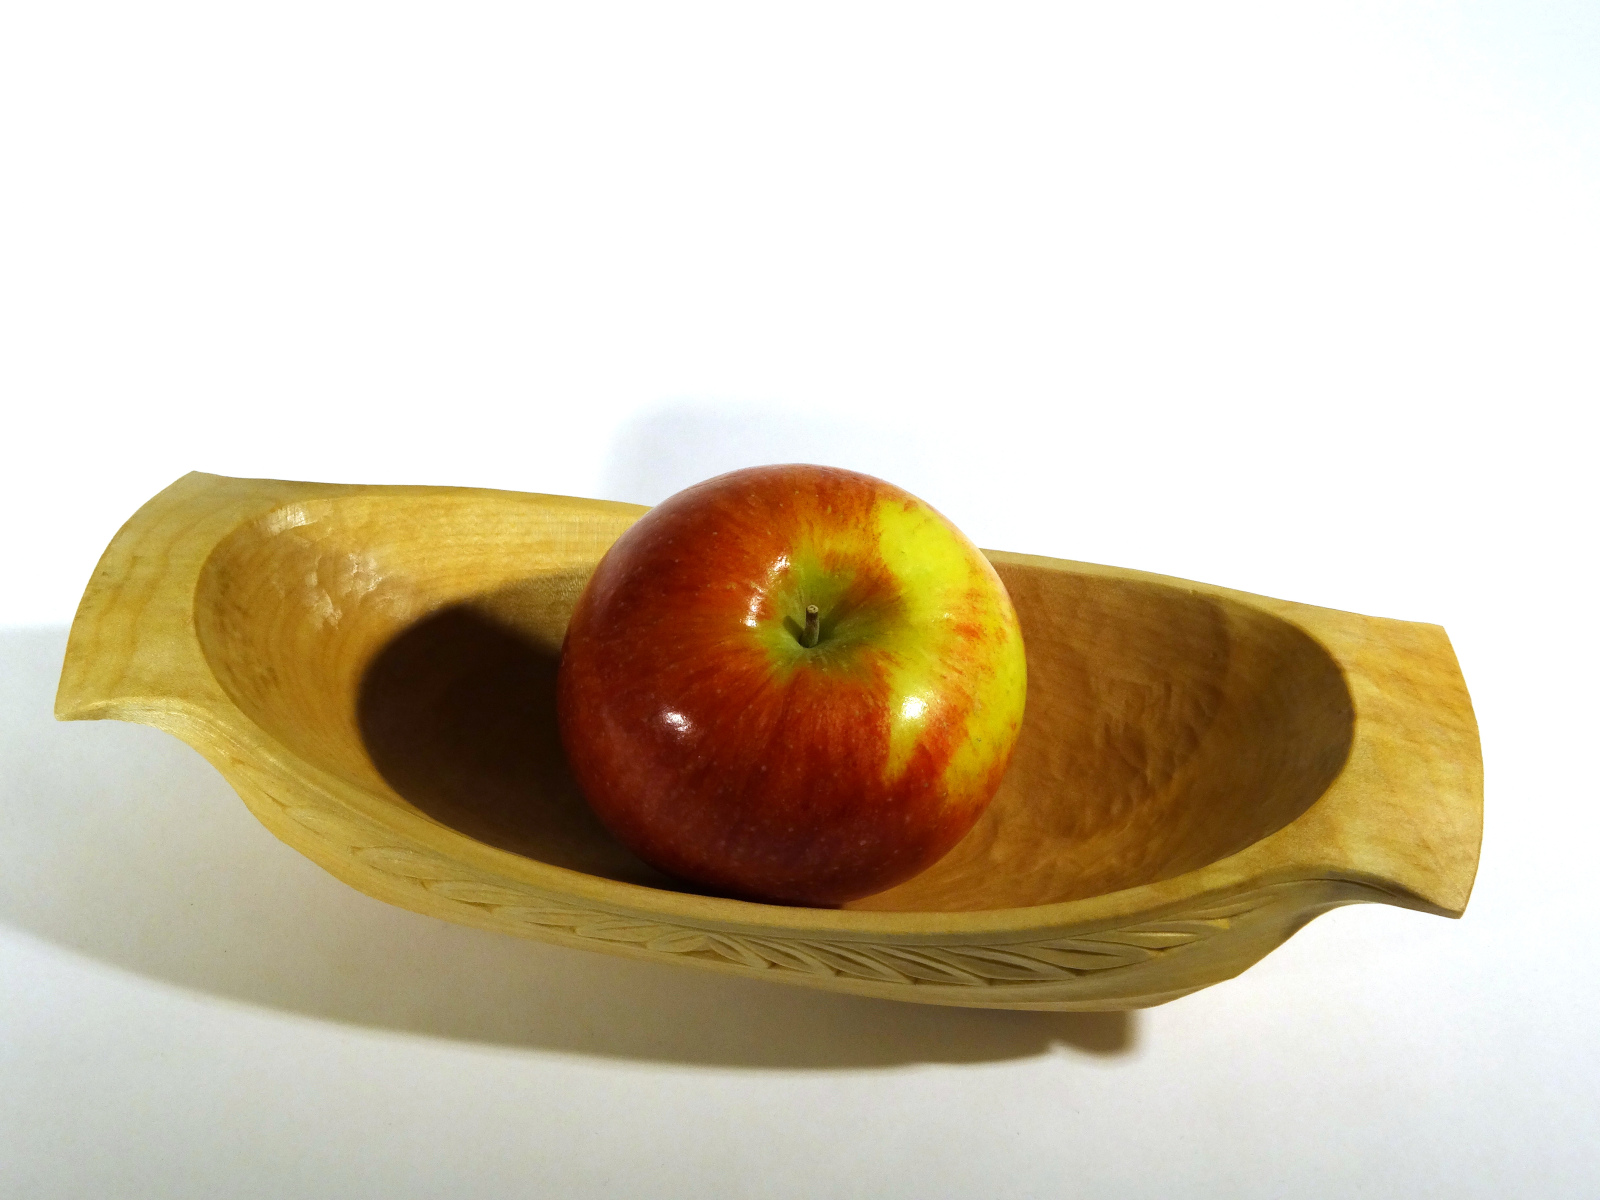
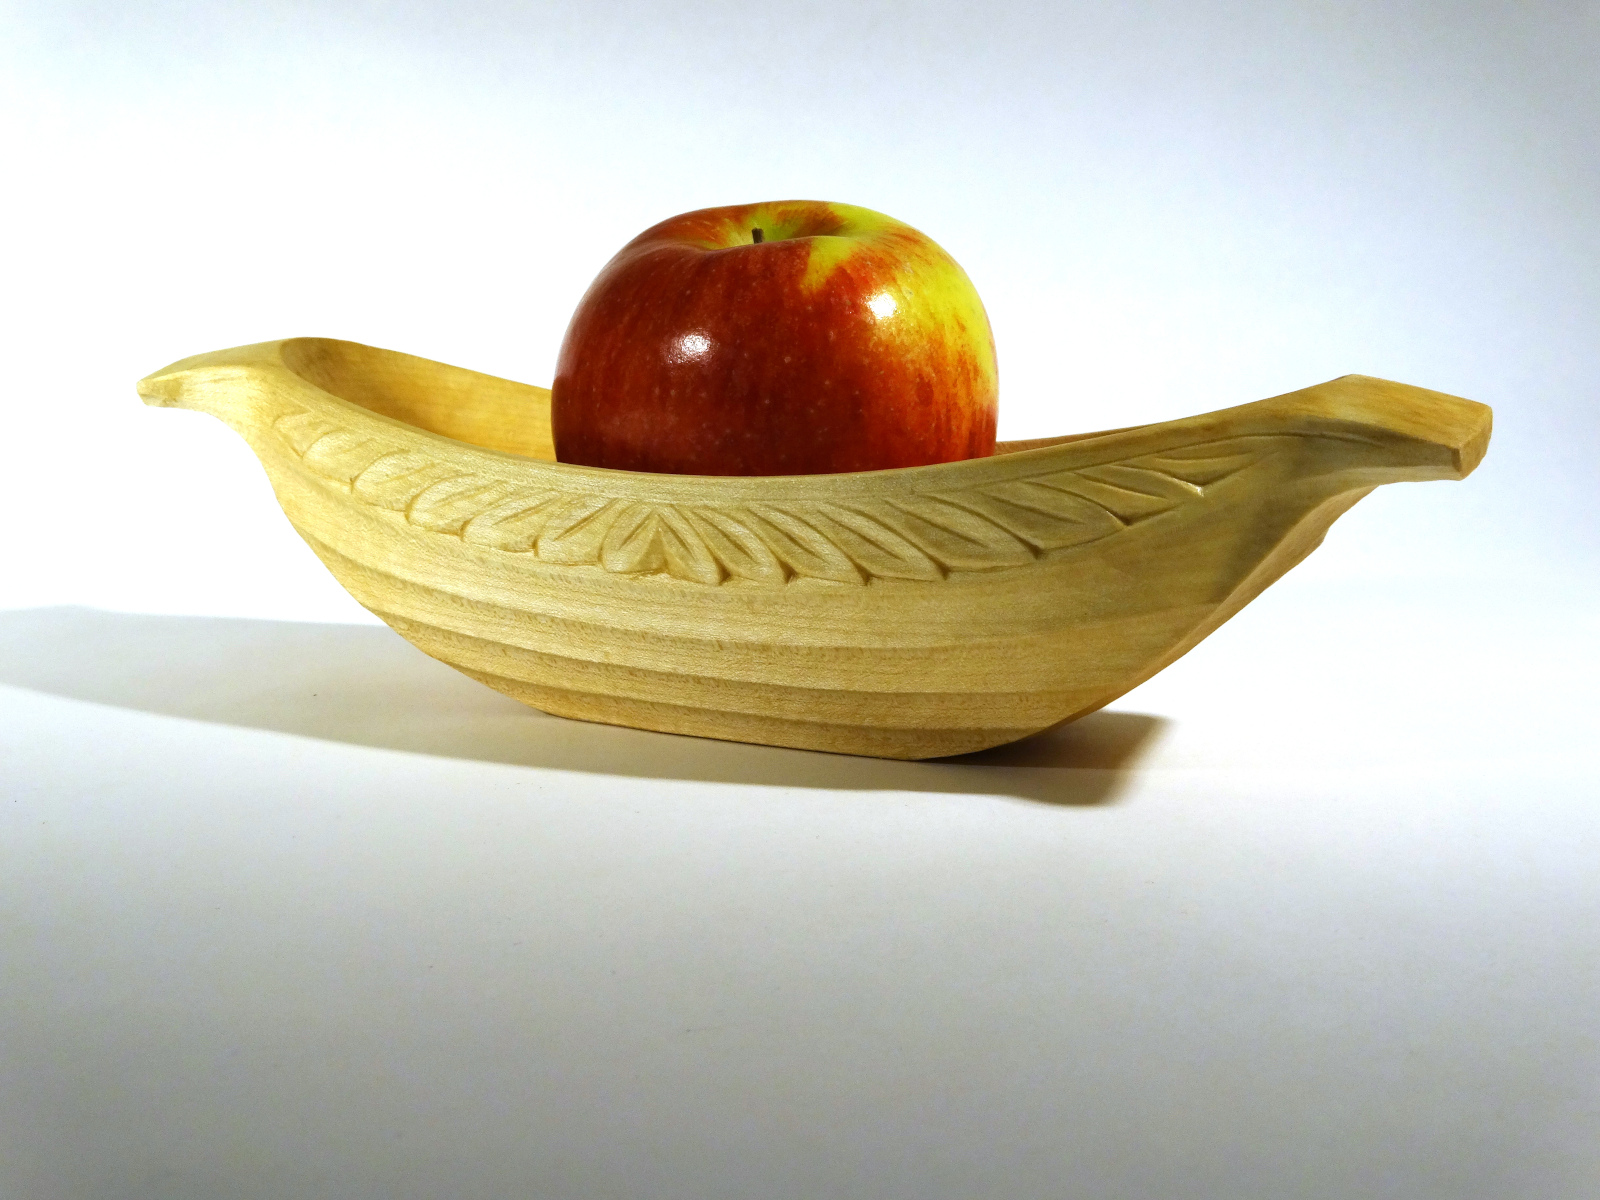
My inspiration for starting bowl carving was David Fisher’s “bitty bowl.”  I’ve followed David for a long while and admire all of his bowls. This one moved me to action, wanting to learn bowl carving and to mimic the sweet little “bitty bowl.”  The rest is a series of learning exercises, bowl #1 and bowl #2.

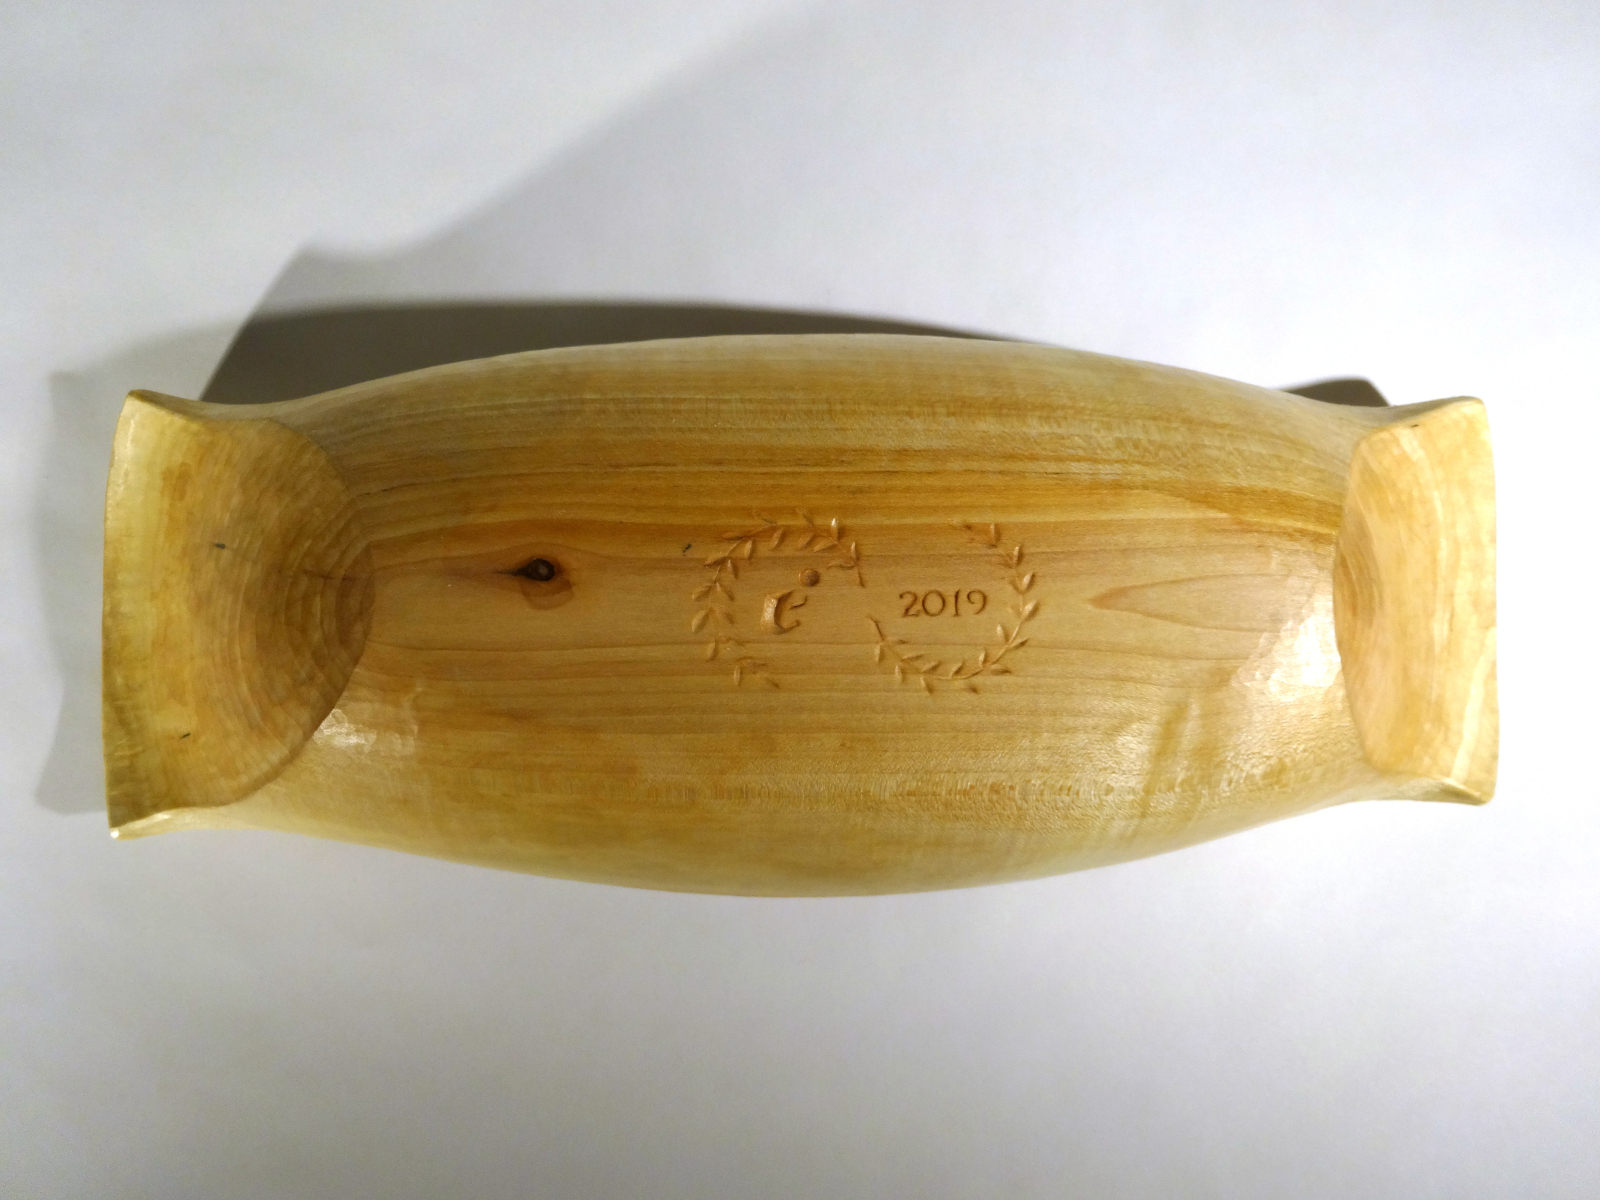
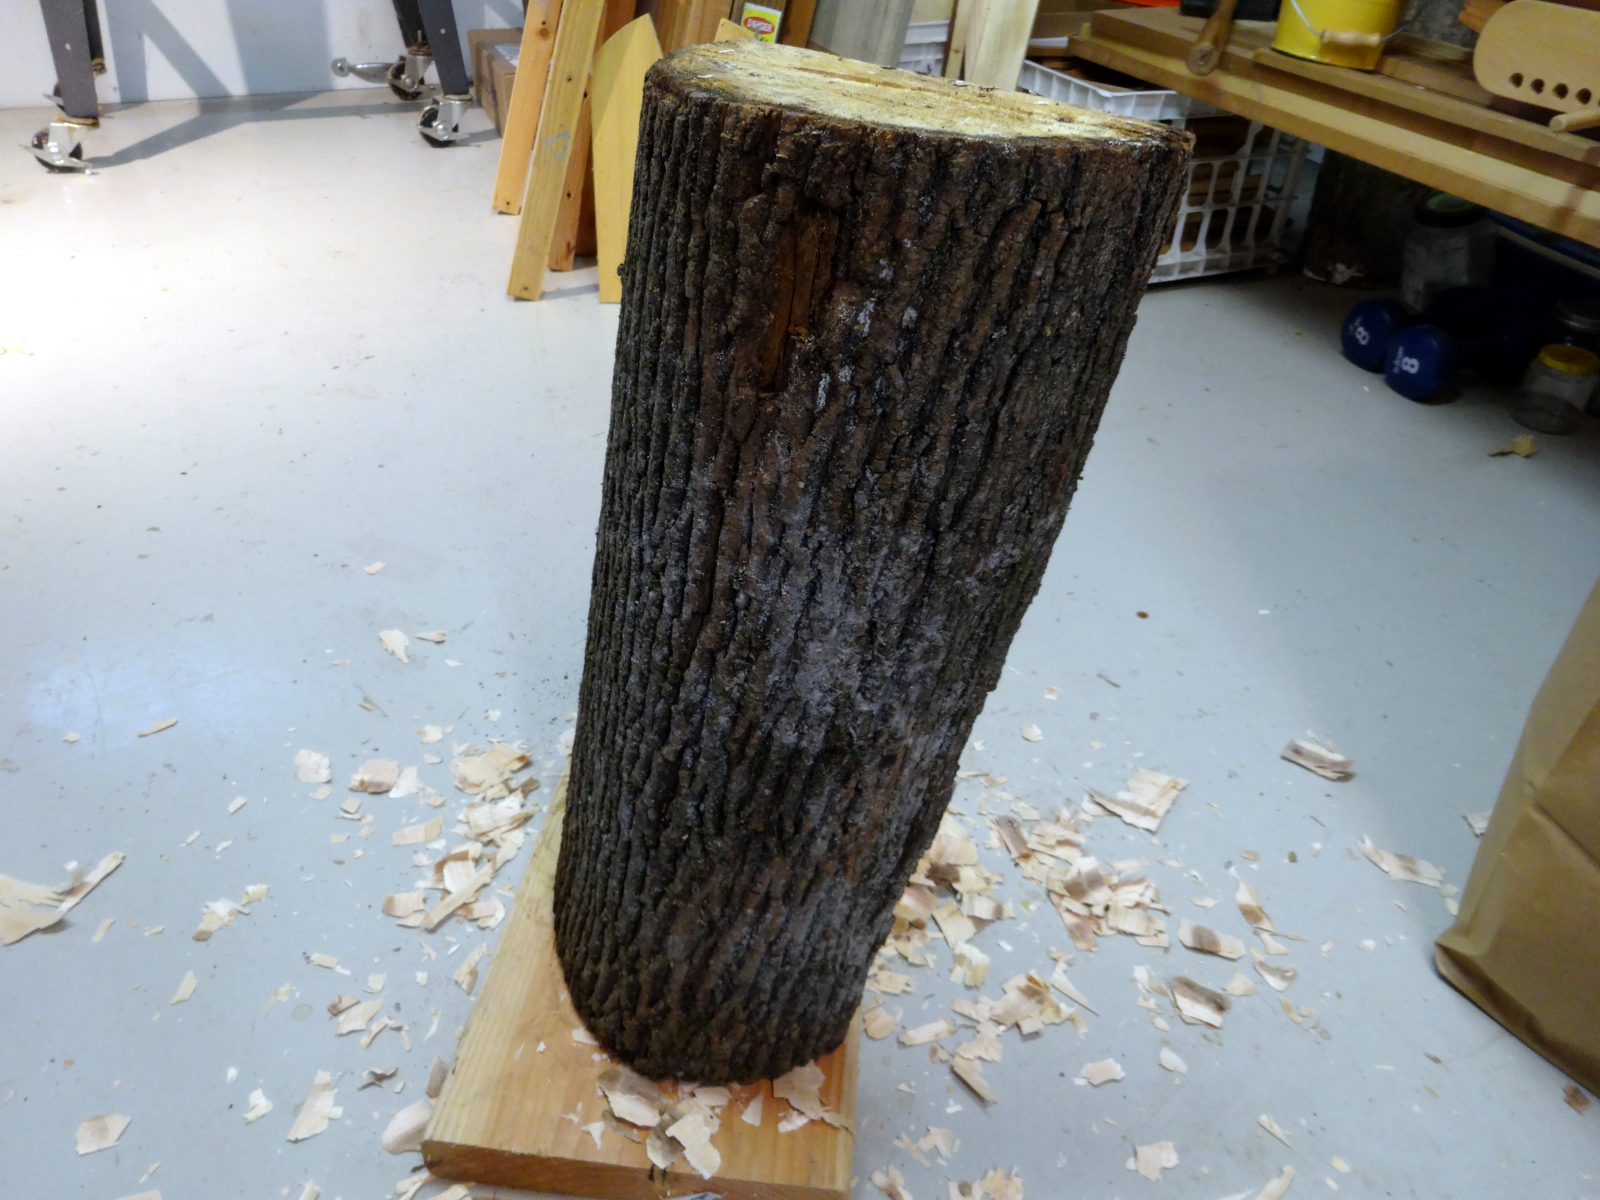
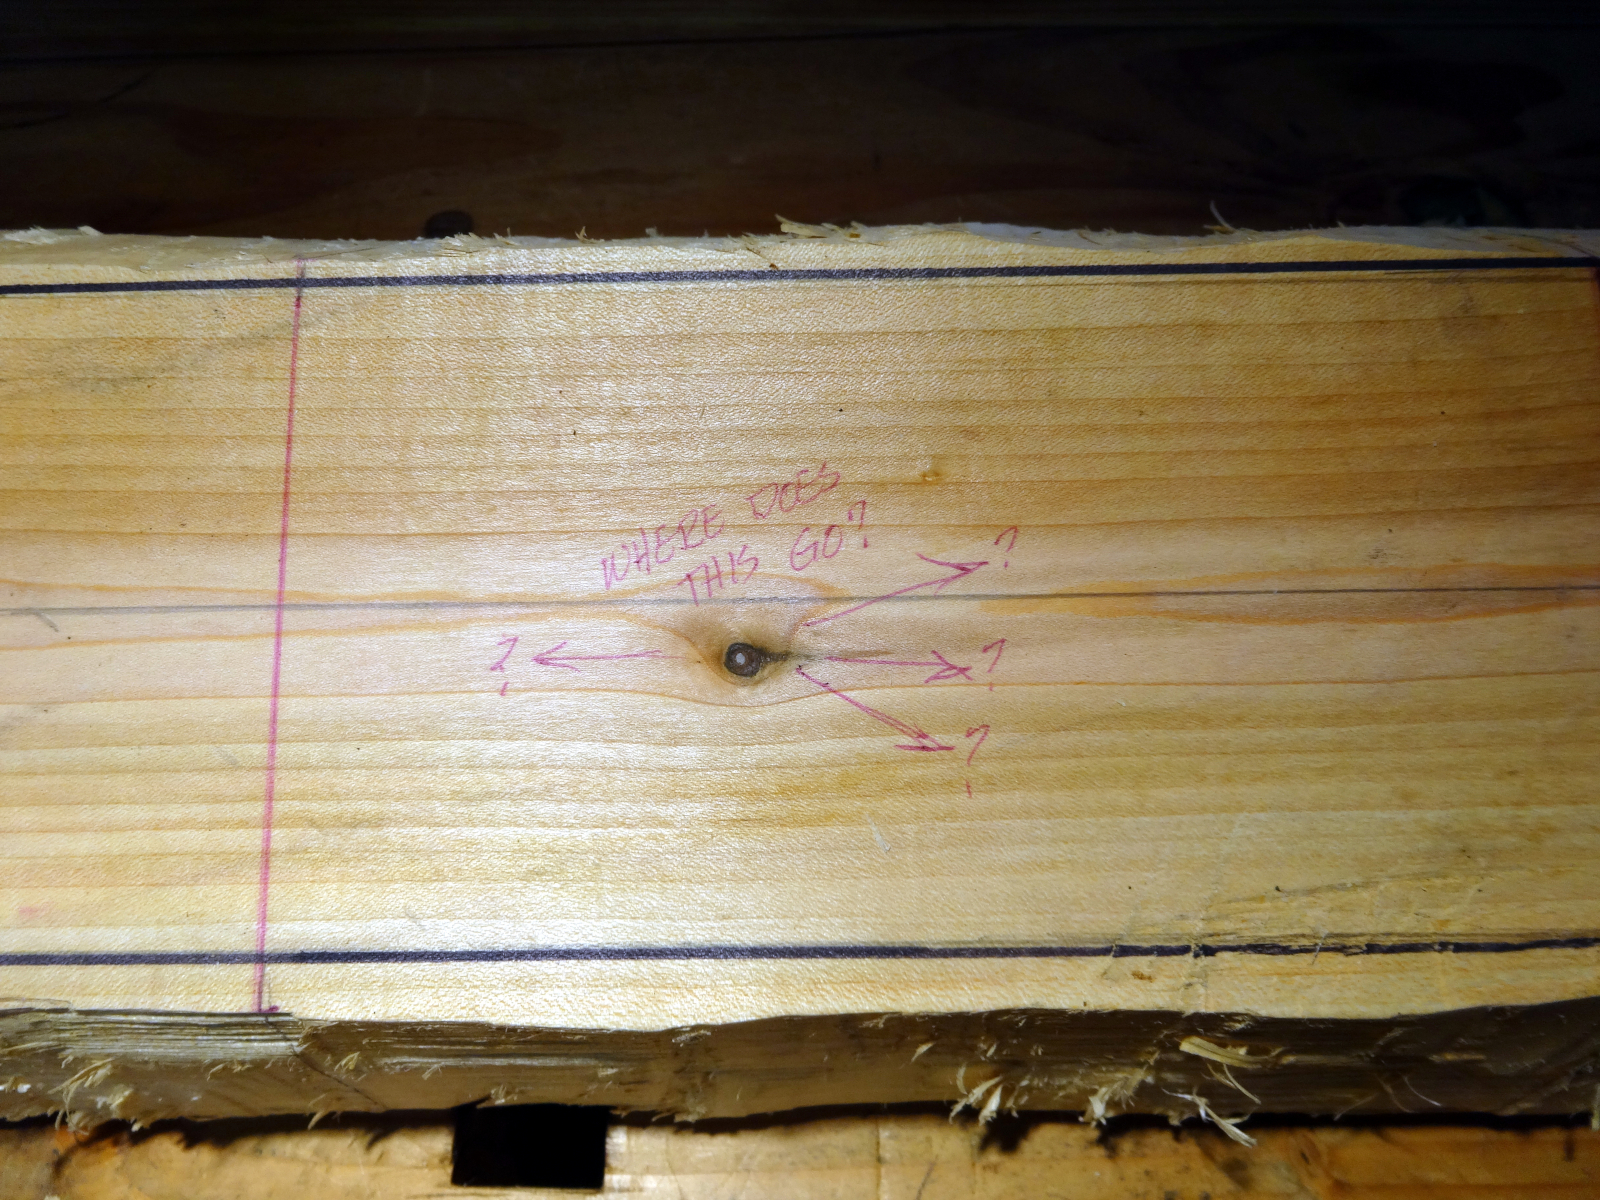
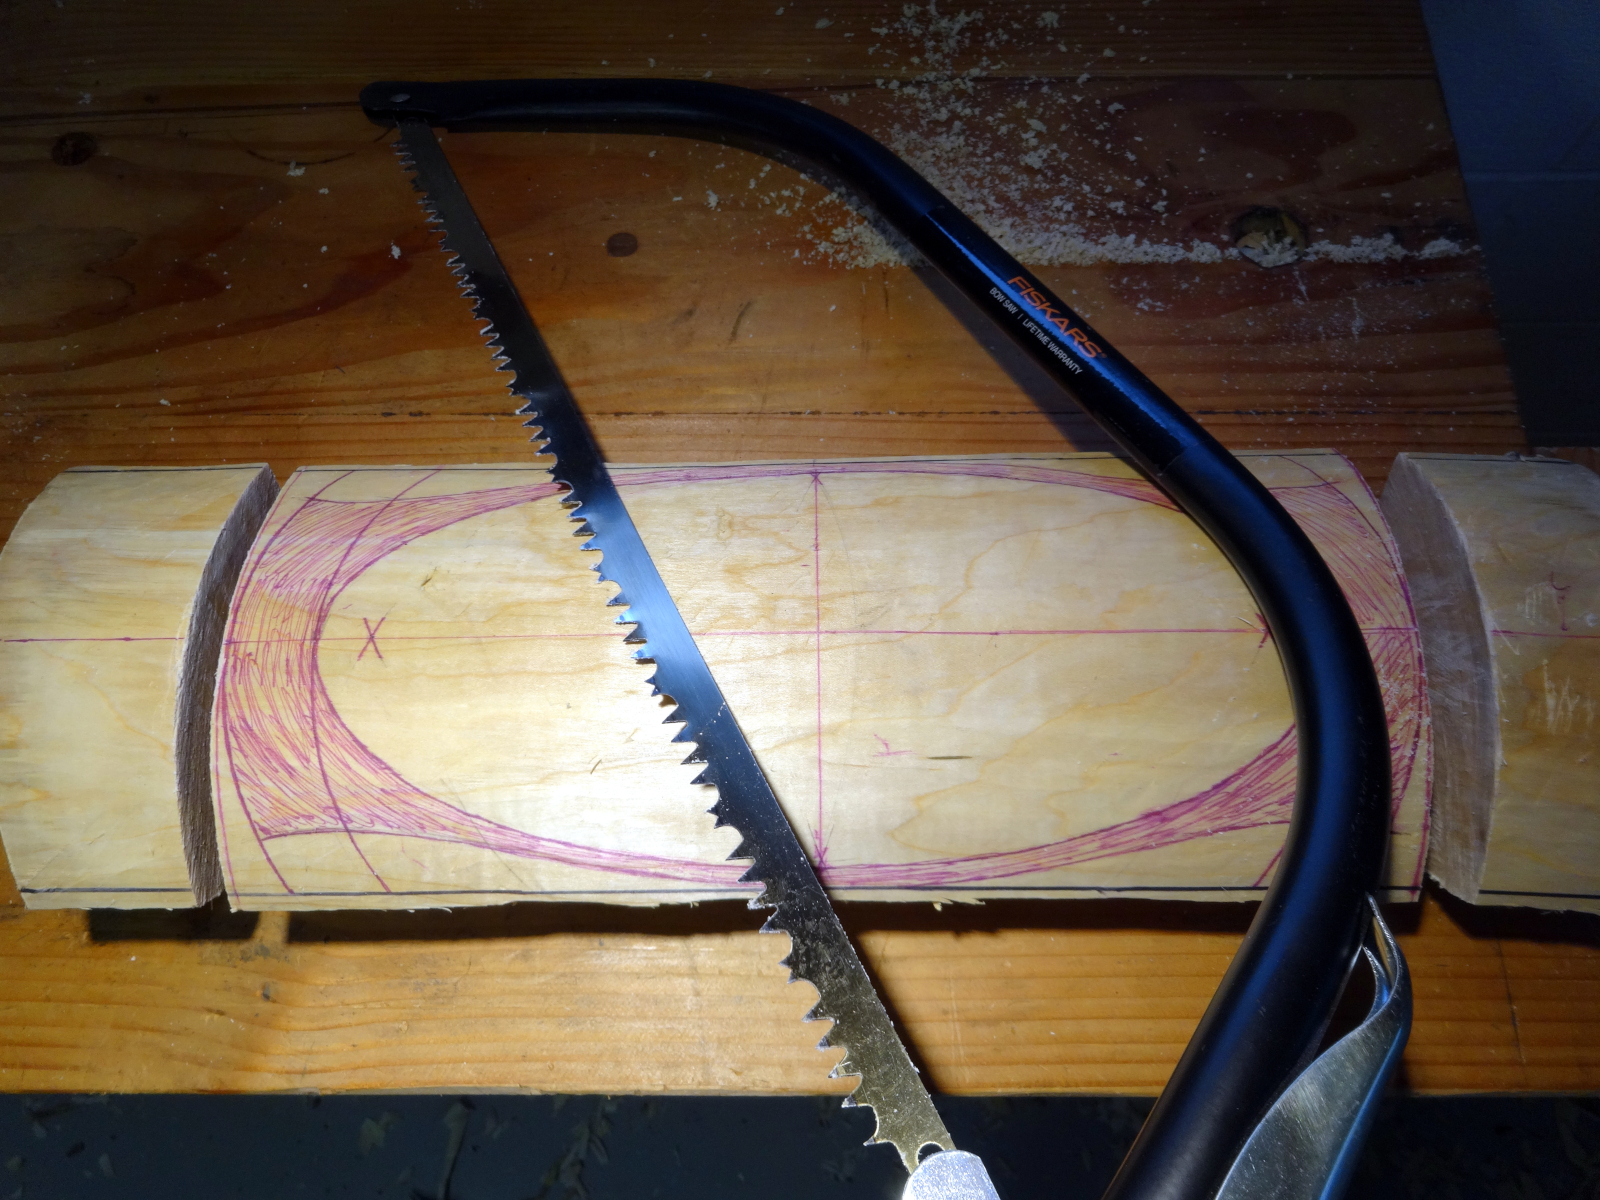
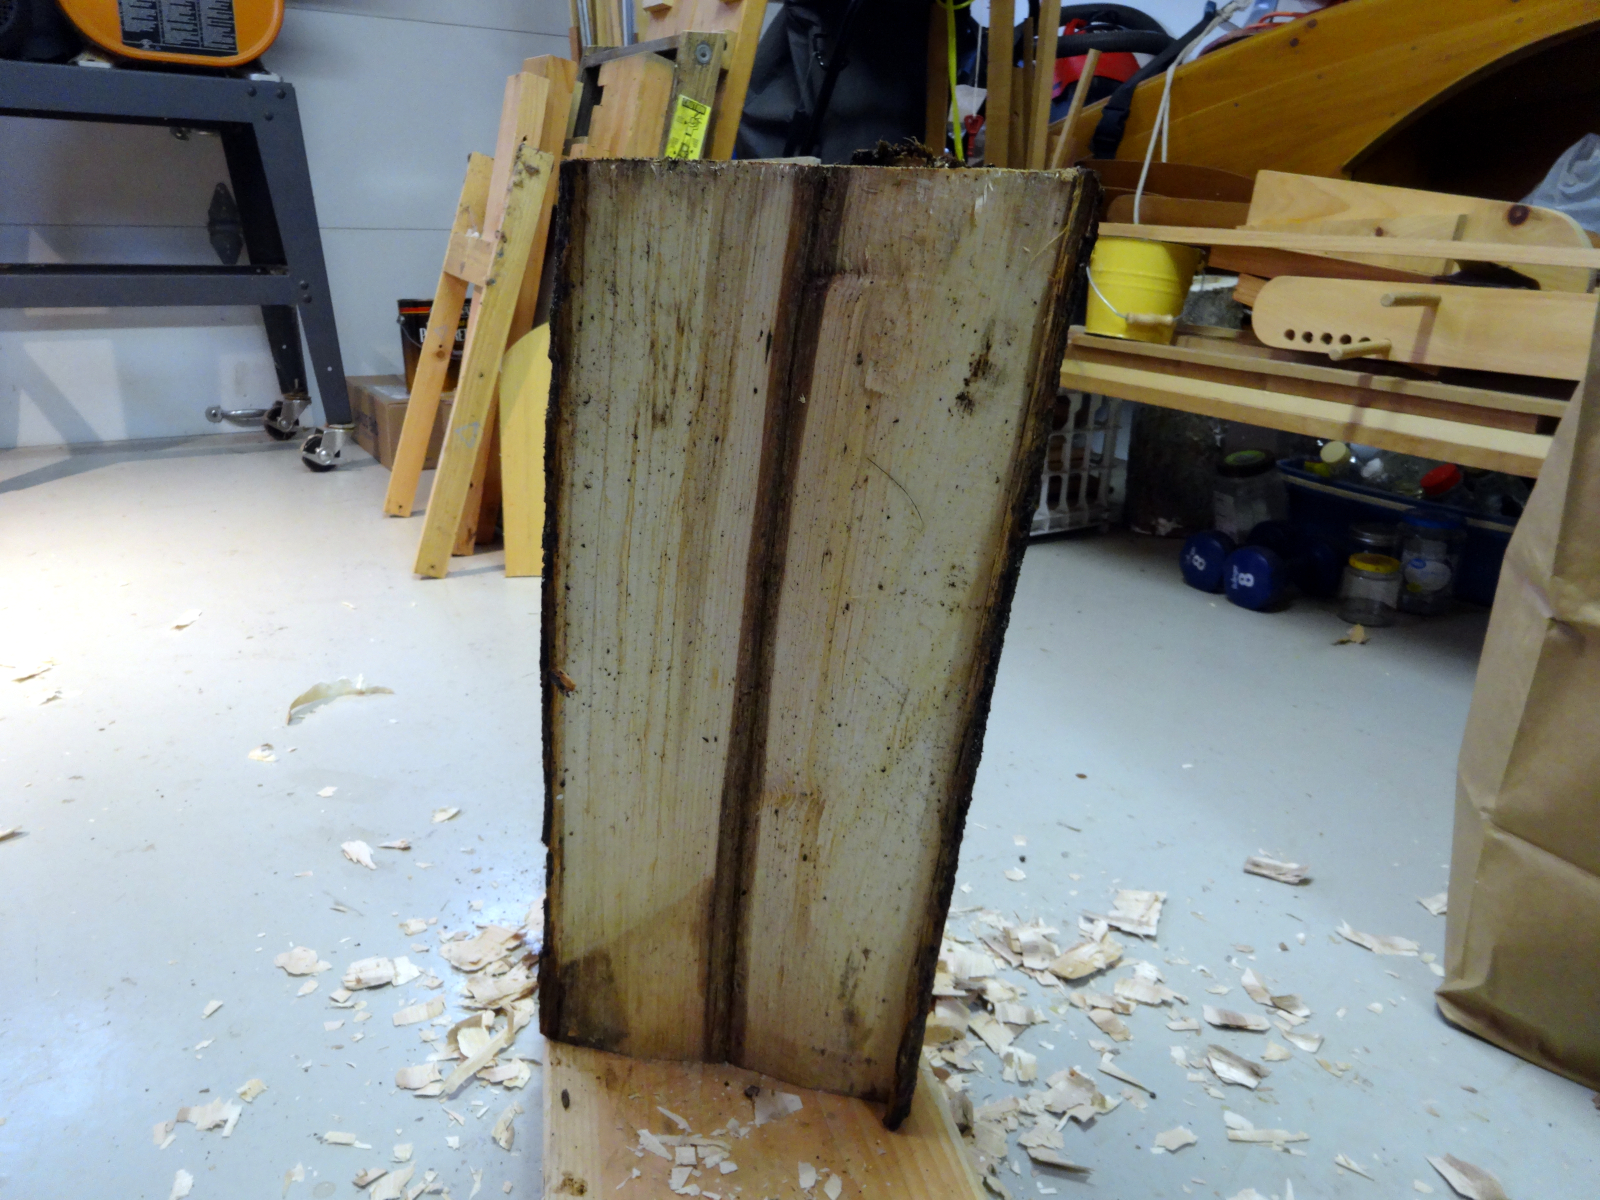
This bowl is from the same silver maple tree as the earlier bowls, and is much smaller due to an onerous knot in the log, and the desire to make a “bitty bowl.”  I completed the bowl in late November 2019, passed it along to a recipient about a month later and have been remiss in documenting the result.  (Hence, the approximate measures, didn’t write down precise measurements.)

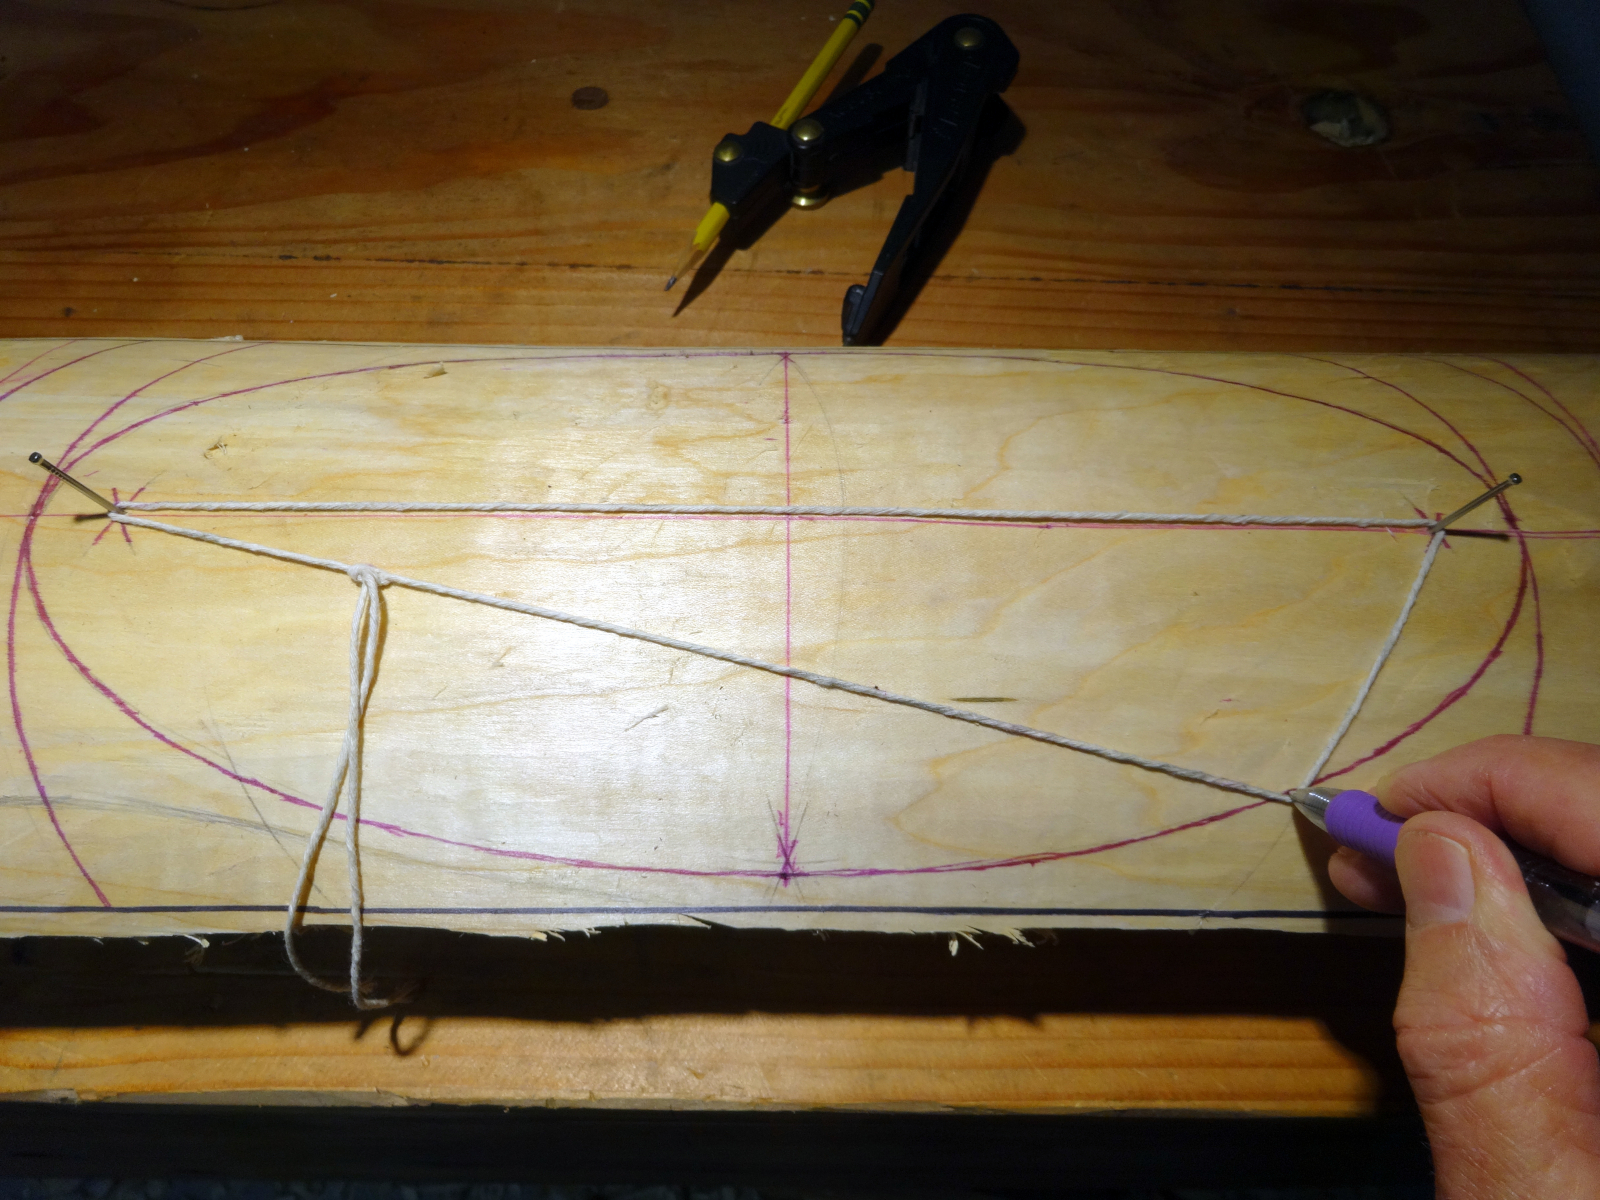
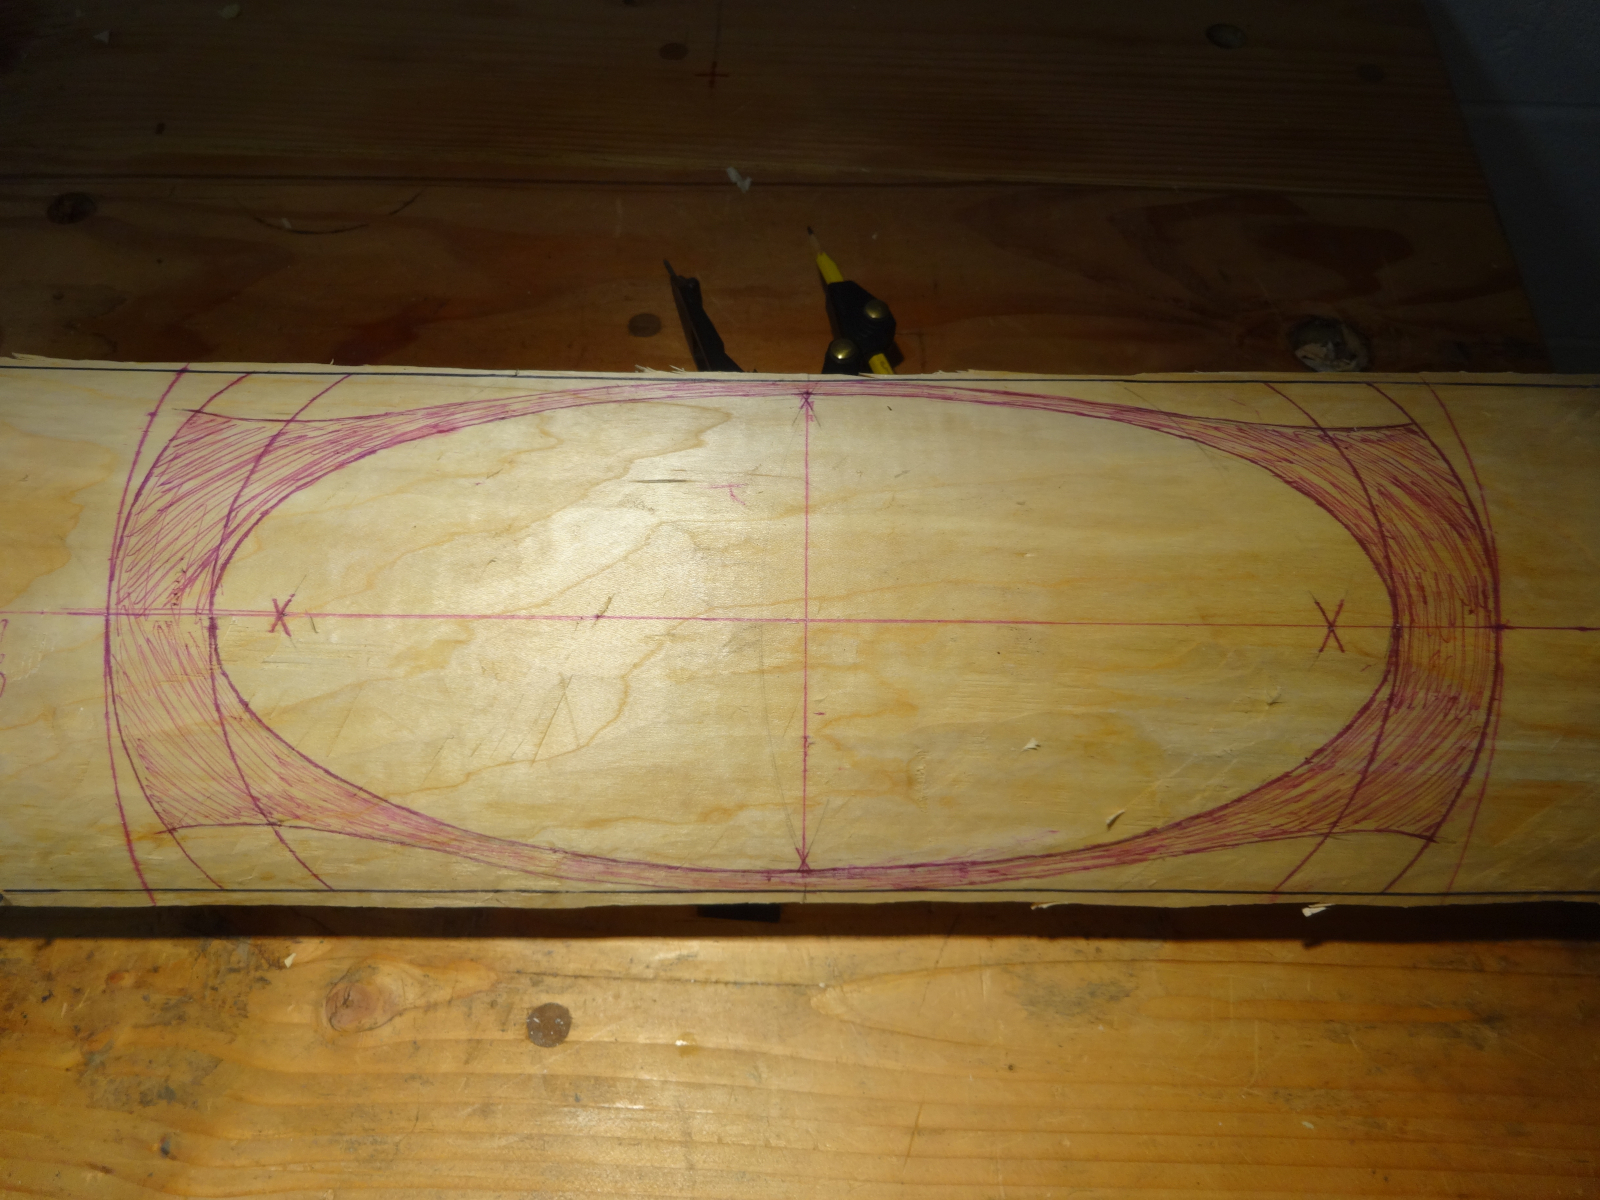
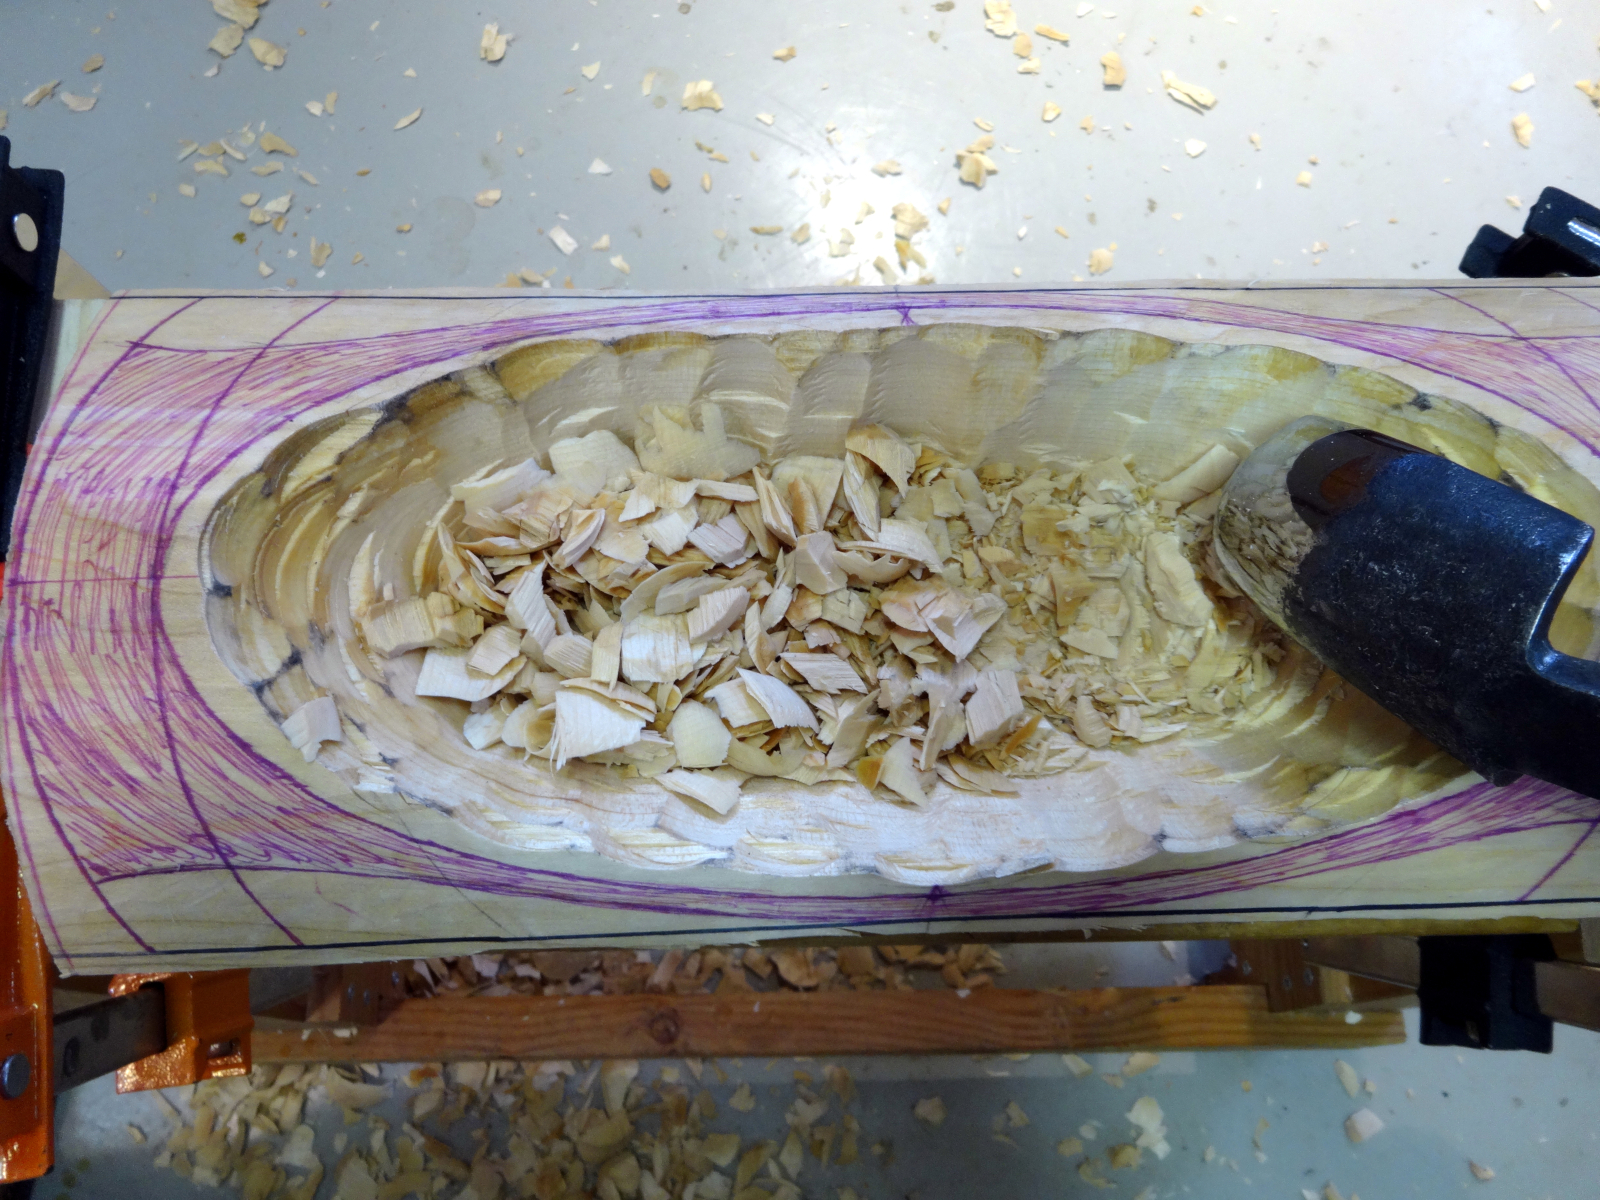
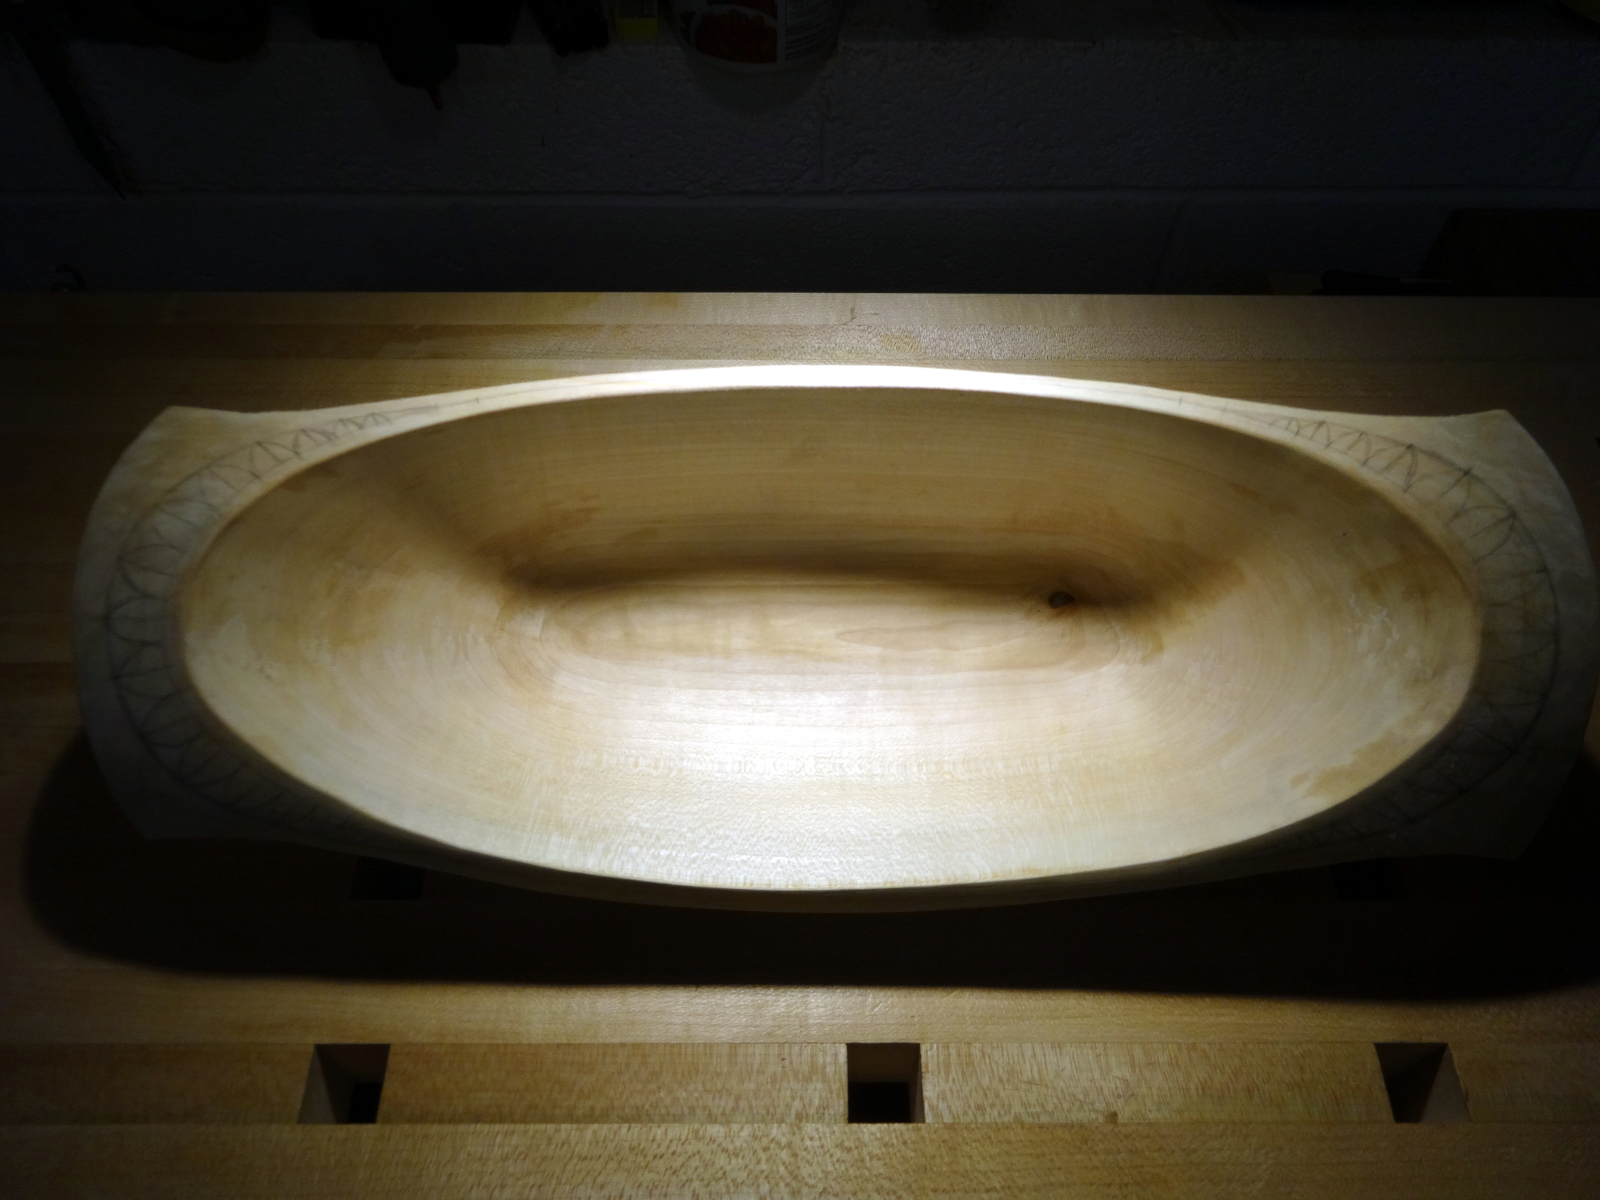
My proportions are a bit different than Fisher’s, but instructive in learning how to design bowls.

Filed Under: bowl carving

Bowl #2

November 26, 2019 by Bob Easton 2 Comments

photo - completed bowl holds 3 apples
photo - completed bowl - side view
photo - completed bowl - end view
photo - completed bowl - bottom
photo - completed bowl - top view

Silver Maple. Length: 14 1/2″  Width: 5 3/4″  Height: 3 1/8″  Finish: food safe flaxseed oil

photo - outside of raw logThis bowl comes from the other half of the log that bowl #1 was found in. As David Fisher advises, this split remained in a plastic bag to retain moisture during the few weeks I worked on the first bowl.

The split piece weighed just over 22 pounds as I started work.  The completed bowl weighs 1.6 pounds.

About 90% of the waste is hacked away in about 10% of the total bowl caving time.  The remaining 10% takes the other 90% of the time. The first part, with axe and adze is the most fun with big chips flying.  As the shape is refined the chips get smaller and smaller and when the carving needs to be more careful.

This time, I took more “process” pictures along the way:

photo - rough bottom about 20 inches long
photo - smooth bottom with a drawknife
photo - bottom of blank smoothed
photo - wondering about a knot on the bottom
photo - top is still rough
photo - roughing of the top complete
photo - laying out an elipse
photo - top layout complete
photo - cut off the ends
photo - refining the interior
photo - interior refined
photo - roughed out bottom
photo - refining the bottom
photo - bottom refined
photo - necklace pattern laid out
photo - carving the necklace
photo - bowl positioned for carving the necklace
photo - applying linseed oil finish

Eva stopped by the shop a few times to take some videos.

Filed Under: bowl carving, green woodworking

Bowl #1

November 24, 2019 by Bob Easton Leave a Comment

photo - completed bowl with 3 apples
photo - completed bowl
photo - completed bowl - end view
photo - completed bowl - top view
photo - completed bowl - bottom

Silver Maple. Length: 15 1/4″  Width: 5 5/8″  Height: 2 3/4″  Finish: food safe flaxseed oil.

photo - split logA neighbor is removing some maple trees that are too close to his house for comfort.  This bowl is from the first log I carried away, originally a primary branch about 8″ in diameter and 20″ long. Thanks, Gerry, for the logs.

Every project is a learning experience.  I have to thank David Fisher’s video series of bowl carving instruction on the Fine Woodworking site for his teaching.

Since it was a first project, I was timid about taking photos of the process.  It could have easily ended up as firewood, and why waste the pixels on that?  Oh, I forgot: pixels don’t cost nearly as much as film used to.  🙂

Lesson:  David Fisher advises that the pith should always be removed.  His reasoning is to avoid splitting and checking problems due to the pith moving at a different rate than surrounding fiber.  In this case, I had to flatten the bottom numerous times as the pith was squeezed and bulged out.  It’s still not absolutely flat, but in no danger of toppling over.

Filed Under: bowl carving, green woodworking

  • « Go to Previous Page
  • Page 1
  • Page 2
  • Page 3

Primary Sidebar

Footer

Recent Posts

  • New Frame Saw / Scroll Saw
  • Lamppost Sign
  • Goodbye PayPal – Goodbye Bob’s eBooks
  • Anarchist’s Workbench is Done
  • Why we keep offcuts…

Categories

  • About
  • Artwork
  • Boatbuilding
  • Boating
  • bowl carving
  • Boxmaking
  • Clocks
  • Drawings
  • eBook
  • etude
  • Eva Too
  • Eva Won
  • Fiddlehead
  • Fiddlehead model
  • Flying
  • frame saw
  • gilding
  • green woodworking
  • Grinling Gibbons
  • Guns
  • Hand tools
  • Humor
  • kerfing plane
  • Lettercarving
  • Mill Creek 13
  • Model building
  • Power tools
  • Rant
  • resawing
  • scroll saw
  • Shopmade
  • sign painting
  • Stonework
  • Swimming
  • Technology
  • The Wall
  • treadle lathe
  • Uncategorized
  • VSD
  • Woodcarving
  • Woodturning
  • Woodworking
  • workbench

Other stuff

  • About
  • Contact
  • Privacy Policy

Copyright ©2024 · Bob Easton · All Rights Reserved