• Skip to primary navigation
  • Skip to main content
  • Skip to primary sidebar
  • Skip to footer

Bob Easton

Chocolate powered woodworking

  • Home
  • Grinling Gibbons Tour

Boxmaking

Woodcarving – Work holding

March 12, 2013 by Bob Easton 11 Comments

photo of old work holding technique
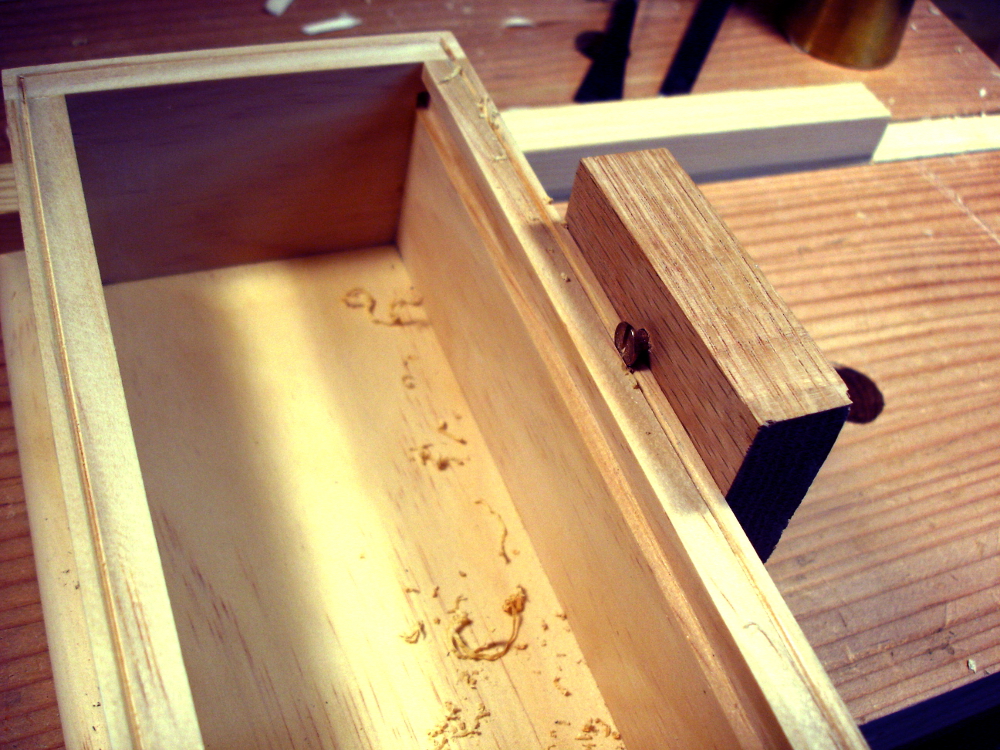
Most of my woodcarving has been rather small stuff, 3 inches square, 4 inches square, 4 by 6, 5 by 7, nothing very large. It’s been my practice to hold it securely in a frame like device that has movable stops. If a stop doesn’t fit the work piece exactly, a couple of wedges tighten things up.

It works great. Nothing moves. Nothing slips. All cuts are secure. Yet, sometimes the directions of cutting is awkward. Oh yes, one needs to become ambidextrous in tool handling and that’s not very hard. However, there are times when the angles just don’t work out well for either hand.

photo of new work holding technique
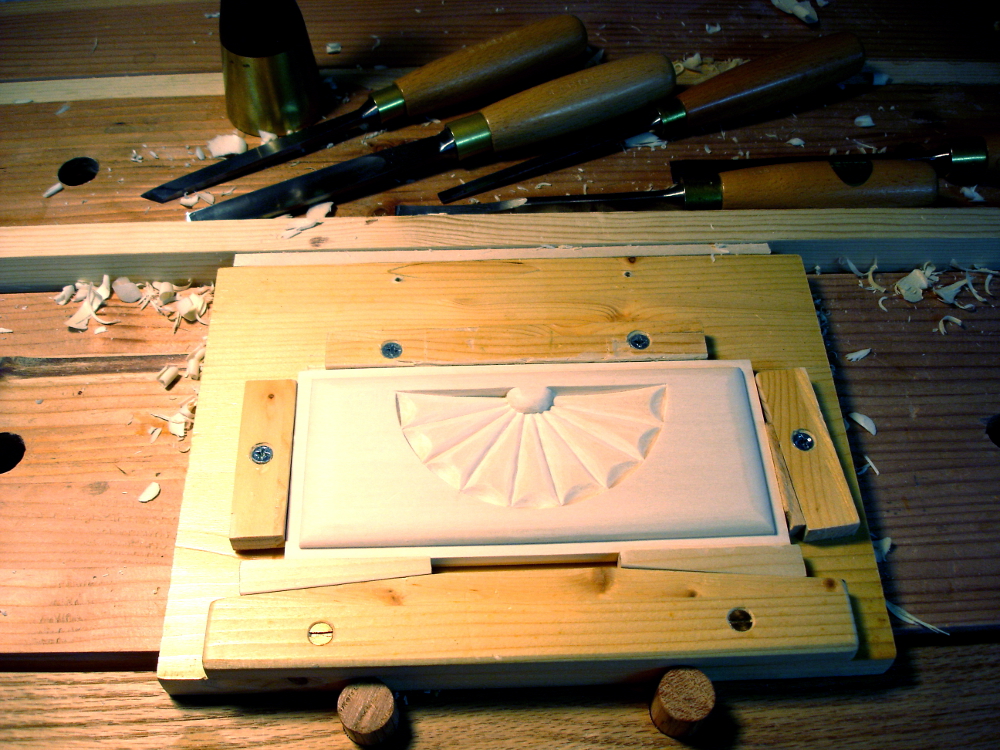
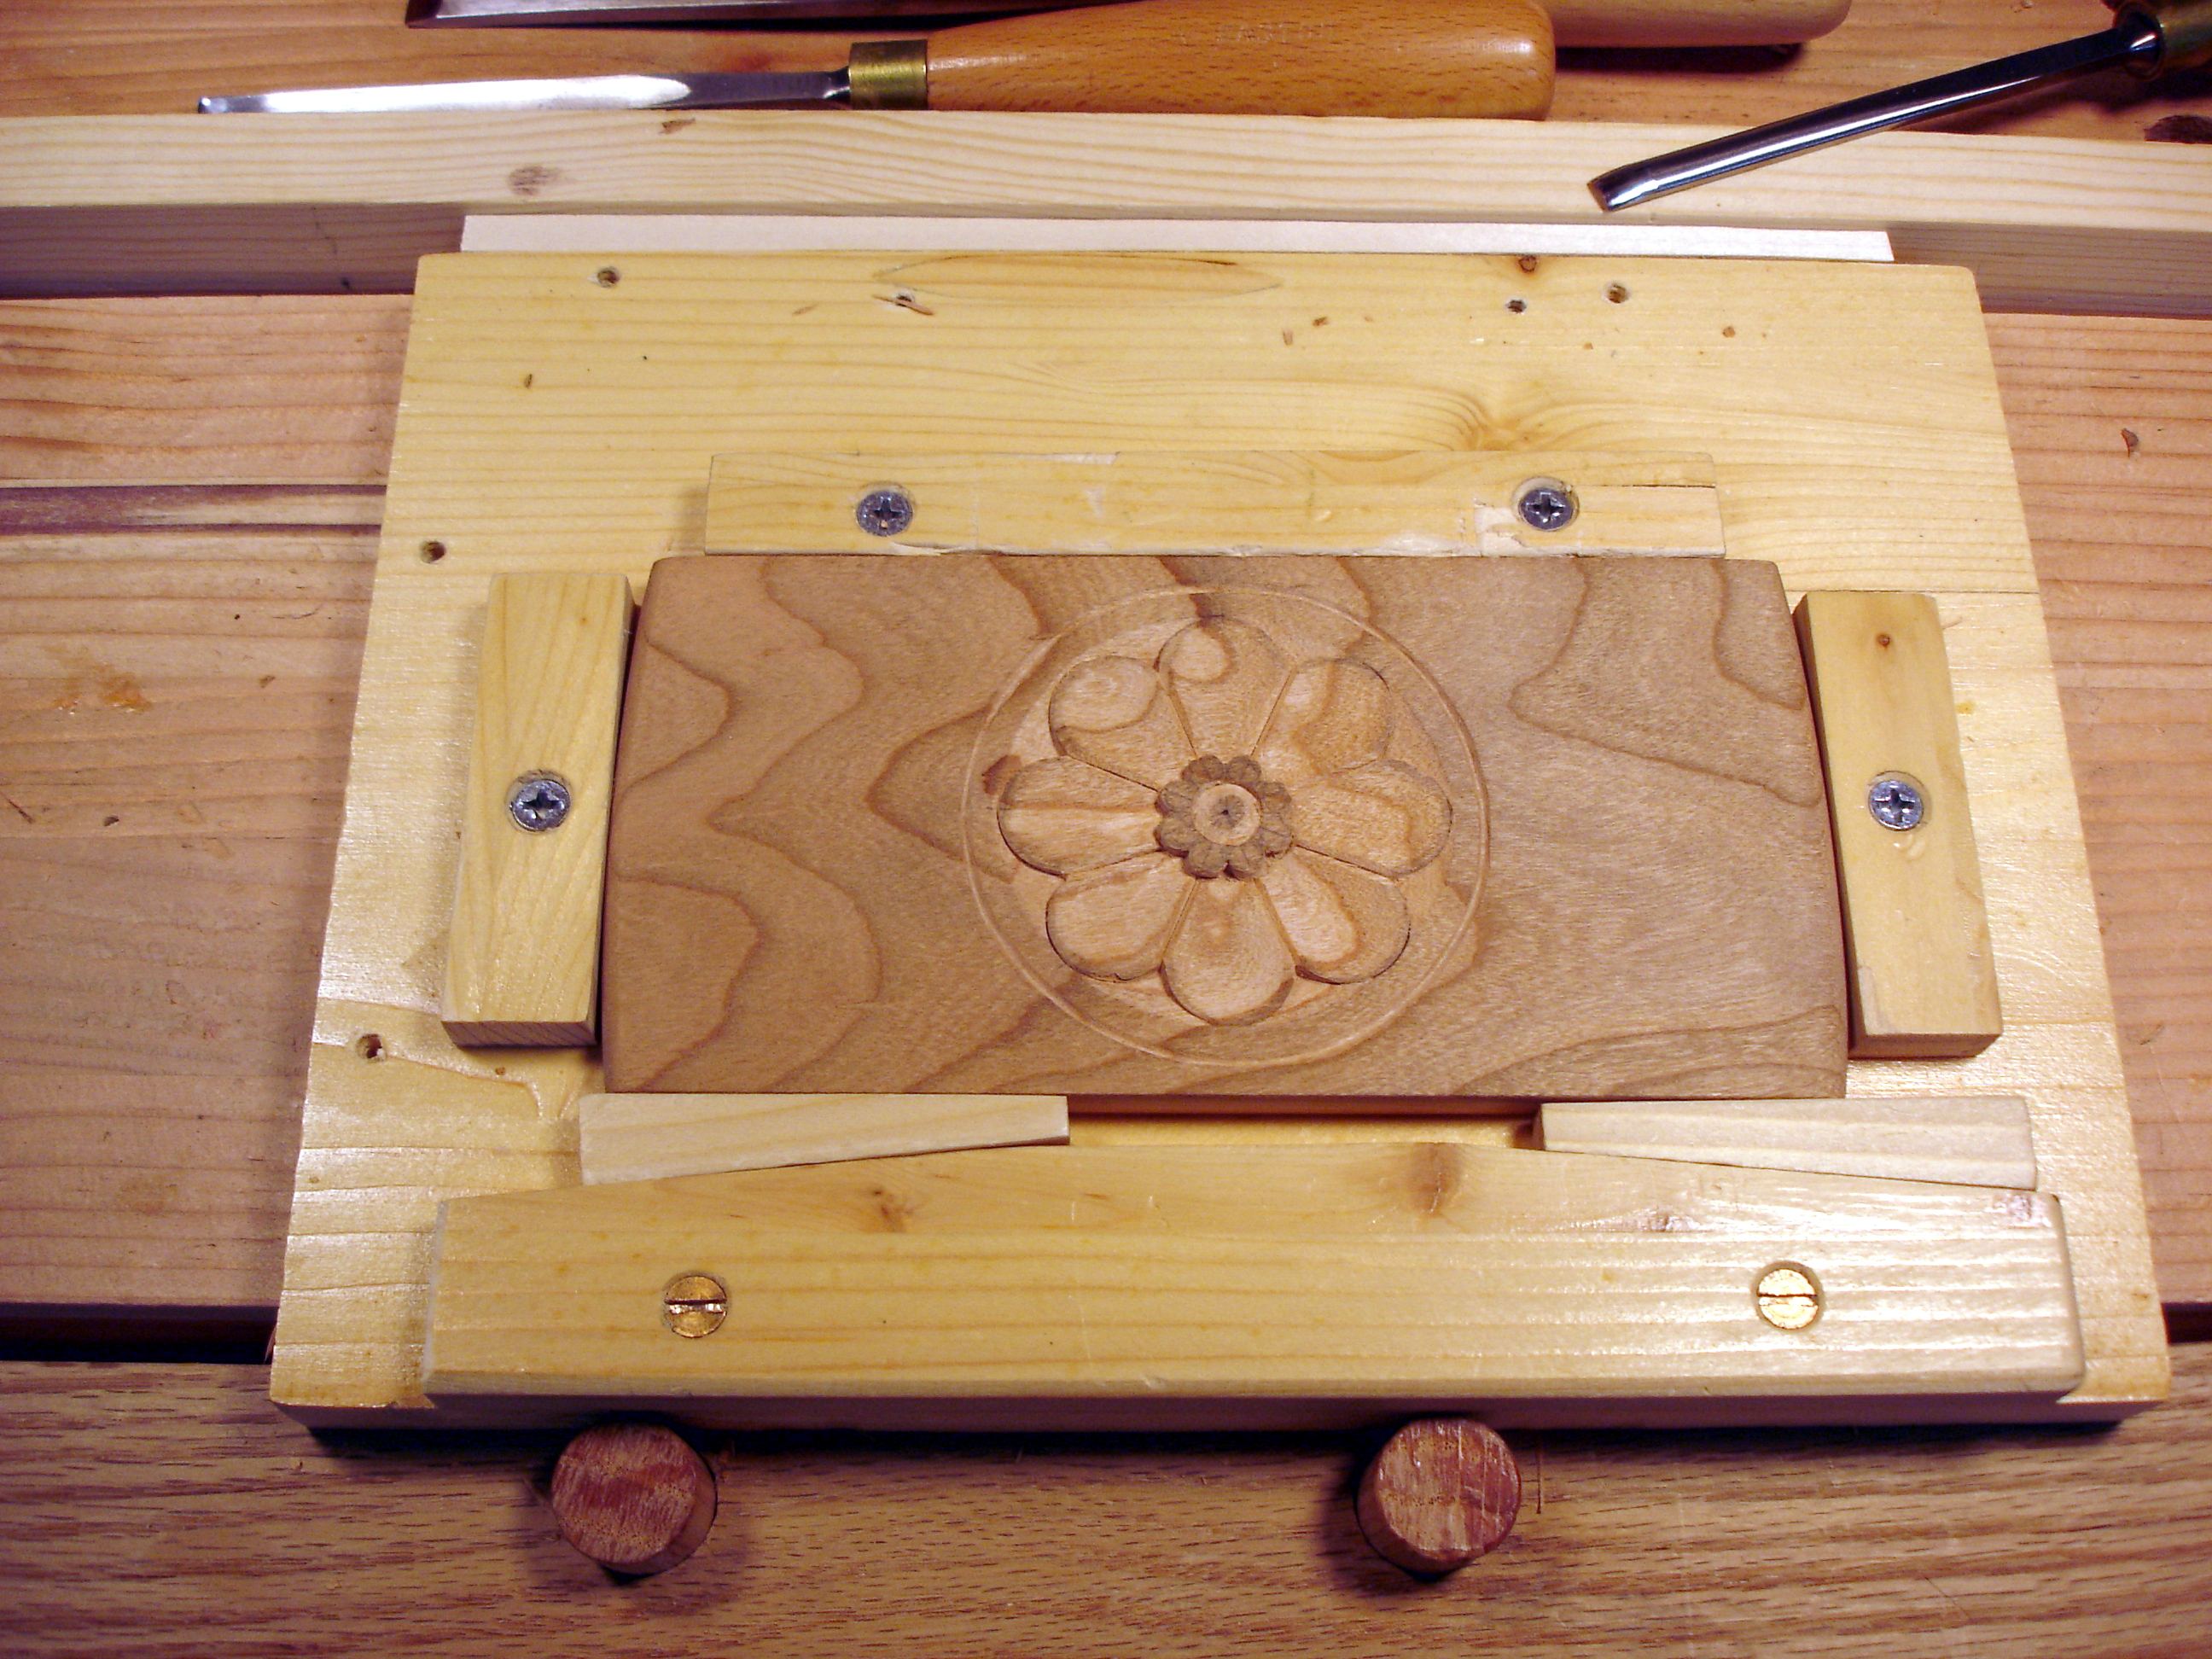
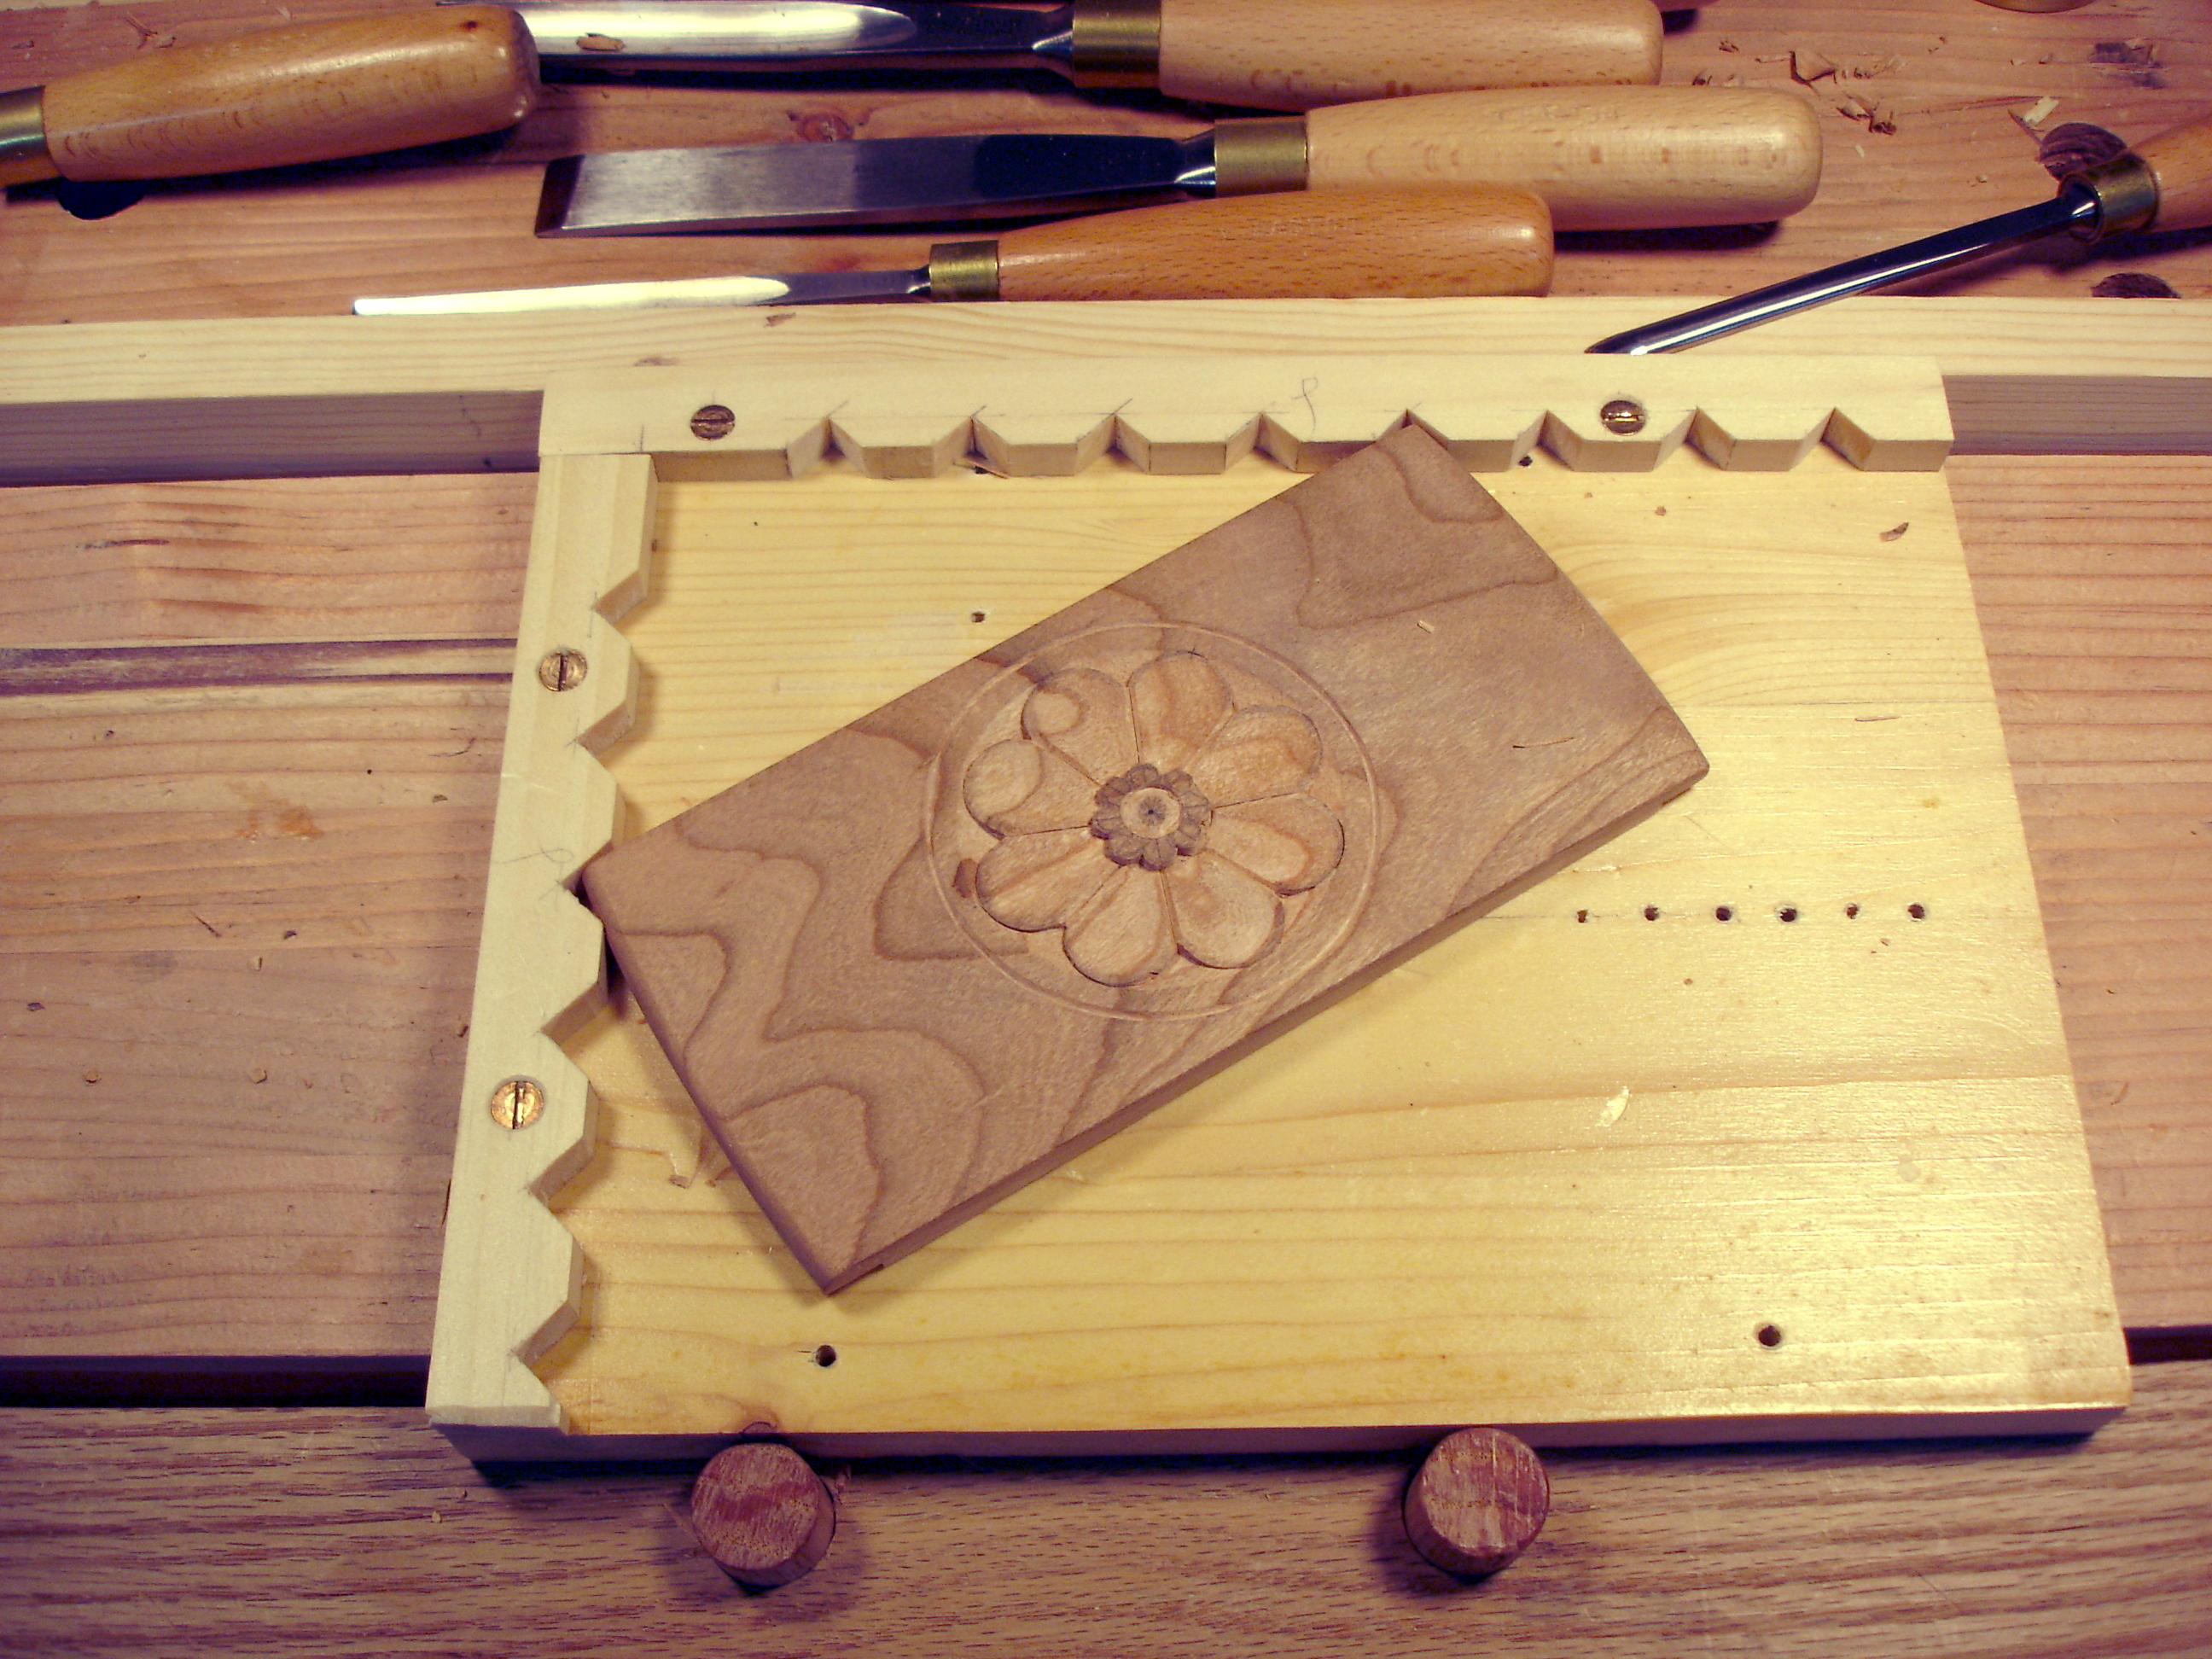
So, I tripped across someone using a different method (YouTube, you know). Actually, I’ve seen similar work several times. The work piece is loose, but jammed into a corner or into other stops to absorb the work force. Other than the moments that cuts are being made, the piece can be moved around easily and quickly. Some wood workers plane wood this way. One particular arrangement for “stops” looked interesting, so I fabricated the contraption. As you see, it’s simply a pair of wood strips with notches cut in them. photo of new work holding technique
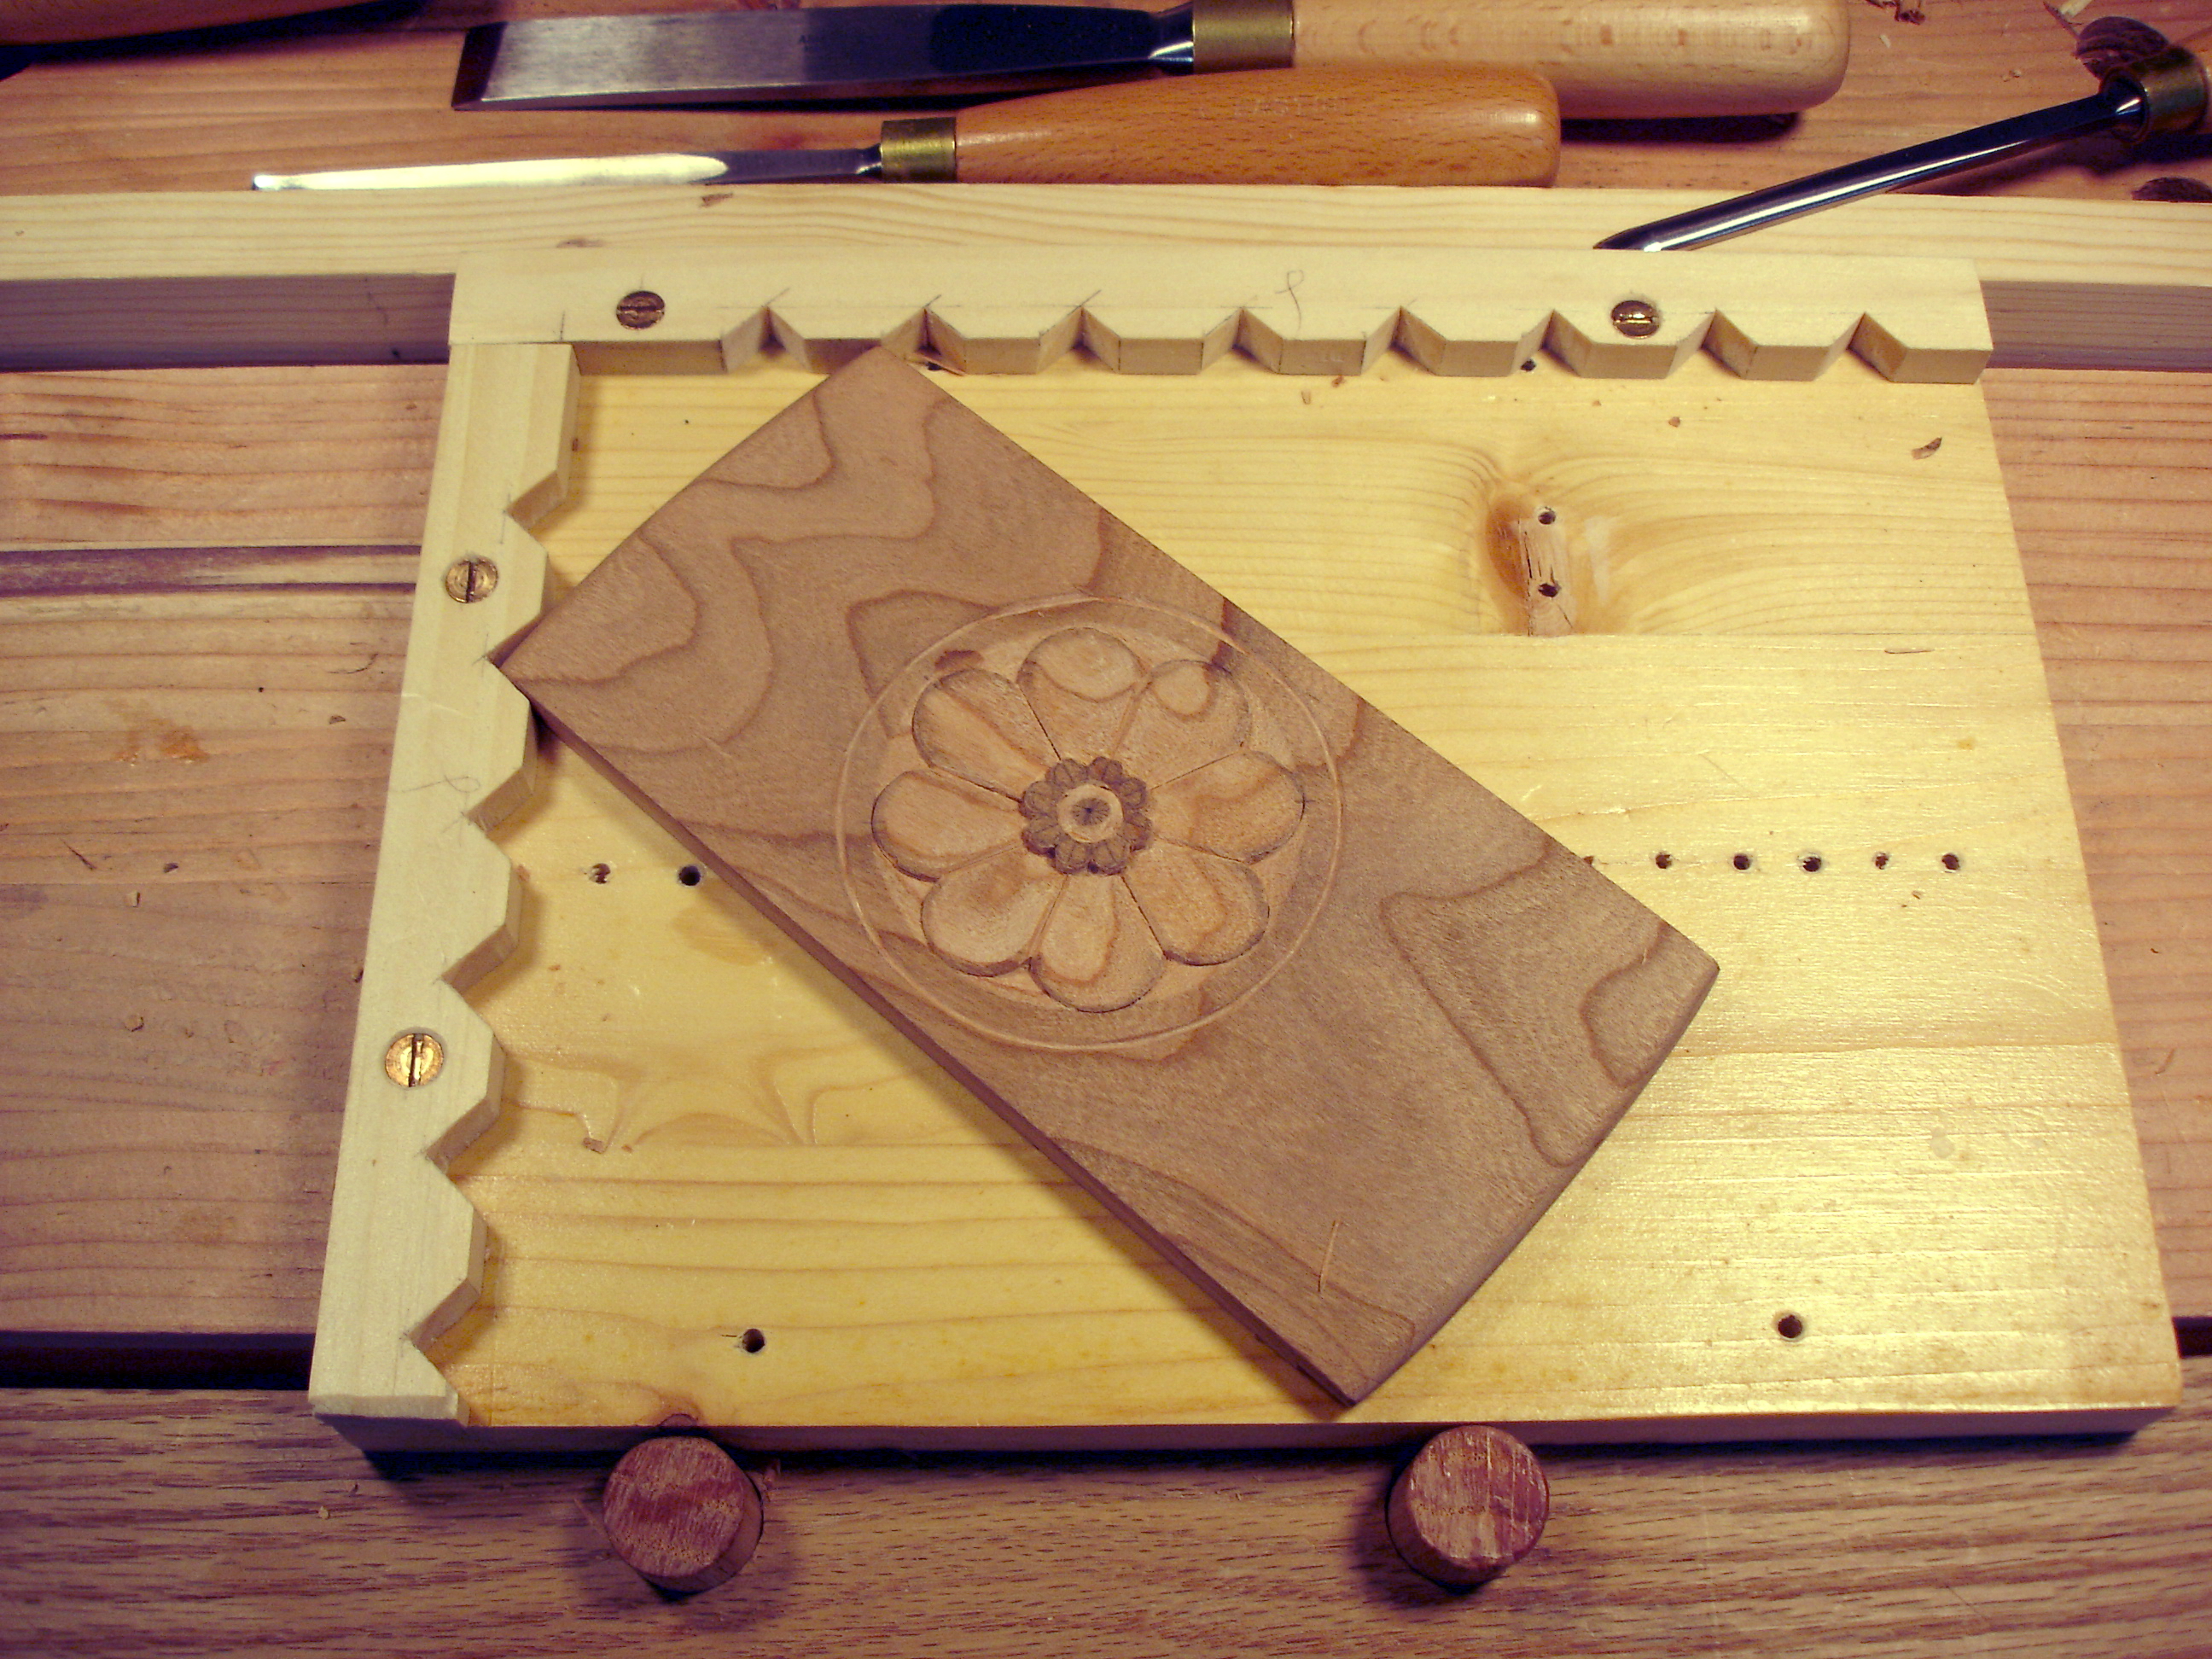
Since, I’m right handed, arranging them as shown is natural. The work piece can now be quickly oriented in almost any direction and always have two points of contact to keep is steady.

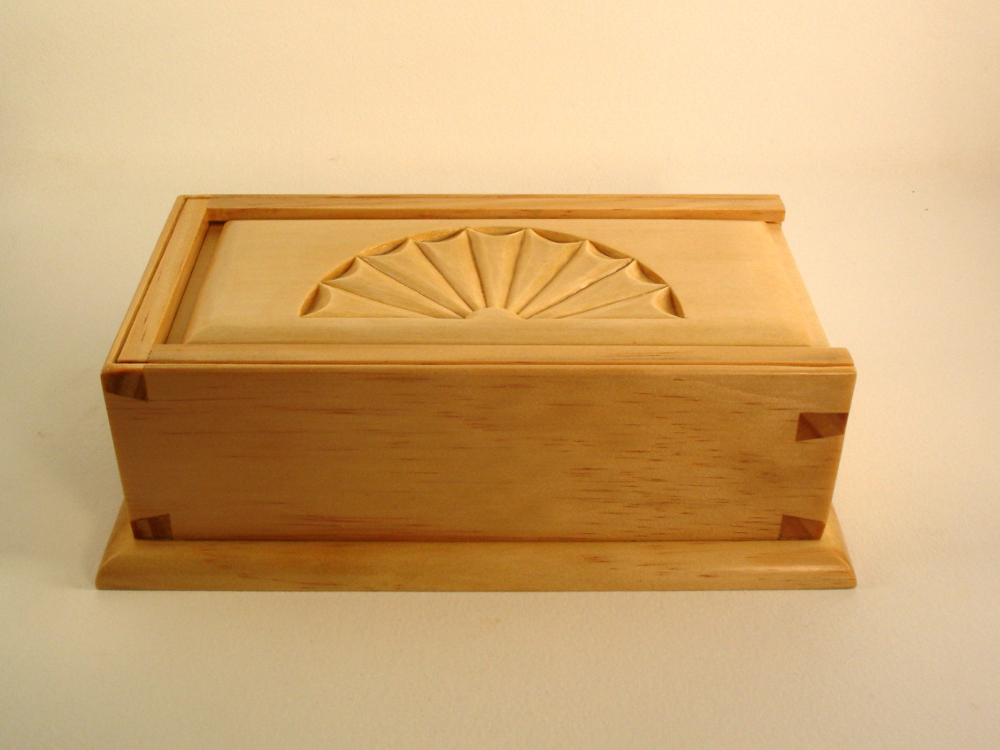
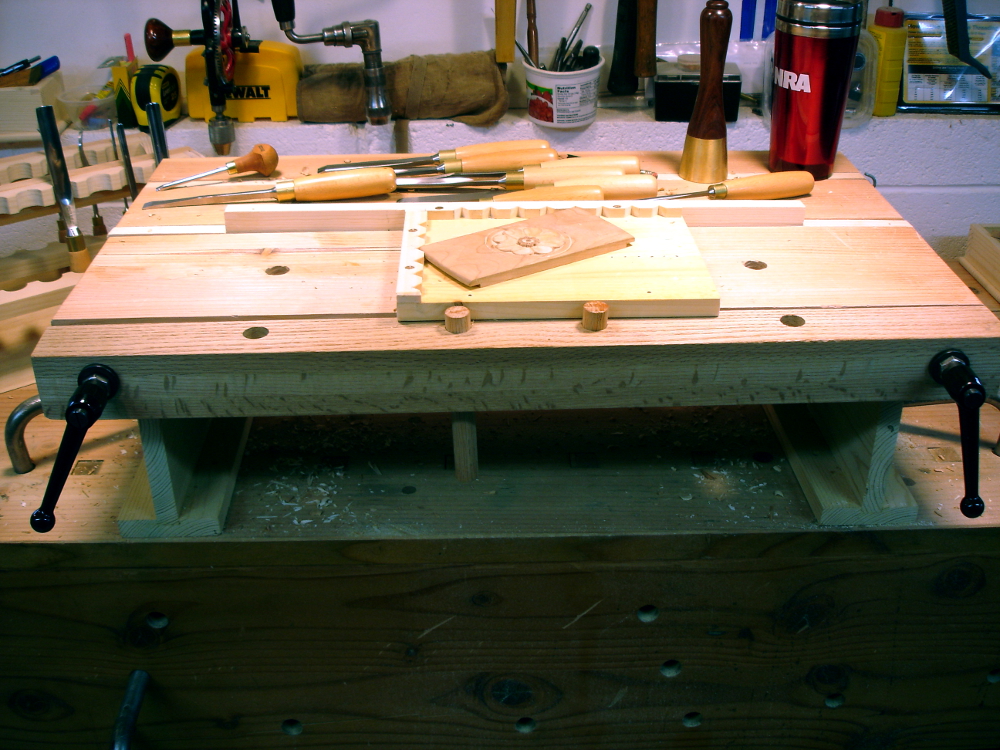
This box lid is about 3.5 inches by 6 inches and I’ve used this frame for both hand powered cuts and mallet assisted cuts. It’s worked well for this piece. And… all of the work is done atop my carving bench, or my BoB, bench on bench.

photo of carving bench
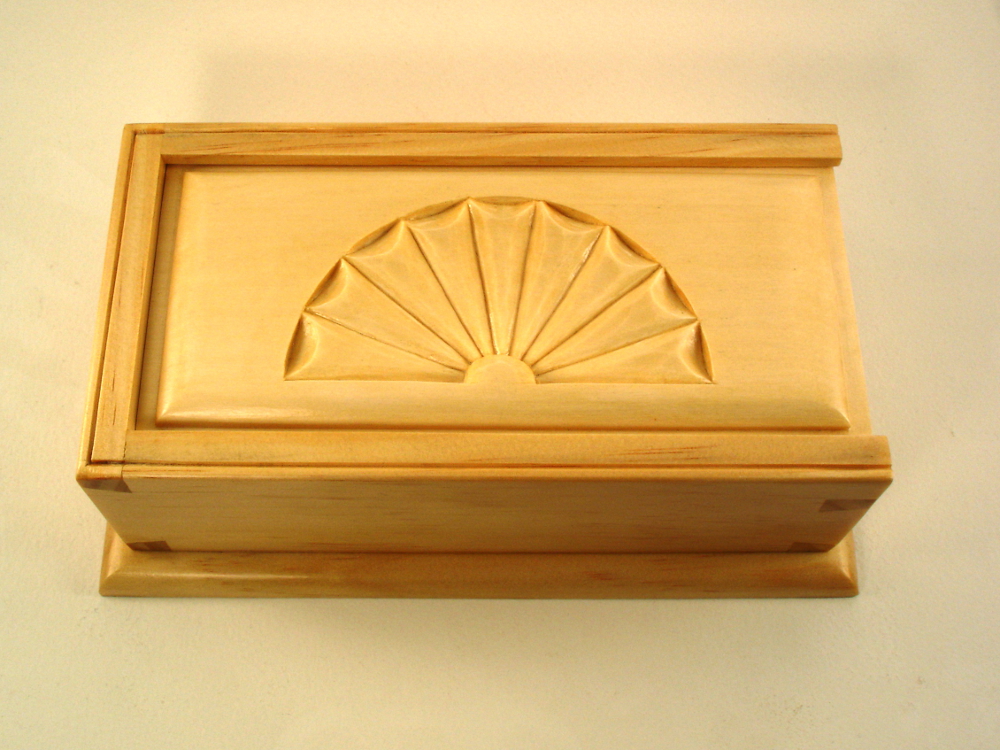
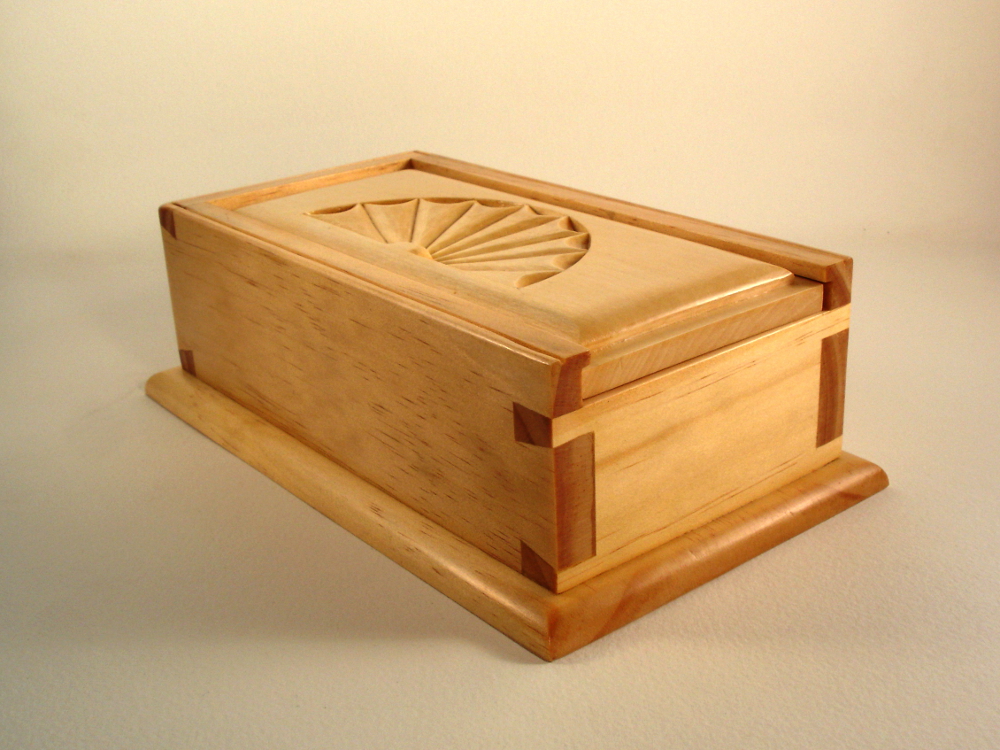
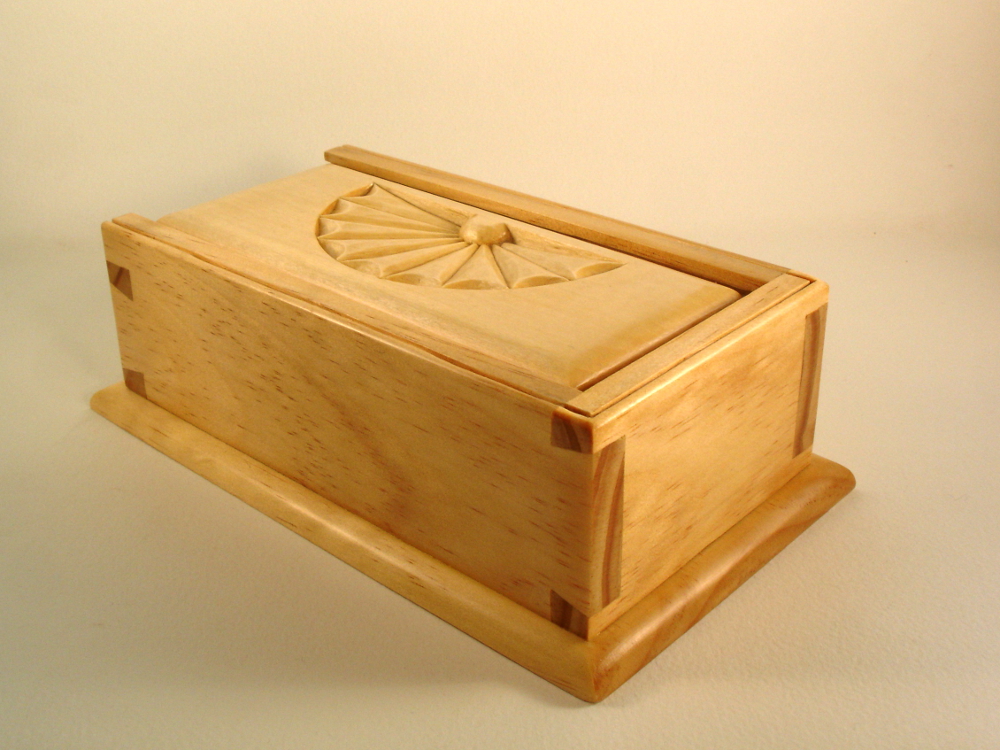
BTW, the work in progress is the lid for a small cherry box you’ll see later.

Oh yeah, none of this works well unless the screw slots are “clocked.”

Filed Under: Boxmaking, Woodcarving

Carving on a Dovetailed Box

February 8, 2013 by Bob Easton 10 Comments

photo of carvingIt’s been a long road. My serious woodworking interests started when I came through the door marked “small boats.” Since then, I’ve passed through many doors, each offering new interests and challenges. None included or required dovetail joinery. Until now… That’s one reason why I have been rehabilitating saws lately.

Oh yes, carving still holds my main interest, but carvings need a purpose. Not being one to construct elaborately carved furniture, photo of box - lid  prominentI find smaller forms more appealing. Hence, the boxes. But… dovetails? Really? (You know, small boats have neither straight lines nor square joins … nor dovetails.) OK. OK.

I’m learning from yet another master. Paul Sellers is in the midst of a boxmaking series at his Woodworking Masterclasses online school. While I find his classes excellent, Paul is one who always produces perfect results. So rare are his mistakes that he seldom advises how to correct them. photo of dovetailed cornerMy learning comes more from (alright, mostly … maybe totally) making mistakes and learning how to fix / avoid them, and I’ve learned over the past weeks that there are elebenty-seven different ways to ruin a dovetail joint. (Nope, no pictures!)

Without further jabbering, here’s the first dovetailed and carved box that’s worth showing:

Body: 4″ by 7 1/2″ by 2 1/4″
Base: 3/8″ larger all around
photo of dovetailed corner
Body: New Zealand pine
Lid: Wisconsin basswood
Finish: Shellac and paste wax

It is similar to the example Sellers has been teaching, but I’ve made it my own with the carved lid. There are a couple of other variances too.  Sellers cuts the groves for the lid with a tenon saw. That results in a grove that goes all the way through the end of the box and then needs tedious fitting of plugs to close the holes.photo of dovetailed carved box I made mine a stopped groove, like a stopped dado. This one I cut with only a chisel and knife, an experience I won’t repeat. More learning. A Record 044 just arrived from Patrick Leach in today’s mail.

Sellers also cuts the rebates on the lid (for the slides) with a tenon saw. I cut mine with an ancient Stanley #78 moving fillister plane that I call Mr. Fussy. It does the job, but takes about 4 times longer to set up than just using a saw. Doh! Yet more learning.photo of cutting the beading

One of the last little bits of learning with this project was creating the beading on the top edge. Some time ago, I did beading on the lathe’s timbers with a scratch stock. An even simpler tool, smaller too, produces results faster. Another bit of Seller’s wisdom is a simple screw in a block of wood. The crisp edge of a single slot screw makes a great cutter. Then, hit the outside corner with a light chamfer. Fast. Easy.

The box collector in our household has already claimed this one.

Filed Under: Boxmaking, Woodcarving

  • « Go to Previous Page
  • Page 1
  • Interim pages omitted …
  • Page 4
  • Page 5
  • Page 6

Primary Sidebar

Footer

Recent Posts

  • New Frame Saw / Scroll Saw
  • Lamppost Sign
  • Goodbye PayPal – Goodbye Bob’s eBooks
  • Anarchist’s Workbench is Done
  • Why we keep offcuts…

Categories

  • About
  • Artwork
  • Boatbuilding
  • Boating
  • bowl carving
  • Boxmaking
  • Clocks
  • Drawings
  • eBook
  • etude
  • Eva Too
  • Eva Won
  • Fiddlehead
  • Fiddlehead model
  • Flying
  • frame saw
  • gilding
  • green woodworking
  • Grinling Gibbons
  • Guns
  • Hand tools
  • Humor
  • kerfing plane
  • Lettercarving
  • Mill Creek 13
  • Model building
  • Power tools
  • Rant
  • resawing
  • scroll saw
  • Shopmade
  • sign painting
  • Stonework
  • Swimming
  • Technology
  • The Wall
  • treadle lathe
  • Uncategorized
  • VSD
  • Woodcarving
  • Woodturning
  • Woodworking
  • workbench

Other stuff

  • About
  • Contact
  • Privacy Policy

Copyright ©2024 · Bob Easton · All Rights Reserved