Gratitude – Patrick Leach: tool seller
In the previous post, I teased about glass as the next topic. Not ready to write about that ongoing saga yet.
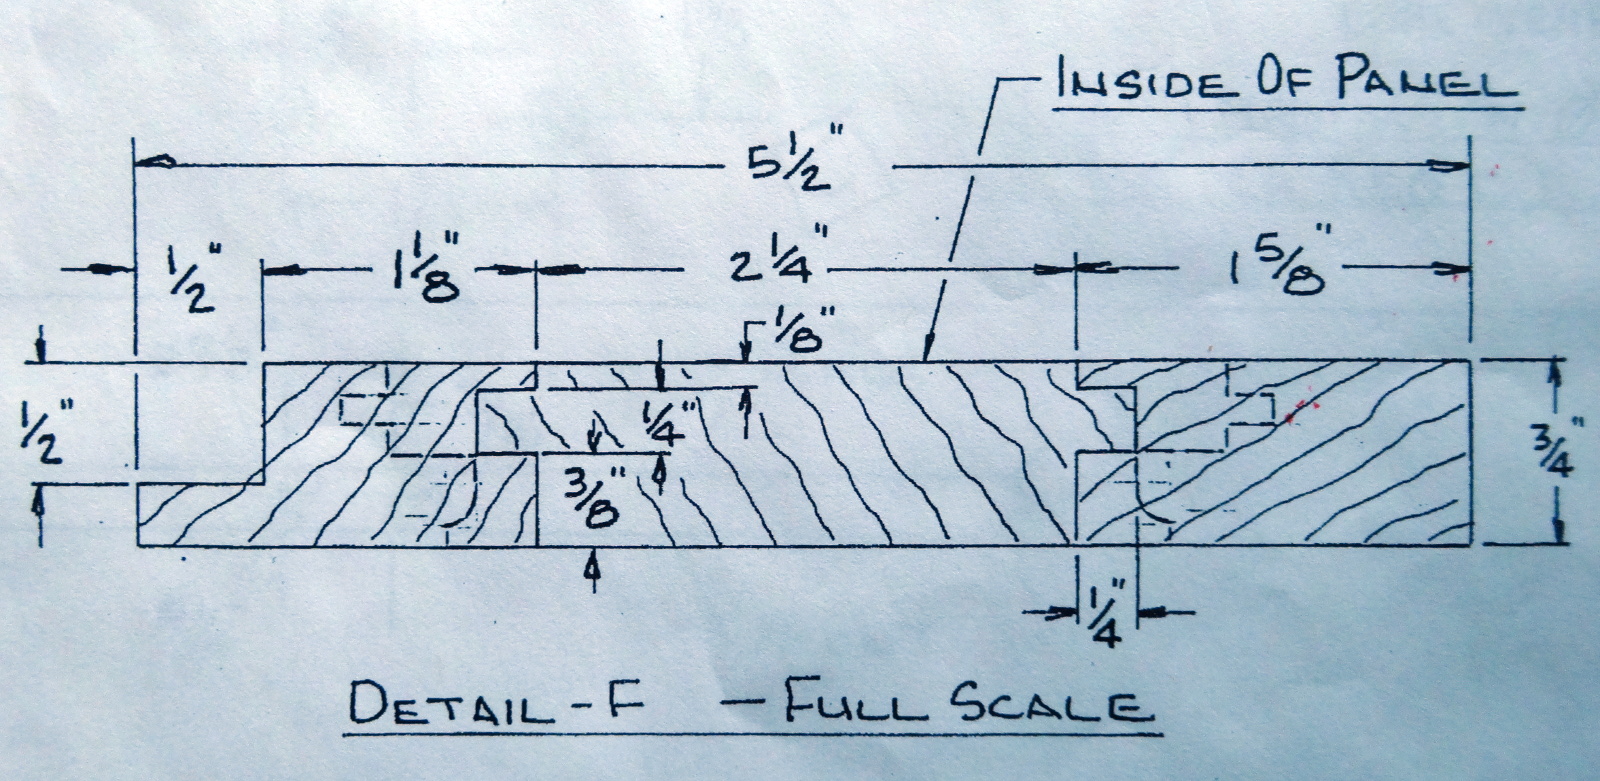
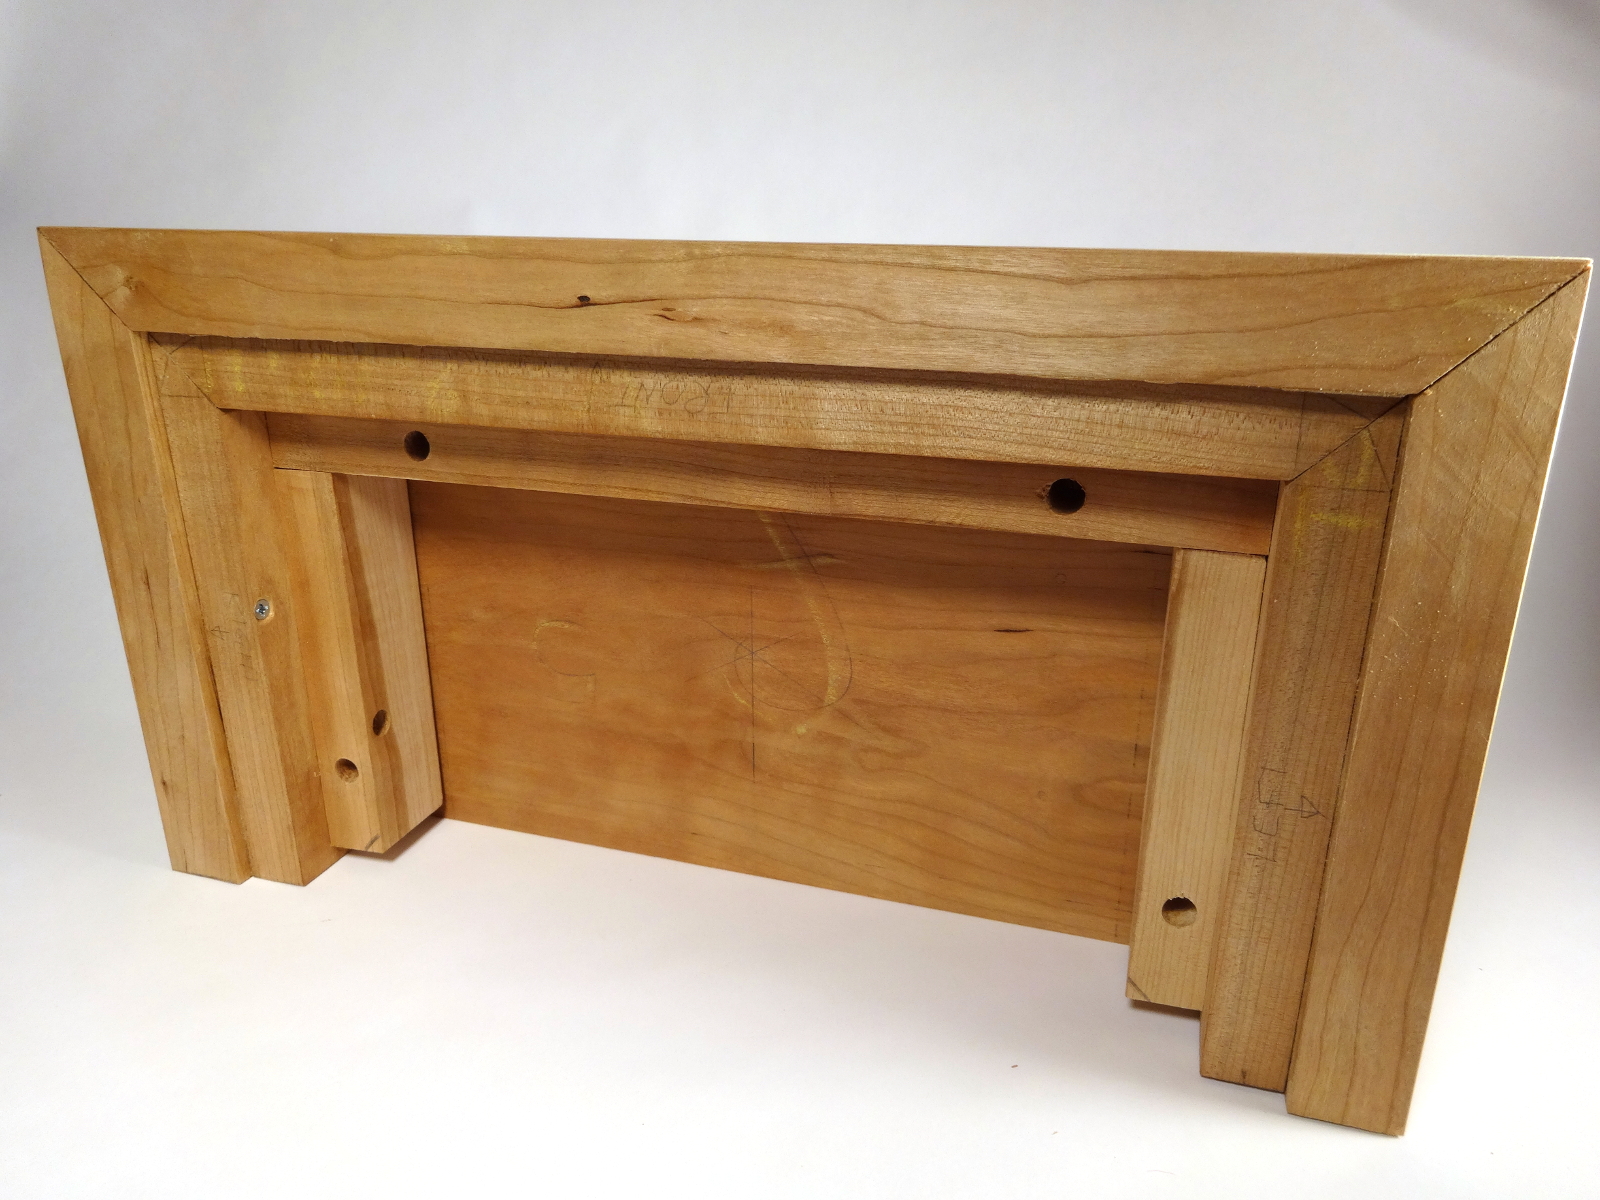
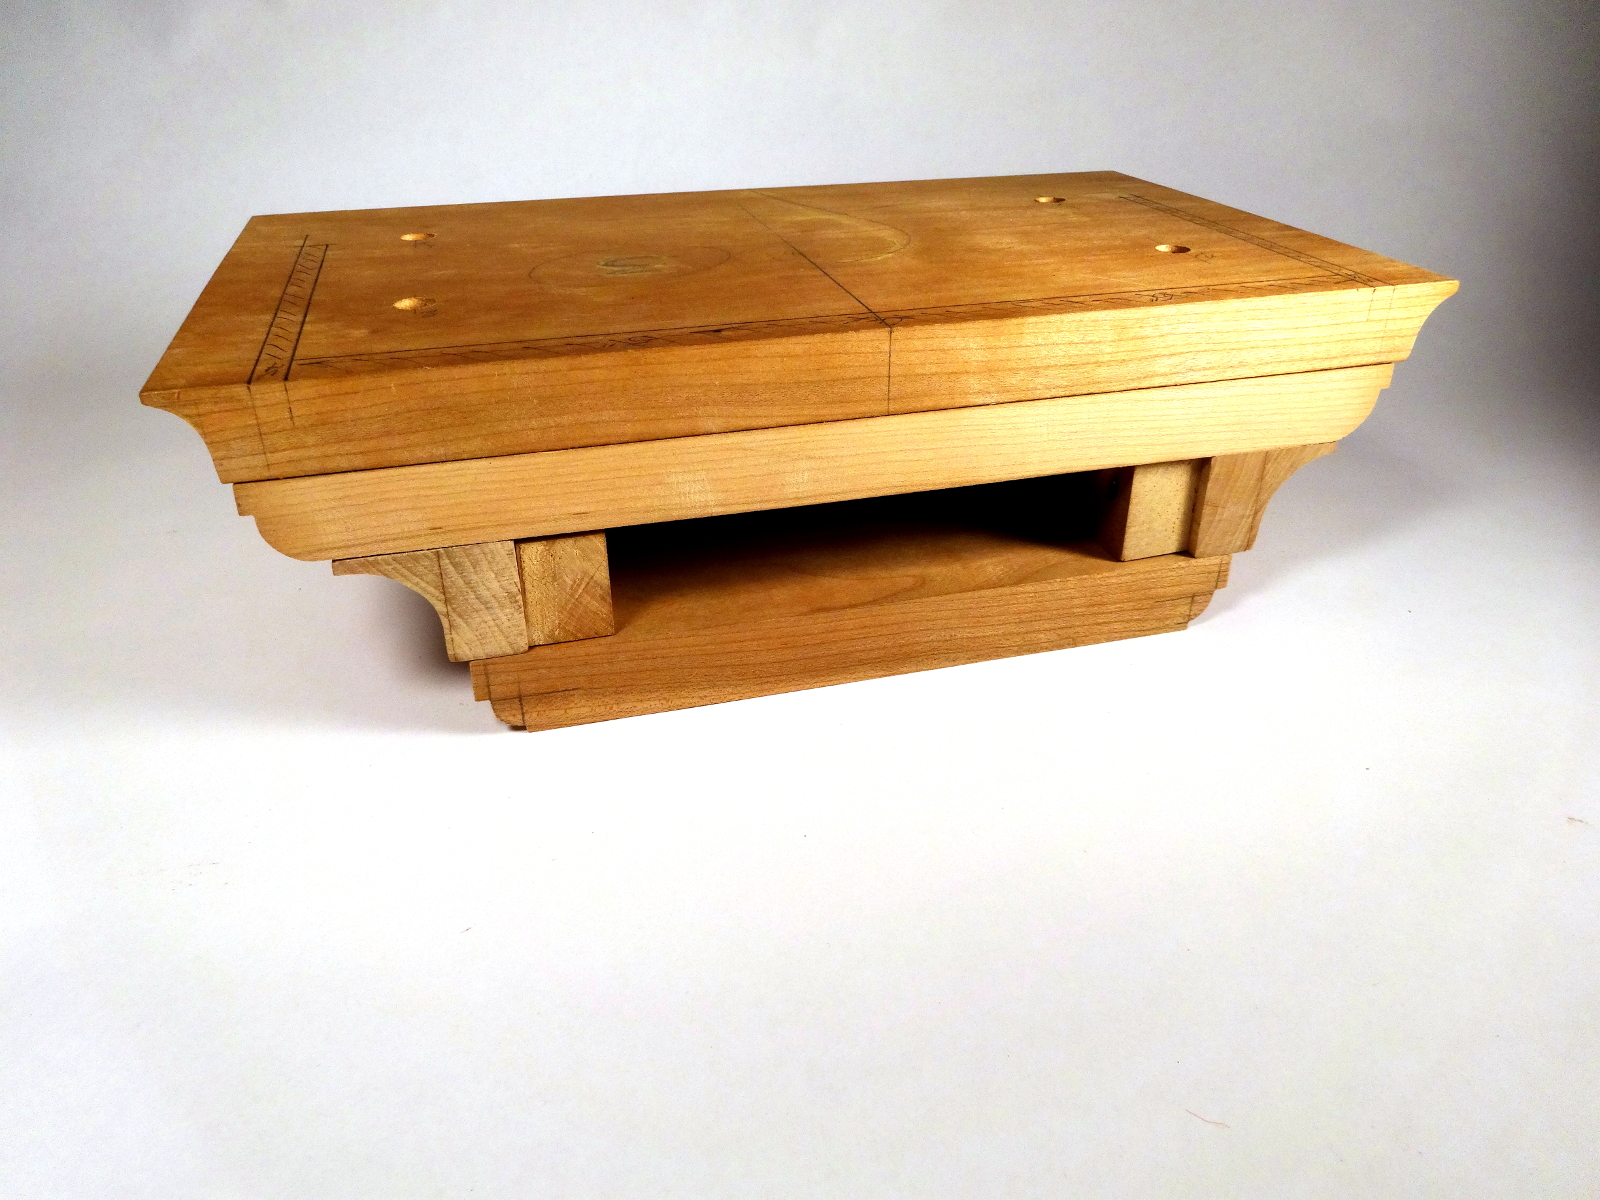
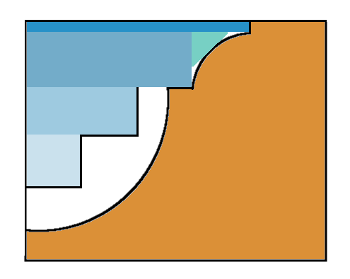
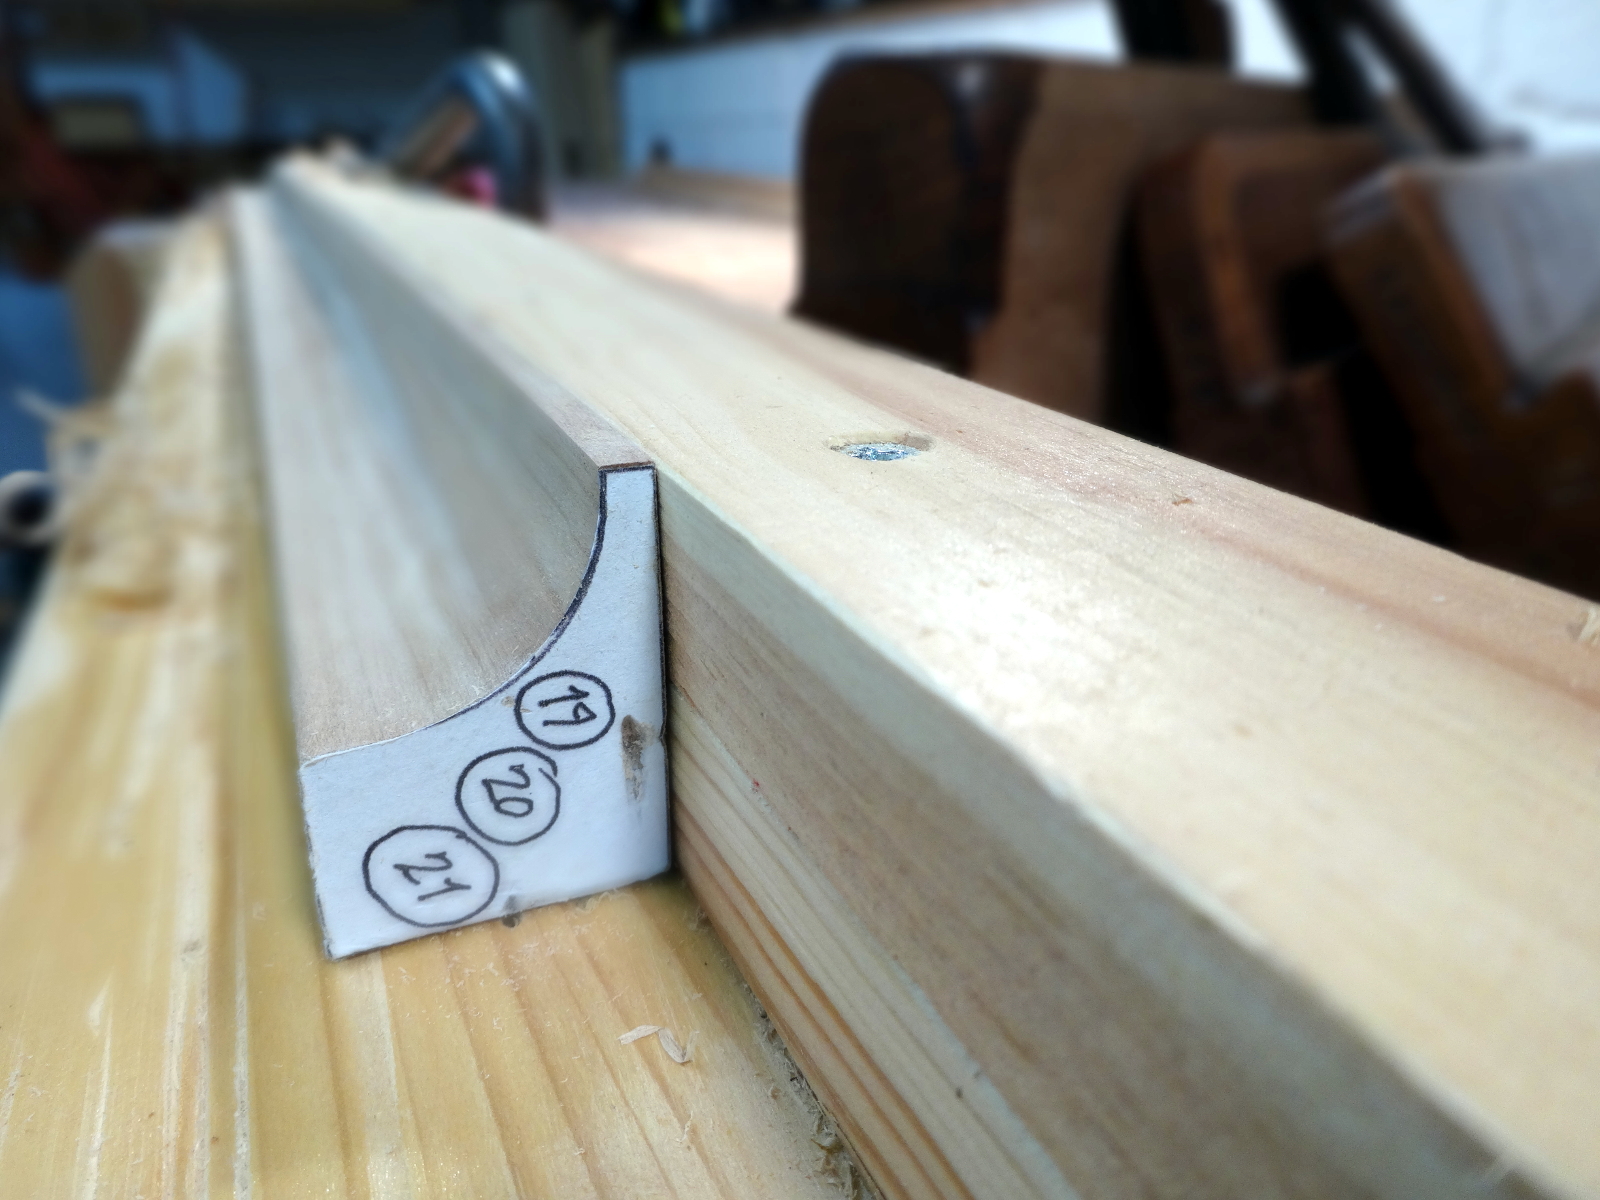
The case work on this clock is made of joined panels. Each panel, two sides and the front door, consists of three pieces. The drawings show tongue and groove joins, something I have not yet tried.
BTW, the drawings show offset, non-symmetrical, tongue and groove joinery created by some sort of “router bit” thingy. I’ll be using traditional T&G / match planes.
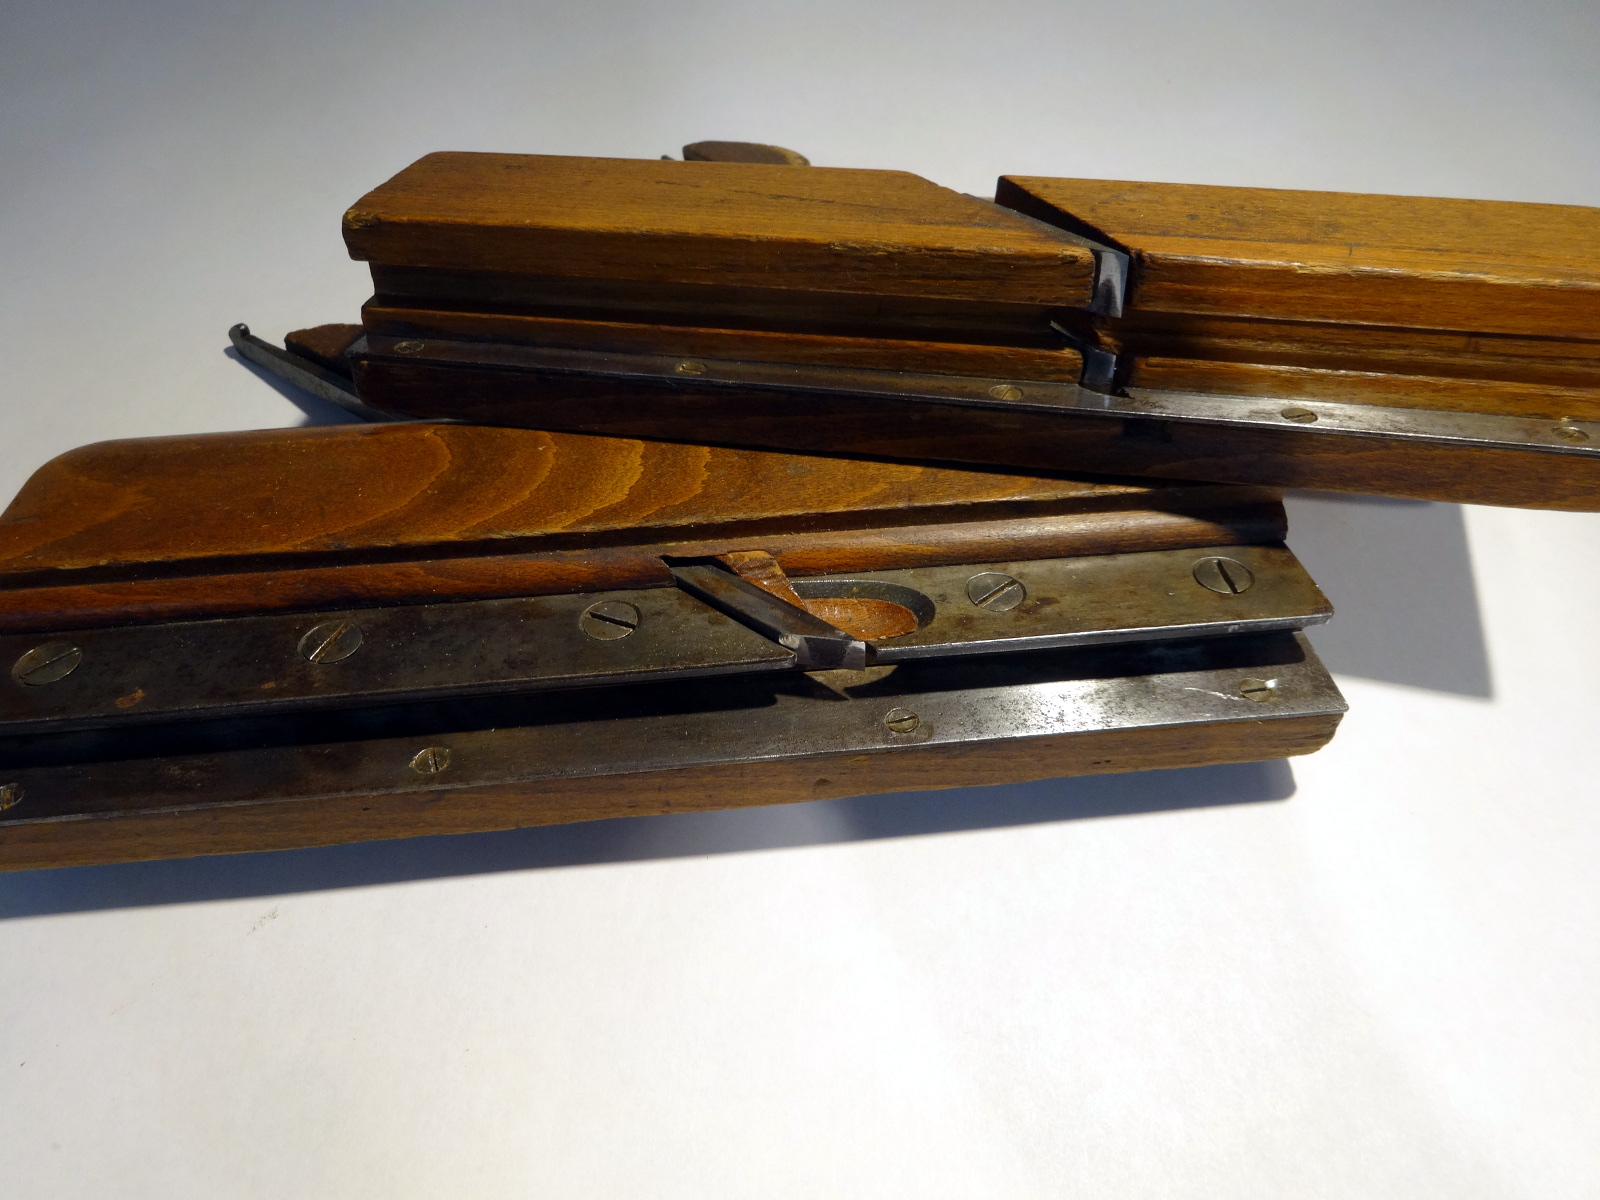
New-old T&G planes … After missing out on a pair that Patrick offered in a recent newsletter, he came across another pair some days later and let me know. In addition to “curating” good tools, this is something I really like about Patrick. He remembers and eventually comes back with good stuff. These 3/4″ match planes are by the well known Bensen & Crannell. They appear to have been in recent use and arrived rust free and relatively sharp. Instead of a full restoration all I did was lightly hone them sharper. They have steel fence plates, clearly made for long life and heavy use. I suspect this pair has seen a lot of use.
BTW, Bensen & Crannell made planes in Albany, NY, 1844-1862. They were such prolific plane makers that if you search for them on the internet today, you’ll find hundreds upon hundreds of their tools still in existence and for sale.
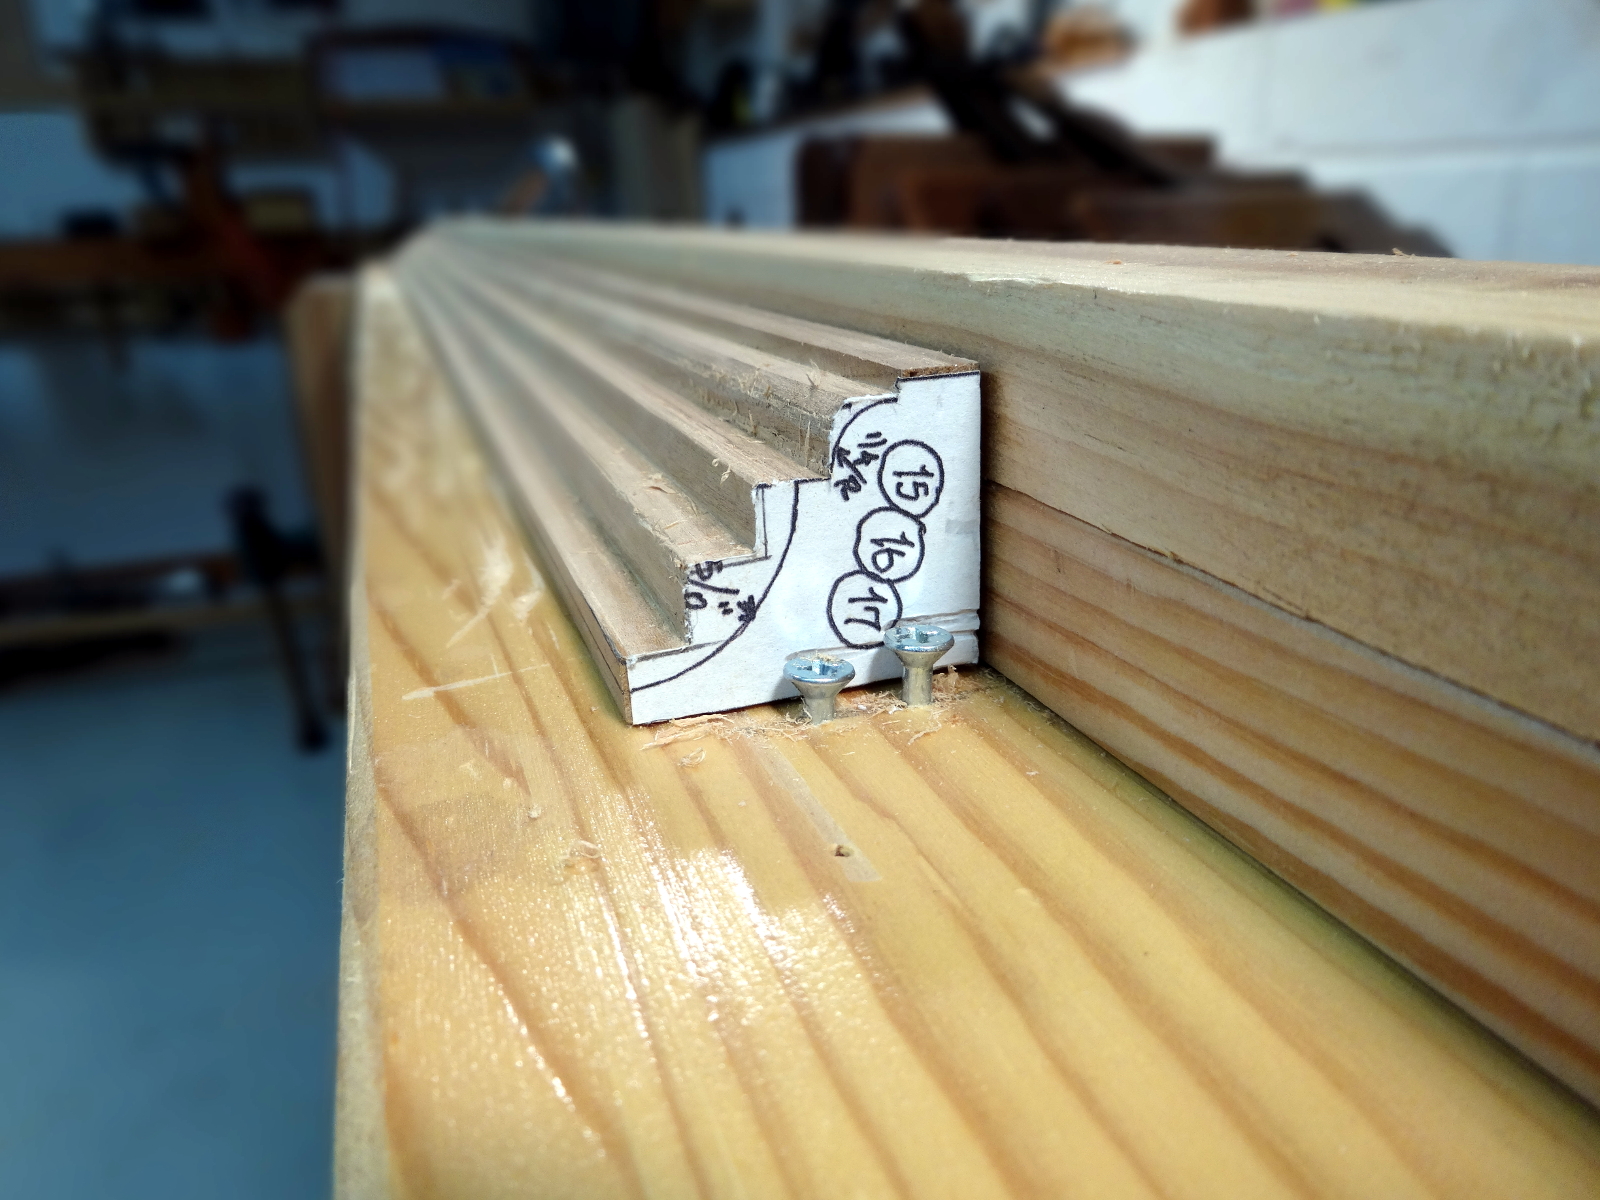
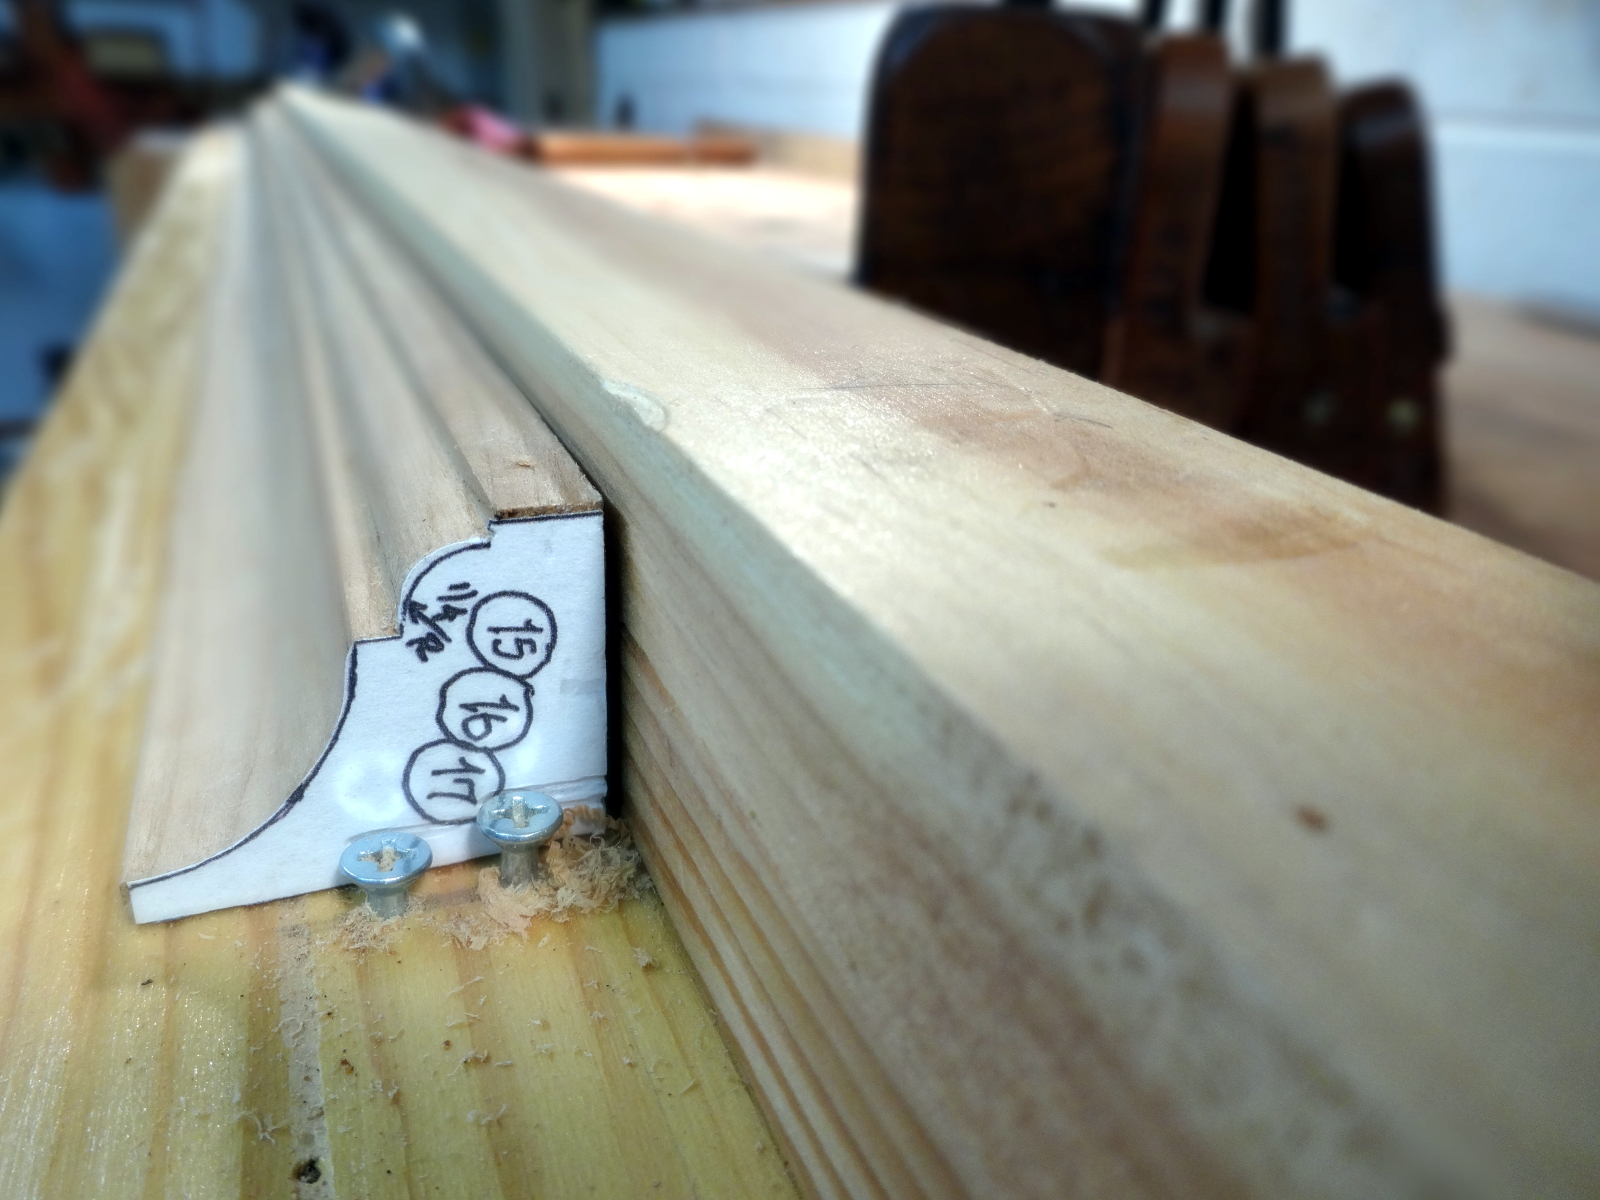
The grooving iron is slightly narrower than the slot in the tongue iron, leaving a fit that is a wee bit too tight. The grooving iron is very substantial, tapered, and is actually keyed to the skate. I suspect that long ago, it might have been a bit wider but has been narrowed by sharpening.
My first trials resulted in both planes cutting well, but ended up leaving an an offset of about 1/32 inch at the joint line. …after hammering the pieces together. It’s not hard to plane the joint flush afterward, but being flush straight from the match planes would be better. I like “perfect.” This offset resulted from the tongue being a tad too far from the fence. On closer inspection, I see that the iron for the tongue plane was a replacement, not carrying the original Bensen & Crannell marking. So, make it work. Fettling was a matter of filing some material from the fence edge of the iron. A bit of filing and trial fitting got it to “perfect” which in this case is plus or minus the thickness of a piece of paper. The tight fit is easily remedied with one light pass of a rabbet plane along one side of a planed tongue.
Update – January 2018:
I noted above that the plans wanted an offset T&G, and that I was ignoring the plan and using the new/old T&G planes with the centered tongue. That worked just fine for the side frames, but not so well for the door frame. The centered groove didn’t work out so well making the transition from straight stiles to curved top. An unwanted gap appeared. So, I reverted to using a #44 plough plane to make the door frame joints as defined on the plan.
Other articles in this series…
- Regulator Clock – Done
- Regulator Clock – Woodworking completed
- Regulator Clock – Scratching the frames
- Regulator Clock – Door Hinged
- Regulator Clock – Case Dry Fitted
- Regulator Clock – Jelly Side Down
- Regulator Clock – Case Frames – 2
- Regulator Clock – Glass – 2
- Regulator Clock – Case Frames – 1
- Regulator Clock – The Works work
- Regulator Clock – Glass
- Regulator Clock – Tongue & Groove planes
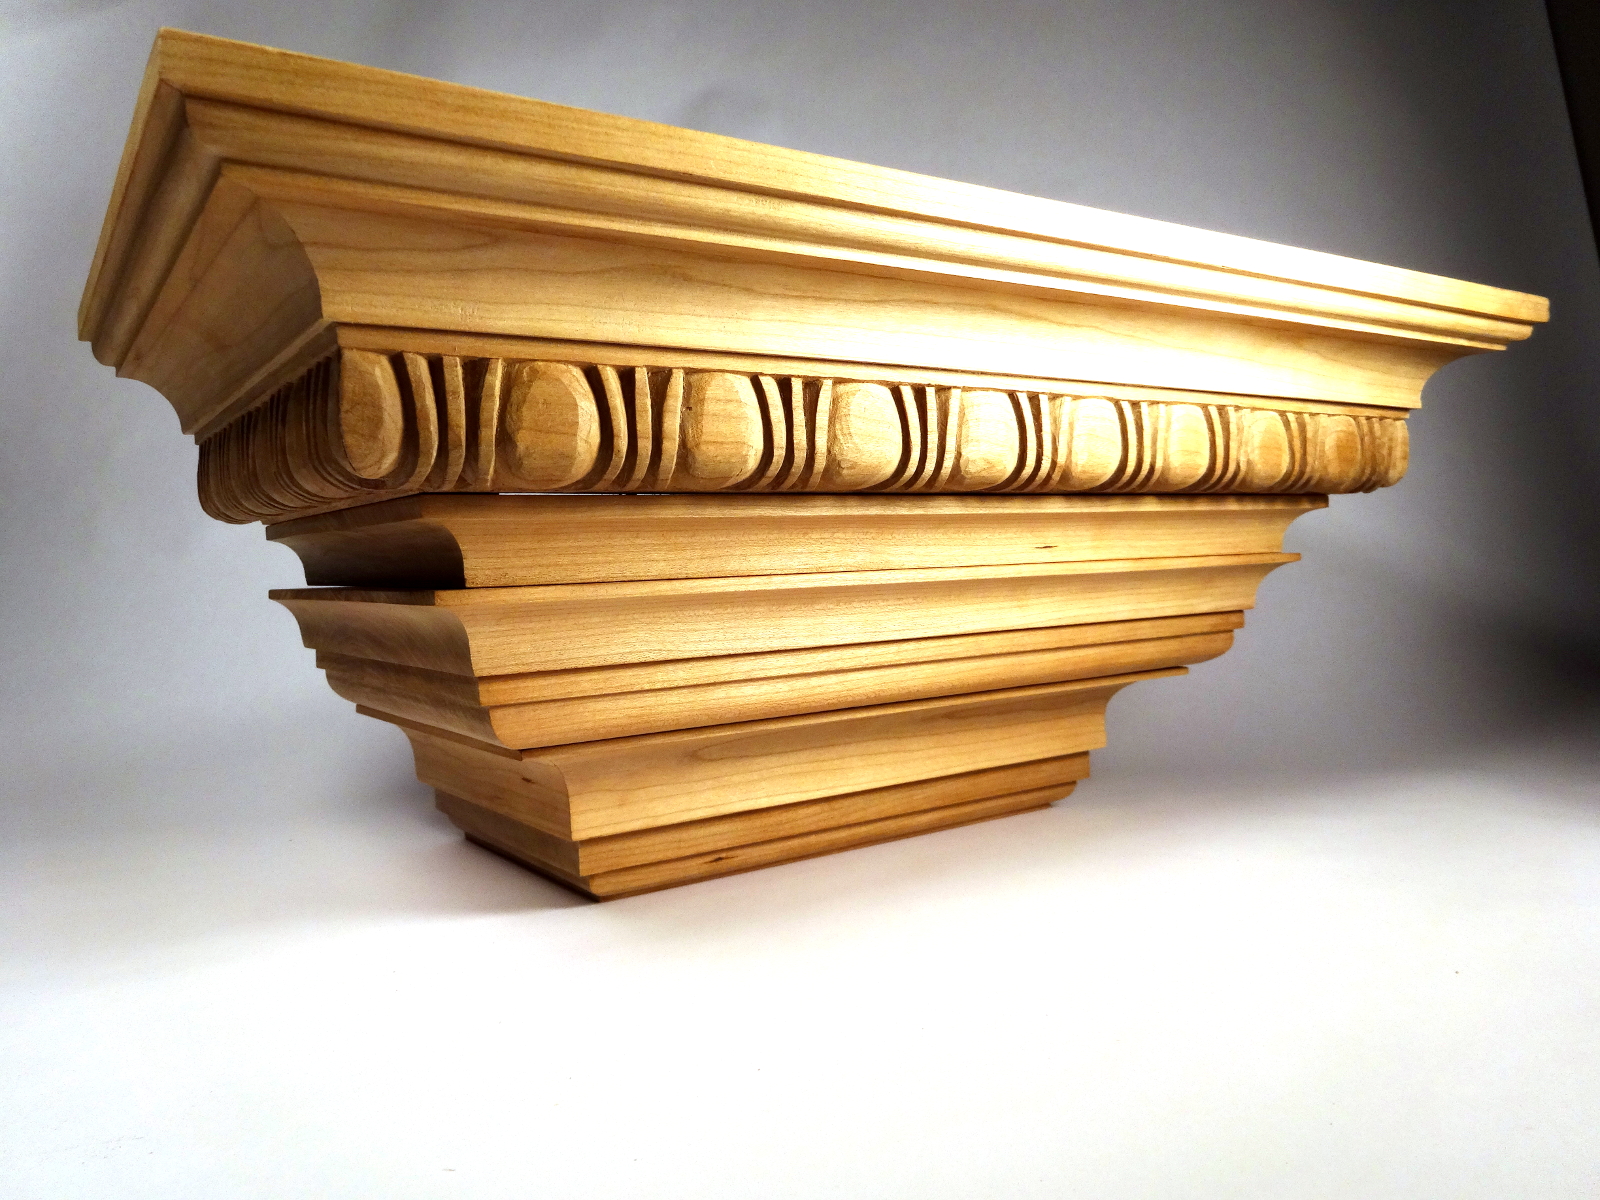
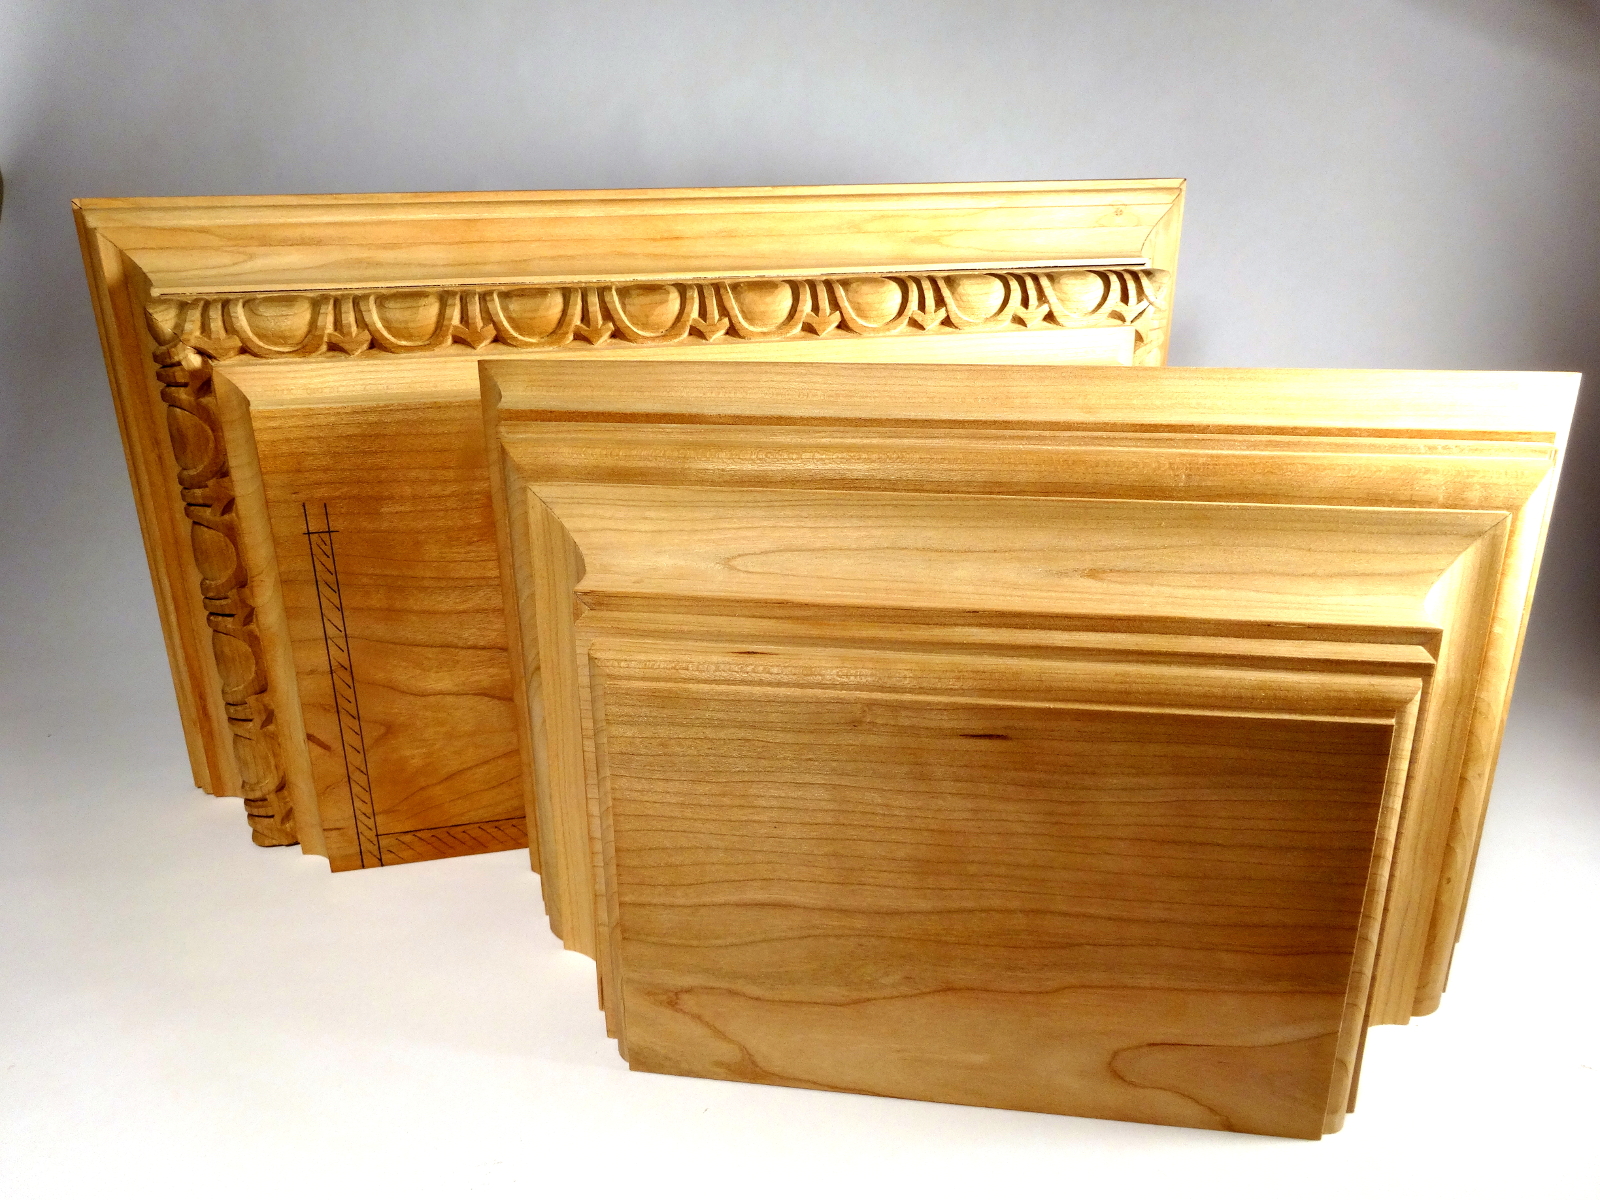
- Regulator Clock – Completed Mouldings
- Regulator Clock – Stick Mouldings
- Regulator Clock – Plate Mouldings
- Regulator Clock – Egg and Dart Moulding
- Regulator Clock – Eat Dessert First
- Regulator Clock – original description
- Regulator Clock – Stock Prep
- Regulator Clock – Plans for Moldings
- Taming the Rabbet