• Skip to primary navigation
  • Skip to main content
  • Skip to primary sidebar
  • Skip to footer

Bob Easton

Chocolate powered woodworking

  • Home
  • Grinling Gibbons Tour

Shopmade

Treadle Lathe – Resume Building

September 6, 2012 by Bob Easton 11 Comments

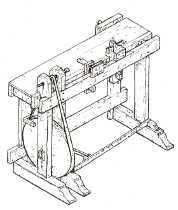
drawing of latheBuilding a treadle lathe started a long time ago, when the shop was too cold for epoxy to cure on a boat I was building. A lot of water has passed under our boats since then. Other activities, swimming, language learning, travel, and various forms of woodcarving have also happened. So, why back to the lathe now? Simple, some of the woodcarving I want to do is on various turned objects.

Quick recap: Plans are abundant. Making choices depends on intended use and can lead to analysis paralysis. My intended use does not include dragging the thing around to festivals, to shows, or any form of re-enactment. Out with the period costumes, and actually out with some of the other period authenticity.

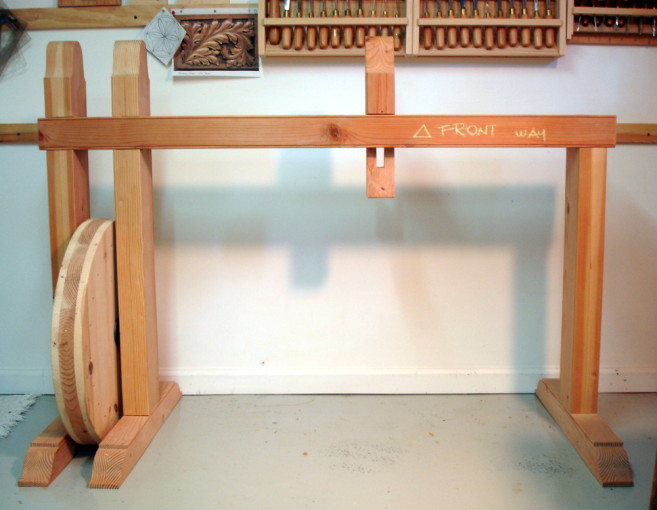
photo of dry fitted major parts

The lathe is intended for practical use and I’ll certainly be using modern parts such as ball bearings, chucks and live centers.

My choice of structure most closely resembles Stephen Shepherd’s 1805 “Moses T” lathe, but without the bench behind the ways. Mine is also heavier in certain areas, mainly the uprights and feet.

photo of tail stock being mortised

The last we saw of the build had the bigger parts mostly complete, the uprights, feet, wheel and rough tail stock. All of it has been set aside in the shop and has shown no signs of checking, splitting, warping etc. Not bad for construction grade lumber. The photo of assembled parts is showing only a dry fit. Nothing is fastened to anything else. … and what looks like a piece of lumber much longer than the lathe is really a french cleat attached to the wall behind the lathe.

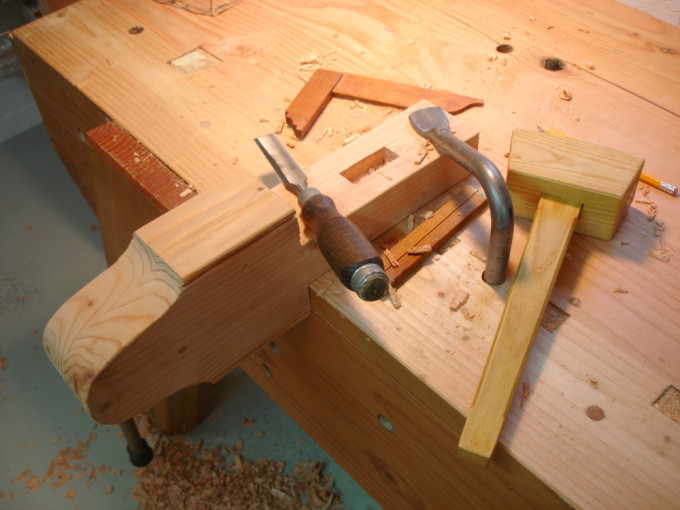
Recent work includes getting the tail stock to fit between the ways. That was basic tenon cutting. After that, I hacked out a through mortise that will later house a wedge.

Next up: A bevy of smaller parts for the treadle, or getting that wheel mounted between the uprights? hmmmmmm…
 

Filed Under: Shopmade, treadle lathe

Hollows and Rounds Get Their Own Shelf

February 8, 2012 by Bob Easton 6 Comments

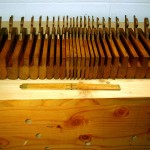
photo of 25 wooden planesMy hollows and rounds are upset. They’re fed up with sitting in a cardboard box on the shop floor. Anytime I go near them, they shudder and rattle, making quite a clamor.  OK, OK, that only happens when I trip over the box.

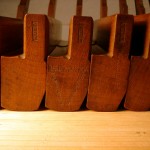
These planes came to me last September. They were made by either William or Edward Crow, of Canterbury England sometime between 1847 and 1880. photo showing markings close upTwo owners thought enough of them to stamp their names into the wooden bodies. And stamp they did, anywhere from 3 to 6 markings per plane. Someone named W.A.P. Chuter was an early owner. Later, someone named R. Woodward stamped his mark over all the Chuter marks. One wonders if this set might have started out as a full set of 36 and “dwindled” (despite all those markings) to the current number, 25. Pilfering from busy workshops? Loans never returned? Owned and lost by other owners who left no stamps? In any case, it would be interesting if these planes really could talk. There’s plenty of evidence of use, hammer dings and such. Yet, they are still in very usable condition. A few days ago, I knocked them all apart, did some rust removal, cleaned up the bodies, and sharpened a few irons … which were already almost sharp enough to use.

For readers interested in acquiring hollows and rounds, there are several superb makers operating today. Those who constantly receive high praise are: Larry Williams and Don McConnell of Old Street Tool, Matt Bickford of M.S. Bickford, and Phil Edwards of Philly Planes in the UK. Or, you can watch the used tool mongers and hope, and wait, and hope, and wait. I did and and had a very fortunate lightning strike!

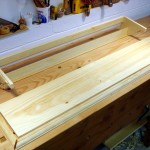
photo of all the parts for this shelfAlmost all of those shavings in the “Good Day in the Shop” posting are from various parts of making a storage shelf for the planes. They deserve something better than a plain shelf, but I’m not keen on using fancy hardwoods for my shop. So, it’s basswood for the carved brackets and Borg “white wood” for the shelf itself. My design is the result of a few minutes pencil doodling, which I’ve lost or discarded. As nice as it is, Sketchup is too much work, and the fist semester of engineering college (50 years ago) provided me with enough drafting skills to make a decent pencil sketch. The sketch materialized into these parts.

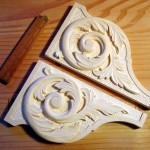
photo of shelf brackets with a wood carved acantus decoration

Earlier posts showed work in progress for the brackets. Acanthus leaves are classic forms, often appearing in all sorts of scrolls. You’ll find them almost anywhere, engraved on firearms, carved into leather saddles and belts, in stone, and in countless wooden decorations. These are my first Acanthus leaves, the first of what I hope are many many more.

My introduction to French cleats was from some woodworker’s blog. I photo collage of making the basecan’t remember which one of you, so I’ll give you all credit. French cleats are sturdy, easy to make, and offer a lot of flexibility. You’ve seen me use them in previous projects. One thing is different with this project. Instead of having an open cleat that lets the shelf be place anywhere along a long wall cleat, I enclosed this one between the brackets. When done, the brackets are the obvious parts, not the cleats. As before, I find it easier to plane the 45 degree bevel than to set up the bandsaw (which currently has the wrong blade installed). Hint (sorry no pictures of this one, but of earlier 45 degree planing): Mark the inboard edge of the bevel along the length of the board used as the cleat. Every foot or so, make a saw crosscut at 45 degrees through the waste material. Plane off the waste until you reach a combination of the line, the opposing corner of the board and the bottoms of the saw cuts. Done!

What is a shelf for hollows and rounds without a molded edge? It has to have a molded edge! So, now we run into a couple of problems. The best “white wood” I could find at the Borg was just a bit narrow to hold the planes. Used as-is, the planes would stick out beyond the edge of the shelf. Second, if I cut moldings into that wood it would further narrow the width, but more importantly would require cutting end grain moldings. Not for my first moldings! Nope, I’m wimping out on that one. Matt Bickford can do it very nicely, but he’s been doing this molding cutting stuff for a long time. I decided to cut the moldings separately from long sticks and then apply them to the board.

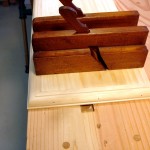
photo of three planesA simple ovolo shape was my choice for this very first molding project. A big THANKS to Matt Bickford for publishing a series of how-to articles back in late 2010. This ovolo came directly from the “Where to Begin” article. Matt’s color coded diagrams are perfect for describing the process. One of the most important things learned form his demonstrations is that the hollows and rounds don’t do much of the work. Rabbets and chamfers do the heavy lifting, the brunt of the waste removal. photo showing a rabbet being planedThe hollows and rounds come last, only for the final shaping.

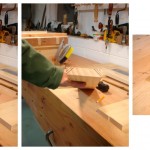
I started by ripping and jointing sticks that were 3/4 inch by 1 and something inches from a 1 by 3. No, actually I started by making a sticking board; didn’t have one. It’s simple, a long board that has as its width the measure from the front edge of my row of dogs to the edge of the bench. Add a fence and some screws for catching the sticks. Raise a few dogs. photo showing a chamfer being planedRaise the bench stop on the end of the bench, and get to sticking.

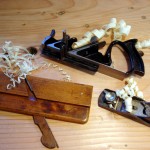
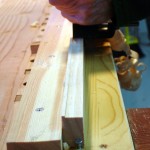
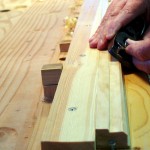
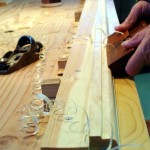
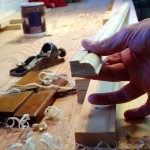
The only rabbet plane in my shop is an old (maybe 1940) Sargent #79 “moving filletster” plane. It’s really clunky to use, no fine adjustments. Yet, I got two nice rabbets from it. After the rabbets, a Stanley low angle block plane (about 1935) did the chamfers quickly. The work was completed with one of Mssrs Crow’s #9 hollow planes. photo showing use of #9 hollow planeI was very pleasantly surprised at how easily it worked. Clearly, I don’t have the experience to know if the #9 was exactly the right plane for the job, but it looked right, fit well onto the chamfer, and did a very nice job.

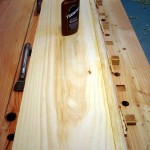
Other than getting good 90 degree corners, attaching the molding is straightforward. I used liquid hide glue for the long piece. Since it is long grain to long grain, I don’t think it needs any other fasteners. photo showing the shape of the moldingHere again the convenience of a long row of dog holes makes work easy. A couple of hold fasts secure one edge while disassembled clothes pins make great wedges for the other edge. For the end pieces, long grain to short grain, I used abundant glue at the miter joint and only a little along the rest of the joint. Three brads complete the attachment. A bit of finish planing after the glue sets and we have a shelf.

photo of gluing and clamping the long piecesThere is no glue in the final assembly. Knowing the wood is going to move, I’m going to let it. I used a pair of dowels at the joins of the brackets to the cleat. I think it’s enough to keep them working together, and I didn’t want to cut any fancy joints. Two screws through the board into each bracket and three screws through the board into the upper cleat complete the assembly.

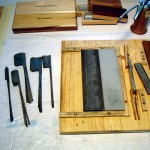
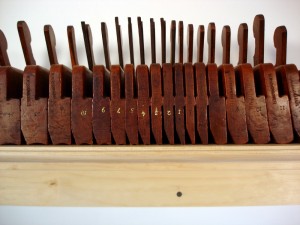
photo of attaching the end pieceIf you look closely at a large view (click on the pictures), you’ll see that a few of the planes have visible numbers. That comes from a tip by Richard Darjes who suggested rubbing chalk on the numbers. Thanks Richard! Works great! Fills in the number stampings to be more noticeable and can be easily removed if wanted. Only a few have these “bright numbers.” They are the one whose irons have been sharpened. I add the chalk after honing an iron and testing it. The rest of the irons are down at the photo of several stacks of plane irons beside the sharpening stationsharpening station. I expect them to start clamoring anytime now.

The comptroller took a quick look at the completed shelf and asked why it is so long.

There are two possible answers. I answered that the extra space allows planes to tip over and not cascade off the shelf to the concrete floor. The planes are happy now. Me too.

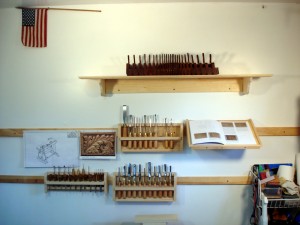
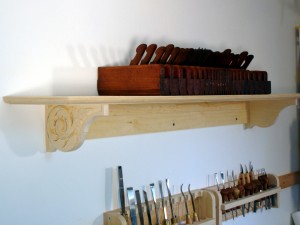
photo of the completed shelf along with other parts of the tool wall a closer photo of the completed shelf photo of planes on the ocmpleted shelf showing "bright numbers"

Filed Under: Shopmade, Woodcarving, Woodworking

More Gouge and Chisel Racks

December 19, 2011 by Bob Easton 2 Comments

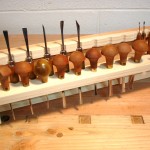
Then there were three. The second is the same as the first, fit for a variety of carving tools. Yes, I like those Ashley Iles tools.

For smaller carving, I have a few small gouges, a few Pfeil palm gouges, and a few Dockyard micro tools. A rack for those tools is a little different. It’s scaled down because the tools are smaller. The angled bard is also smaller, made from a 1×3, leaving more room for the tools in front. The palm tools hang better in holes than sitting up resting on their handles, so the lower shelf has full holes instead of notches. Over at the right end, the micro tools need a little extra help standing up. Note the little wedge that forms a shelf on the angled board.

(click photos for larger views)

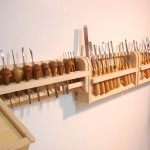
photo of 3 racks hanging on the wall photo of rack for smaller tools

Filed Under: Hand tools, Shopmade

  • « Go to Previous Page
  • Page 1
  • Interim pages omitted …
  • Page 13
  • Page 14
  • Page 15
  • Page 16
  • Page 17
  • Interim pages omitted …
  • Page 22
  • Go to Next Page »

Primary Sidebar

Footer

Recent Posts

  • New Frame Saw / Scroll Saw
  • Lamppost Sign
  • Goodbye PayPal – Goodbye Bob’s eBooks
  • Anarchist’s Workbench is Done
  • Why we keep offcuts…

Categories

  • About
  • Artwork
  • Boatbuilding
  • Boating
  • bowl carving
  • Boxmaking
  • Clocks
  • Drawings
  • eBook
  • etude
  • Eva Too
  • Eva Won
  • Fiddlehead
  • Fiddlehead model
  • Flying
  • frame saw
  • gilding
  • green woodworking
  • Grinling Gibbons
  • Guns
  • Hand tools
  • Humor
  • kerfing plane
  • Lettercarving
  • Mill Creek 13
  • Model building
  • Power tools
  • Rant
  • resawing
  • scroll saw
  • Shopmade
  • sign painting
  • Stonework
  • Swimming
  • Technology
  • The Wall
  • treadle lathe
  • Uncategorized
  • VSD
  • Woodcarving
  • Woodturning
  • Woodworking
  • workbench

Other stuff

  • About
  • Contact
  • Privacy Policy

Copyright ©2024 · Bob Easton · All Rights Reserved