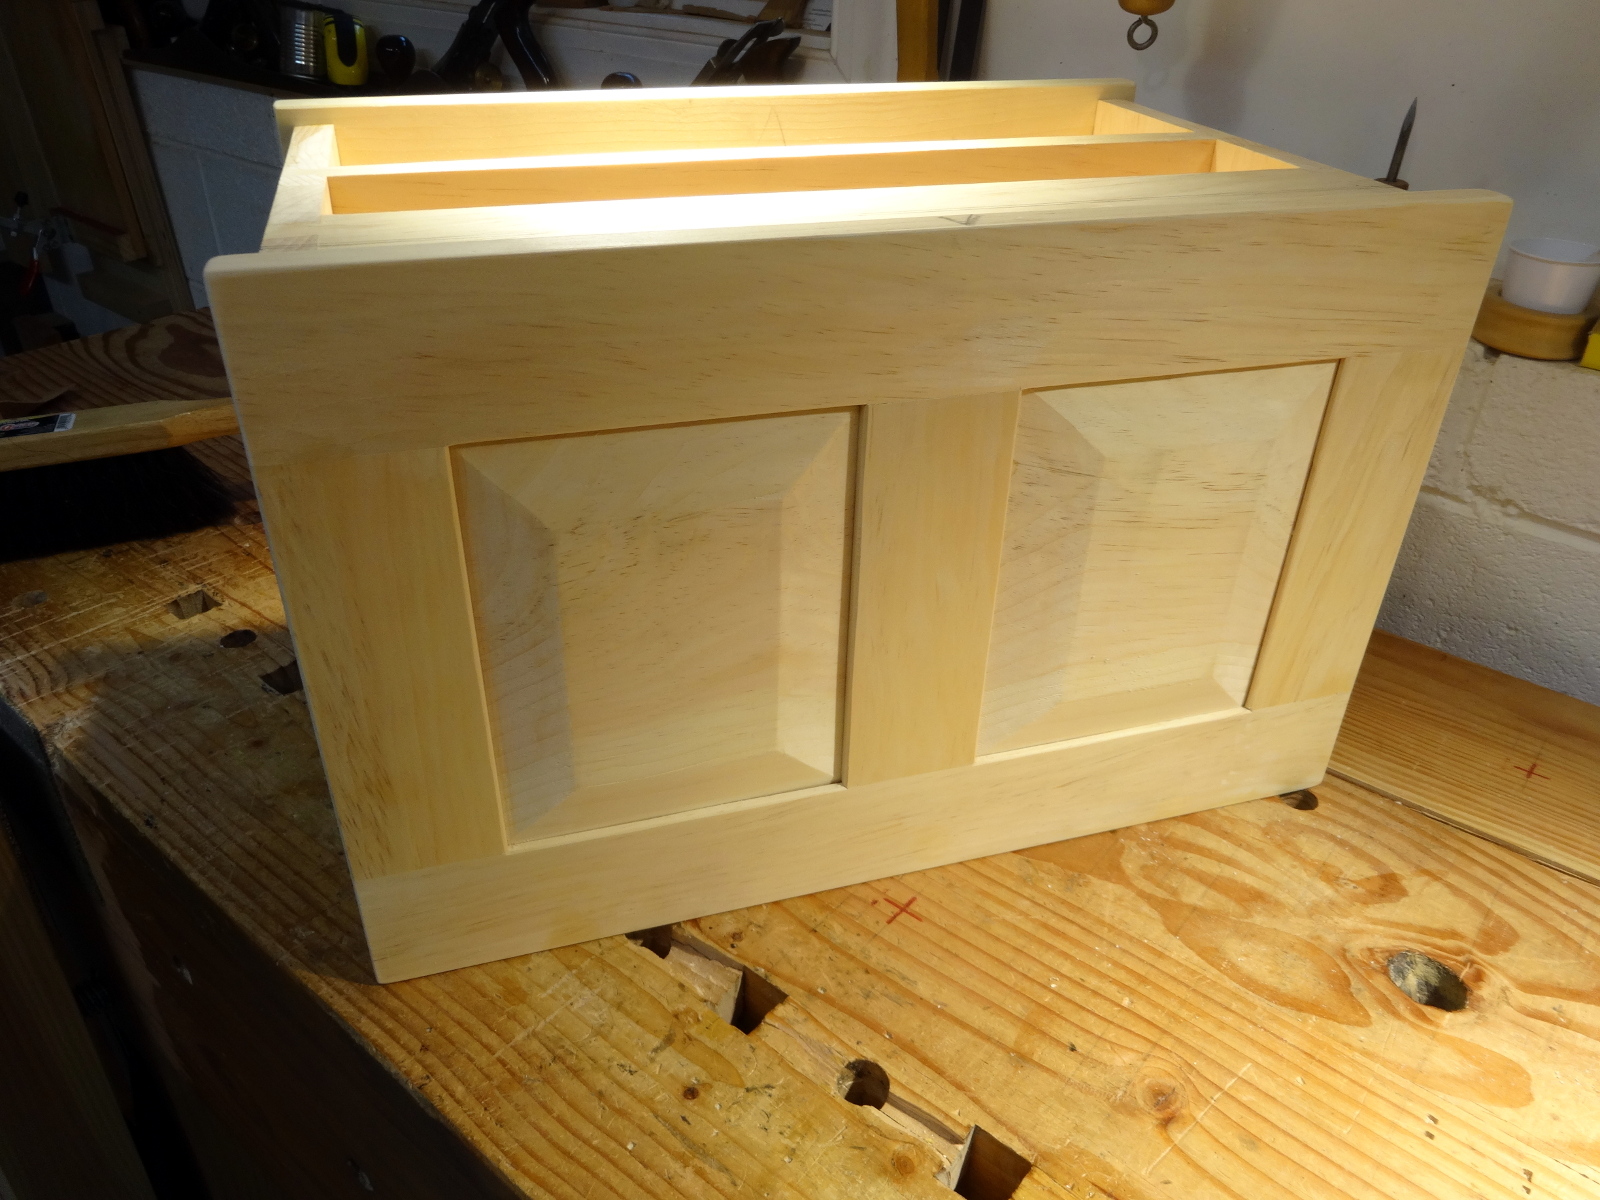
What sort of carving does this tool chest need? Not decorative this time; functional.
The 4-jaw chuck, with several sets of jaws, arrived in a molded plastic case with a cracked interior and dodgy latches. It served the job of protecting the contents during shipping, but not much more. Replacing it was part of the motivation for making this chest.
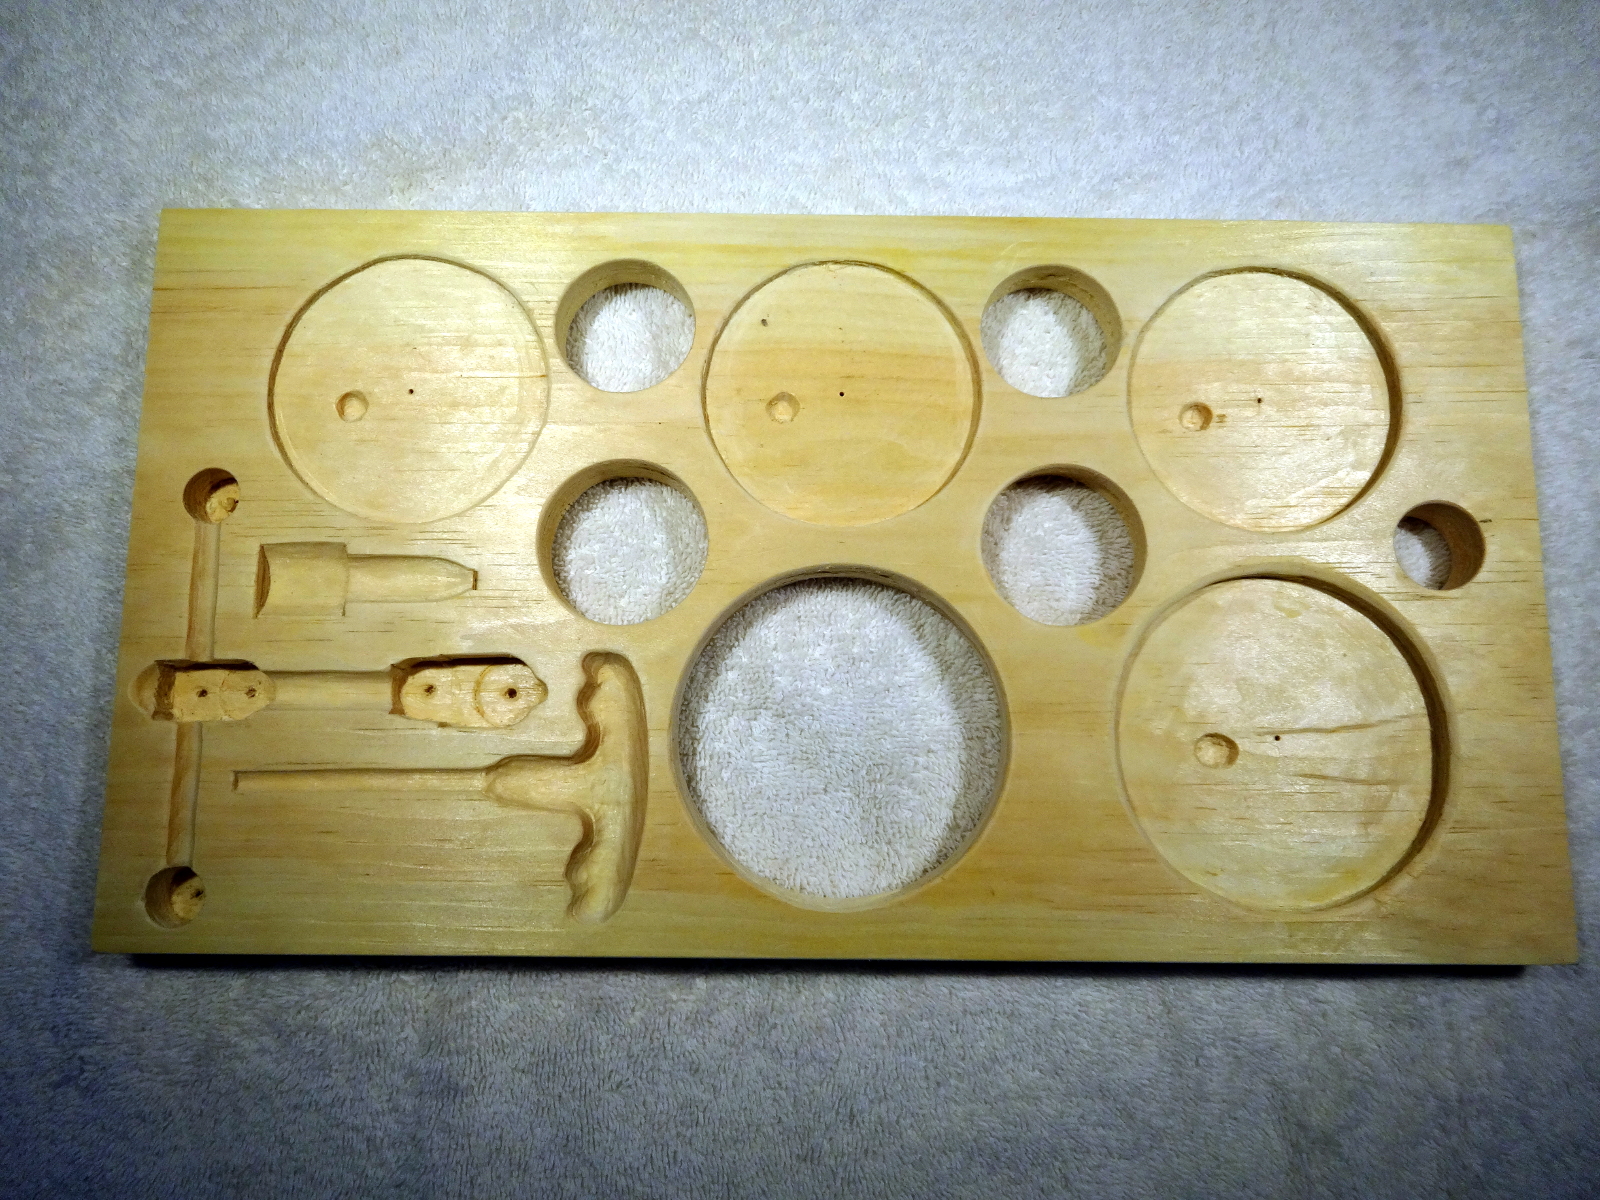
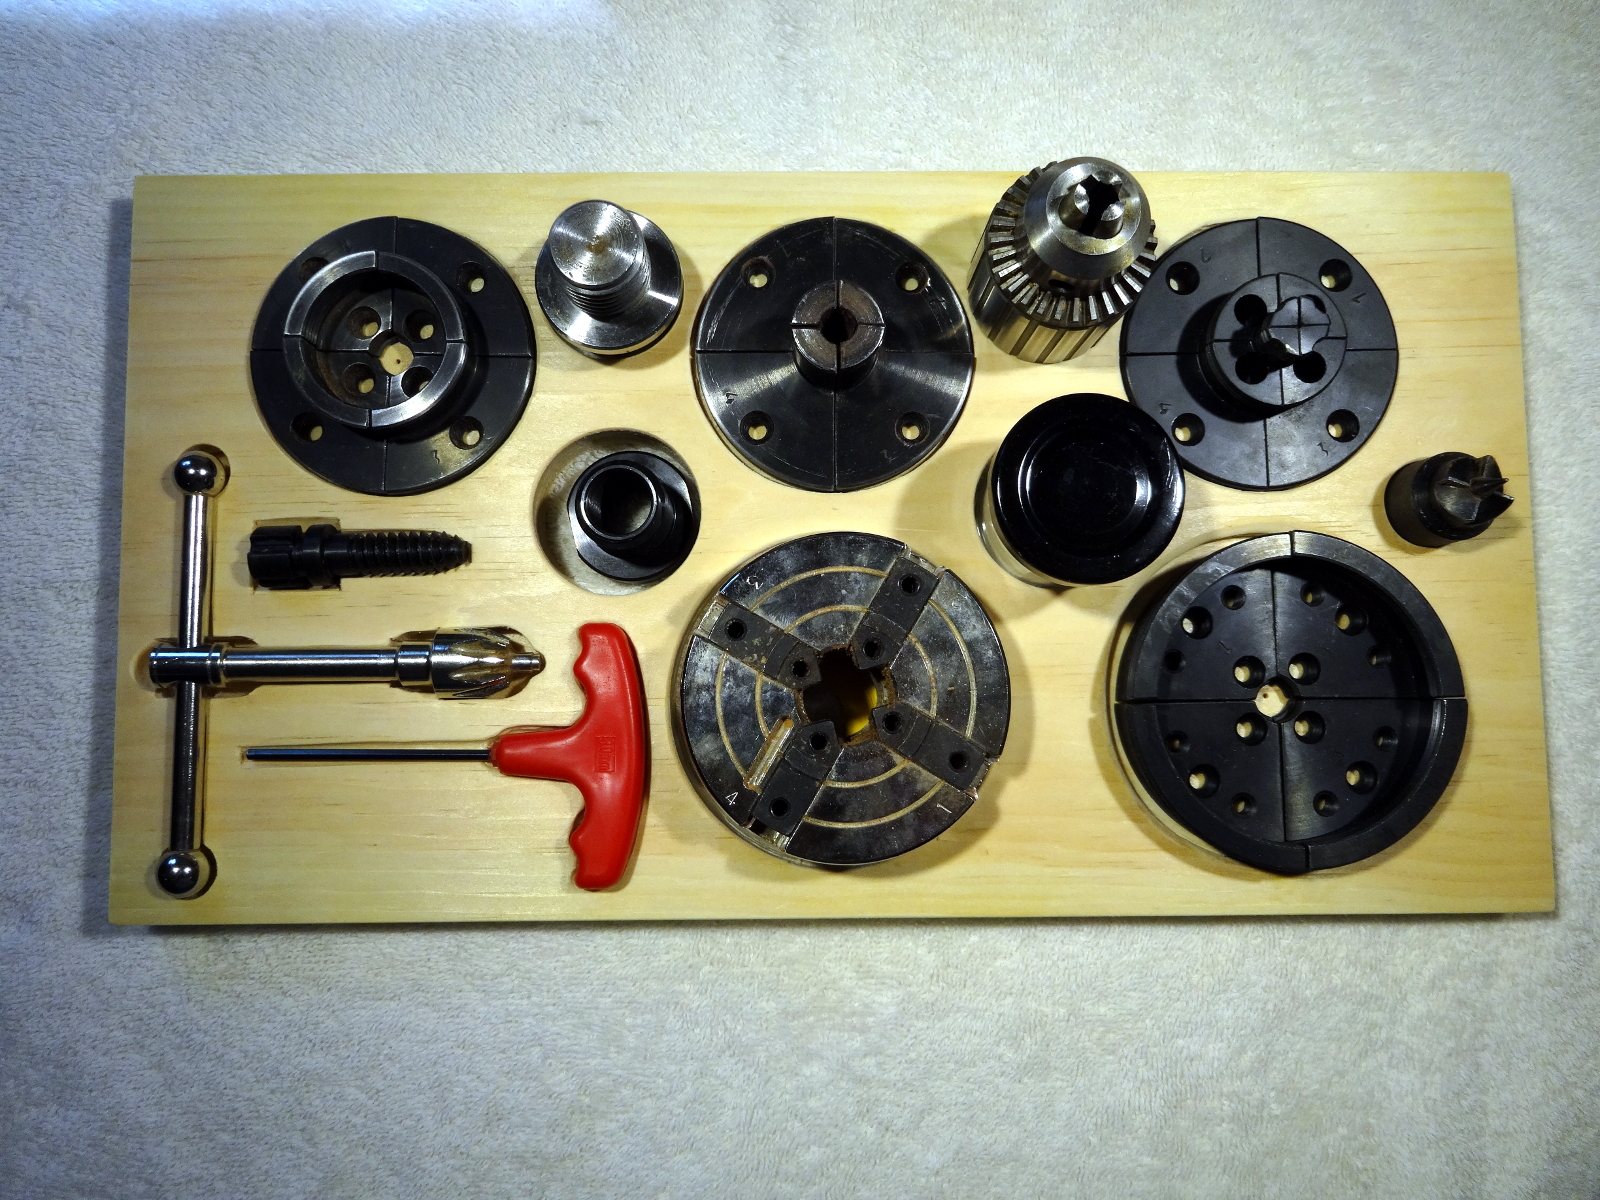
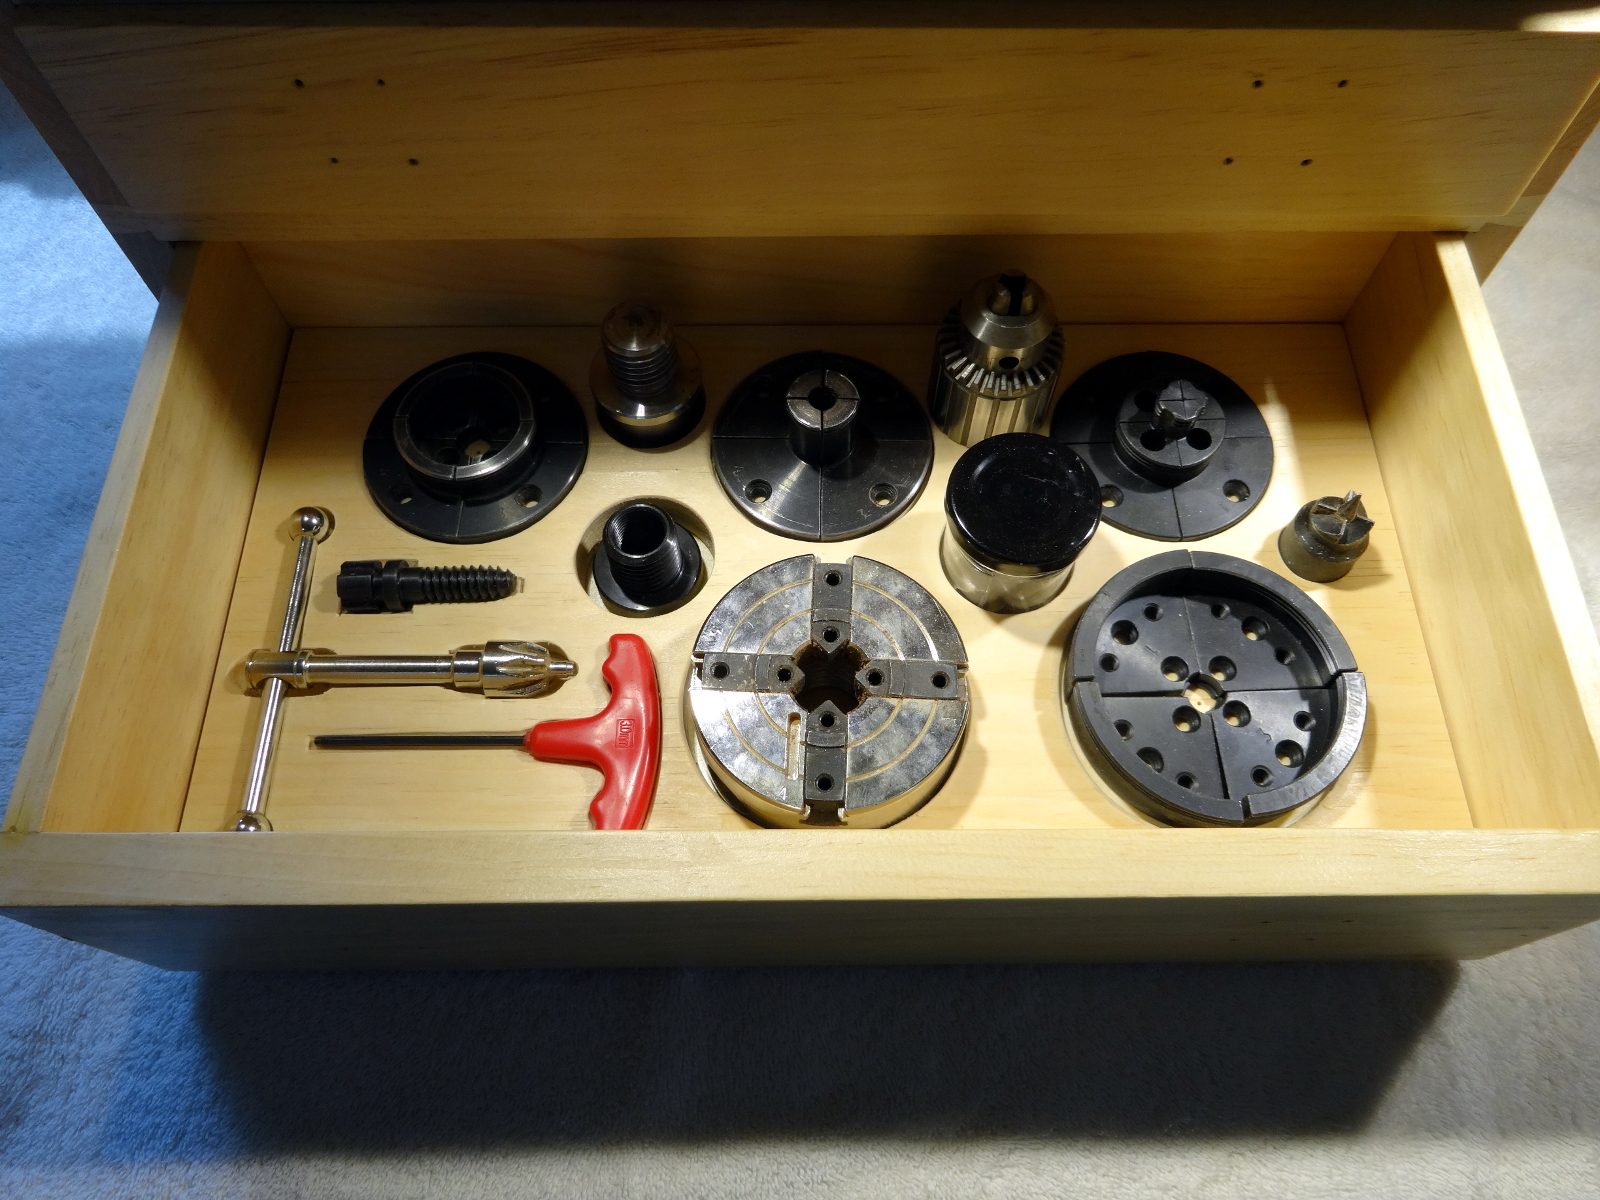
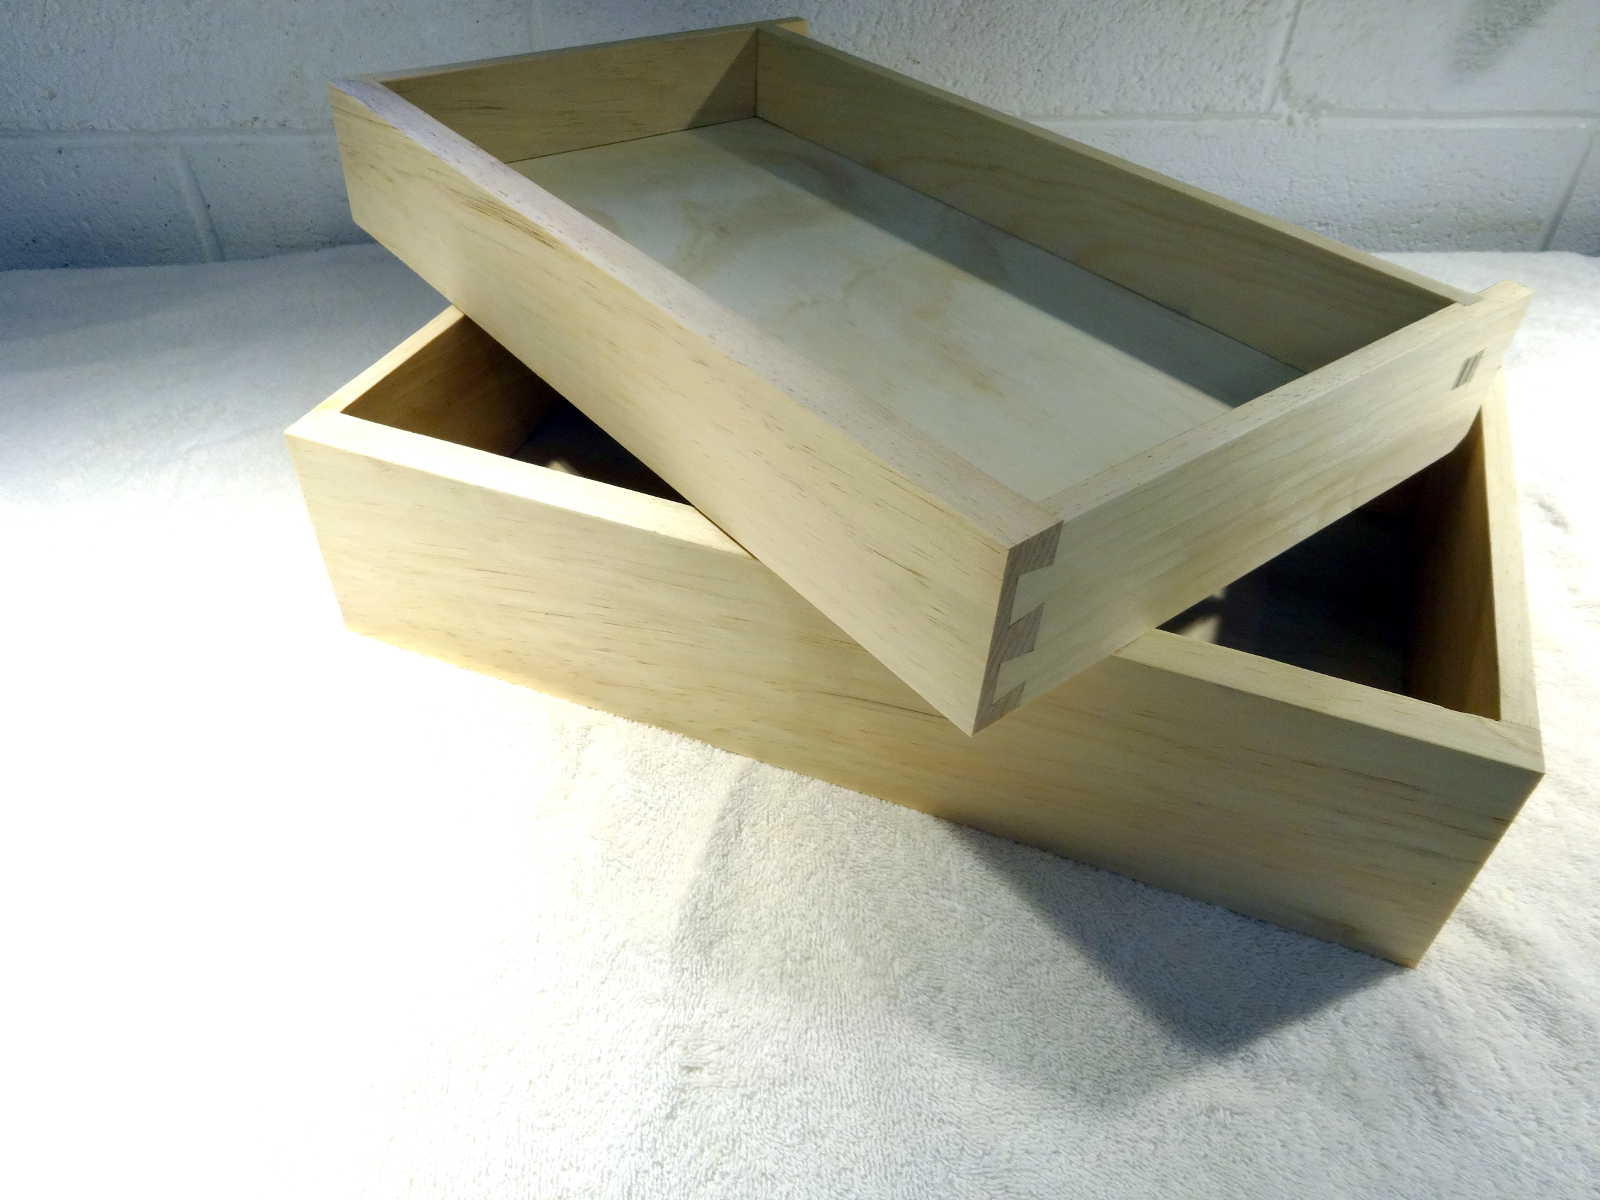
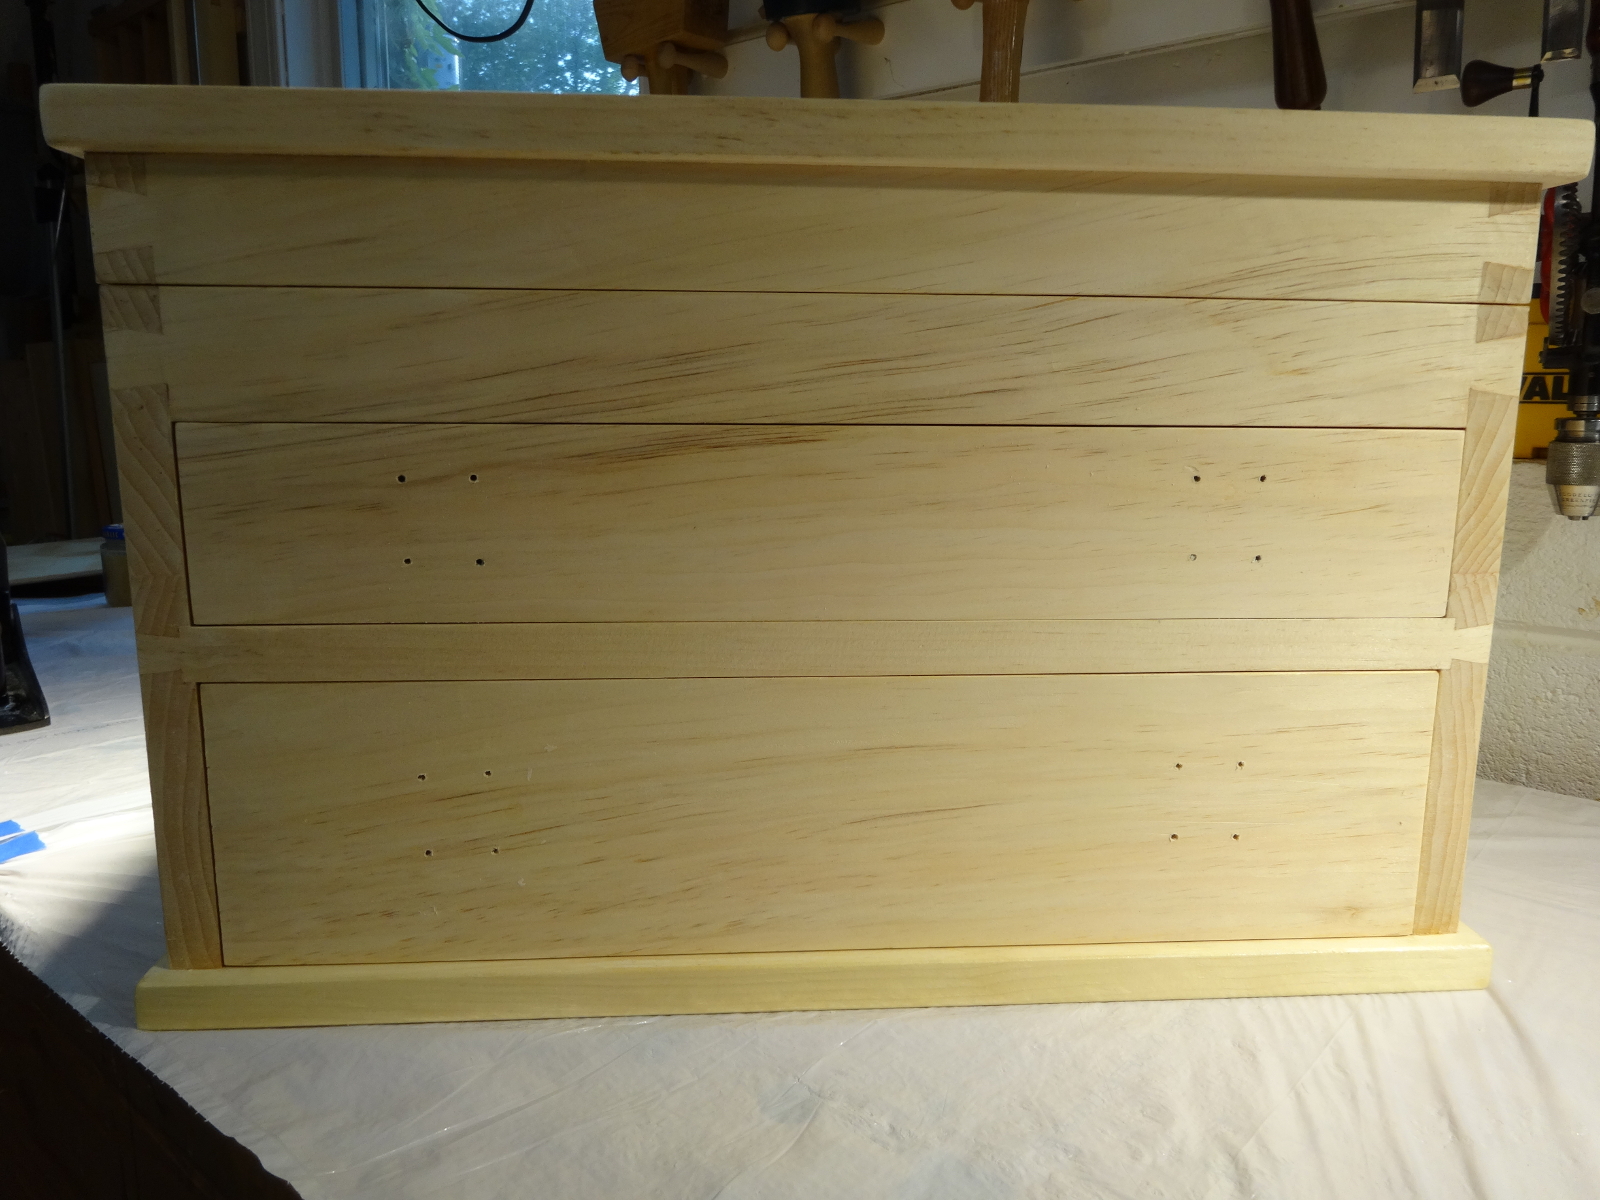
After making the lower drawer, I cut a “liner” that fits snugly inside and got out drills and gouges to create holes and depressions in the liner for all of the original 4-jaw chuck parts plus some other chucks and drive pieces. It brings together most of the things that go on the head end of the lathe. Now, shall I do the same for the next drawer; the tail stock things? Haven’t decided yet.