• Skip to primary navigation
  • Skip to main content
  • Skip to primary sidebar
  • Skip to footer

Bob Easton

Chocolate powered woodworking

  • Home
  • Grinling Gibbons Tour

Woodcarving

Hatchets – Andrei’s and mine

September 28, 2019 by Bob Easton 4 Comments

A sweet little bowl from David Fisher caught my attention a few months back. That bowl inspired me to find my old “Boy Scout hatchet,” refurbish it, find an adze, and set out on a bit of green woodworking.  But first, let’s look at a different kind of green woodworking half way around the globe.

Woodcarver Andrei on Kizhi Island, Russia

photo of church of transformation on Kizhi Island, Russia

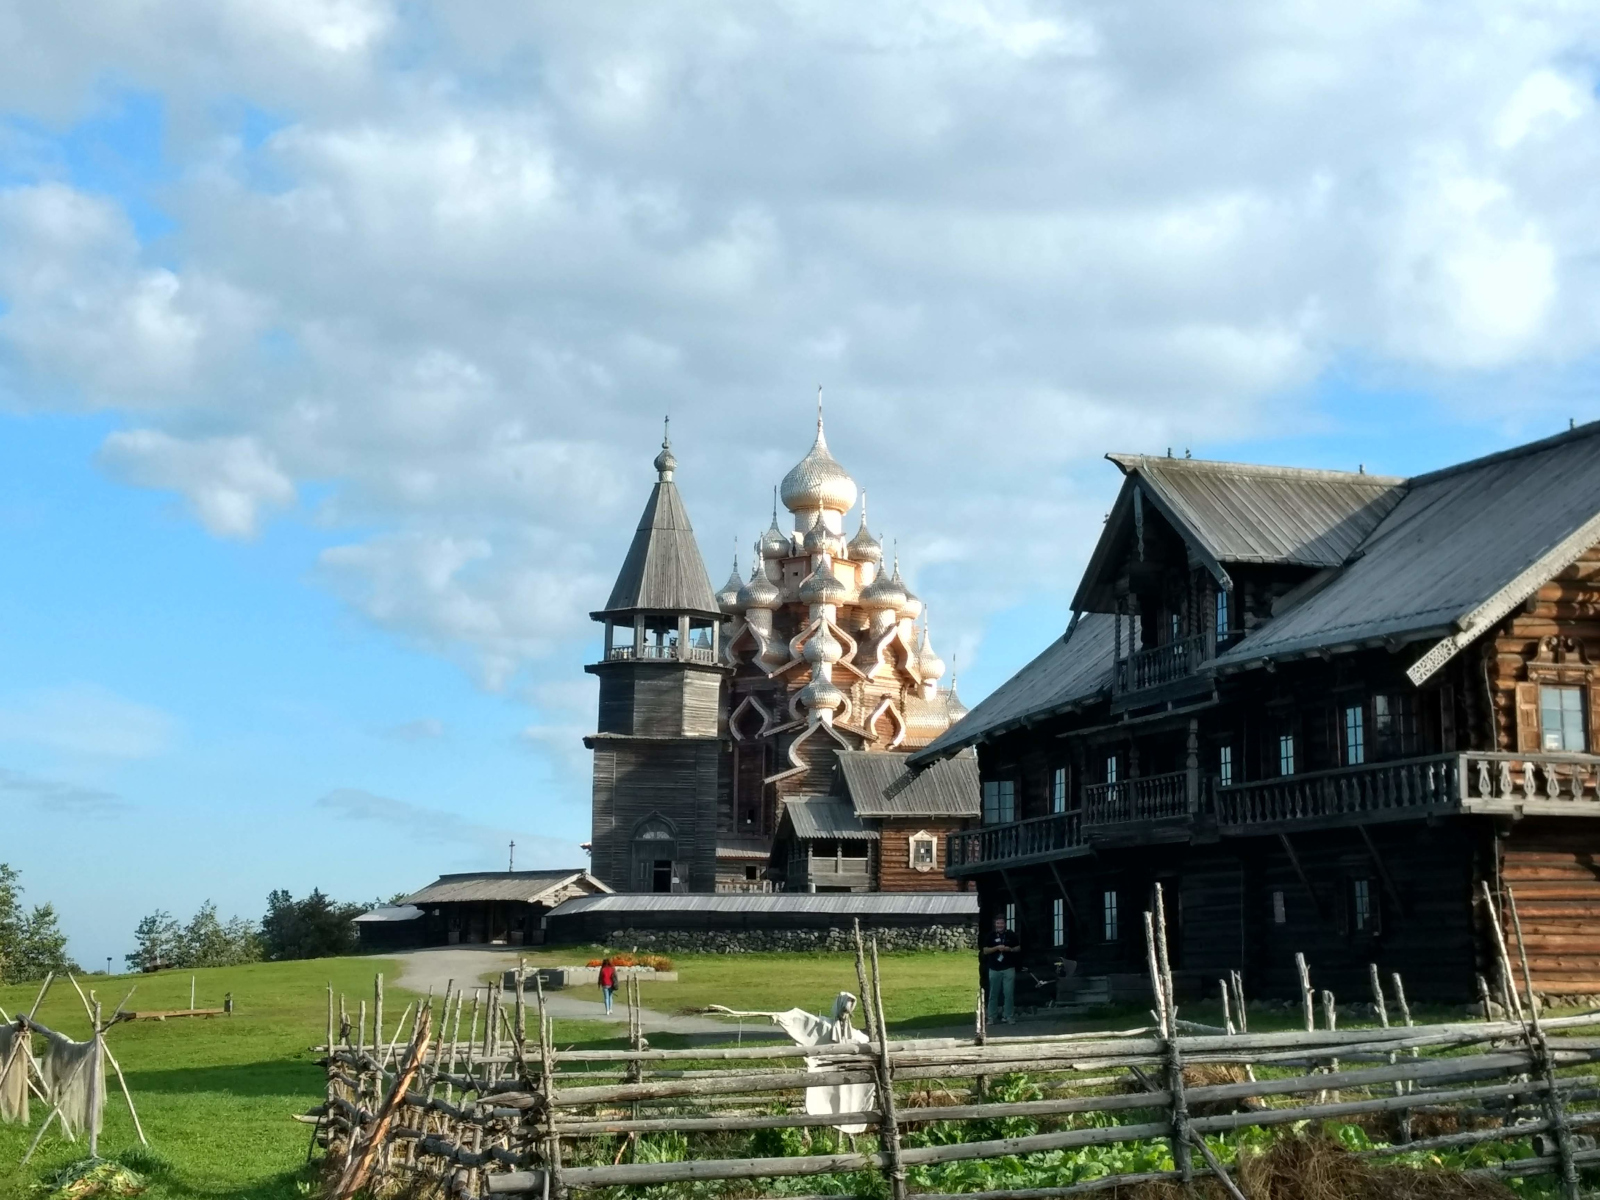
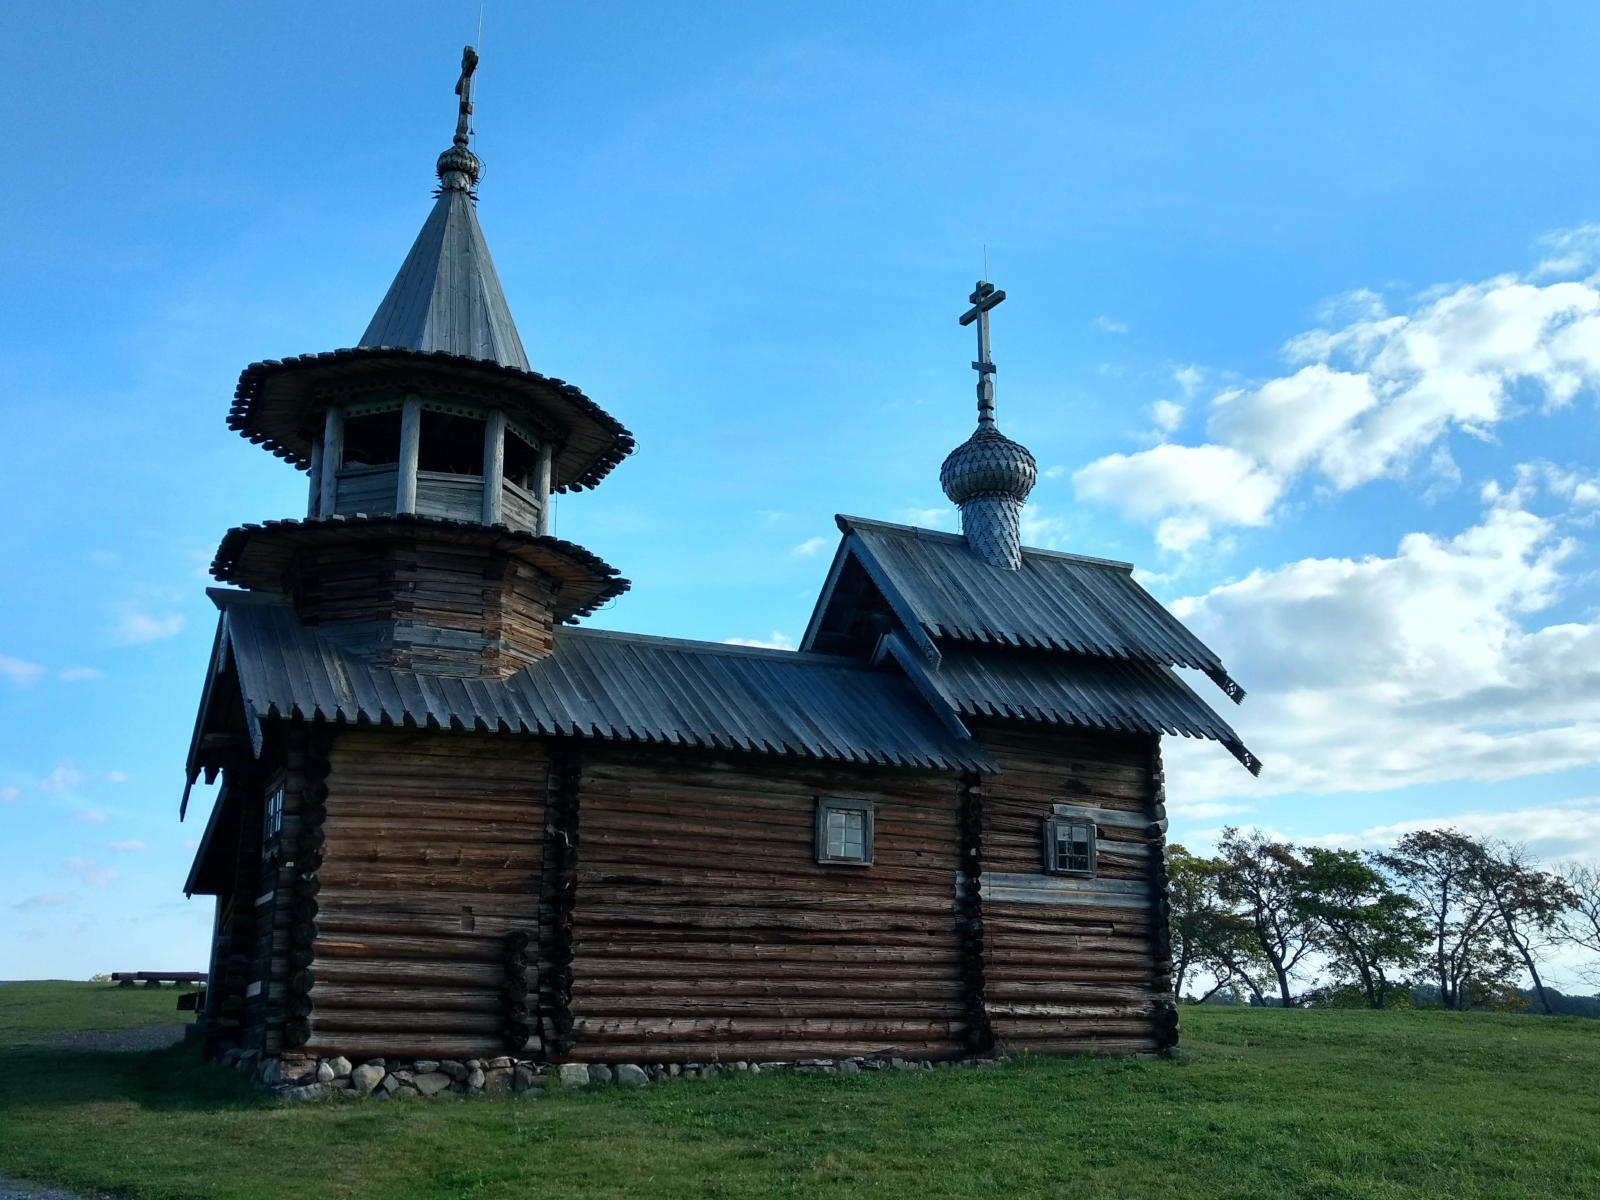
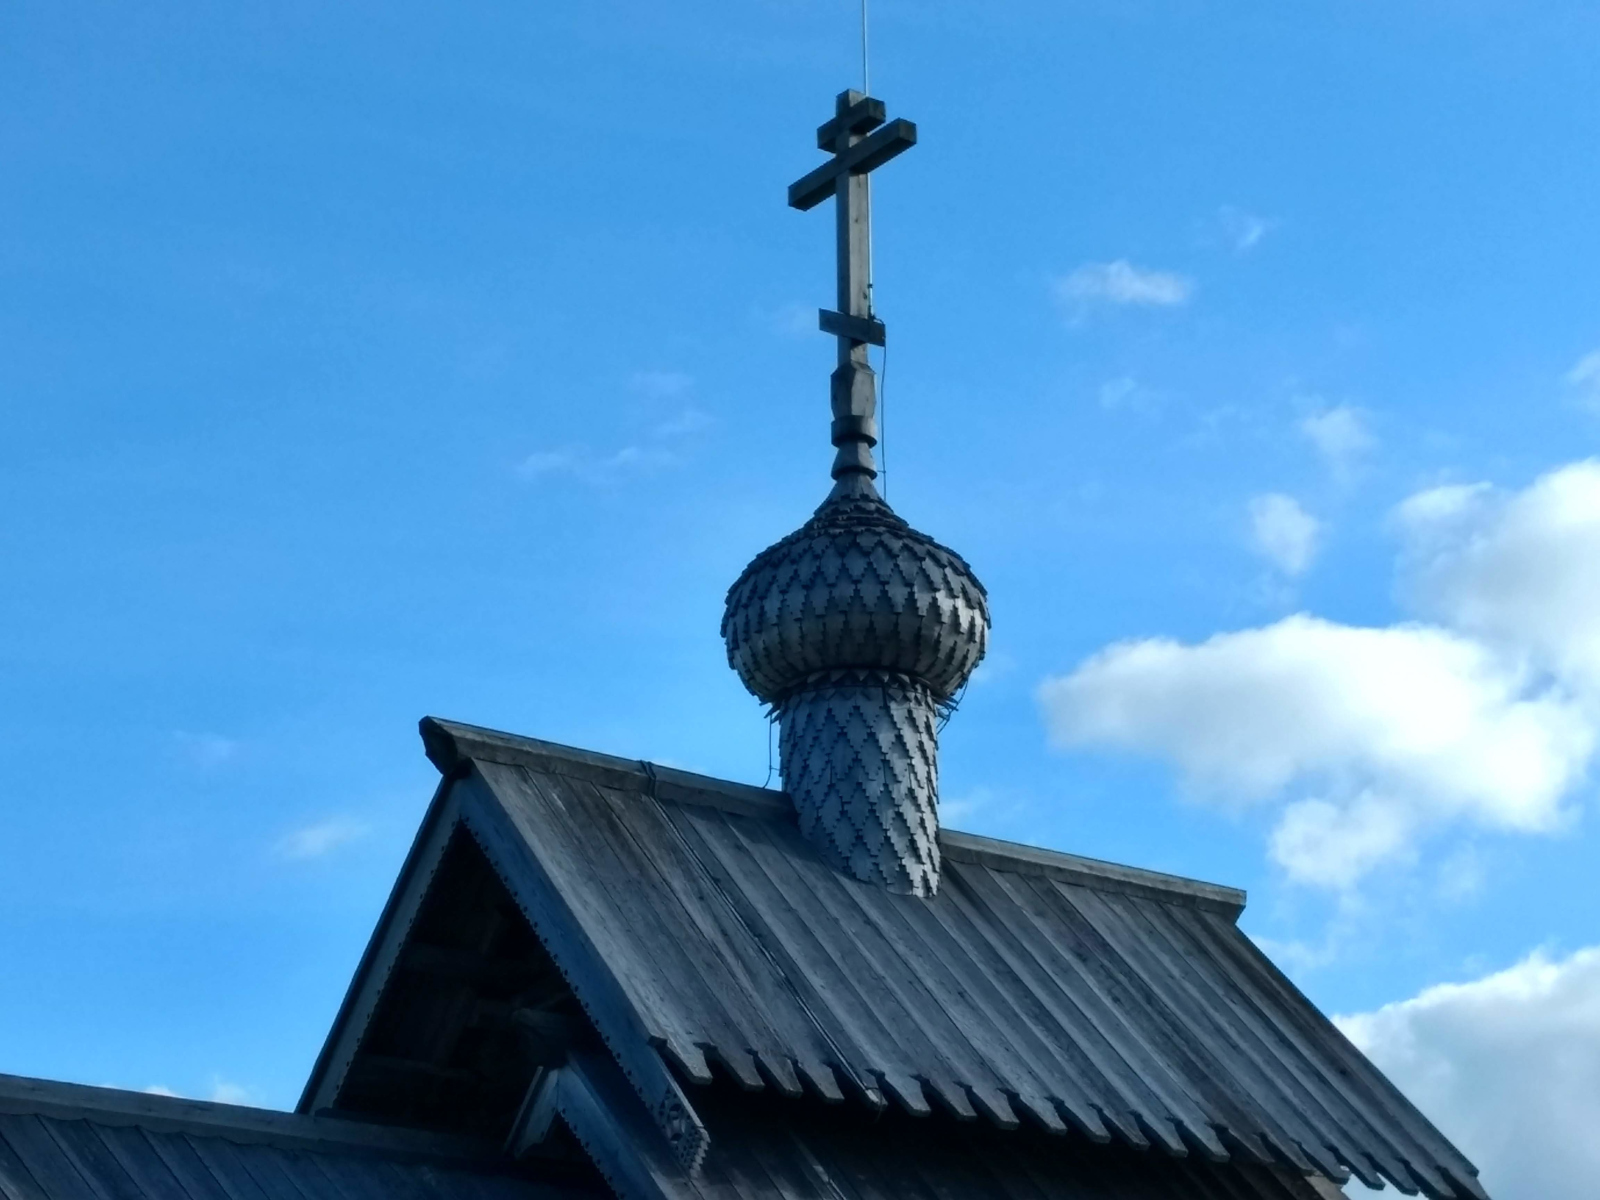
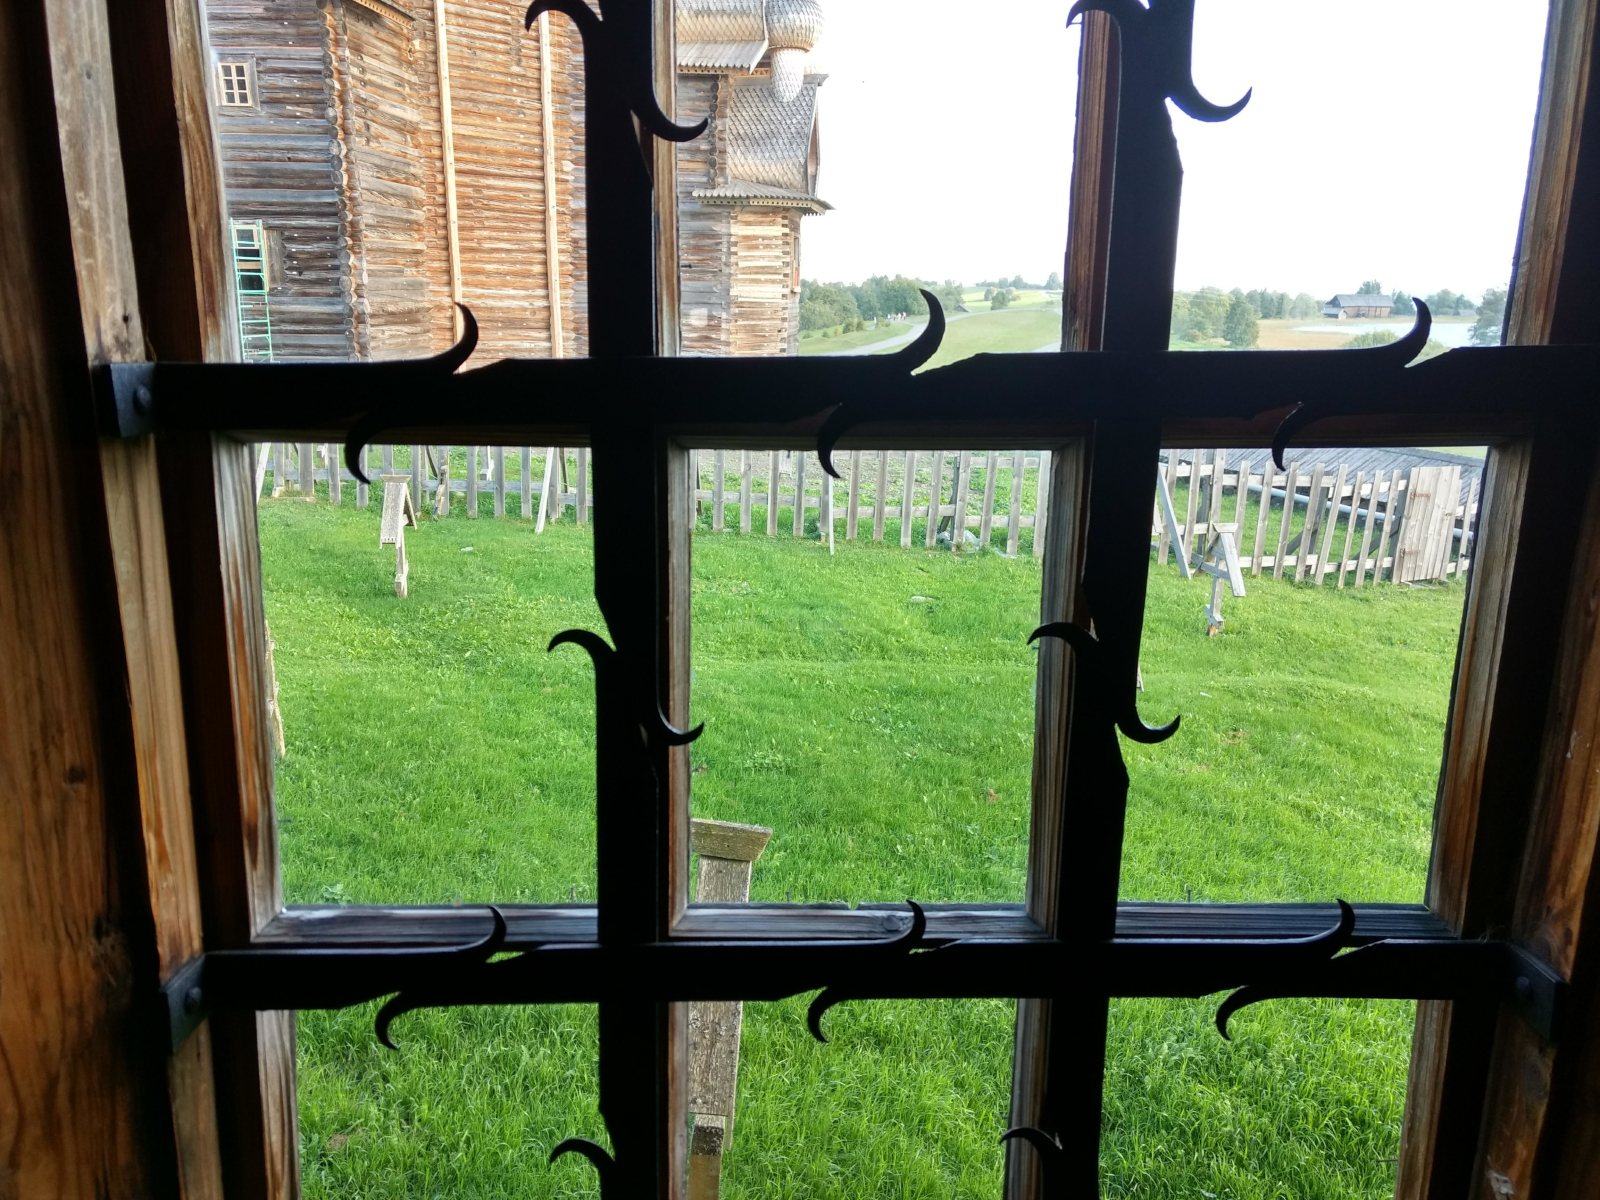
Kizhi Island, a smallish island in Lake Onega in Russia, is now a museum.  The island is home to dozens of wooden buildings, many of them churches, the largest of which is the Church of the Transfiguration, which supports 22 onion-shaped wooden domes.  It would be easy to fill a long blog post with pictures and stories of those churches, but I will focus this post on the wooden domes and the aspen wood shingles* that cover them.  In particular, we will watch Andrei demonstrate how those shingles are created.

Our visit to Kizhi was early in the morning and I found Andrei just getting ready for his work. He was sharpening his two hatchets. He used what appears to be an Arkansas stone, and no stropping.

Using only hand gestures (I have no Russian language skills), I asked if I could test the sharpness of one of his hatchets.  His answer was the universal back and forth wagging of a finger.

photo of typical roof shingles for Kizhi Island churches
photo of Andrei sharpening his hatchets
photo of Andrei carving a shingle

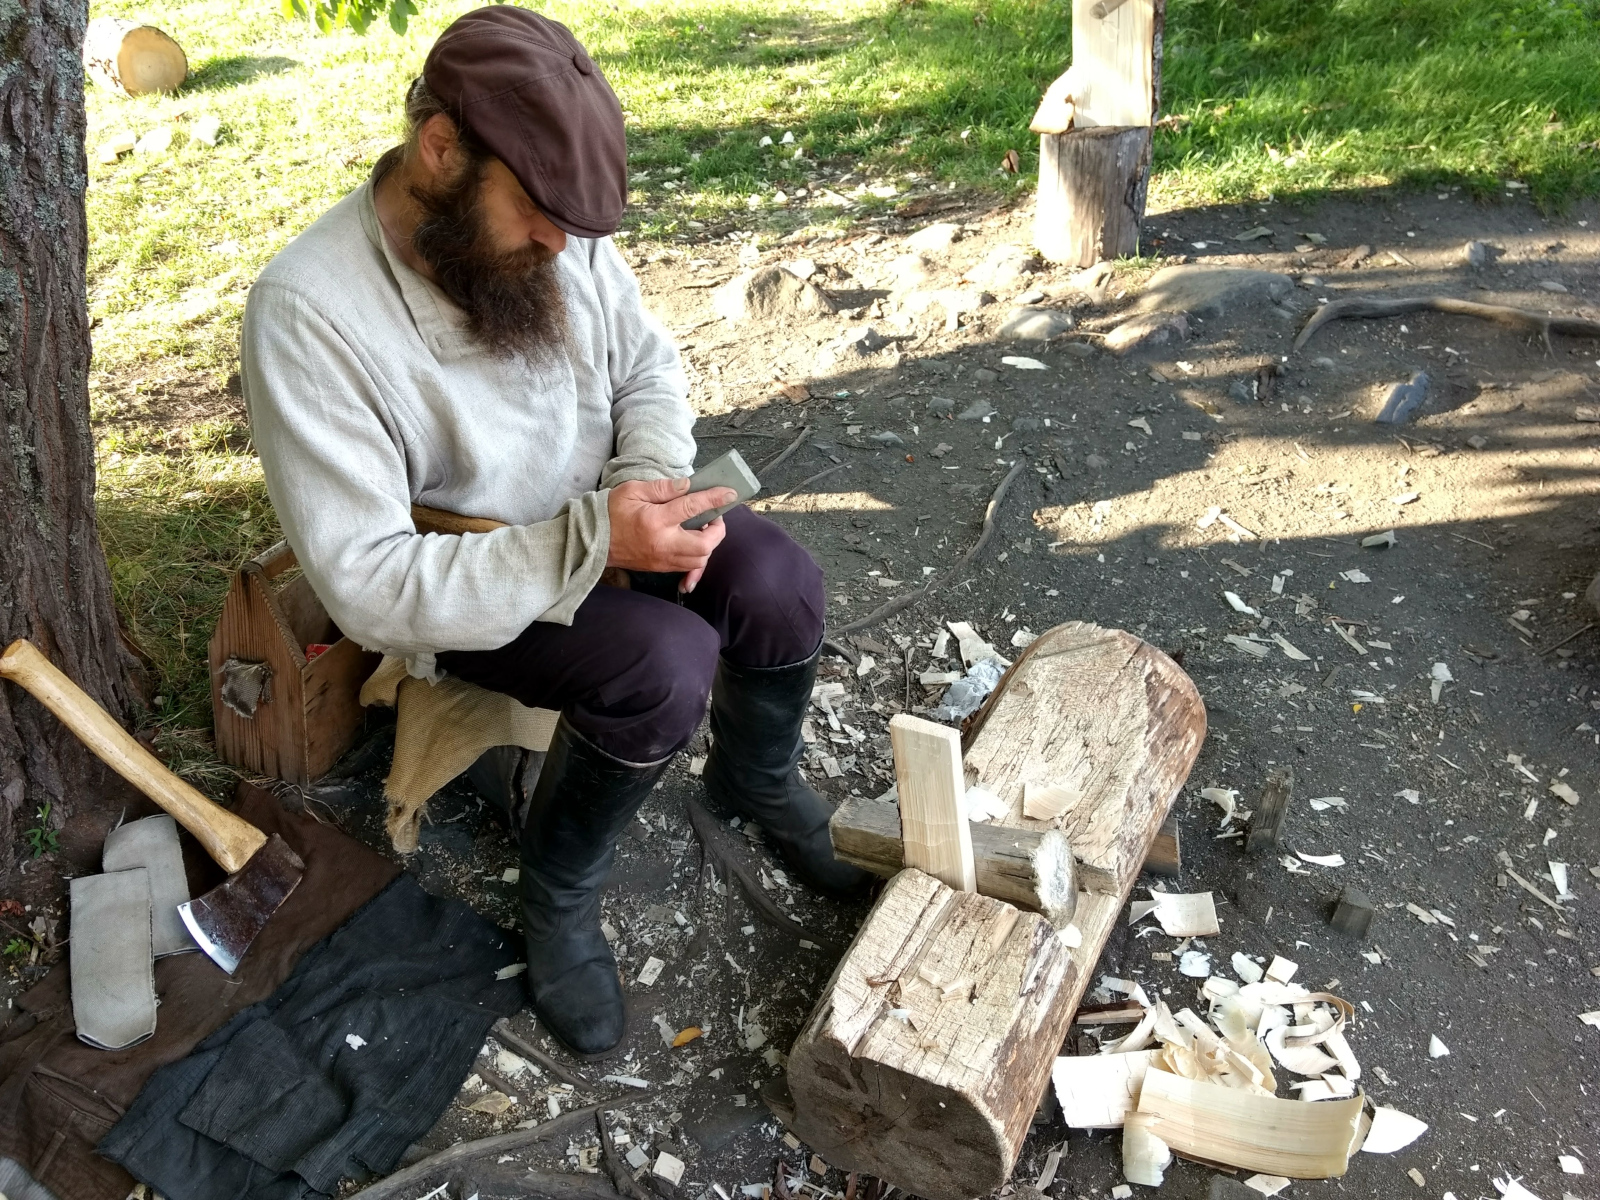
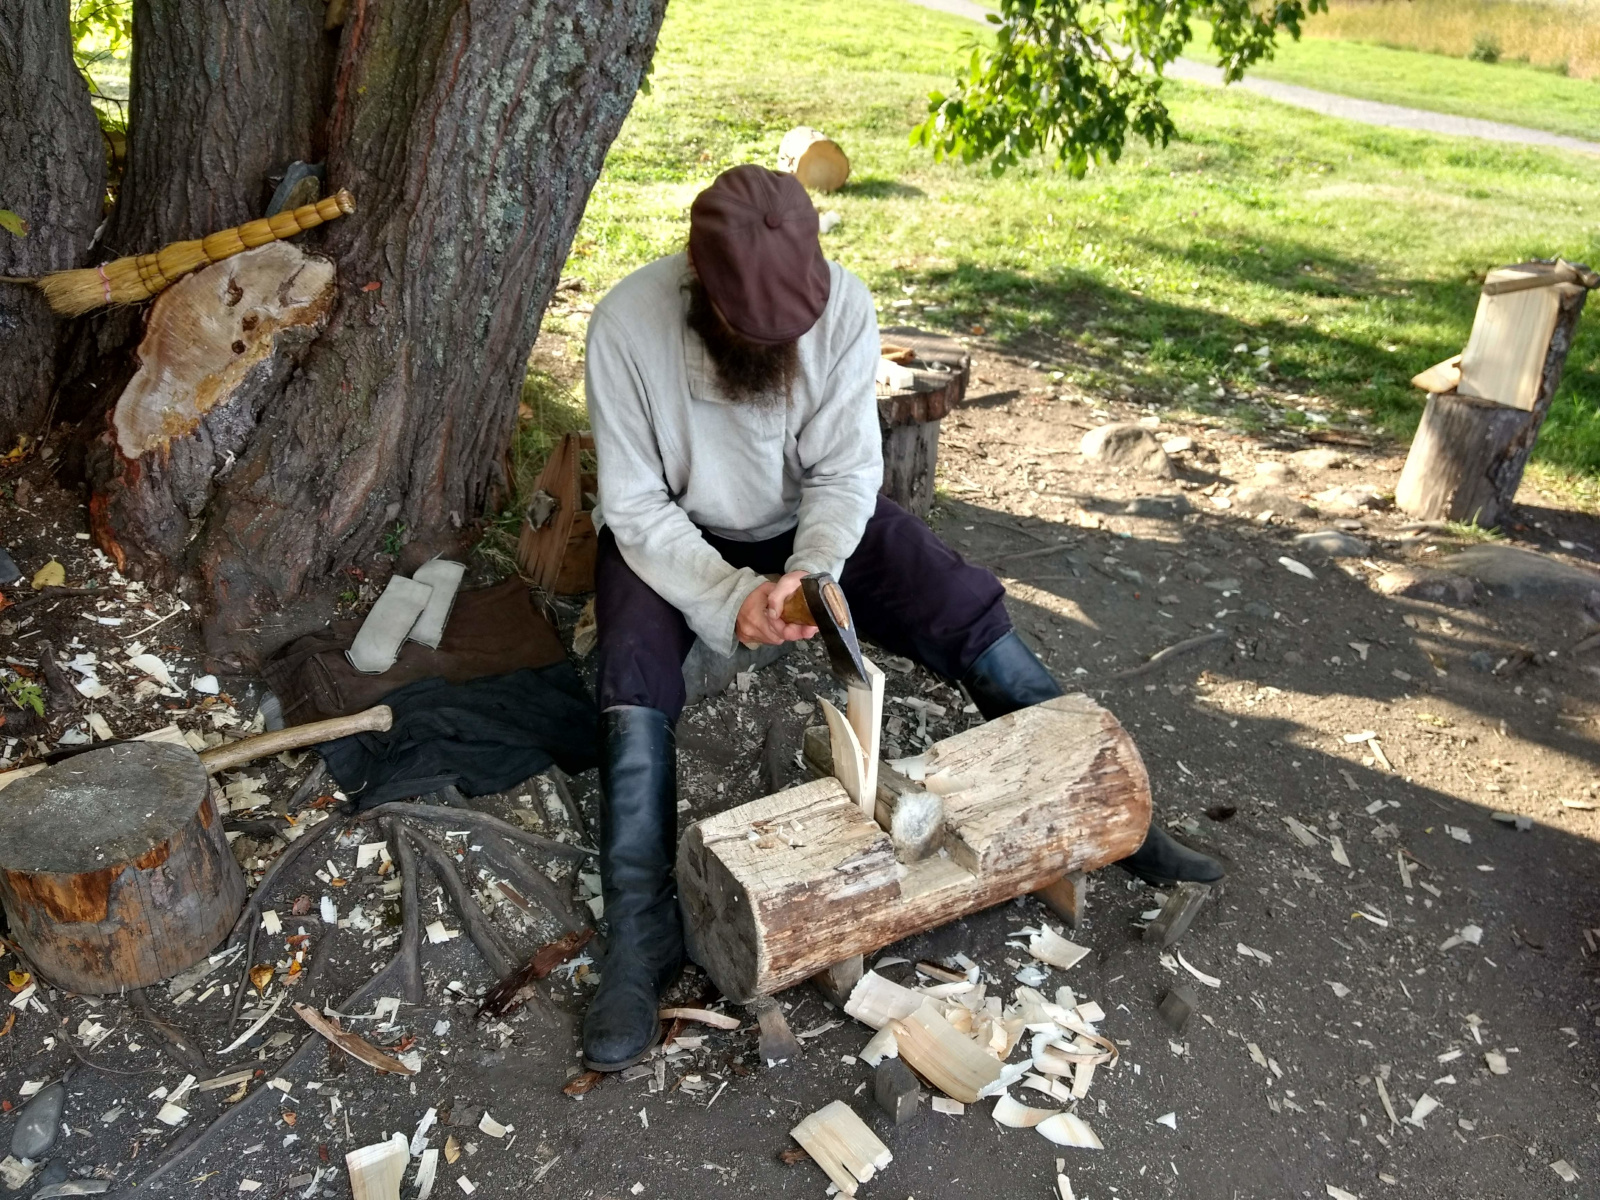
Andrei then went about making a shingle, which I captured in two videos.  First, he splits a blank from an aspen log he had nearby.  I found it interesting that his splitting wedge appears to be yet another hatchet blade with the handle loop broken off.  His log is also just the right length for a shingle, and splits cleanly.

Then, in a mere 2 minutes, Andrei shaped the blank into a shingle.  I was interested not only by the shape of the log block he uses as a “workbench,” but how efficient each of his actions are.  Note how after cutting one notch, he walks the blade across the blank to the other edge to place a notch there.  No rulers, no squares, no pencils, just thousands of previous “muscle memory” actions.

*Why aspen?  One article about Kizhi cites:

Aspen is flexible, strong and doesn’t burn easily. … Aspen shingles weather to a beautiful silvery-grey and are resistant to rotting and warping.

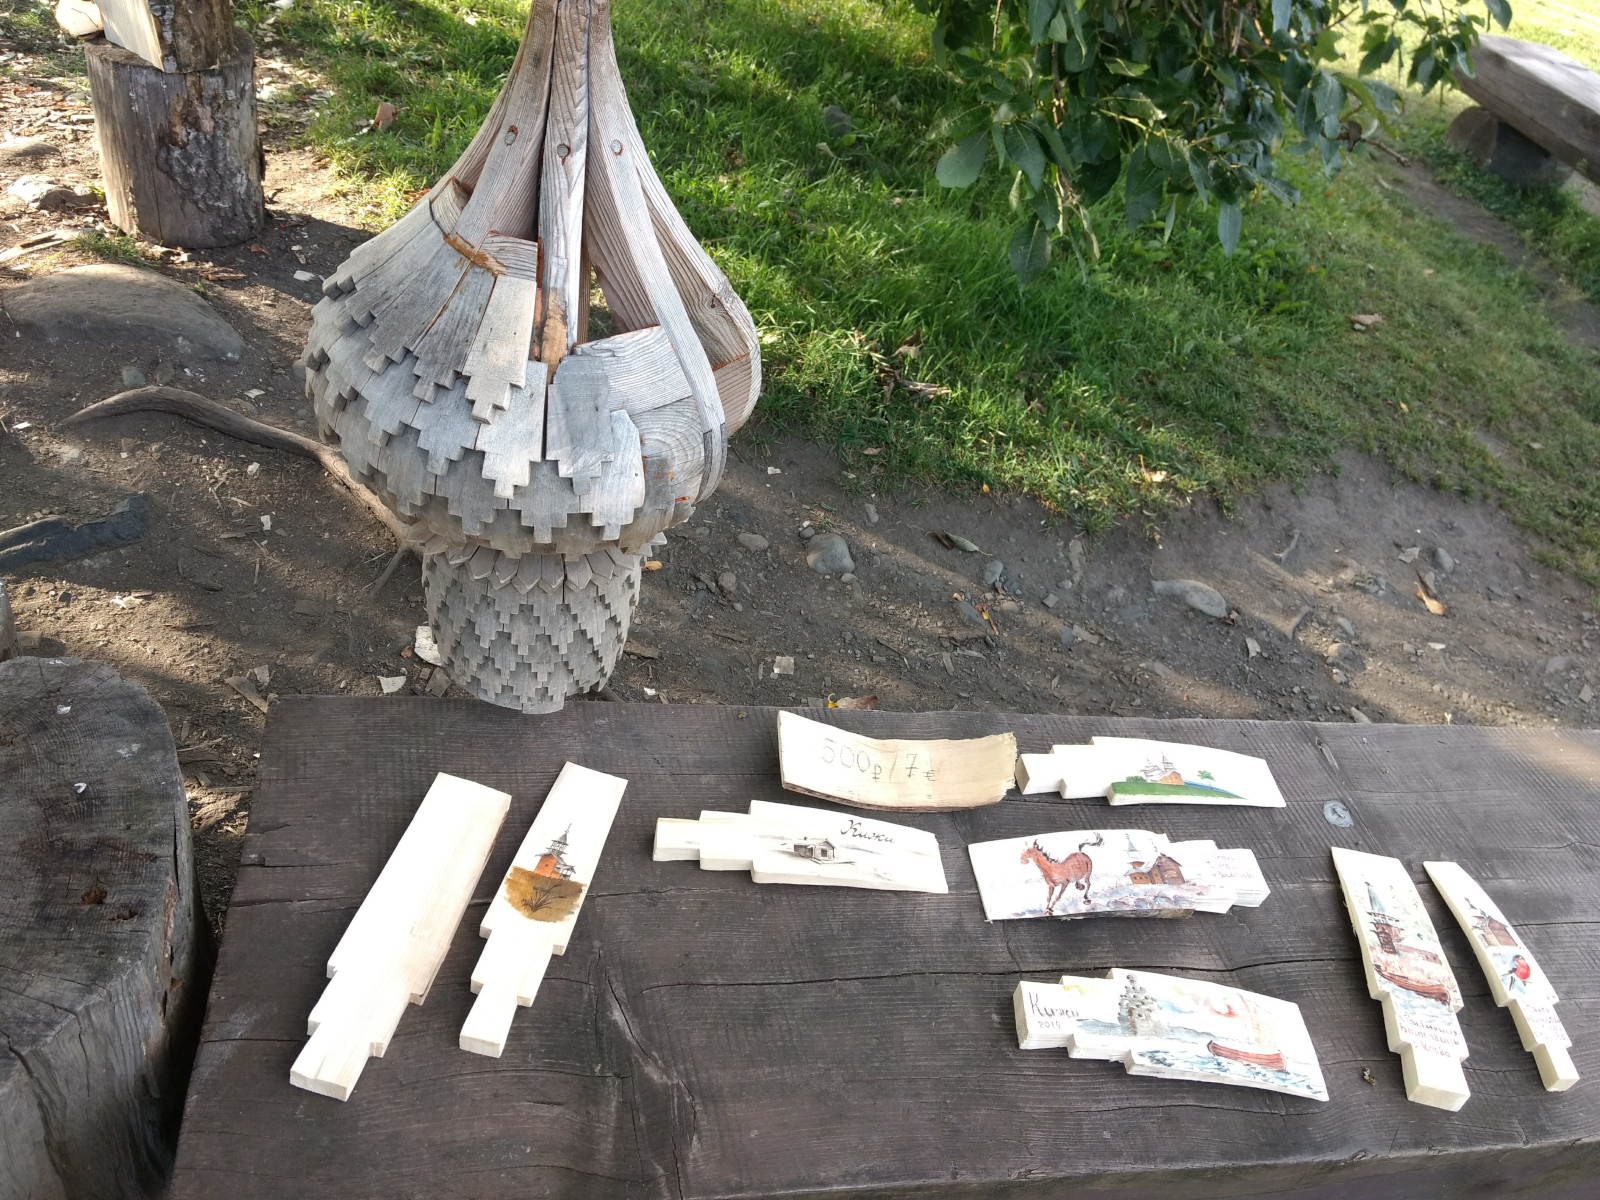
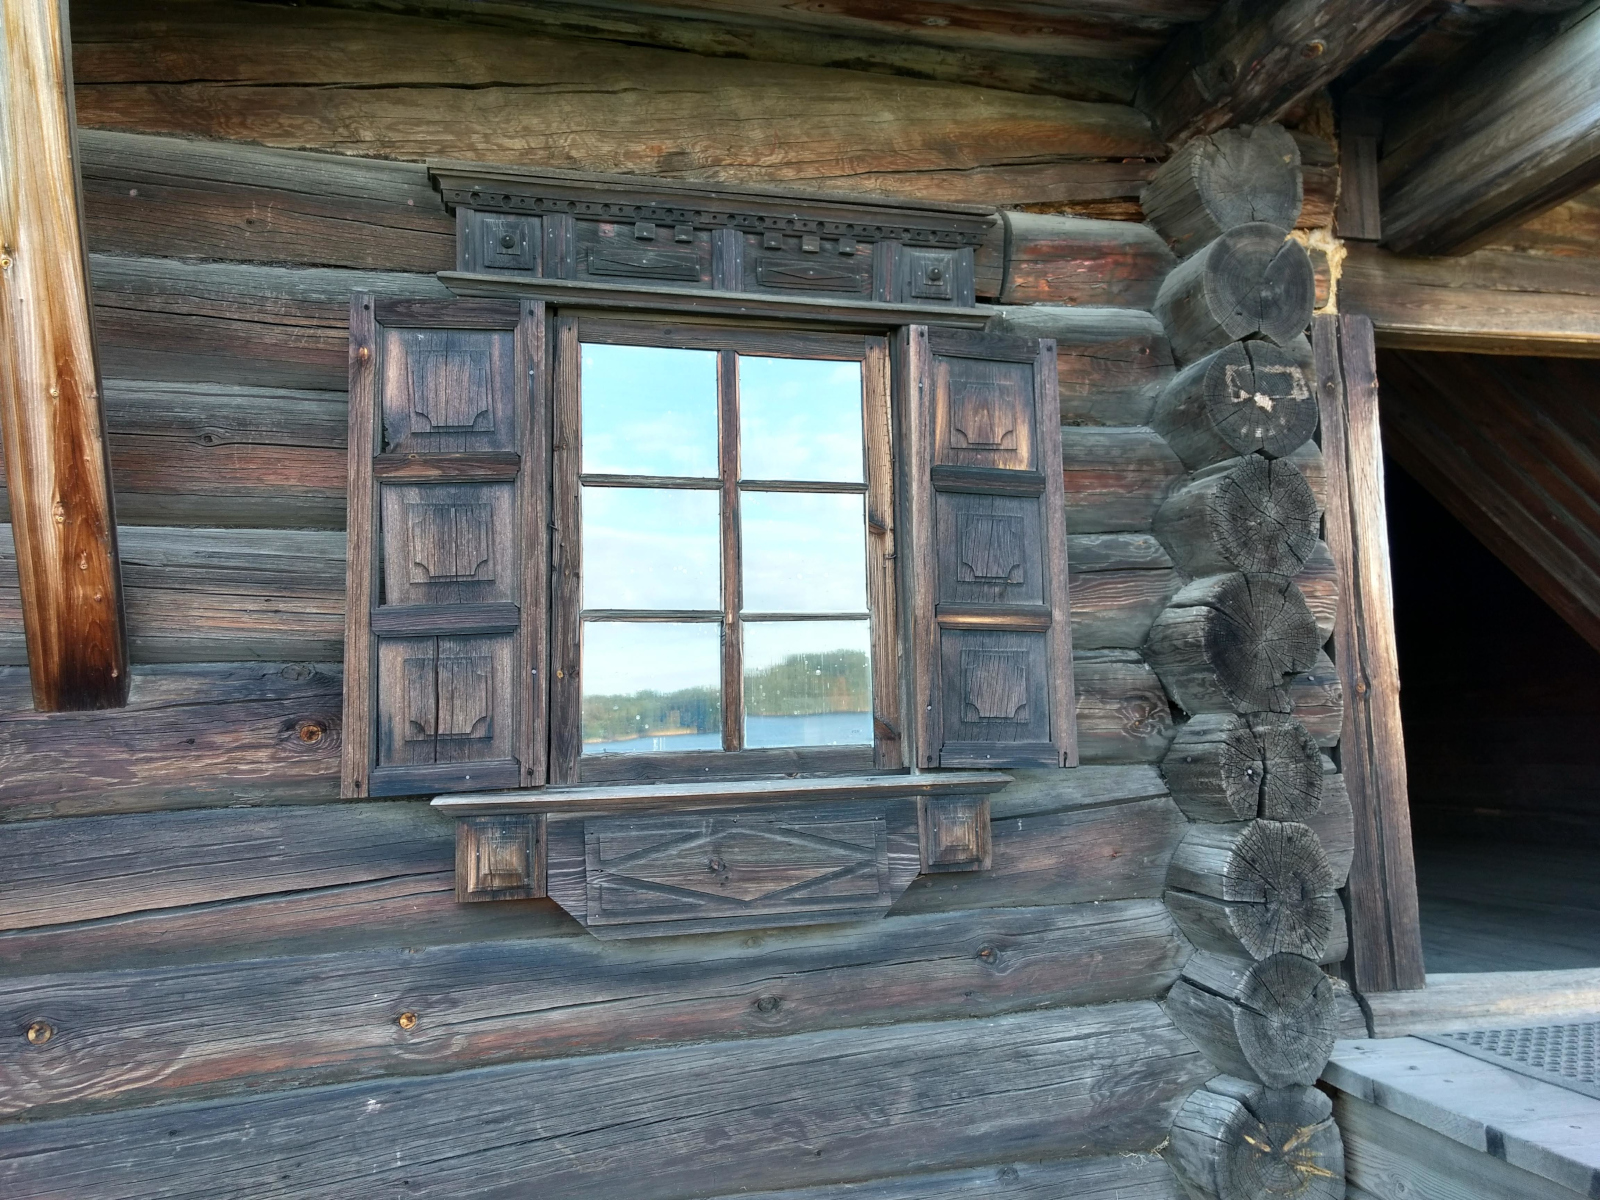
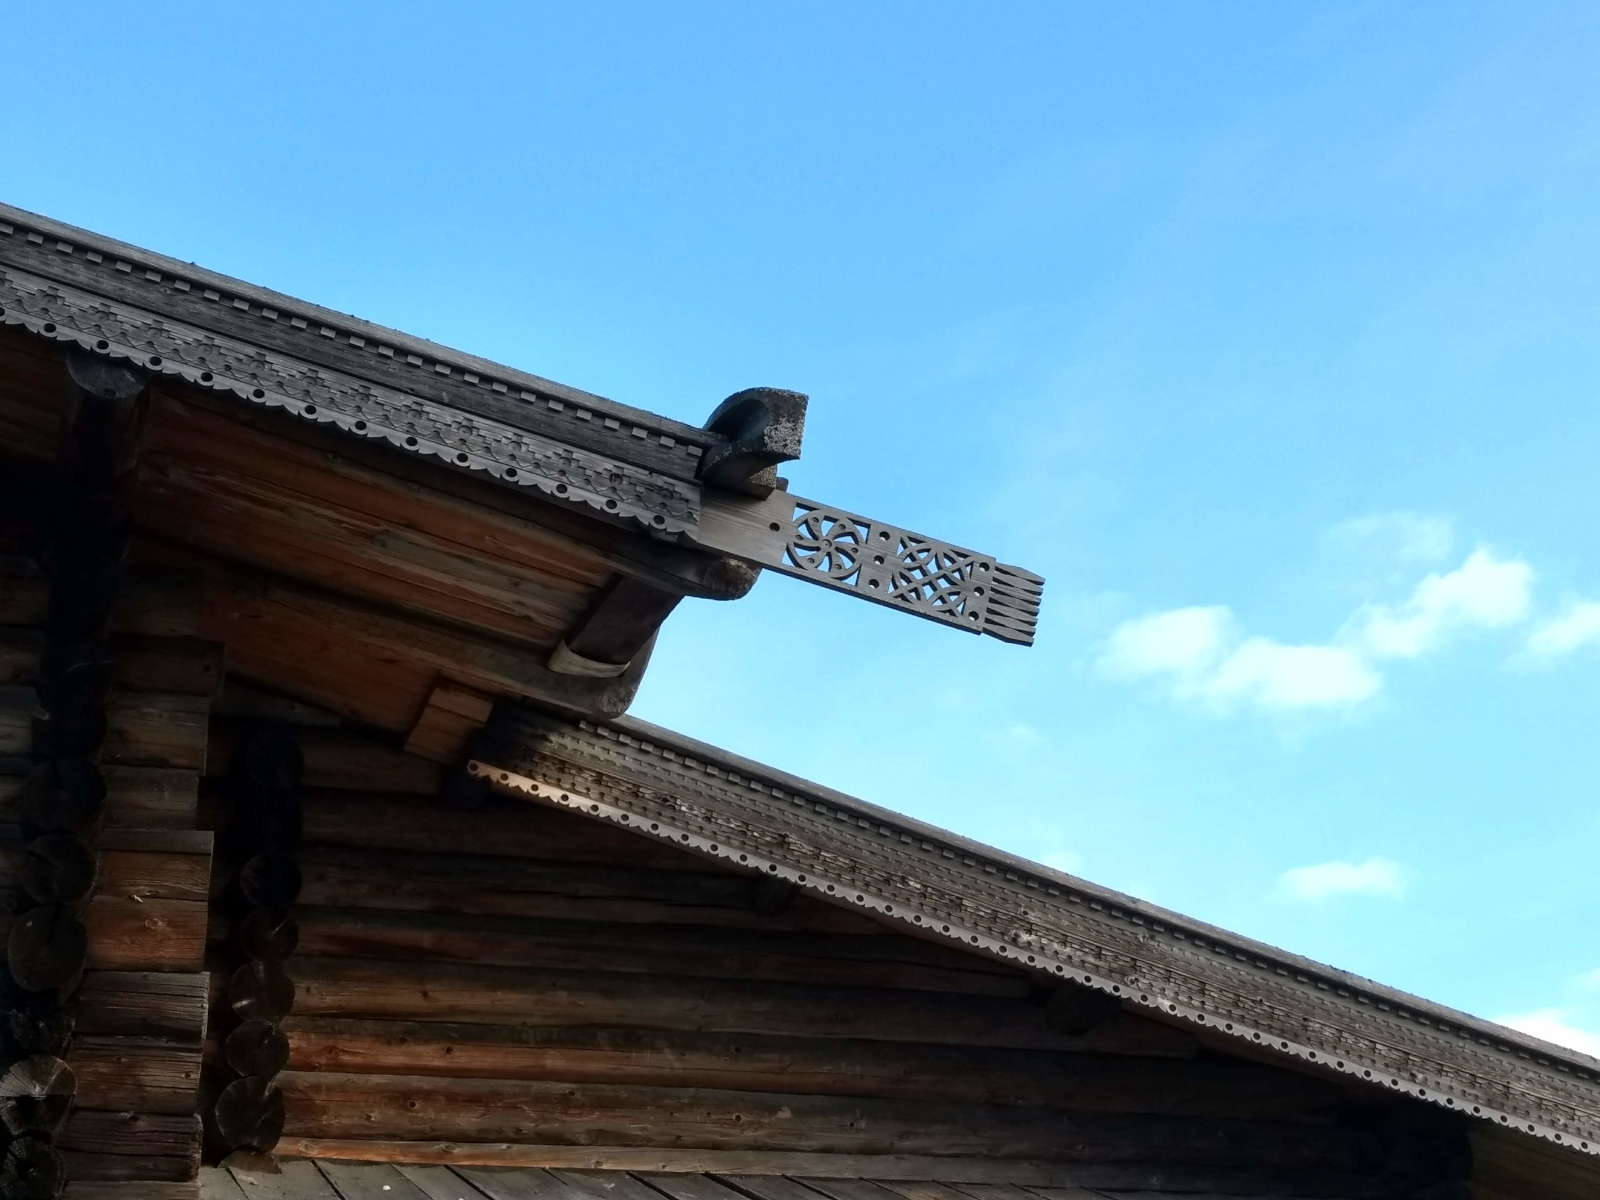
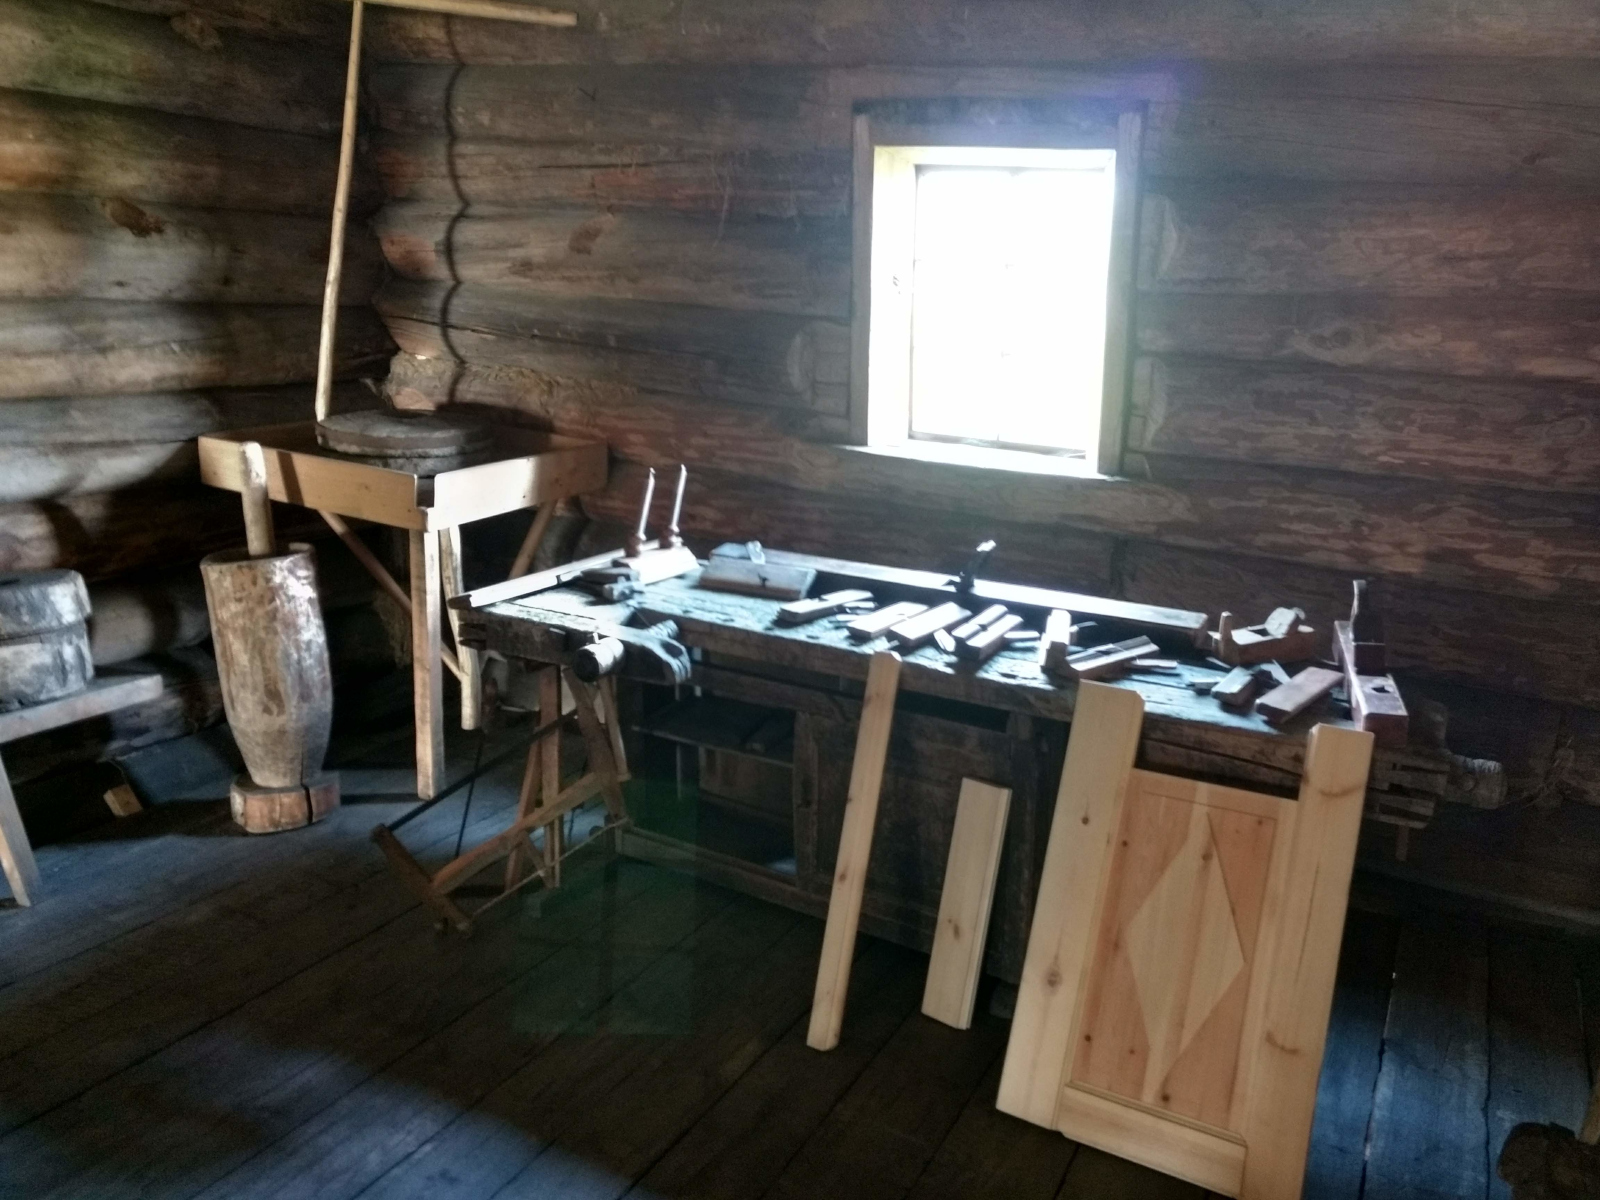
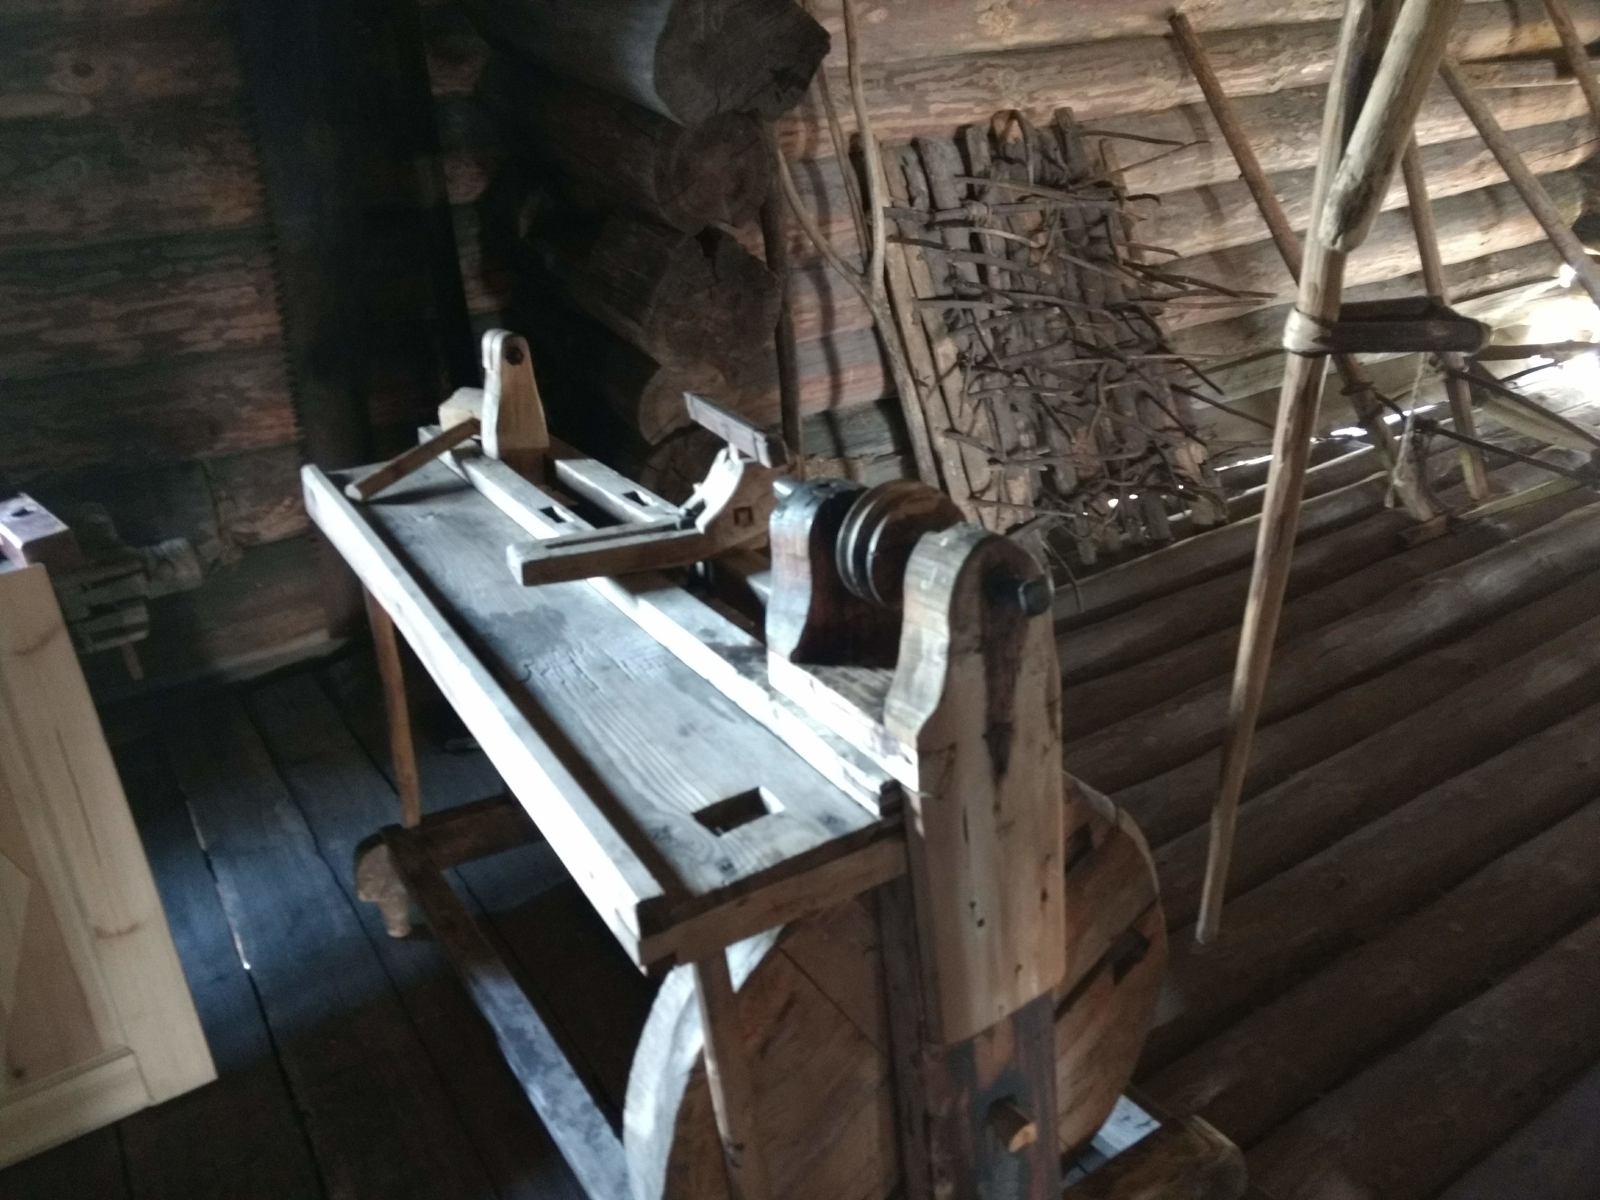
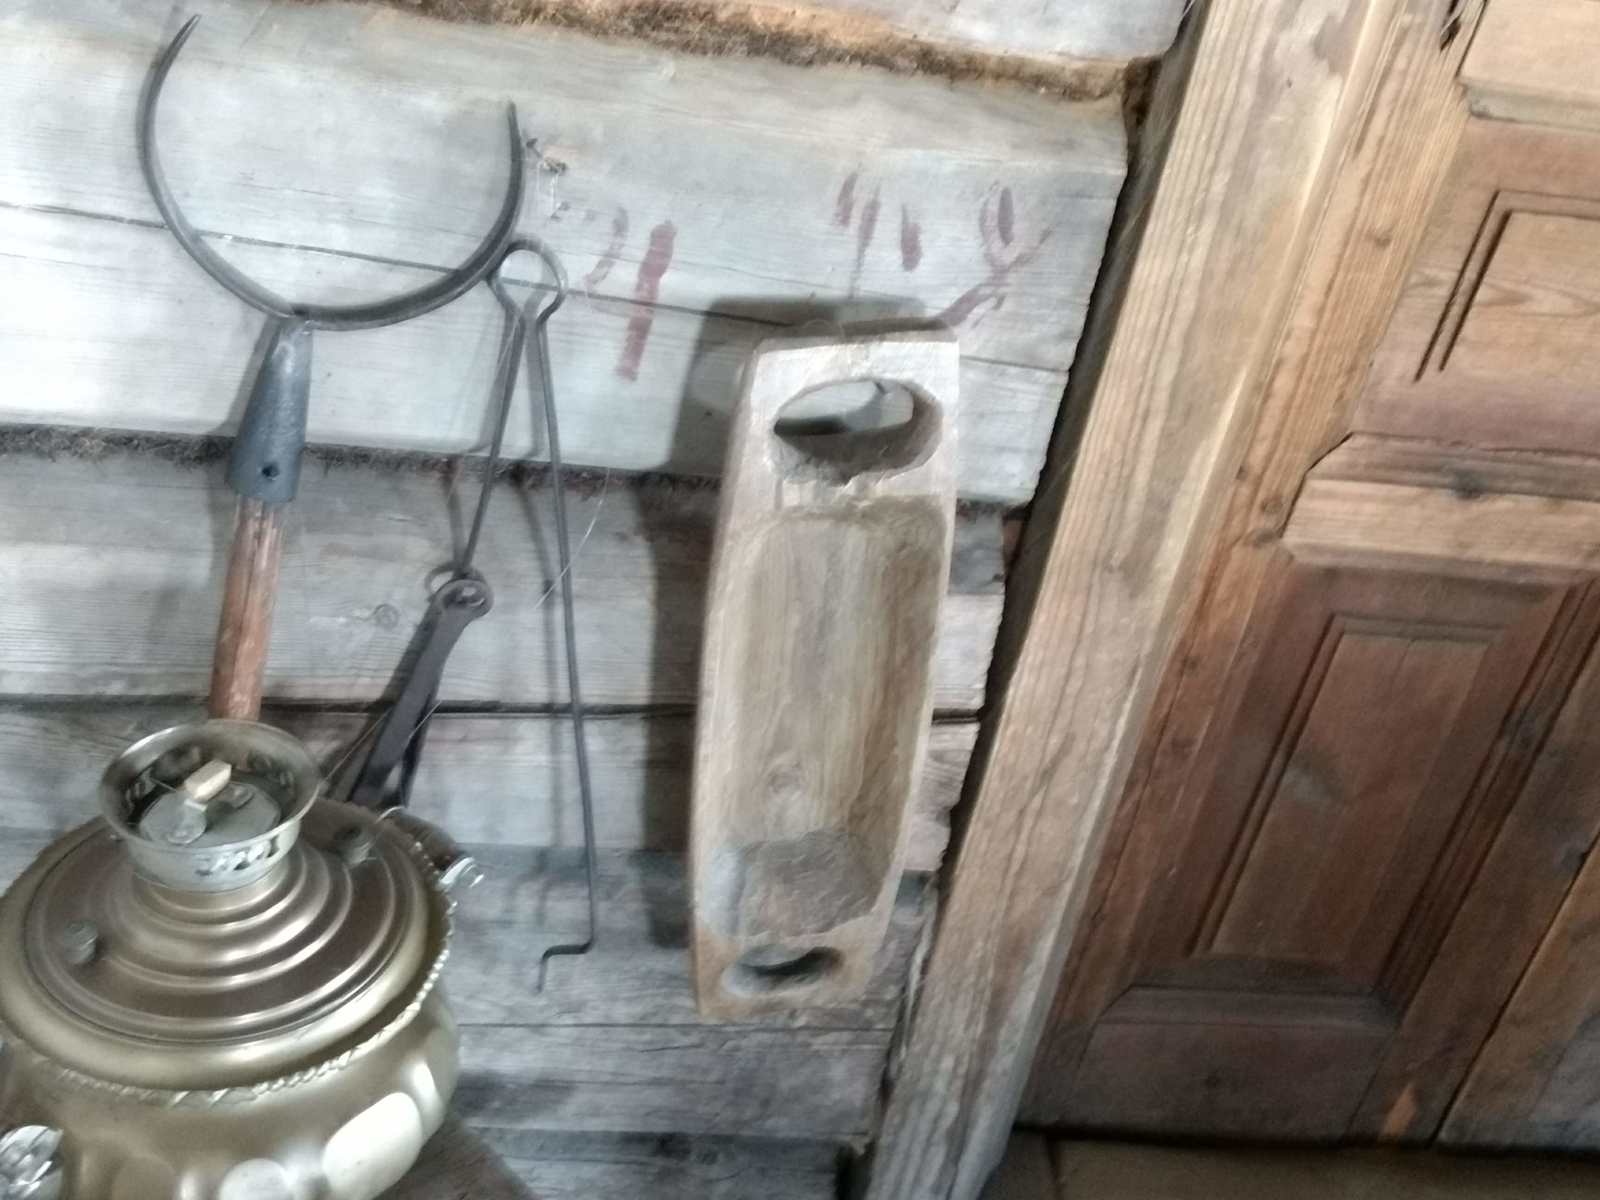
Kizhi Island offers woodworkers and carvers who enjoy seeing how old log buildings are constructed, fretwork ornamentation, ironwork and various household and workshop items, more than one has time to see. (slideshow hint: For more detail, right-click on an image, then select open in a new tab.)

photo of several Kizhi buildings
photo of log building facade
photo of fretwork on a log building
photo of a small church
photo - detail of dome on a small church
photo of grave marker fretwork
photo of a woodworking bench
photo of a treadle lathe
photo of carved wooden bowl
photo of protective ironwork on a church window

My own hatchet

The primary difference between a store bought utility hatchet and one used for woodcarving is how the blade is honed.  Andrei’s hatchets are very nicely honed for carving.  Next time, a look at my refurbished hatchet.

Filed Under: green woodworking, Woodcarving

Lathe Tool Chest – Fitted Drawer

June 8, 2018 by Bob Easton Leave a Comment

What sort of carving does this tool chest need? Not decorative this time; functional.

The 4-jaw chuck, with several sets of jaws, arrived in a molded plastic case with a cracked interior and dodgy latches. It served the job of protecting the contents during shipping, but not much more. Replacing it was part of the motivation for making this chest.

After making the lower drawer, I cut a “liner” that fits snugly inside and got out drills and gouges to create holes and depressions in the liner for all of the original 4-jaw chuck parts plus some other chucks and drive pieces. It brings together most of the things that go on the head end of the lathe. Now, shall I do the same for the next drawer; the tail stock things? Haven’t decided yet.

photo - drawer insert for drive chucks

Filed Under: treadle lathe, Woodcarving, Woodworking

Regulator Clock – Done

April 2, 2018 by Bob Easton 15 Comments

Ding Dong the Clock is Done!

  • photo of the regulator clock from left side
  • photo of the regulator clock from front
  • photo of the regulator clock from right side

Movement: Hermle Westminster Chime – 351-830 – 8 day – 66 cm pendulum
Overall height: 41 inches
Case height: 34 inches
Case width: 11 1/4 inches
Case depth: 6 1/2 inches
Crown width: 16 inches
Crown depth: 8 3/4 inches
Weight: 38 pounds
Wood: American Cerry
Finish: Shellac and furniture wax

Making this clock has been a long journey. I purchased the plans, movement and lumber years ago. A variety of moulding planes and other tools accumulated over time, until I decided last fall to tackle this “bucket list” project. I have very much enjoyed every minute of the project, even the adventure of acquiring the glass. The result now hangs on the wall between a couple of large bookcases.

photo of glass retention using framing points

The last steps before final assembly were installing the glass. I used framing points to hold the glass in place, and supplemented those with a thin bead of clear silicone caulk to ensure the glass stays where I want it within the openings, and to dampen any tendency to rattle.

Wall mounting uses two screws. The top screw is one intended for plasterboard application and rated for 80 pounds. A single “hang hole” in the back board hangs the clock on that screw. A lower screw protrudes from the wall only far enough to fit into a snug slot on the back of the back board. This screw keeps the clock firmly positioned vertically. Mechanical clock movements are sensitive to the vertical axis for keeping the pendulum swinging smoothly.

Total weight is 38 pounds. Those two brass cylinders contain lead weights. Combined they weigh 12 pounds and provide very constant motive power for the time keeping part of the clock. Two chime movements, one for the Westminster quarter-hour melodies, and the other for the hour strikes, are powered by springs.

On being a “Regulator”

We all know mechanical movements are no longer the most accurate time keepers. Electronic crystal regulators surpassed mechanics long ago.

BTW, very few mechanical clocks or watches and the vast majority of electronic crystal regulated timepieces are still not accurate enough to be considered chronometers. Chronometer accuracy is critical to determining longitude at sea and is better than -4 to +6 seconds per day.

Accuracy is a relative thing. In the era where mechanical clocks were the only clocks, the Regulator was one of the more accurate. Every jeweler and clock maker kept at least one regulator which they used as the reference for setting all other clocks and watches they touched. The key to the regulator’s accuracy is the use of a weight driven timekeeping movement. Springs, the normal motive power for mechanical clocks, offer too much variance in behavior: strong when wound tight, weaker as they unwind. Gravity is far more uniform. The gravitational force on the weights provide a uniformity that springs can’t match. That uniformity gives the clock much of its accuracy.

Even with that uniformity of motion, this clock is not as accurate as a chronometer, no where close to being one. Yet this clock is currently running  to +/- a dozen seconds per day. Regulation is by a small nut that lengthens or shortens the pendulum.

Gratitude: hearing the chimes of a mechanical clock – video

Other articles in this series…

  • Regulator Clock – Done
  • Regulator Clock – Woodworking completed
  • Regulator Clock – Scratching the frames
  • Regulator Clock – Door Hinged
  • Regulator Clock – Case Dry Fitted
  • Regulator Clock – Jelly Side Down
  • Regulator Clock – Case Frames – 2
  • Regulator Clock – Glass – 2
  • Regulator Clock – Case Frames – 1
  • Regulator Clock – The Works work
  • Regulator Clock – Glass
  • Regulator Clock – Tongue & Groove planes
  • Regulator Clock – Completed Mouldings
  • Regulator Clock – Stick Mouldings
  • Regulator Clock – Plate Mouldings
  • Regulator Clock – Egg and Dart Moulding
  • Regulator Clock – Eat Dessert First
  • Regulator Clock – original description
  • Regulator Clock – Stock Prep
  • Regulator Clock – Plans for Moldings
  • Taming the Rabbet

Filed Under: Clocks, Woodcarving, Woodworking

  • « Go to Previous Page
  • Page 1
  • Page 2
  • Page 3
  • Page 4
  • Page 5
  • Interim pages omitted …
  • Page 27
  • Go to Next Page »

Primary Sidebar

Footer

Recent Posts

  • New Frame Saw / Scroll Saw
  • Lamppost Sign
  • Goodbye PayPal – Goodbye Bob’s eBooks
  • Anarchist’s Workbench is Done
  • Why we keep offcuts…

Categories

  • About
  • Artwork
  • Boatbuilding
  • Boating
  • bowl carving
  • Boxmaking
  • Clocks
  • Drawings
  • eBook
  • etude
  • Eva Too
  • Eva Won
  • Fiddlehead
  • Fiddlehead model
  • Flying
  • frame saw
  • gilding
  • green woodworking
  • Grinling Gibbons
  • Guns
  • Hand tools
  • Humor
  • kerfing plane
  • Lettercarving
  • Mill Creek 13
  • Model building
  • Power tools
  • Rant
  • resawing
  • scroll saw
  • Shopmade
  • sign painting
  • Stonework
  • Swimming
  • Technology
  • The Wall
  • treadle lathe
  • Uncategorized
  • VSD
  • Woodcarving
  • Woodturning
  • Woodworking
  • workbench

Other stuff

  • About
  • Contact
  • Privacy Policy

Copyright ©2024 · Bob Easton · All Rights Reserved