• Skip to primary navigation
  • Skip to main content
  • Skip to primary sidebar
  • Skip to footer

Bob Easton

Chocolate powered woodworking

  • Home
  • Grinling Gibbons Tour

Woodworking

Jelly Side Down

February 22, 2018 by Bob Easton 3 Comments

Accidentally drop that piece of toast with jelly. The probability of landing jelly side down seems to be 0.9944.

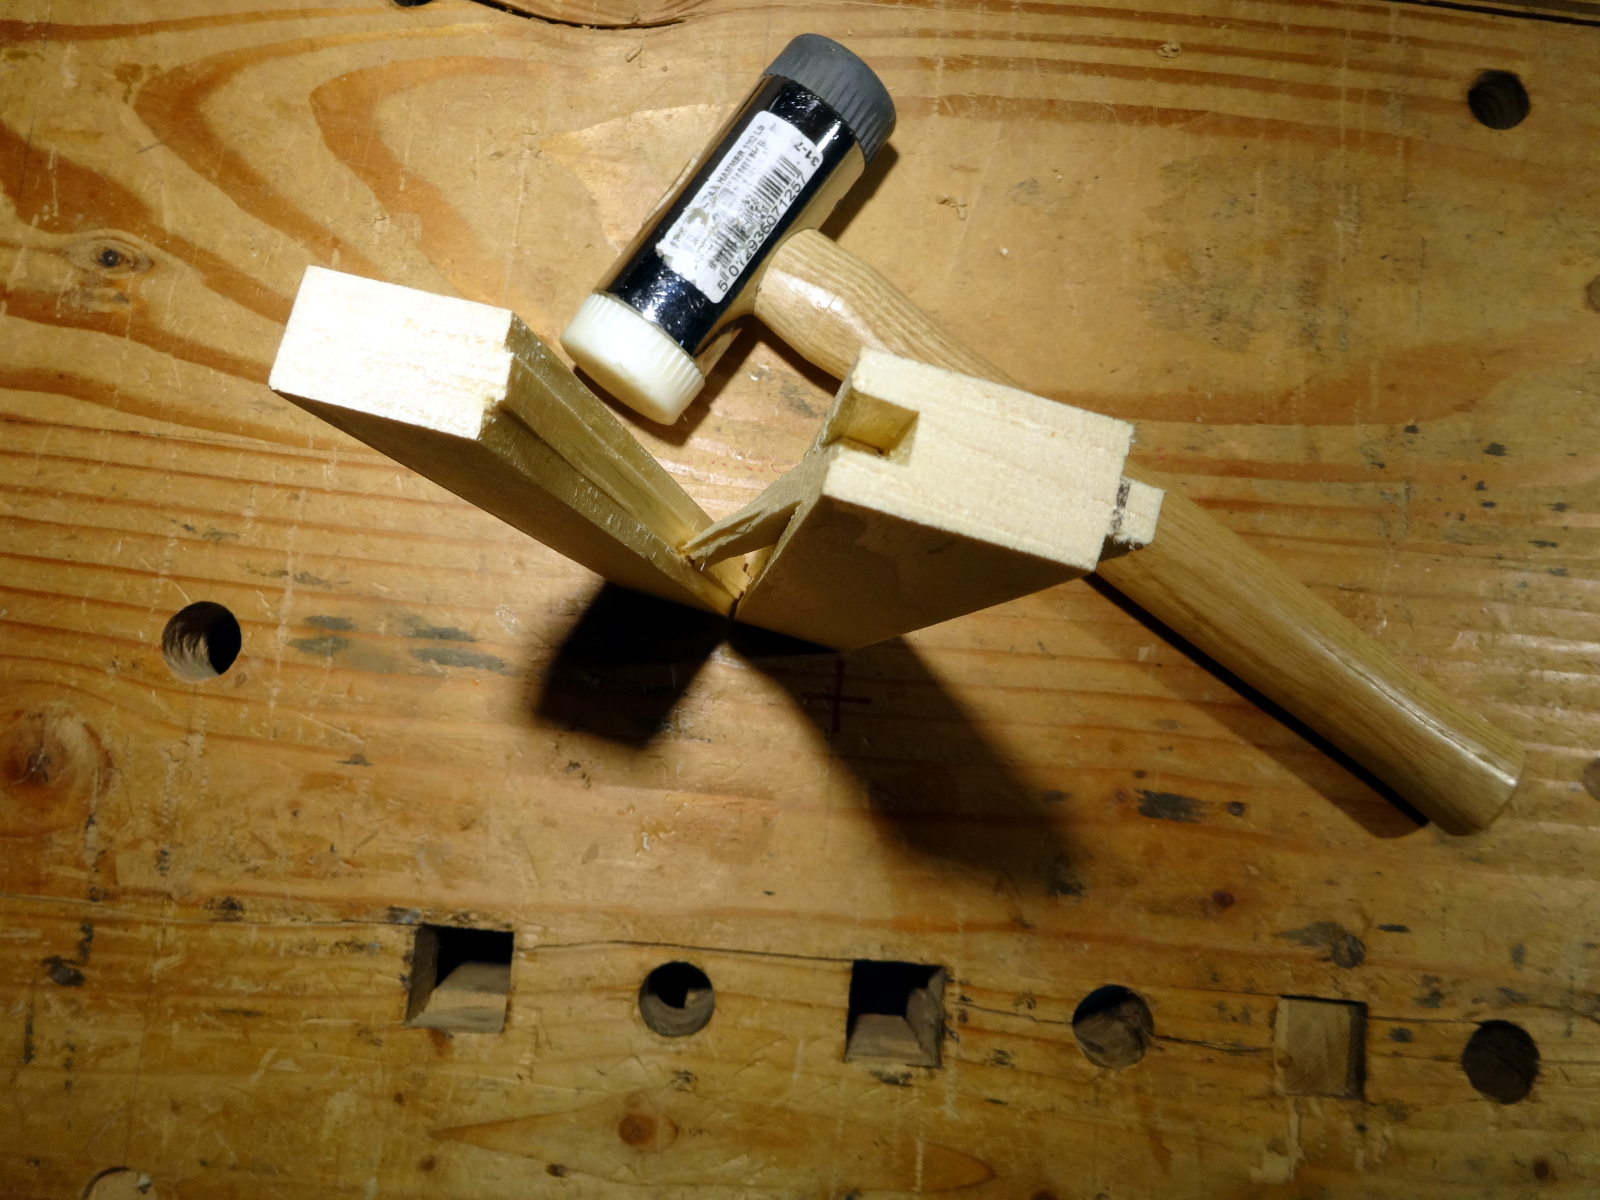
And when a board is accidentally knocked out of the vise, what are the odds of it landing on a fragile corner?

Right: 0.9944!

photo of damaged corner

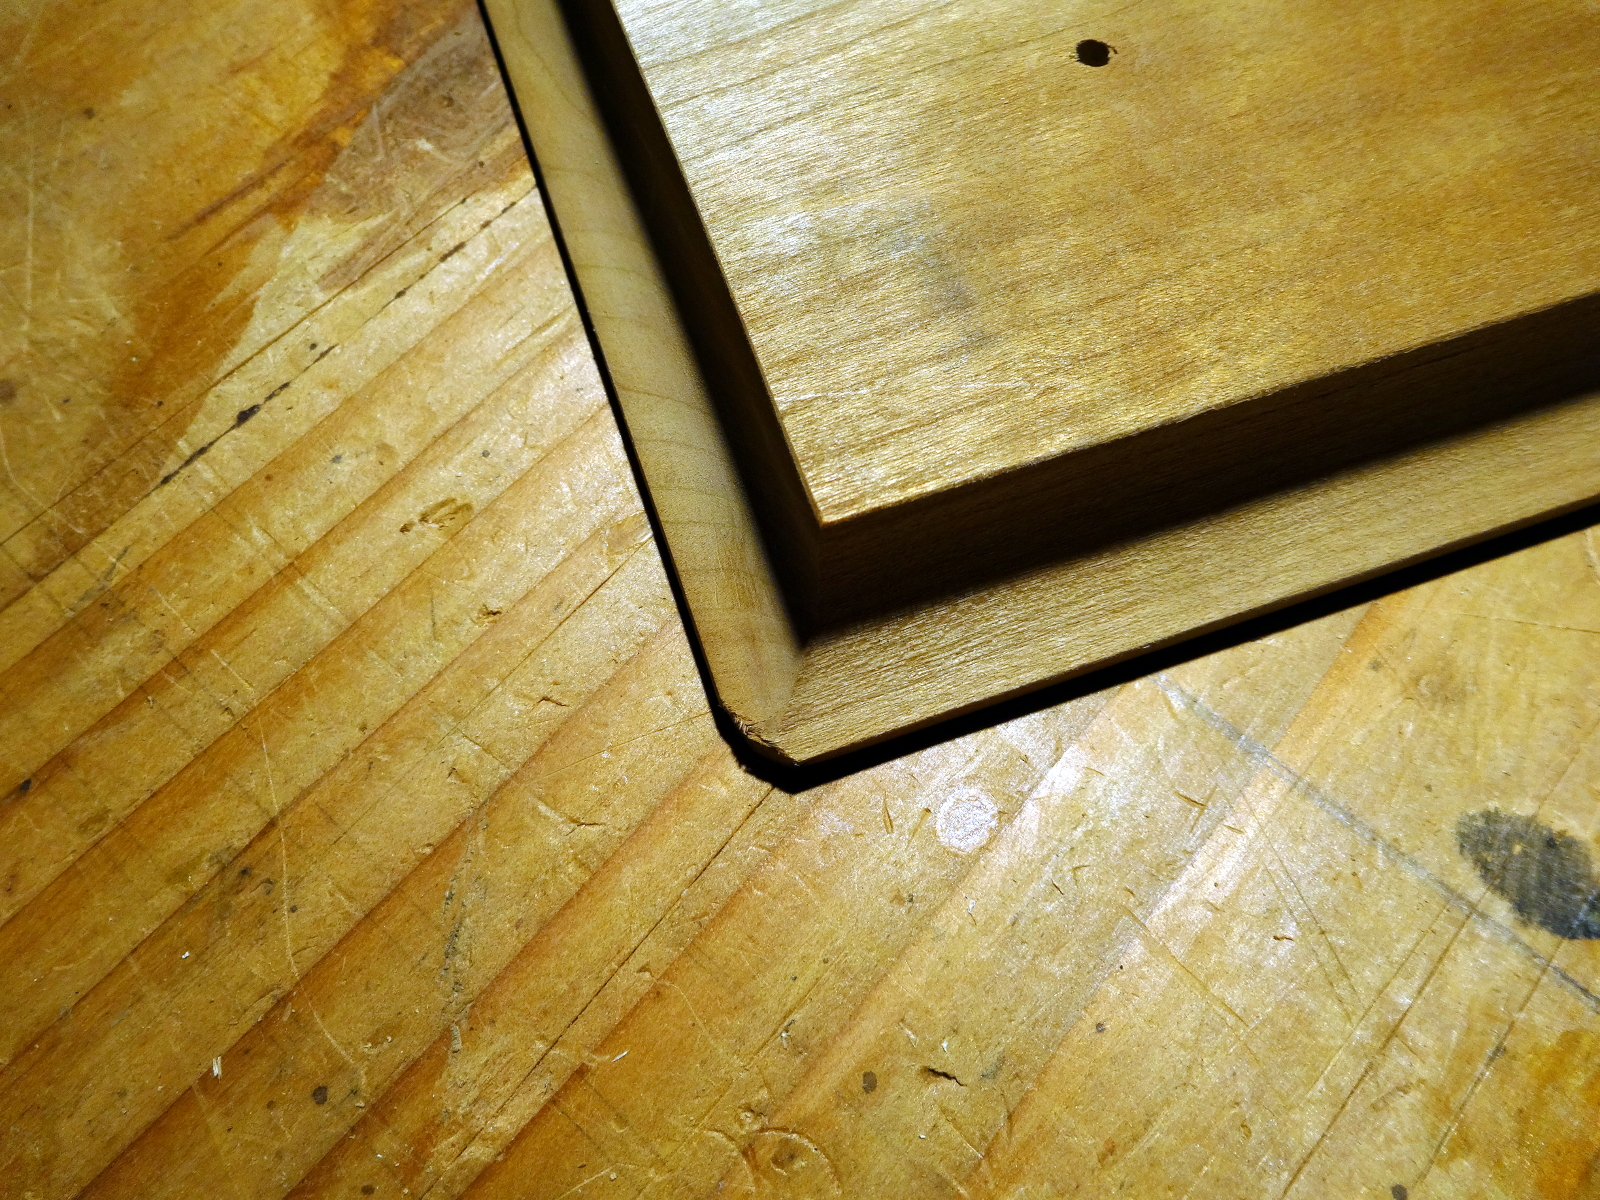
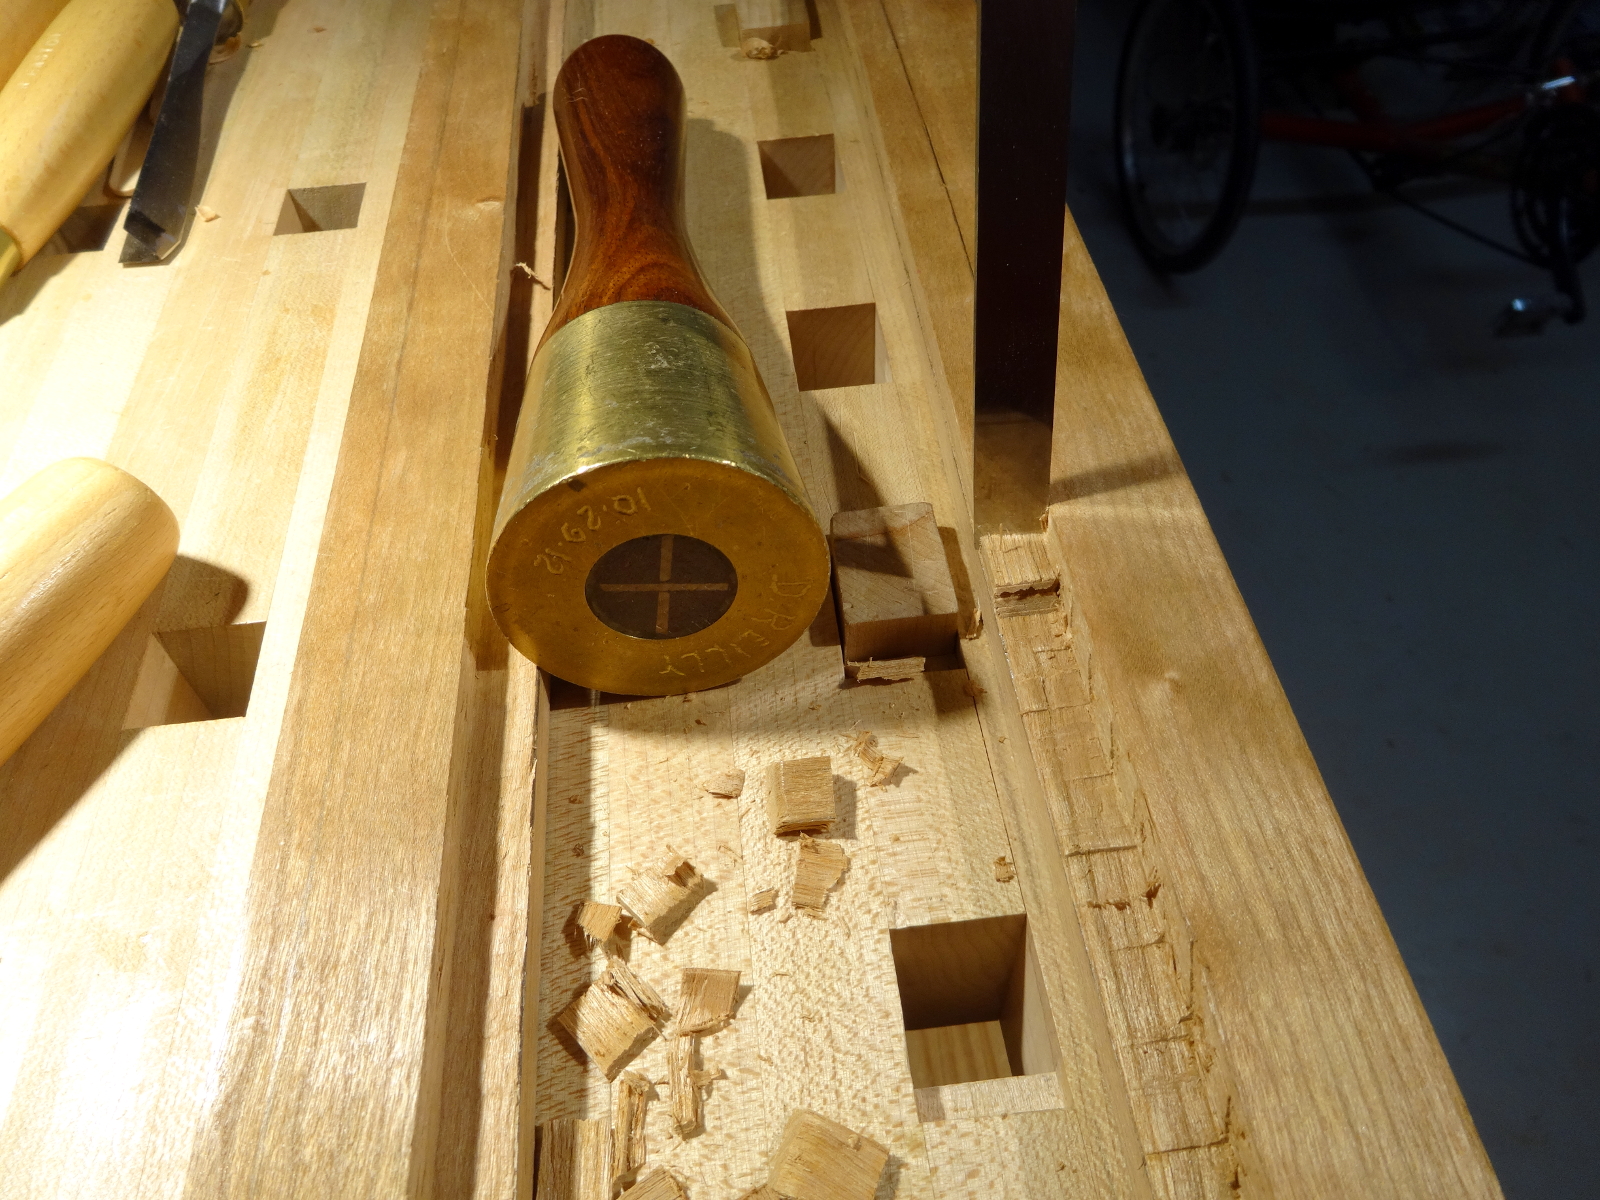
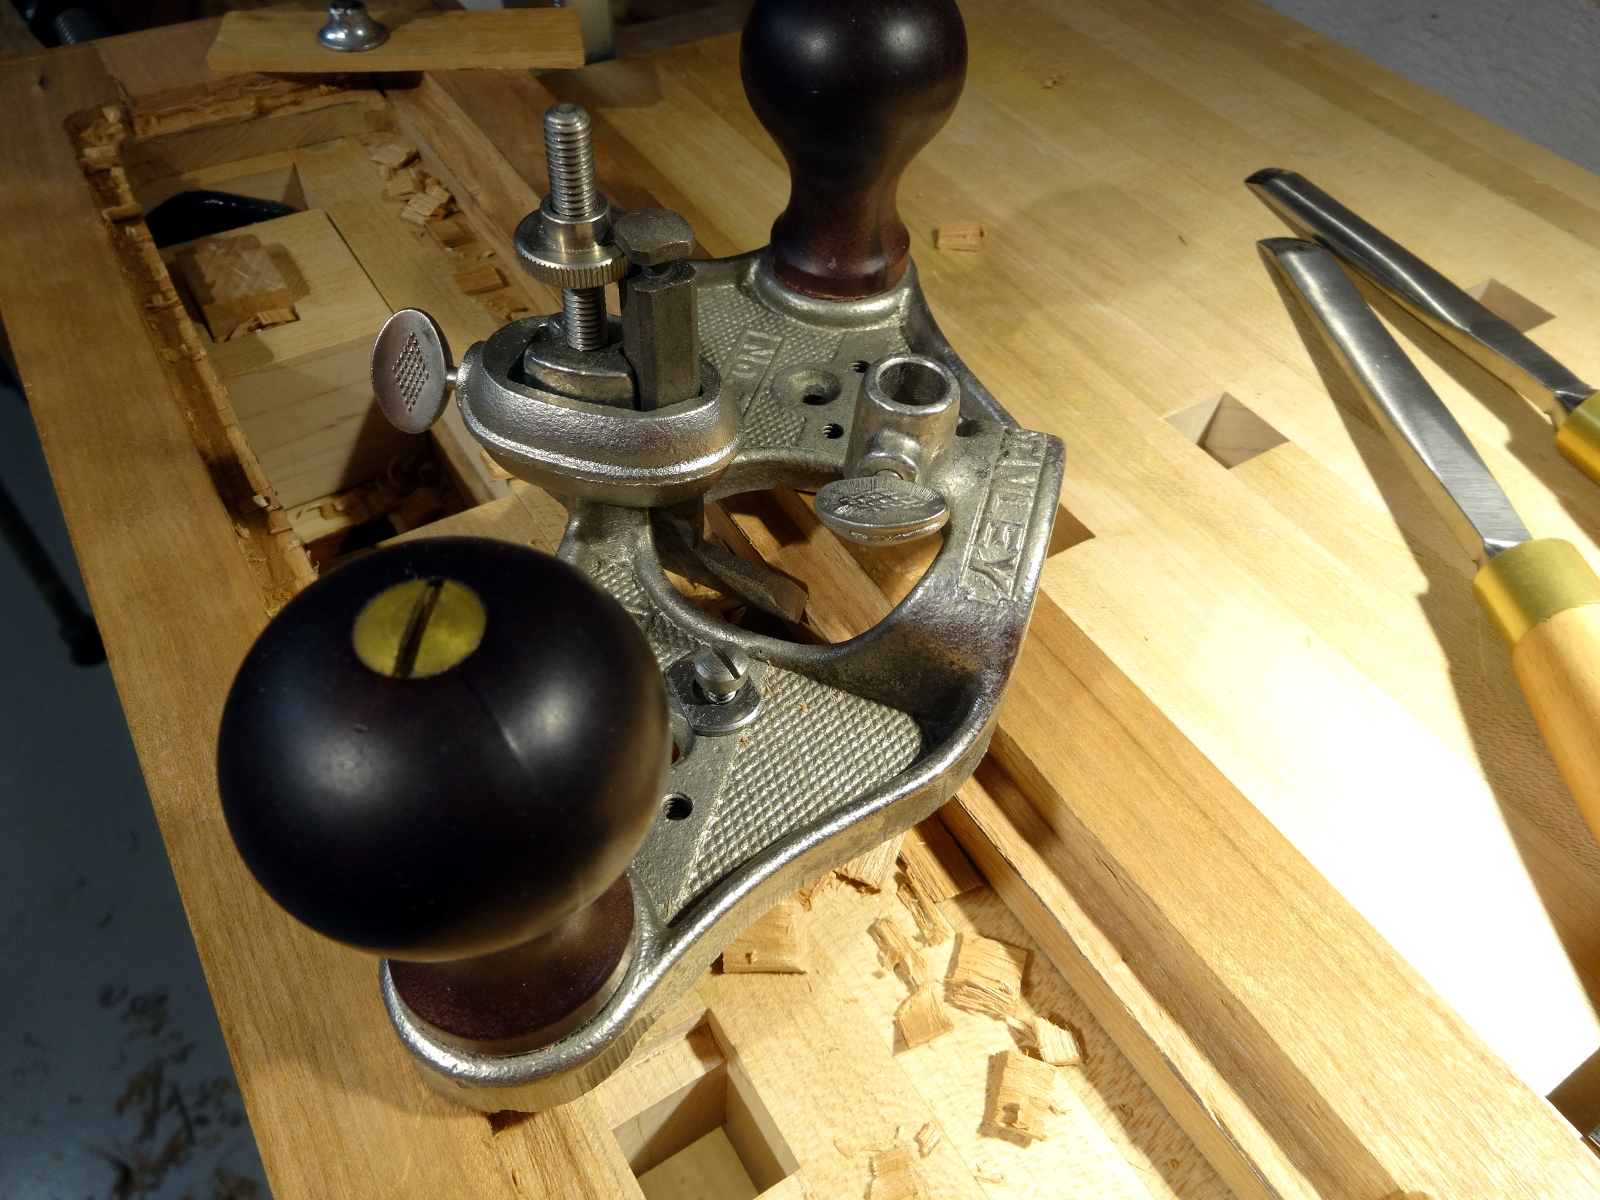
That’s too much damage for the steam iron rescue. It took only a couple of hours to make a replacement. …and would have taken only a half-turn of the vise handle to prevent it in the first place.

Gratitude: extra cherry lumber and sharp planes

Other articles in this series…

  • Regulator Clock – Done
  • Regulator Clock – Woodworking completed
  • Regulator Clock – Scratching the frames
  • Regulator Clock – Door Hinged
  • Regulator Clock – Case Dry Fitted
  • Regulator Clock – Jelly Side Down
  • Regulator Clock – Case Frames – 2
  • Regulator Clock – Glass – 2
  • Regulator Clock – Case Frames – 1
  • Regulator Clock – The Works work
  • Regulator Clock – Glass
  • Regulator Clock – Tongue & Groove planes
  • Regulator Clock – Completed Mouldings
  • Regulator Clock – Stick Mouldings
  • Regulator Clock – Plate Mouldings
  • Regulator Clock – Egg and Dart Moulding
  • Regulator Clock – Eat Dessert First
  • Regulator Clock – original description
  • Regulator Clock – Stock Prep
  • Regulator Clock – Plans for Moldings
  • Taming the Rabbet

Filed Under: Clocks, Woodworking

Regulator Clock – Case Frames – 2

February 6, 2018 by Bob Easton Leave a Comment

Gratitude: Space heater in the colder than usual winter shop

Basic frame construction is tongue and groove, as shown previously. The next step along the way is cutting the openings and making rebates for the glass.

My favorite turning saw and an Auriou rasp made quick work of cutting the openings. The more time consuming work was cutting rebates for the glass. Running a rebate plane around the interior of a curved opening isn’t practical. So, this was work mostly for bench chisels, some curved gouges, and a rebate plane.

  • photo of chopping the glass recess in a side frame
  • photo of routing the glass recess on a side frame
  • photo of 3 frames - glass recesses completed
  • photo of 3 frames after basic construction

Other articles in this series…

  • Regulator Clock – Done
  • Regulator Clock – Woodworking completed
  • Regulator Clock – Scratching the frames
  • Regulator Clock – Door Hinged
  • Regulator Clock – Case Dry Fitted
  • Regulator Clock – Jelly Side Down
  • Regulator Clock – Case Frames – 2
  • Regulator Clock – Glass – 2
  • Regulator Clock – Case Frames – 1
  • Regulator Clock – The Works work
  • Regulator Clock – Glass
  • Regulator Clock – Tongue & Groove planes
  • Regulator Clock – Completed Mouldings
  • Regulator Clock – Stick Mouldings
  • Regulator Clock – Plate Mouldings
  • Regulator Clock – Egg and Dart Moulding
  • Regulator Clock – Eat Dessert First
  • Regulator Clock – original description
  • Regulator Clock – Stock Prep
  • Regulator Clock – Plans for Moldings
  • Taming the Rabbet

Filed Under: Clocks, Woodworking

Regulator Clock – Case Frames – 1

December 5, 2017 by Bob Easton Leave a Comment

Gratitude: Good hide glue

We’ve already seen the top, bottom, and back. The sides and the door are constructed alike; two vertical rails and two stiles. They are joined by simple tongue. and grooves, using the planes acquired recently. My execution ends up with joins that are on the looser side of snug; not quite “self supporting,” but not sloppy either. Put it this way: there’s no danger of parts splitting from hammering the pieces together. The important thing, for me, was getting gap free joins on the show sides of the panels. The step that helped the most was cutting the tongues for the stiles on a longer piece of wood that was then cut to 4 pieces (2 for each side) once the edges were dead straight. Try as I may, my planing still produces a bit of slope-up and slope down at the starts and ends of boards. I sometimes accommodate that by using a board longer than needed and trimming off the slopes. Repeat same for the two stiles (different width) used on the door.

  • photo of side rails and stiles
  • photo of partial side assembly
Photo of tongue and groove break test

Worrying about how hide glue will hold the slightly loose joinery, I made a test pairing of a couple of sticks of pine … leaving one a bit longer so I could knock it apart later.  My previous use of hide glue has been from 252 strength granules and always had an uncomfortably short open time. This time, I mixed up some 192 strength and gained a wee bit more open time. (Maybe if the shop was by the beach in Costa Rica with 100°F temps?) I applied the glue rather sloppily to only one piece and pressed the joint together in the bench vise for only a few minutes. I then left it sitting in the shop at something less than 60ºF for about 20 hours. When I knocked it apart, I was very pleased to find that almost all of the breakage was in the wood, with almost none exposing raw glue. I’m now confident that careful glue-up will be sufficiently strong.

Other articles in this series…

  • Regulator Clock – Done
  • Regulator Clock – Woodworking completed
  • Regulator Clock – Scratching the frames
  • Regulator Clock – Door Hinged
  • Regulator Clock – Case Dry Fitted
  • Regulator Clock – Jelly Side Down
  • Regulator Clock – Case Frames – 2
  • Regulator Clock – Glass – 2
  • Regulator Clock – Case Frames – 1
  • Regulator Clock – The Works work
  • Regulator Clock – Glass
  • Regulator Clock – Tongue & Groove planes
  • Regulator Clock – Completed Mouldings
  • Regulator Clock – Stick Mouldings
  • Regulator Clock – Plate Mouldings
  • Regulator Clock – Egg and Dart Moulding
  • Regulator Clock – Eat Dessert First
  • Regulator Clock – original description
  • Regulator Clock – Stock Prep
  • Regulator Clock – Plans for Moldings
  • Taming the Rabbet

Filed Under: Clocks, Woodworking

  • « Go to Previous Page
  • Page 1
  • Interim pages omitted …
  • Page 5
  • Page 6
  • Page 7
  • Page 8
  • Page 9
  • Interim pages omitted …
  • Page 32
  • Go to Next Page »

Primary Sidebar

Footer

Recent Posts

  • New Frame Saw / Scroll Saw
  • Lamppost Sign
  • Goodbye PayPal – Goodbye Bob’s eBooks
  • Anarchist’s Workbench is Done
  • Why we keep offcuts…

Categories

  • About
  • Artwork
  • Boatbuilding
  • Boating
  • bowl carving
  • Boxmaking
  • Clocks
  • Drawings
  • eBook
  • etude
  • Eva Too
  • Eva Won
  • Fiddlehead
  • Fiddlehead model
  • Flying
  • frame saw
  • gilding
  • green woodworking
  • Grinling Gibbons
  • Guns
  • Hand tools
  • Humor
  • kerfing plane
  • Lettercarving
  • Mill Creek 13
  • Model building
  • Power tools
  • Rant
  • resawing
  • scroll saw
  • Shopmade
  • sign painting
  • Stonework
  • Swimming
  • Technology
  • The Wall
  • treadle lathe
  • Uncategorized
  • VSD
  • Woodcarving
  • Woodturning
  • Woodworking
  • workbench

Other stuff

  • About
  • Contact
  • Privacy Policy

Copyright ©2024 · Bob Easton · All Rights Reserved