• Skip to primary navigation
  • Skip to main content
  • Skip to primary sidebar
  • Skip to footer

Bob Easton

Chocolate powered woodworking

  • Home
  • Grinling Gibbons Tour

Anarchist’s Workbench is Done

March 10, 2022 by Bob Easton 8 Comments

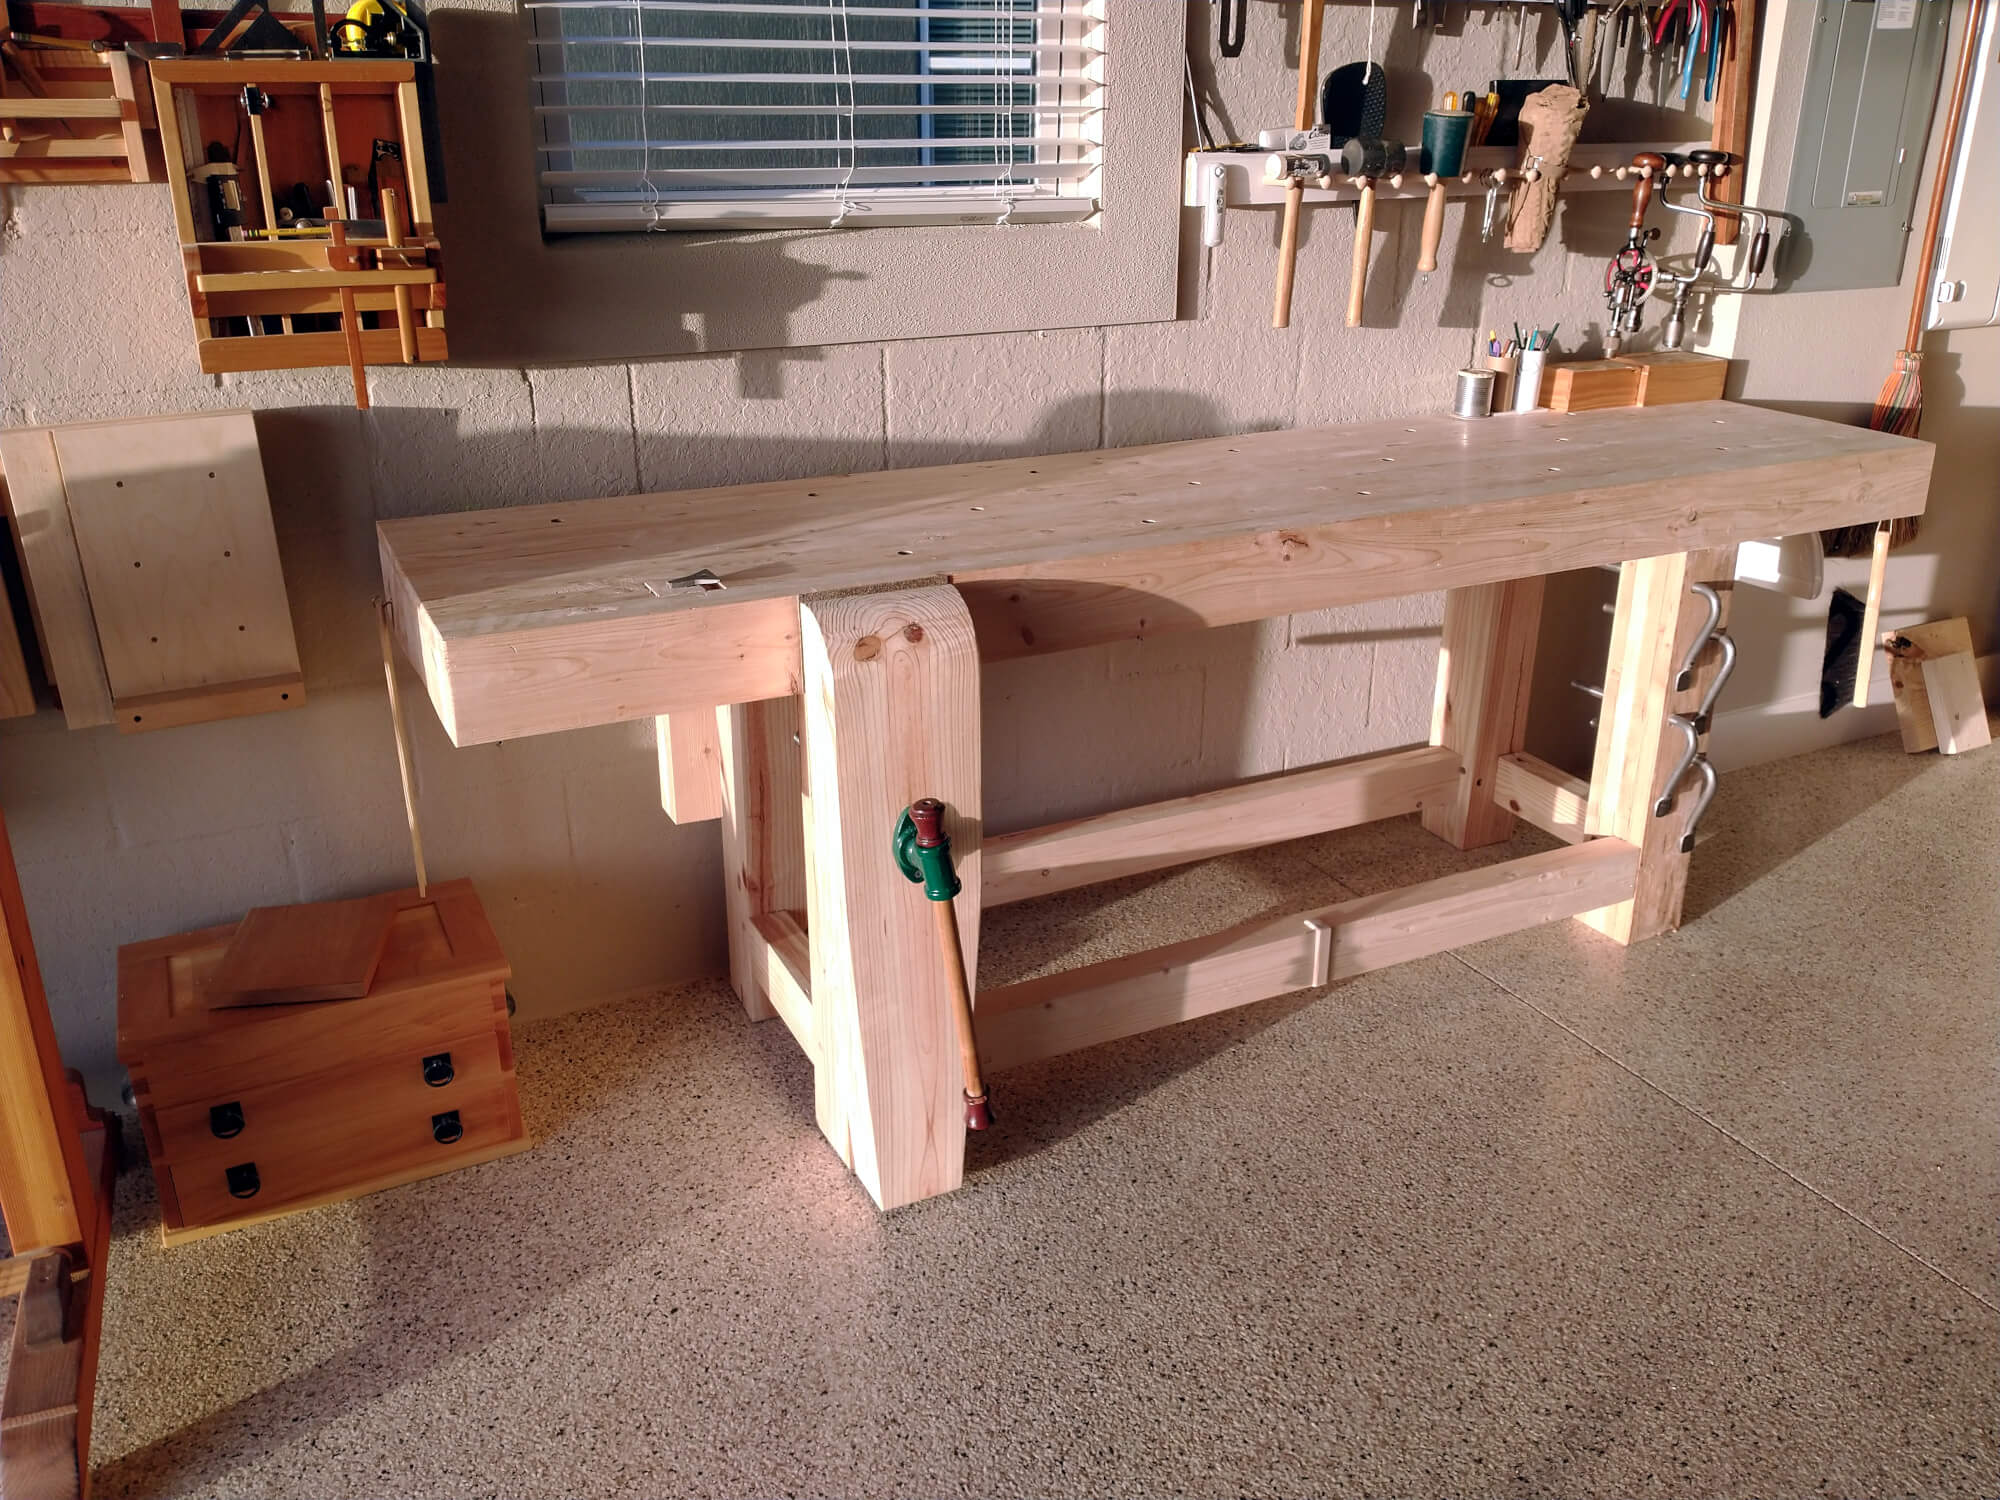
It’s been done for a couple of weeks and is already suffering HSS, Horizontal Surface Syndrome, the collecting of stuff on almost any horizontal surface.

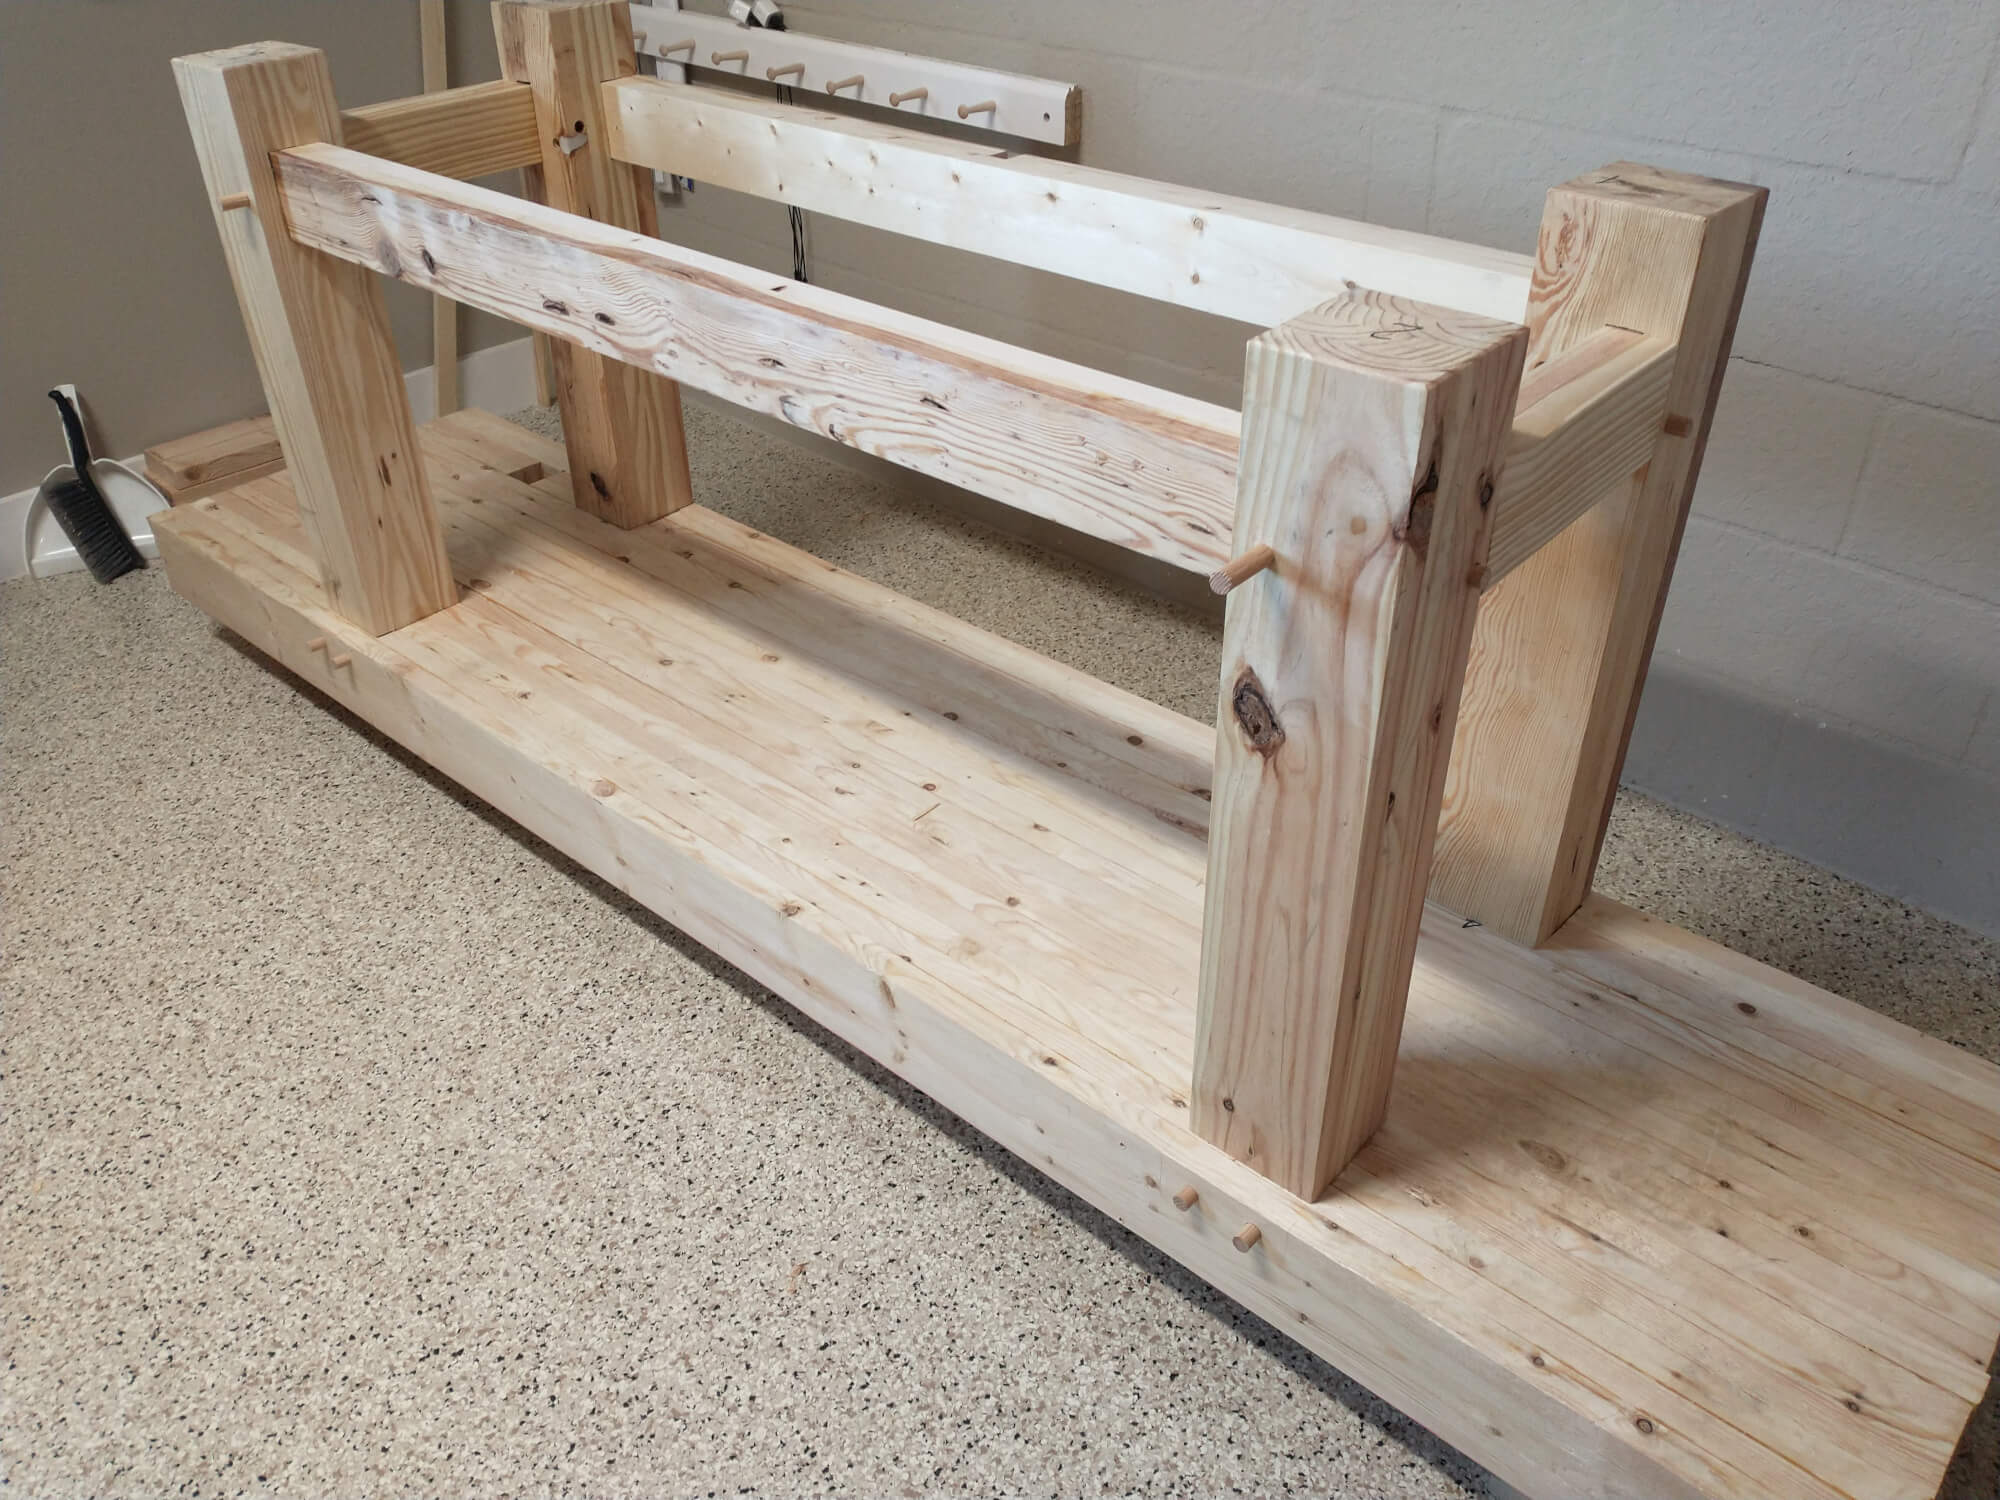
  • Design – Anarchist’s Workbench by Christopher Schwarz from Lost Art Press
  • Dimensions – 100 inches long, 23 inches deep, 34 inches high
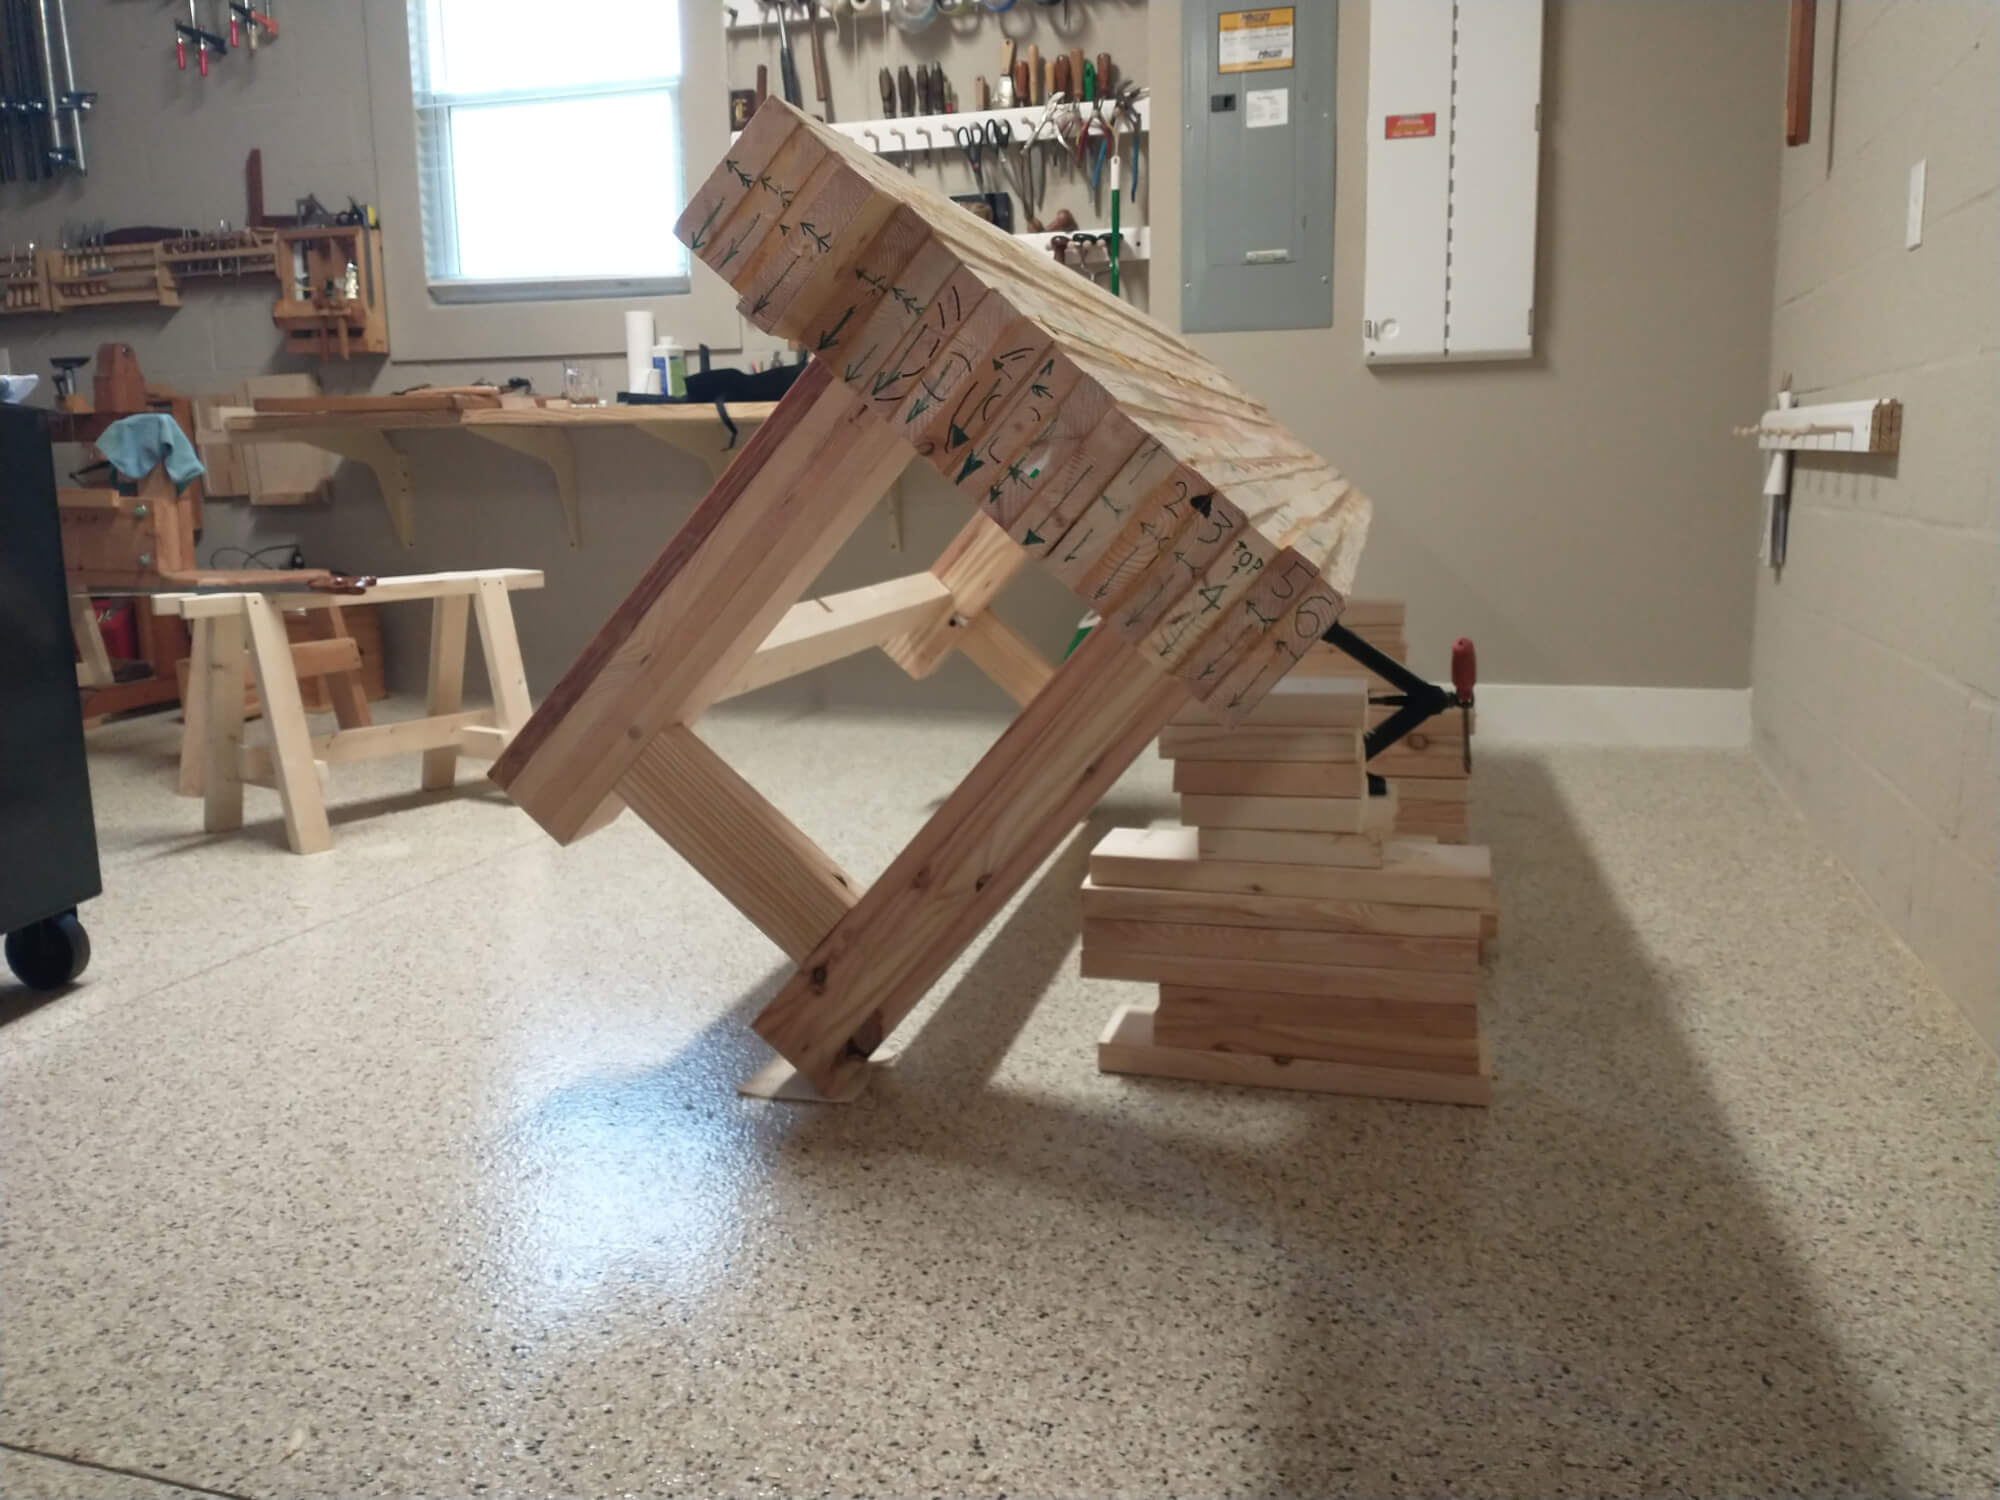
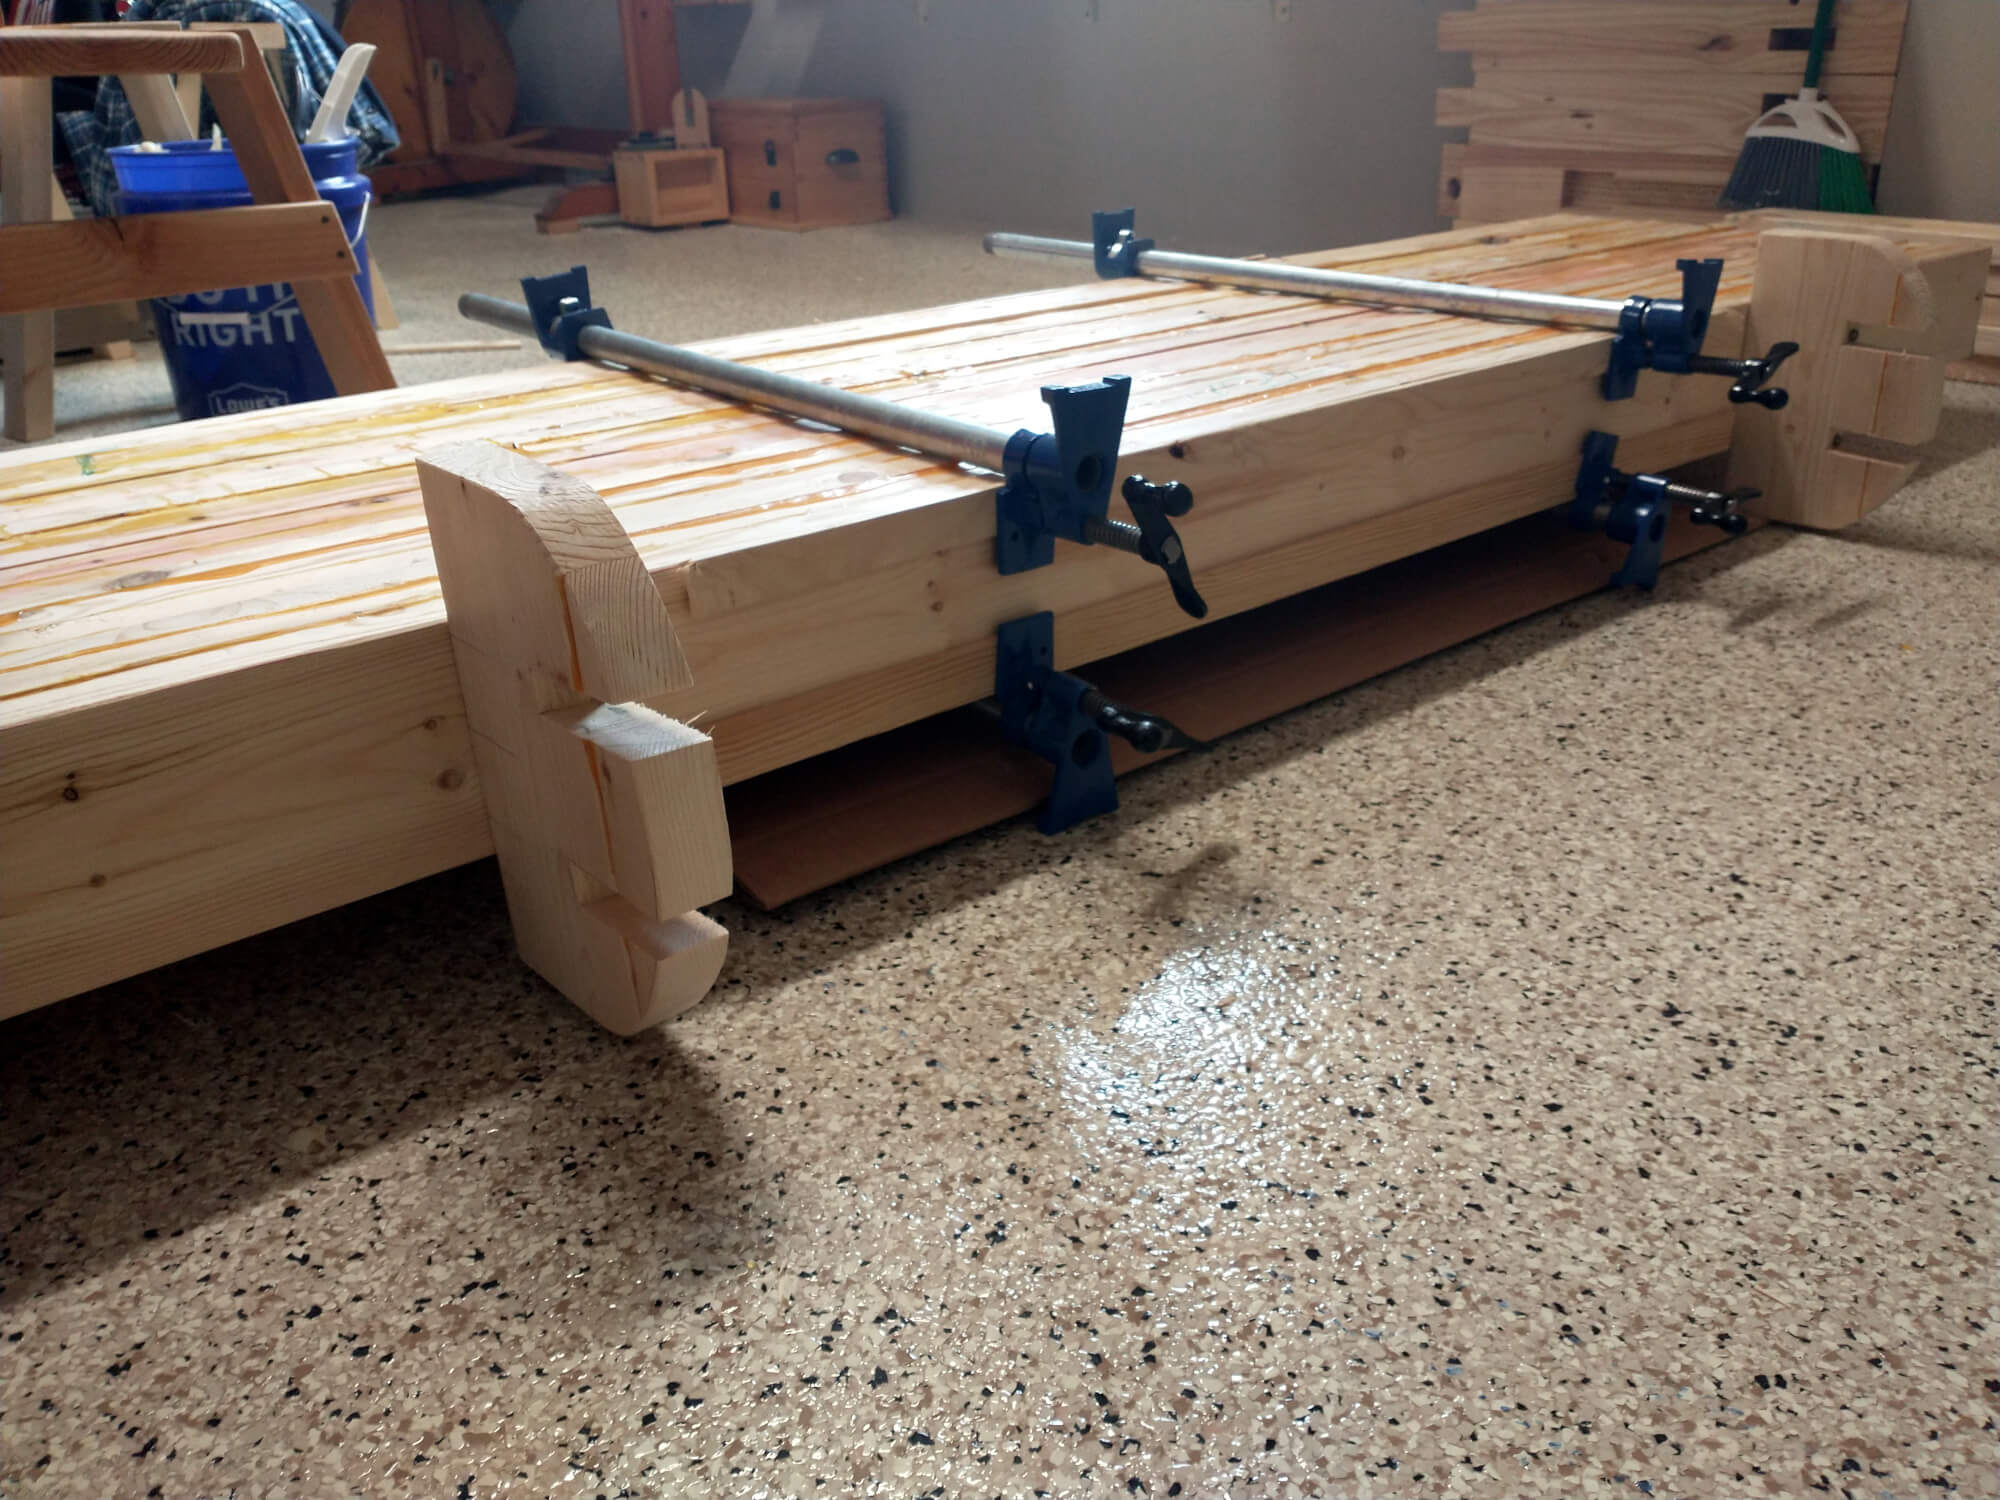
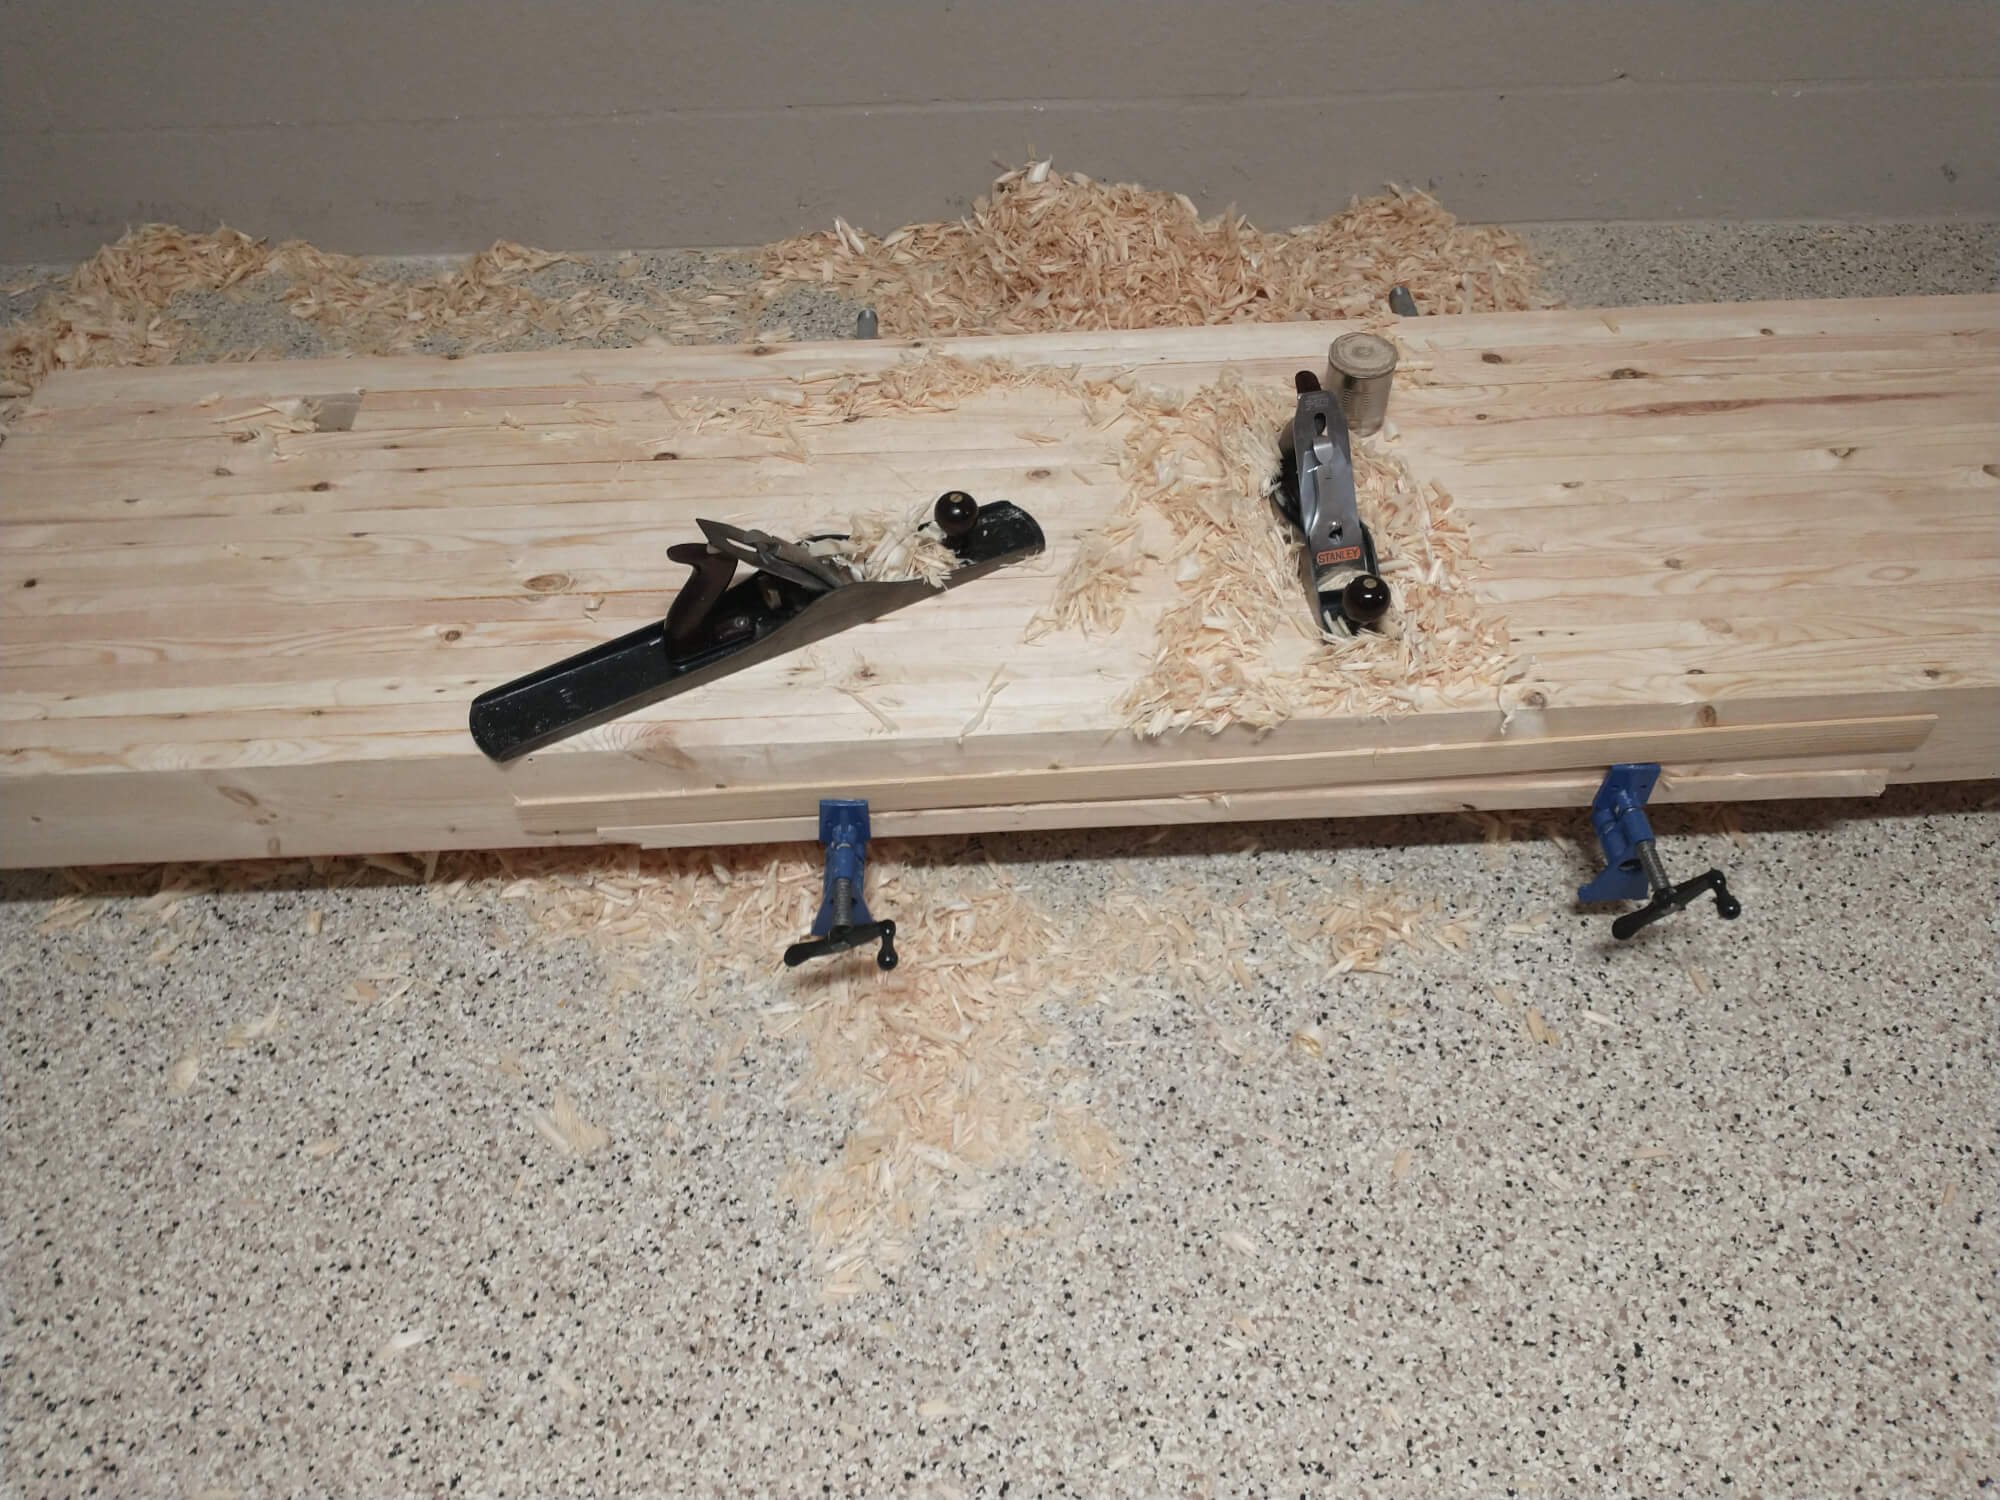
  • Lumber – grade #2 Southern Yellow Pine from central Florida Lowes stores
  • Vise – Crisscross from Benchcrafted
  • Vise screw – 21 inch screw from Lee Valley Tools
  • Vise accessory – Crubber non-slip cork/rubber from Benchcrafted
  • Planing stop – Crucible Planing Stop from Lost Art Press
  • Holdfasts – Gramercy Holdfasts from Tools For Working Wood

Note: I have no affiliation, nor collect any royalties, from any of these products. I simply enjoy their quality.

Filed Under: Shopmade, workbench

Why we keep offcuts…

February 7, 2022 by Bob Easton 4 Comments

photo of bench assembled, but still upside down

The Anarchist’s Workbench is ~mostly~ assembled, but it is upside down. How can I, myself, and me get it turned right side up? Yeah, I’m a hermit that won’t ask a team of strangers to throw their backs out. I’m also an enginerd with a simple understanding of physics. Here we see the bench resting on a couple of offcuts at each end, placed there to facilitate removing the clamps I used as levers for flipping the benchtop over. (See previous post.) Its time to engineer a way to flip the entire bench.

photo of bench turnover - 1 of 4

My F150 pickup truck has a great scissors jack that, fortunately, never gets used. Now is the time. First step, use it to tip the bench 90 degrees. Actually, I just moved it off center enough that tipping could be done with about 60 pounds of effort / control.

photo of bench turnover - 2 of 4

Start jacking up the back side. This is where the offcuts come in. I built two stacks of them while raising the bench. They serve two purposes, as a safety in case of sliding off the jack, and you’ll see the other purpose in the next paragraph. BTW, little patches of rubber shelf liner under the legs keeps the bench from sliding on the super smooth coated floor.

photo of bench turnover - 3 of 4

Keep on jacking. As the reach of the jack extends, let the bench rest on those stacks of offcuts and put a few offcuts under the jack to give it more reach.

photo of bench turnover - 4 of 4

It didn’t need much more to reach another tipping point, where with only about 40 pounds of effort I tipped the bench over by hand and let it softly land upright.

photo of top of the bench being scrub planed

Call the donkey back for more planing. Here, flattening the top is partially done with a #5 scrub plane. Needs more….

Yet to be done:

  • Finish flattening the top. (done)
  • Saw off the ends. (done)
  • Drill 16 holes for holdfasts. Schwarz has a pattern in the book. (done)
  • Build a chop for the vise.
  • Install the Benchcrafted Crisscross vise that I brought with me when we moved.

Filed Under: Shopmade, Woodworking, workbench

0 Boards remaining

February 6, 2022 by Bob Easton 4 Comments

Three bundles of 6 boards each are ready. …almost. Those following my build of the Anarchist’s Workbench know what’s next; another glueup. Because this one is dealing with thick bundles of boards that have little flex, they need to come together without depending on clamps to close large gaps. Eliminate those gaps before gluing.

photo of #7 plane working on benchtop bundles

Steve Schuler, of The Literary Workshop Blog writes about liking lightweight planes. I do too. I do almost everything with a #5. Yet, for the first time in a dozen years I pulled out my big, 8 pound, 22 inch long, #7 to fine tune the mating surfaces of those 3 bundles. That Stanley #7 is a pre-WW2 era plane that I bought for working long boards used for boat building. Projects since then have been smaller and not warranted the extra length or weight. For this job, the weight is a bonus. Get that plane moving and it plows right through.

photo of full benchtop glued up and in clamps

I glued the bundles together with the top side uppermost so I could insure the top clamps closed everything up tight.

photo of rockers attached to the benchtop

Then… the next work needed to be done on the bottom. How does one person flip a 240 pound board over by himself? Rockers. Yep, I made a couple of rocker boards, screwed them to the back edge of the benchtop and used a couple of clamps as handles. Worked great!

photo of planes flattening the bottom of the benchtop

More donkey work. Down on the floor, I scrub planed the underside of the benchtop. No need for a fine surface here, scrub marks are OK. What was needed was a surface fine enough for marking leg mortises. With the undercarriage dry fitted together, I marked mortise positions using blue tape and a marking knife.

photo of drilling out mortise waste

Next, about lebenty-eight drilled holes, followed by chisel work, produced the mortises for the legs. All were drilled for drawboring and lots of pegs made from oak 5/8″ dowels.

photo of bench assembled, but still upside down

To afford “wiggle time,” I used Old Brown hide glue to glue up the undercarriage and then glued it to the benchtop. The mortises were snug enough to fit well, but loose enough to allow the 90 pound undercarriage to be wiggled into place. Lots of peg pounding brought all together. The only way it comes apart now is with a chainsaw. Can you spot the one assembly error I made?

Tomorrow, I’ll show how one person turns a 325 pound bench over without strain … and without cracking sounds (wood or bone).

Filed Under: Shopmade, Woodworking, workbench

  • « Go to Previous Page
  • Page 1
  • Page 2
  • Page 3
  • Page 4
  • Interim pages omitted …
  • Page 128
  • Go to Next Page »

Primary Sidebar

Footer

Recent Posts

  • New Frame Saw / Scroll Saw
  • Lamppost Sign
  • Goodbye PayPal – Goodbye Bob’s eBooks
  • Anarchist’s Workbench is Done
  • Why we keep offcuts…

Categories

  • About
  • Artwork
  • Boatbuilding
  • Boating
  • bowl carving
  • Boxmaking
  • Clocks
  • Drawings
  • eBook
  • etude
  • Eva Too
  • Eva Won
  • Fiddlehead
  • Fiddlehead model
  • Flying
  • frame saw
  • gilding
  • green woodworking
  • Grinling Gibbons
  • Guns
  • Hand tools
  • Humor
  • kerfing plane
  • Lettercarving
  • Mill Creek 13
  • Model building
  • Power tools
  • Rant
  • resawing
  • scroll saw
  • Shopmade
  • sign painting
  • Stonework
  • Swimming
  • Technology
  • The Wall
  • treadle lathe
  • Uncategorized
  • VSD
  • Woodcarving
  • Woodturning
  • Woodworking
  • workbench

Other stuff

  • About
  • Contact
  • Privacy Policy

Copyright ©2024 · Bob Easton · All Rights Reserved