Gratitude: Matthew Bickford’s book
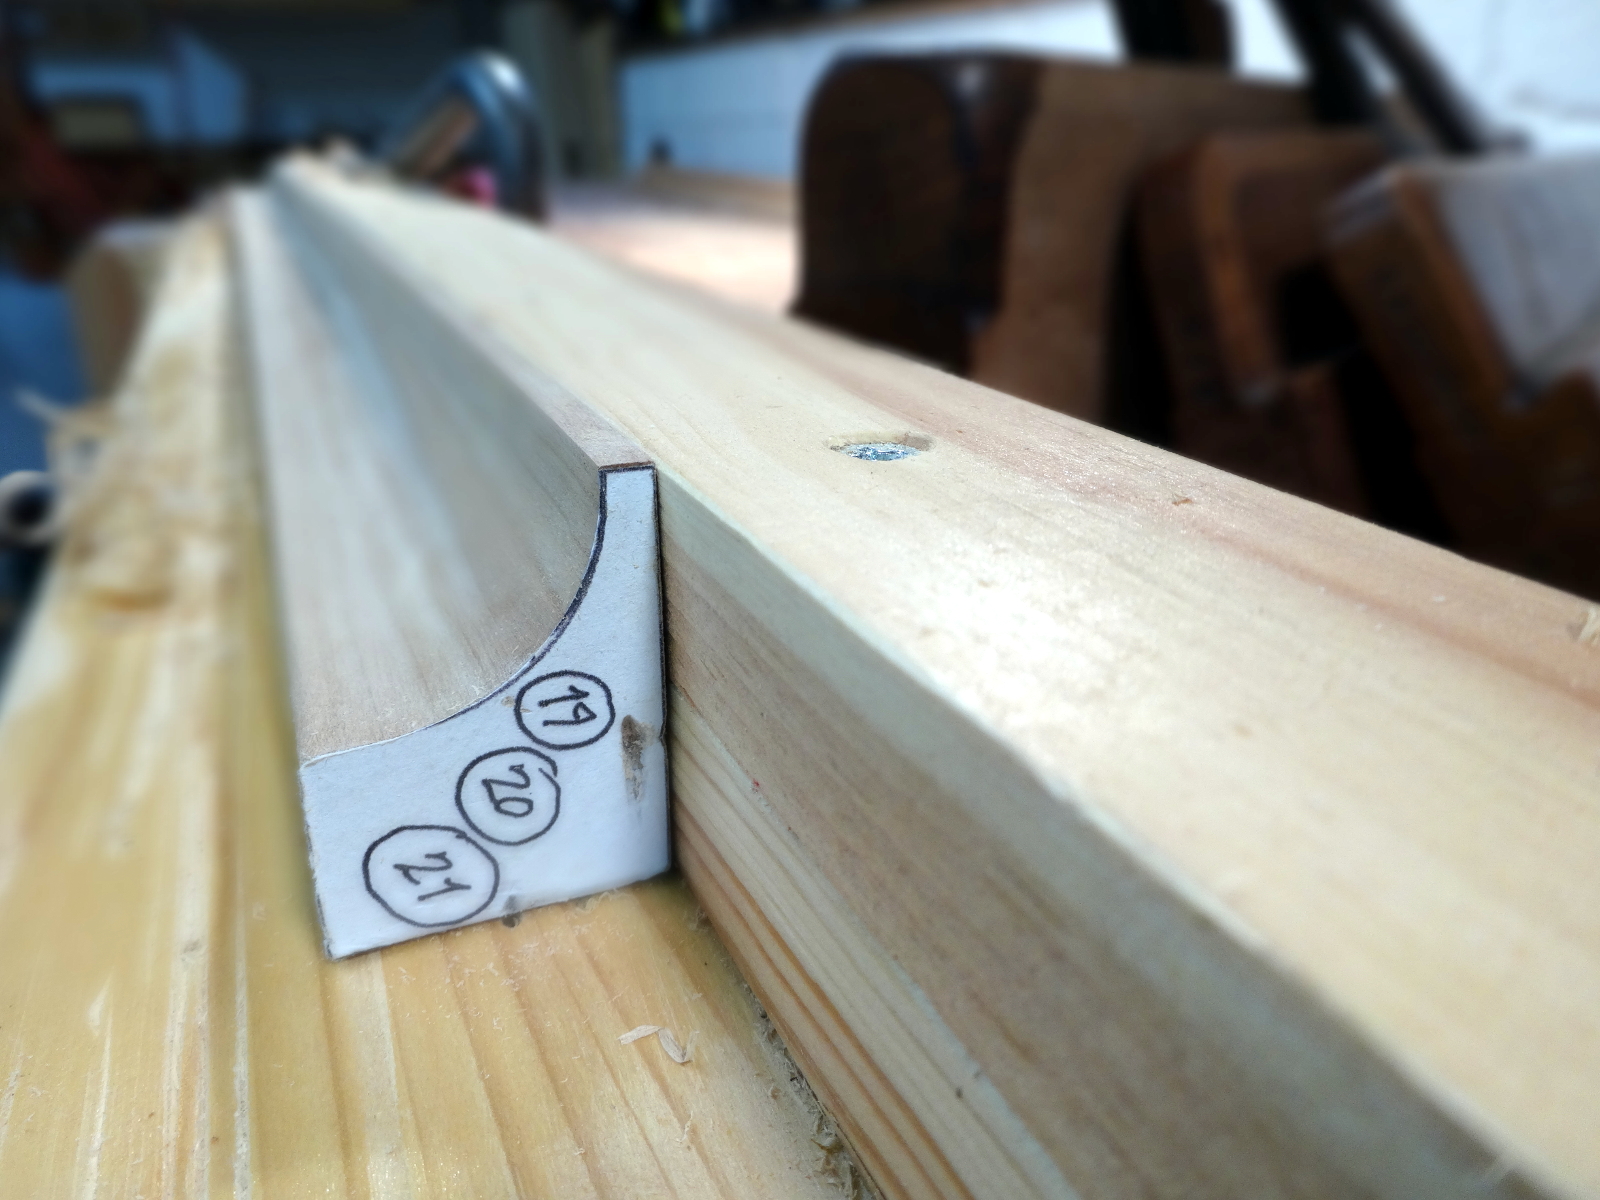
The last mouldings to be shaped are only two sticks. Neither is particularly difficult. Yet both have 90° coves. Matthew advocates the technique of using a rabbet to hog out waste and maybe more importantly provide some “guide rails” for easy control of the round plane. His suggestion is to make a rabbet with arrises about 5/8 the width of the plane. That works for coves up to about 60°. For coves larger than 60°, he suggests using two (or more) rabbets.
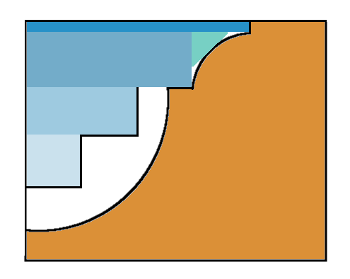
Taking a queue from the way Matthew illustrates the techniques, here are two illustrations showing the rabbet cutting schedule that removes most of the waste before reaching for a moulding plane. Brown shows the desired profile. The blues show the rabbets. There’s a turquoise pass that leaves a chamfer to guide a small hollow plane. White shows the work left for the moulding planes; not much; saves frequent sharpening.

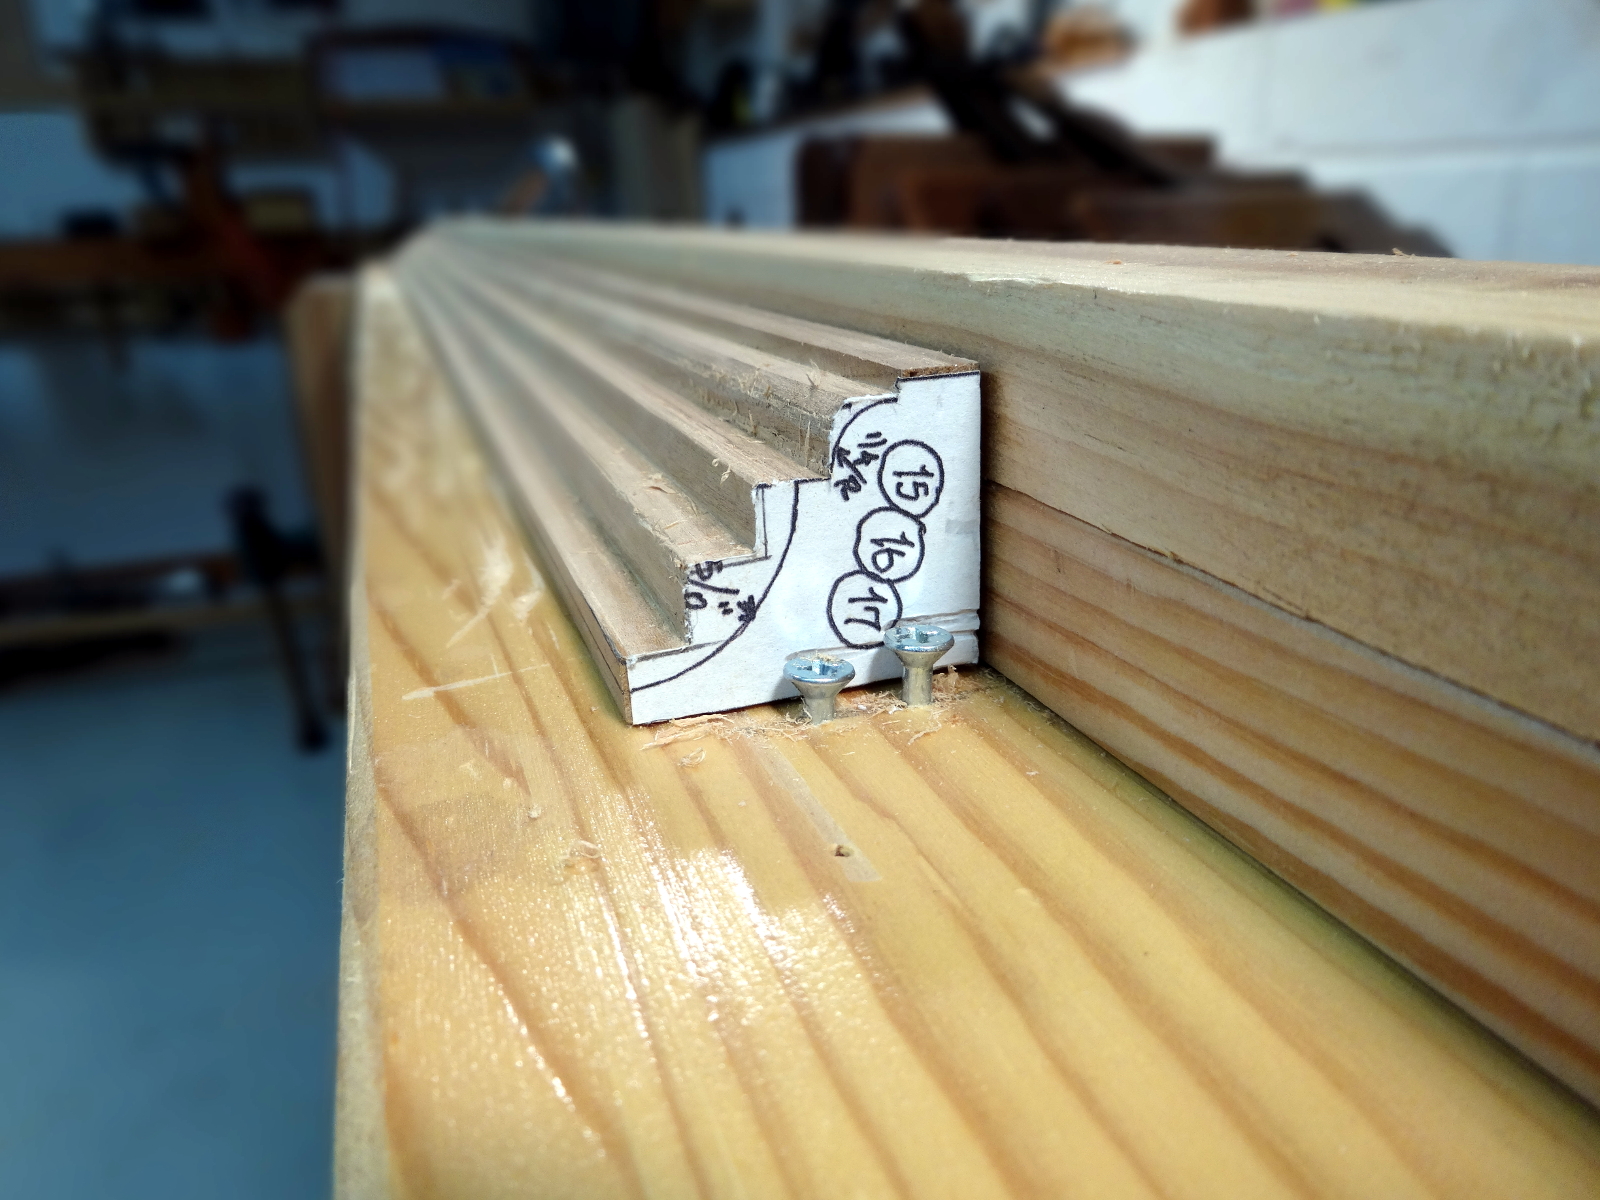
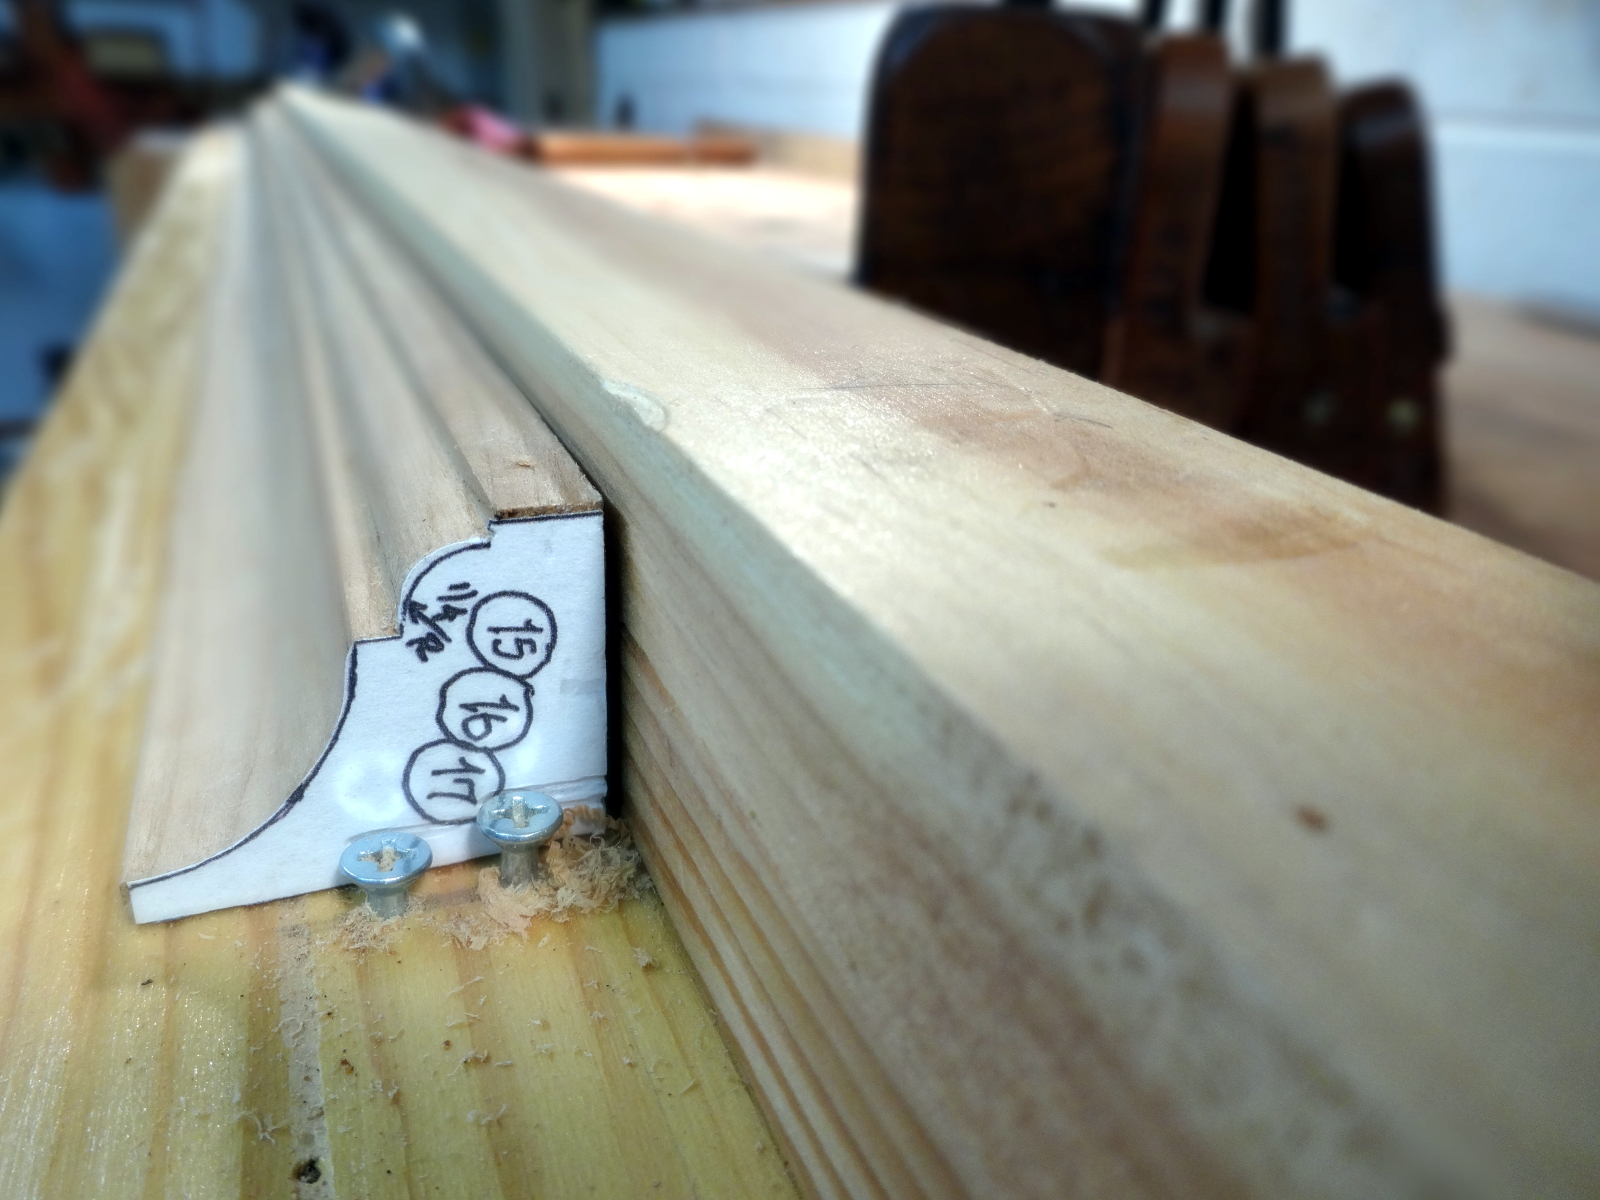
It worked out very well. The simpler profile calls for a 3/4 inch radius, which in a perfect world would be shaped with a #12 round. The closest I have in my mongrel set is a #11, which worked out OK. The other profile wants a 5/8 inch radius cove, which would be a #10. My closest choice was a #9, and it too worked out well. The bead is 1/4 inch radius and I actually have a #4 hollow which did the job amazingly quick.
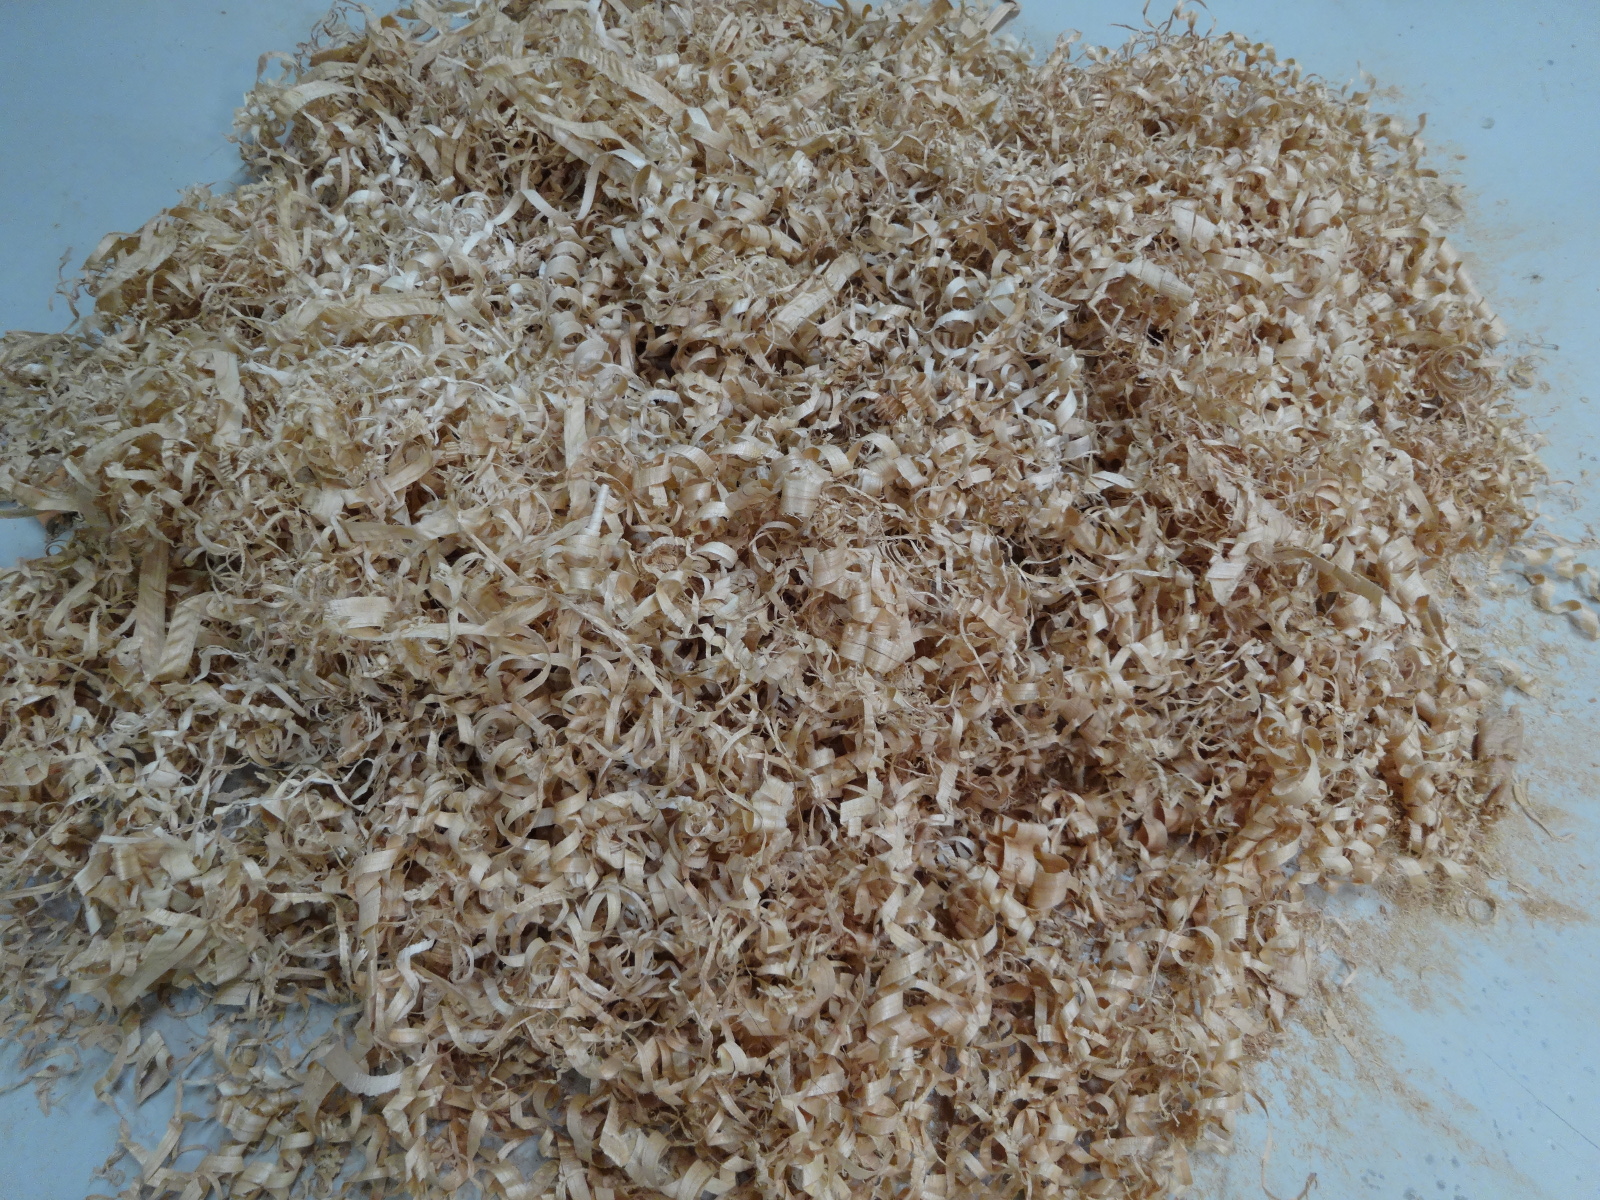
Planes used include a snipes-bill, which I have really come to enjoy as a starter for the rabbets, my ancient wooden rabbet plane, a #9 round, #11 round, and #4 hollow. A few short minutes to sharpen the collection before starting made this work very enjoyable and left me a pile of gorgeous shavings.
Next is to cut these and assemble two beautiful stacks of mouldings.
Didn’t get much further because I stopped to build one of these:

… and to write a book review about Mary May’s new book.
Other articles in this series…
- Regulator Clock – Done
- Regulator Clock – Woodworking completed
- Regulator Clock – Scratching the frames
- Regulator Clock – Door Hinged
- Regulator Clock – Case Dry Fitted
- Regulator Clock – Jelly Side Down
- Regulator Clock – Case Frames – 2
- Regulator Clock – Glass – 2
- Regulator Clock – Case Frames – 1
- Regulator Clock – The Works work
- Regulator Clock – Glass
- Regulator Clock – Tongue & Groove planes
- Regulator Clock – Completed Mouldings
- Regulator Clock – Stick Mouldings
- Regulator Clock – Plate Mouldings
- Regulator Clock – Egg and Dart Moulding
- Regulator Clock – Eat Dessert First
- Regulator Clock – original description
- Regulator Clock – Stock Prep
- Regulator Clock – Plans for Moldings
- Taming the Rabbet
Nicely done, Bob. I can really appreciate the moulding process now.
Thanks Matt!
Keep havin’ fun.
Your mouldings are great sir ! One question ( forgive me if it’s dumb, I’m new to mouldings by hand ! )
When cutting the rabbets, which rabbet do you cut first, the one closest to edge and work in or work progressively downwards ?
Great question Rich! Not at all dumb. Sequence is sometimes important.
I don’t think there is a correct answer. I’ve tried both ways, and both work. Yet, I have come to prefer starting with the rabbet farthest from the edge. Very often, that one is a critical shadow line that needs to be crisp. I like to do it first because that’s when I’ll be most attentive and careful. If attention strays and I get sloppy, the damage will be less on one of the other rabbets. Then, I work outward and down.
Ah I see, good logic starting with the most critical shadow line. That’s a nice tip. Thanks for the prompt and helpful reply Bob.
Rich