 My path to woodworking was through the door labeled “boat building.” That led me to make a wonderful 12 foot long English Bench. It’s length and the ability to hold long boat boards on the face aprons made it perfect for that kind of work. It’s been great in every way except one.
The leg vise has always been a compromise. The angle looks interesting, but keeps it just enough off balance as to operate poorly. Over time it has become less effective at holding work, leading me to “speaking in tongues” almost every time I use it. The real problem is the leg construction, laminated, with a half-lap in the middle. As the construction grade lumber aged, dried over the years, and grew brittle, that leg didn’t hold up well. An attempt to bolster it with extra screws didn’t help much, and taking it out of the bench to rebuild it was more than I’m willing to do. Time for a change!
St. Peter’s Cross
How about a BenchCrafted Crisscross? They are beautiful machines, a pair of Archimedes levers ingeniously used. Retrofit, or build new? Retrofitting to an angled leg that was already weak was out of the question. Make a new leg and graft it onto the bench. I decided to re-use the existing vise screw and ordered only the Crisscross hardware. Still using construction lumber, I built the leg up with three laminations, and the chop with two. Hand chopping the mortises for the hardware took the most time. Those mortises are conveniently specified to be just less than the thickness of one board. So, I chopped then completely through individual boards before gluing up, and then planed the faces to provide the exact mortise depth: 1-7/16 inch.
Knot Nice!
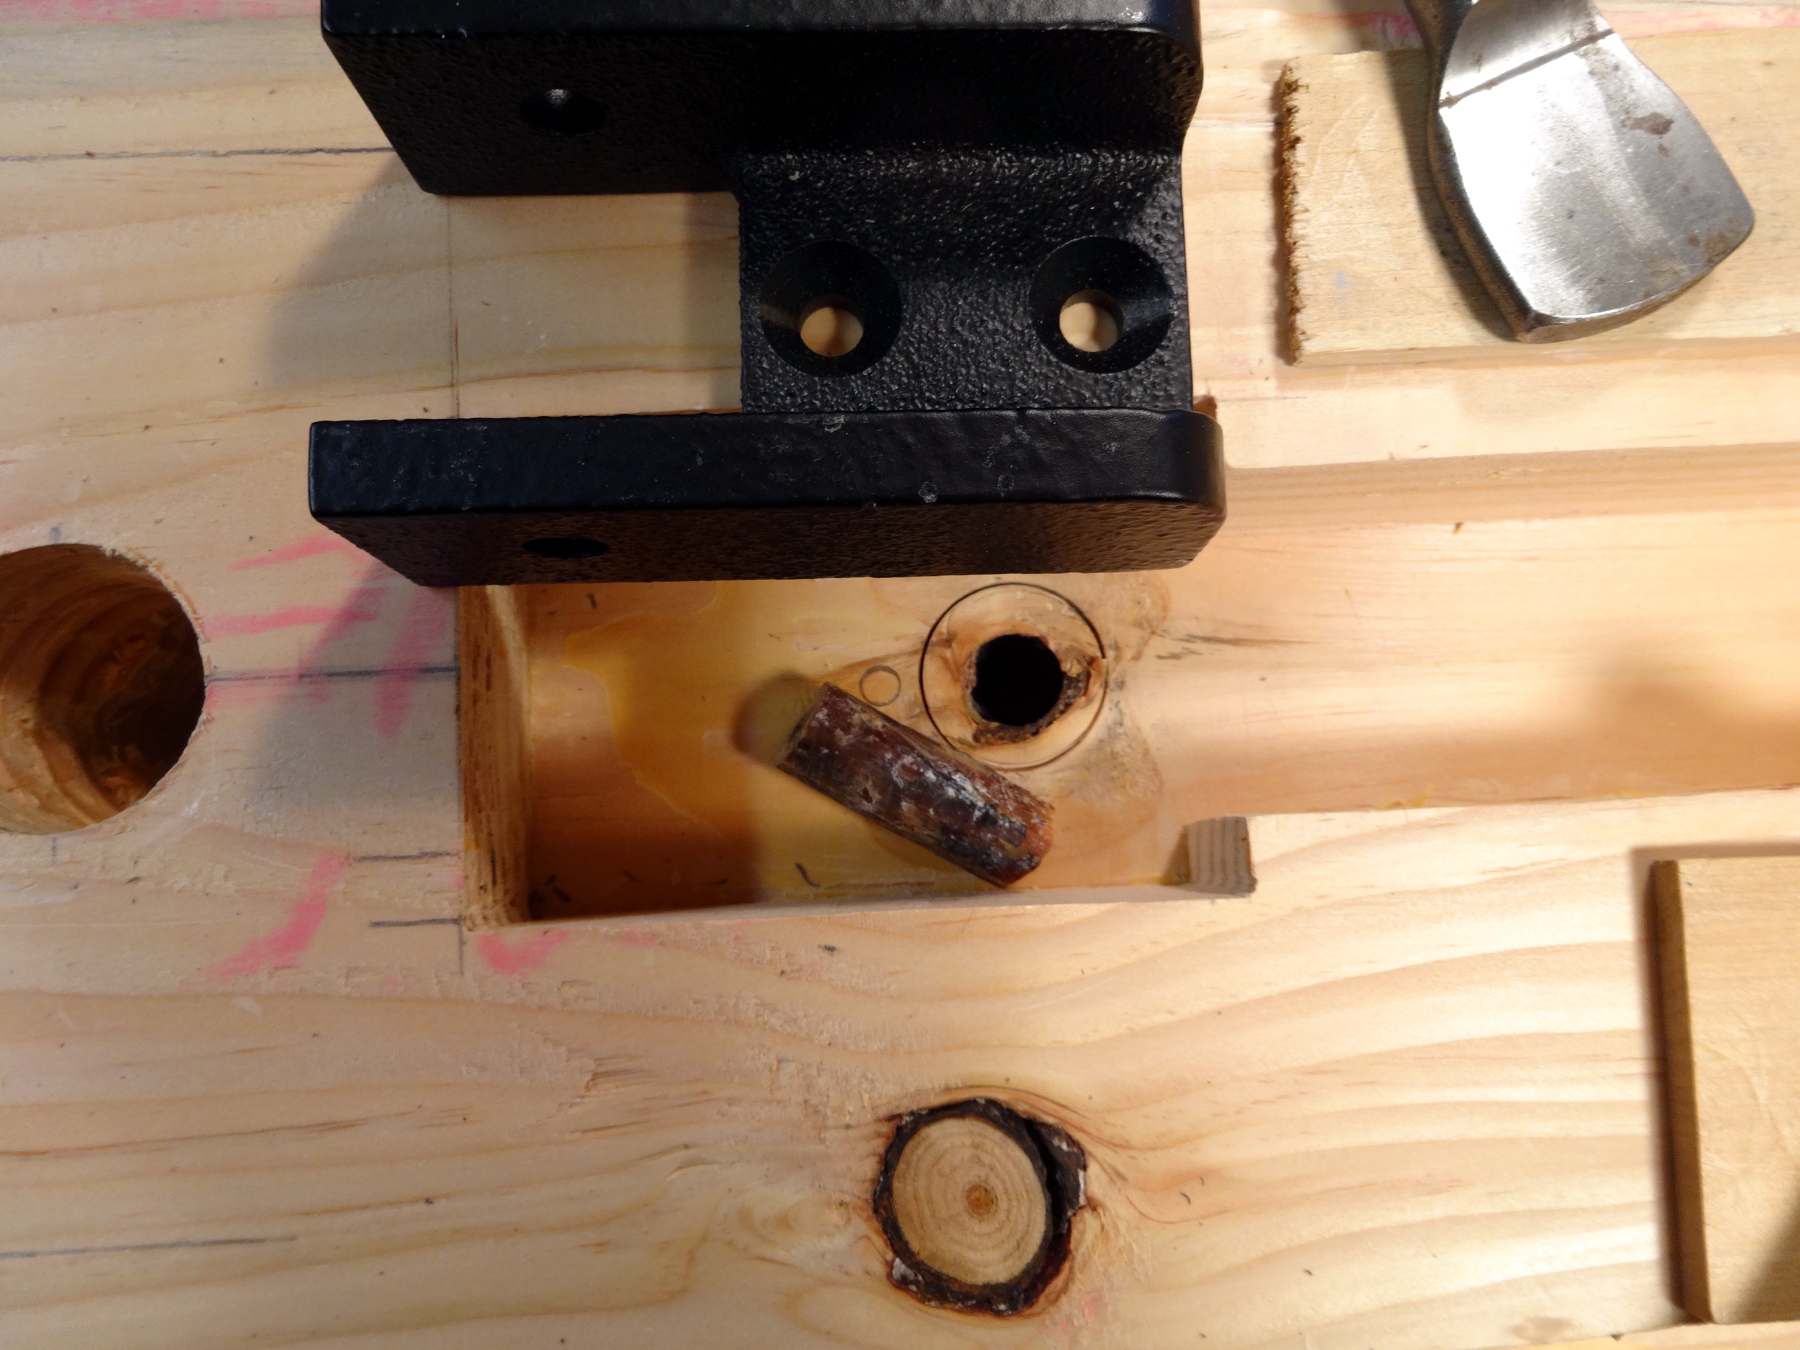 My hardware choice (The “Retro” kit) uses iron blocks to hold the pins at the top of the cross. These blocks are screwed into the mortise with 5/16″ x 18 screws. In laying out the outer board of the chop, I ignored a knot that I thought was inconsequential. Guess where that knot ended up. Yep, right where one of those screws belong. Slight delay to the program in progress… Chop out the damaged area. Cut a plug with the jigsaw, fit, glue and continue.
The New Crisscross
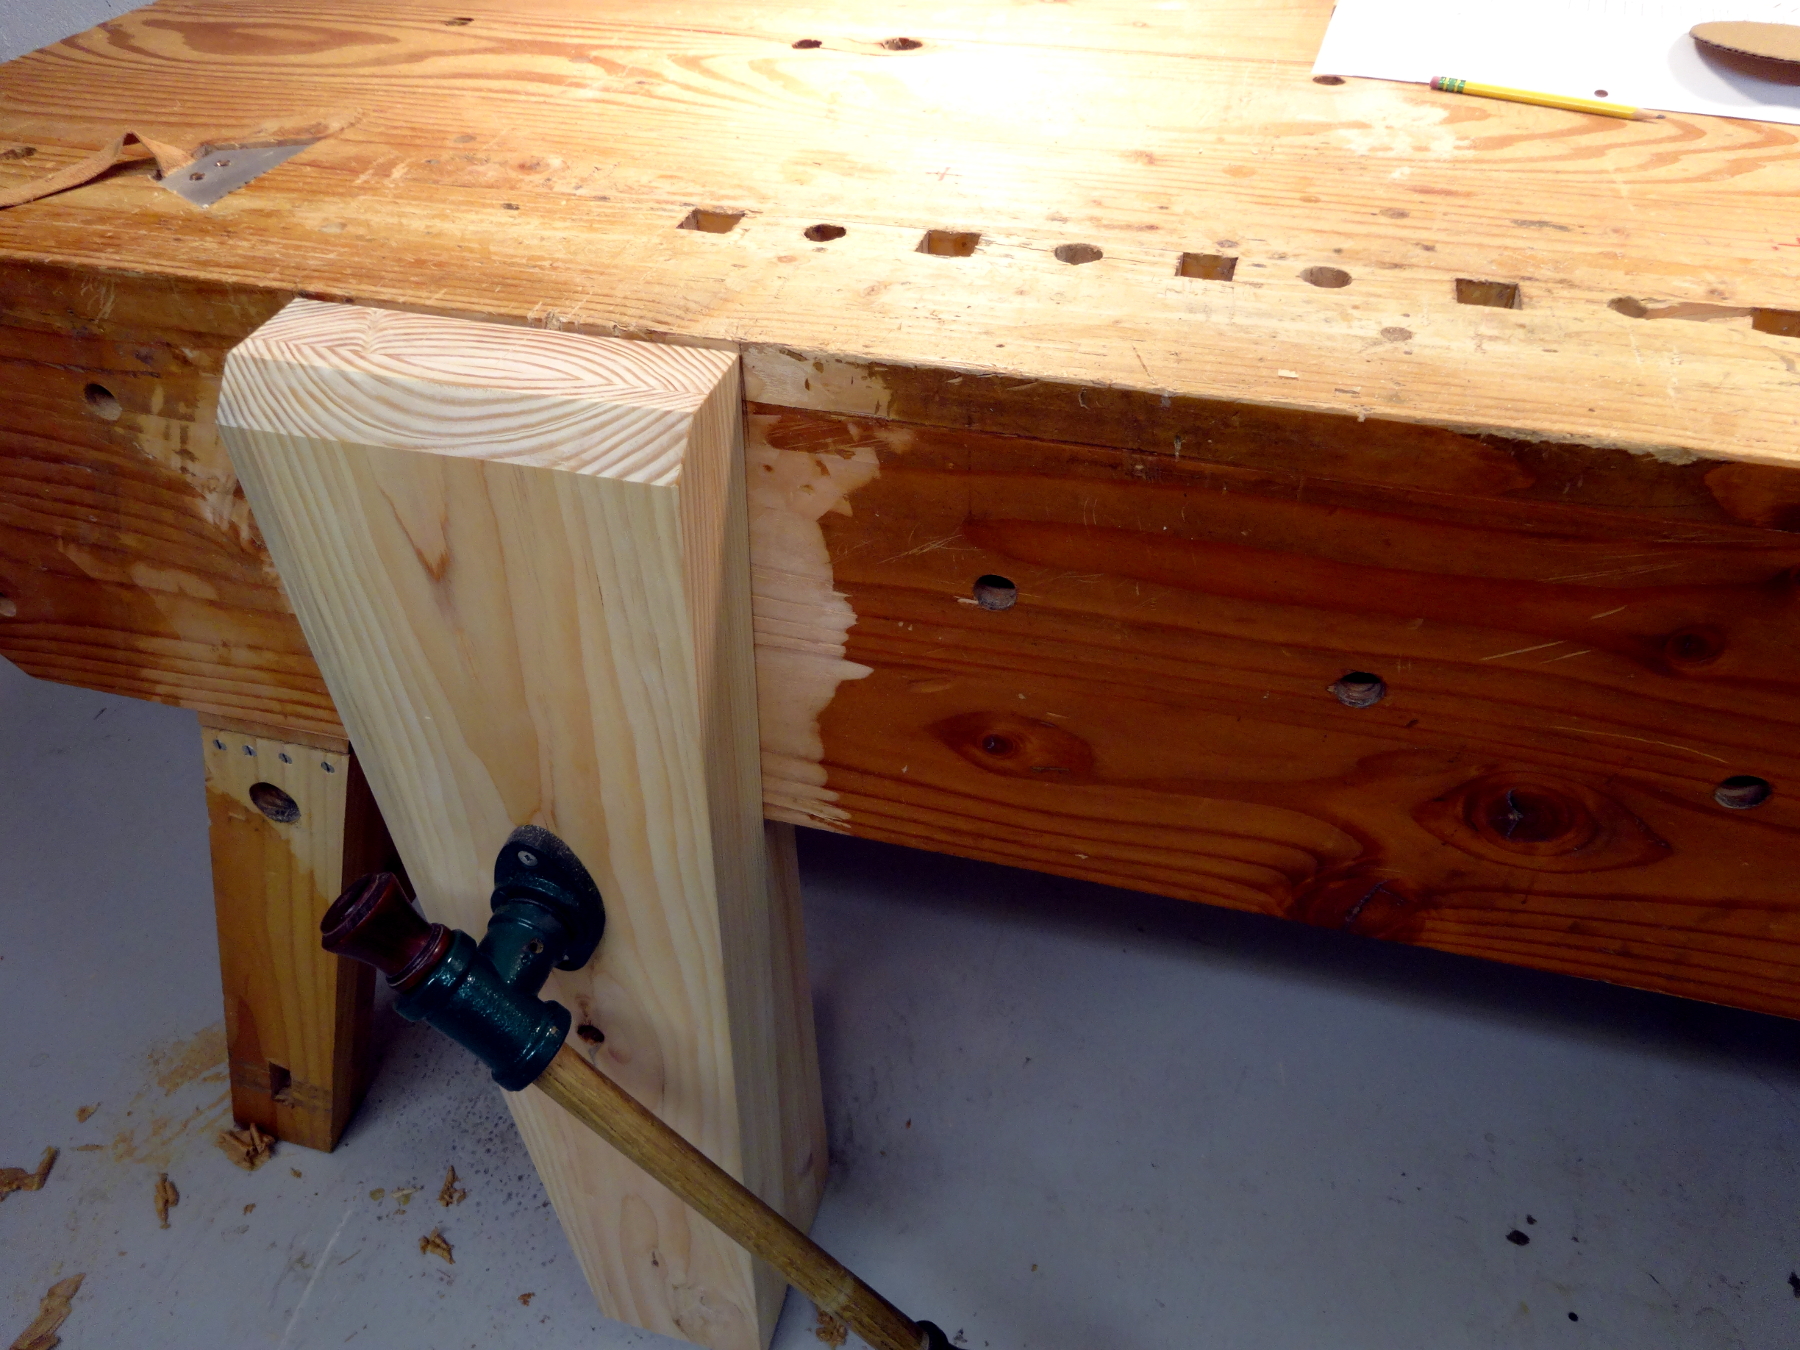
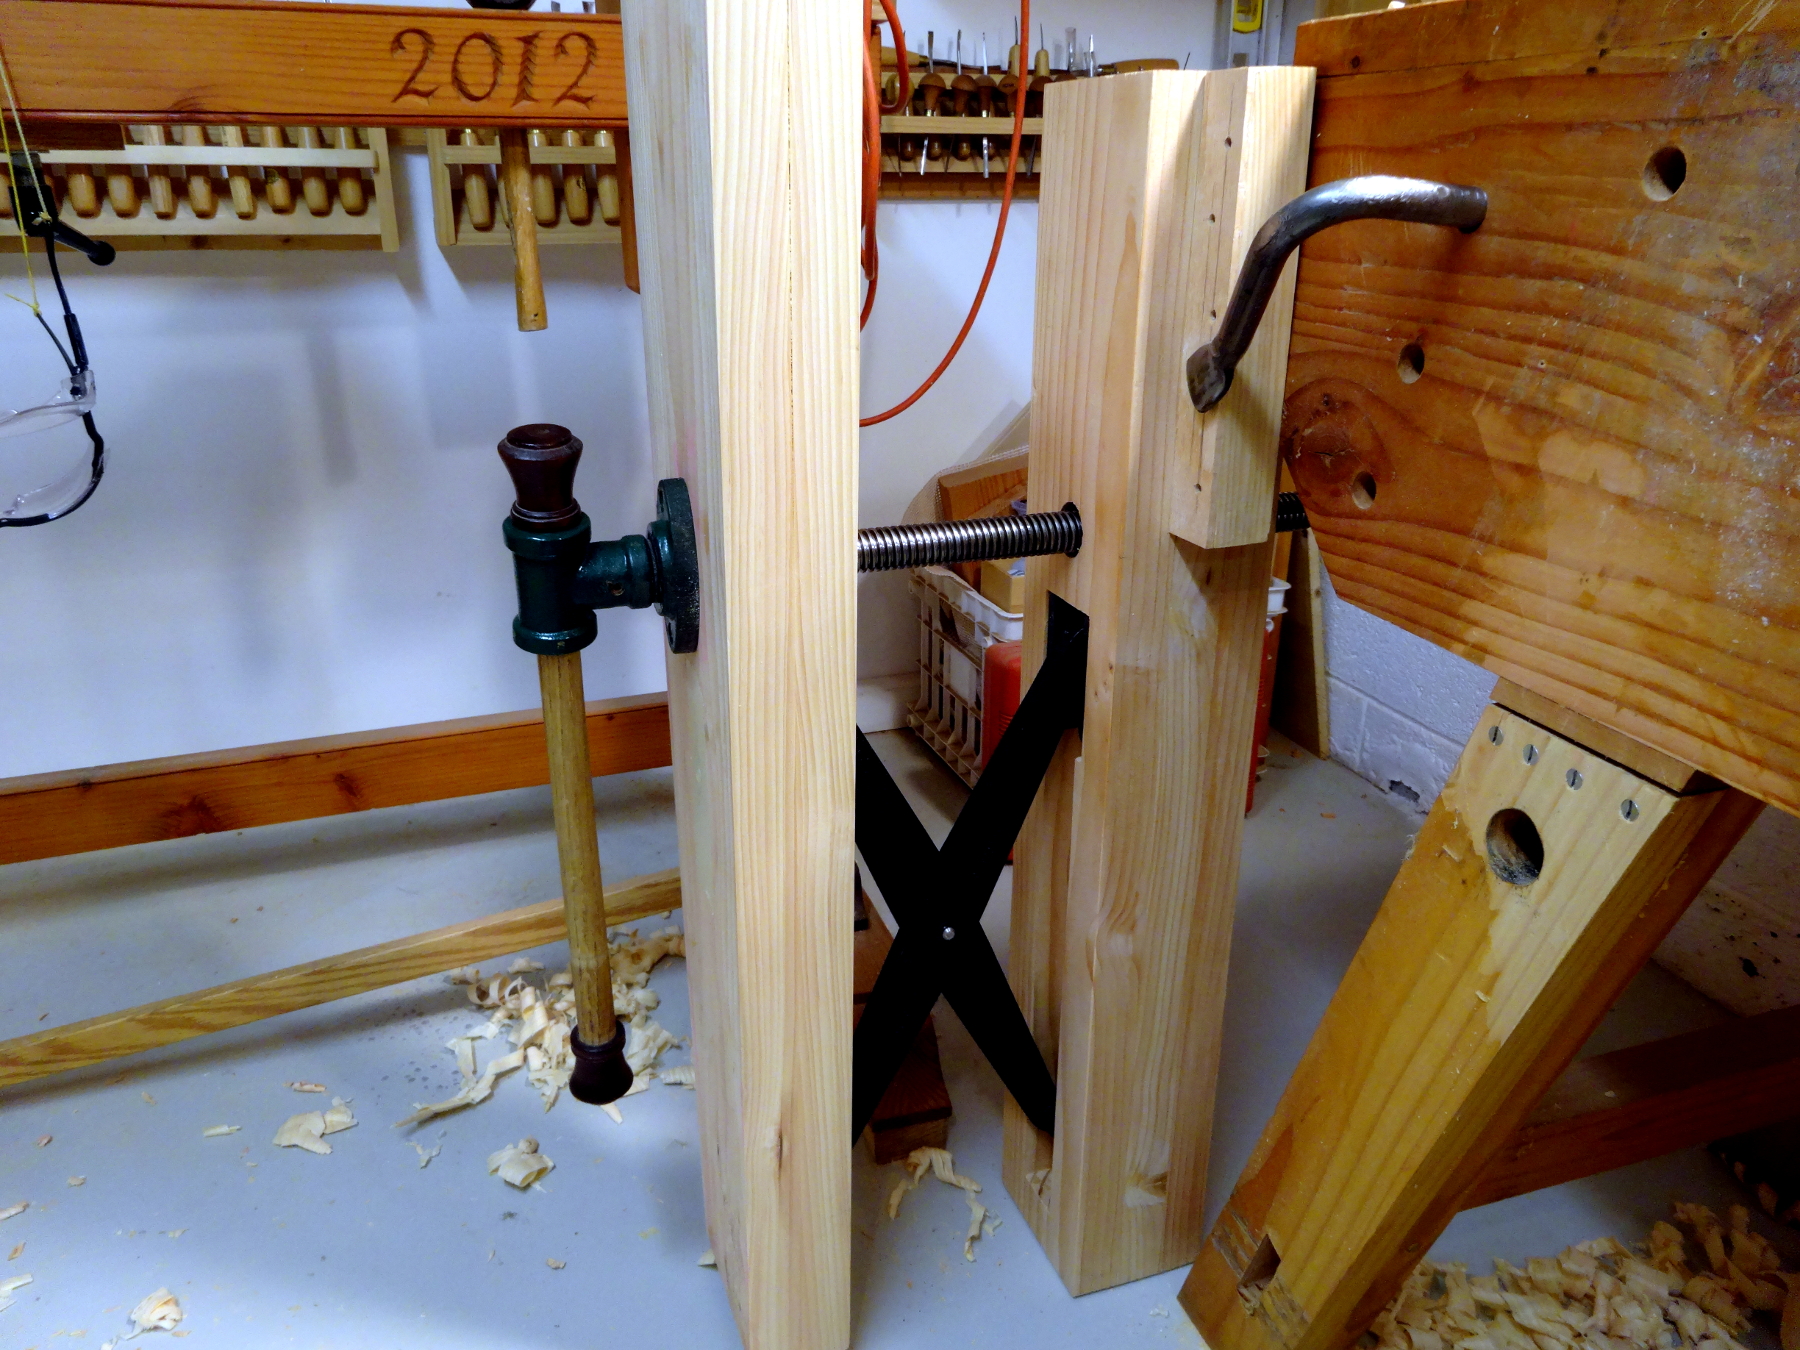 This one is not going to bend or flex! The leg is 5-1/2 inches wide, by 4-3/8 inches thick (3 laminations). The chop is 8-1/2 inches wide at the top, by 2-7/8 inches thick. The complete assembly weighs in at 48 pounds, adding a fair bit of substance to a bench that already weighs over 300 pounds. Fitting it to the bench requires cutting away part of the existing apron, chopping out some of the well worn “doubling strip” below the dog holes, and bolting it into position. You’ll see that I left “ears” on the center lamination for bolting with 1/4 inch bolts. A nearby photo shows the vise being tested before starting to modify the bench.
 BenchCrafted is well known for precision. The instructions for the Crisscross note that it has a built-in toe-in of about 1/8 of an inch, easily achieved “by a careful craftsman.” I must be careful, because mine came out at exactly 1/8 inch. The top of the chop meets the top of the vise, leaving a 1/8 inch gap at the bottom of the chop. Perfect! And, there’s no longer a parallel guide to adjust. The chop wobbles a little as the vise operates, and that wobble is entirely due to the tolerances of the screw. The crisscross arms carry the weight of the chop as though it were weightless.
Mine runs as smoothly as in BenchCrafted’s video. Smooth operator!
 OK. Let’s put it in the bench. Getting the bench turned over is very easy. It is very top heavy, built to take a fall, and only needs to be moved past a tipping point. It needed about a 60 pound dead lift to get it moving. And yes, finessing one of the legs as a lever [Thanks Archimedes!] it landed semi-softly. While on its back, I laid out the knife lines for cutting the apron, drilled holes along the top of the piece to be removed, cut and extracted the piece. A bit of chiseling left a clean opening.
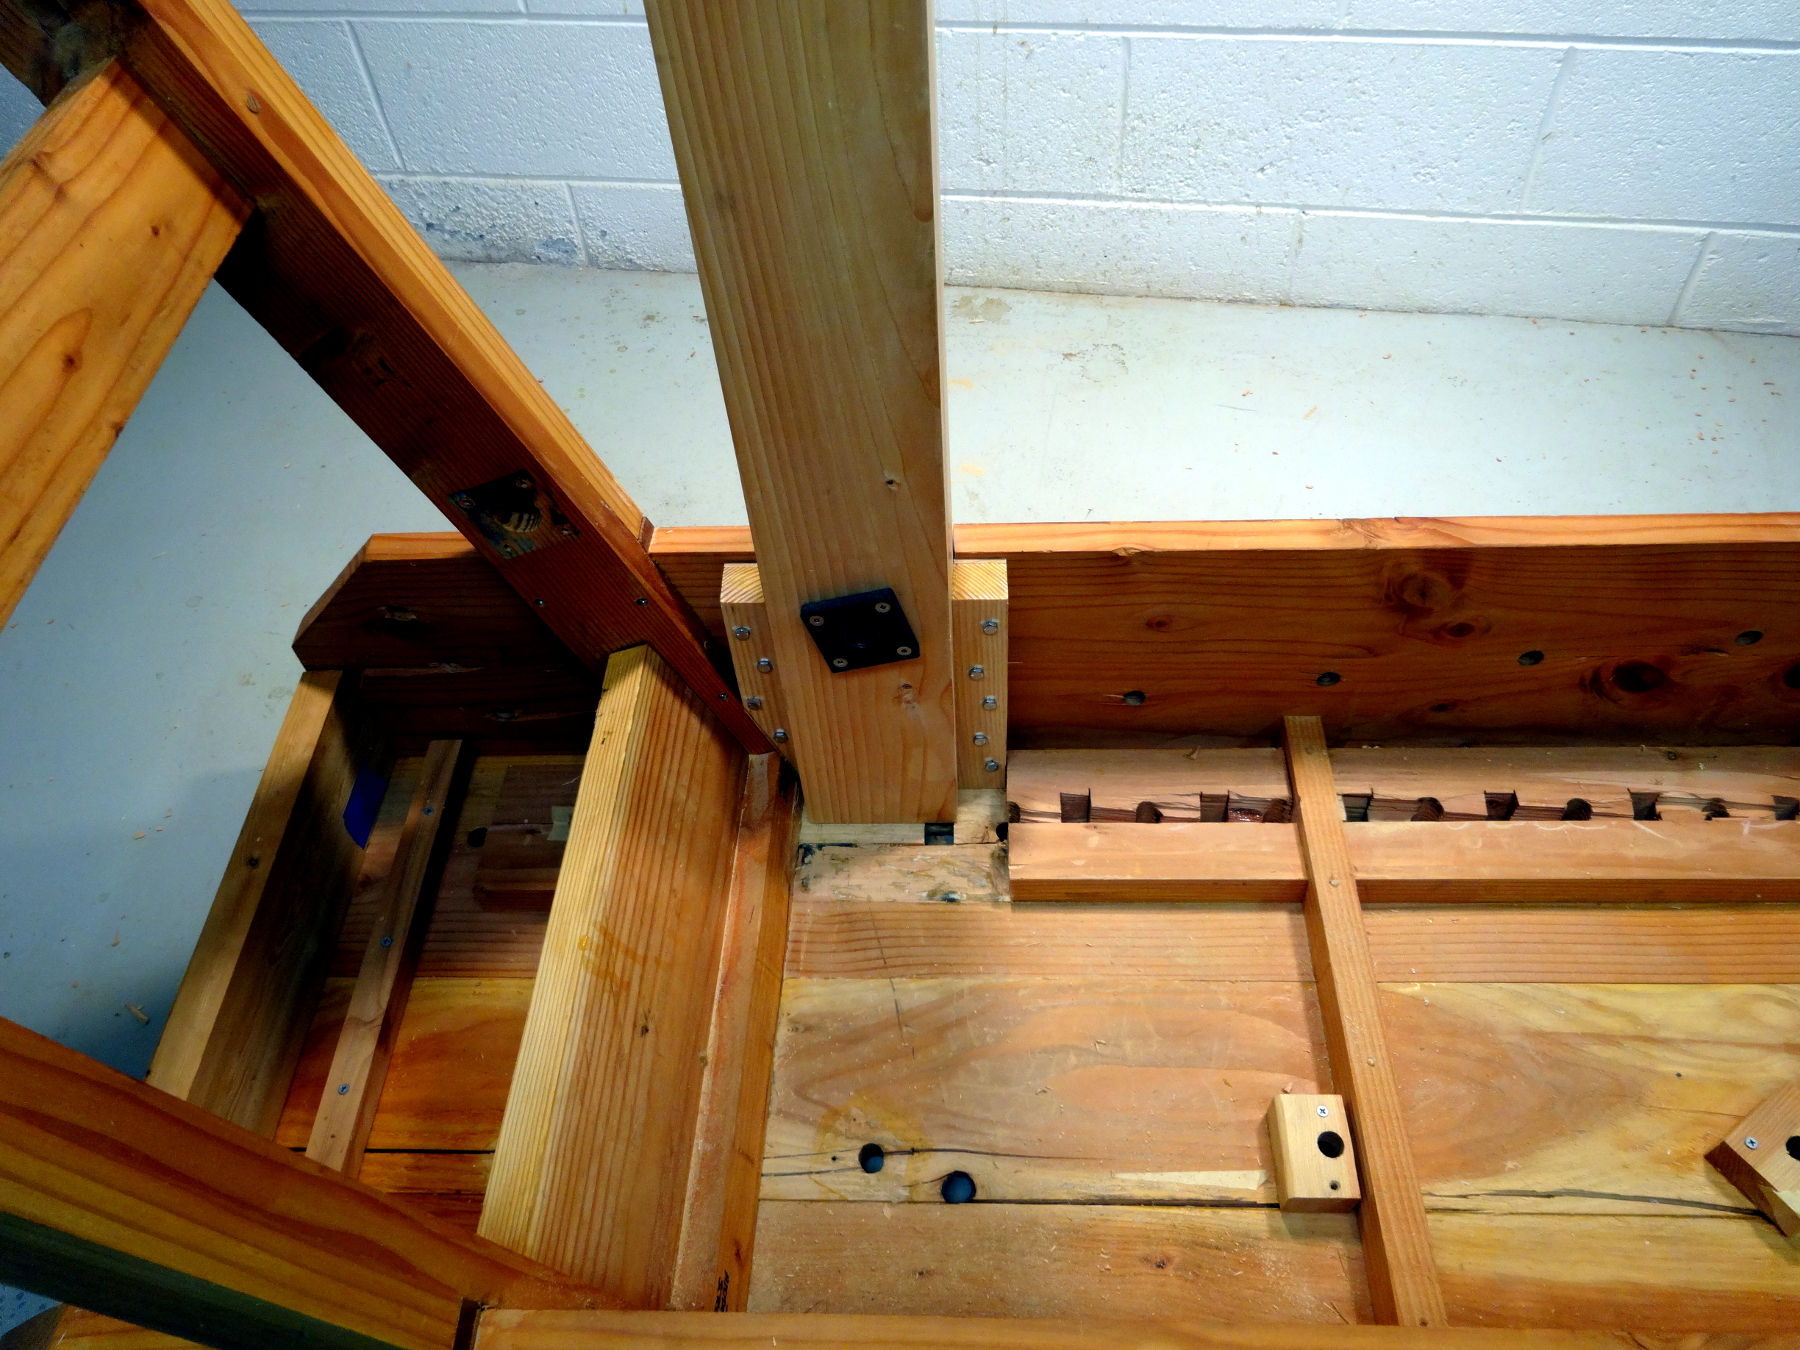
Tipping it completely upside down was again easy; only 50-60 pounds of effort needed. There are “doubling strips” under the original bench top. They show a hard life, but this job is not about repairing them. Just chop out enough to make room for the vise. Clean up the excavation and bolt it in.
Thank You Archimedes
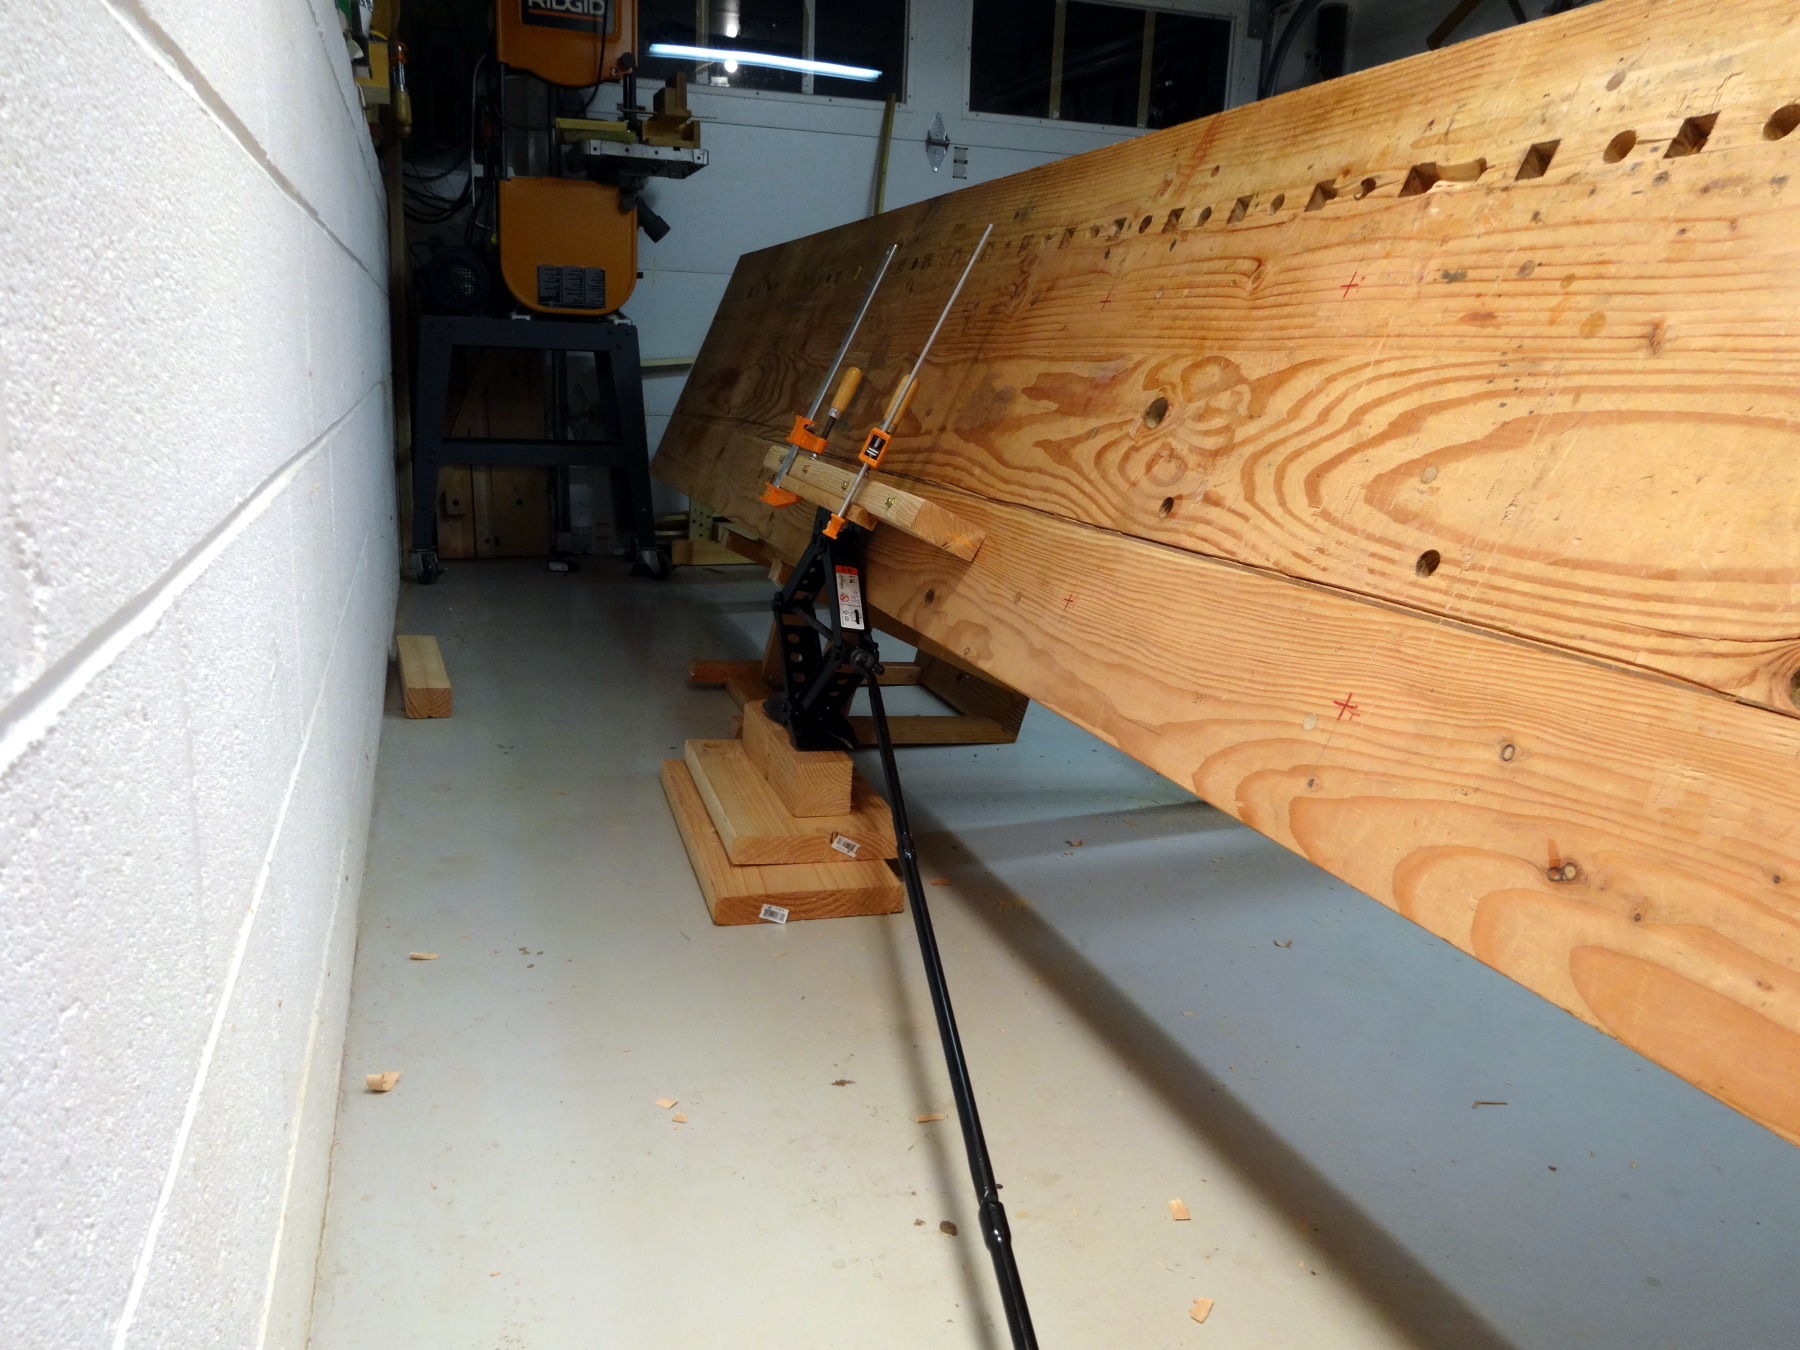
OK. Now we have about 350 pounds of top heavy bench that needs to be righted. At age 73, I can dead lift about 90 pounds. That’s not enough to get the job done. Maybe a few friends? Naw, why ask friends to risk their backs (even if I had 3 or 4 friends). Good ideas often arrive while sleeping. I slept on it. Then, I went out and extracted a very fine scissor jack from my F-150 truck. I bolted a length of 2×4 onto the center of the bench top and then clamped a cleat to the edge of the 2×4 as a way of trapping the top pad of the jack.
 The process was a simple matter of these steps:
- Crank up the jack. (Very little effort needed.)
- Put something under the bench to support it. (various boards, my saw benches turned on their sides, etc.)
- Lower the jack.
- Put some “shoring” boards under the jack.
- Repeat…
Once the bench was within a few degrees of a tipping point, a long board used as a lever took it the rest of the way. Perfect, and it didn’t strain any of my friends’ backs.
Completing the build
First, check the height of the leg. I aimed for it to be just right, or at worst a slight bit less than needed. It is sitting on a typical garage concrete floor at the place I’ve always positioned the bench. I can slide a piece of paper under the front edge of the leg, for about 3/4 of an inch; no gap anywhere else. Perfect! Good planing.
What next? Complete the chop. I cut the chop to about 1/8 inch shy of the top of the bench, and then completed shaping it, rounding hard edges, etc. The last bit of fine fitting was to plane the apron area around the vice. There was a slight hump there; all flat now. In addition to gaining smooth operation and strong holding power, I also gained capacity. This particular combination of screw and scissors gives a capacity of 11-1/2 inches, more than I’ve ever used.
This vise is fantastic! I tested it with a variety of work pieces and operations. No slippage … PERIOD! Things stay where I want them!
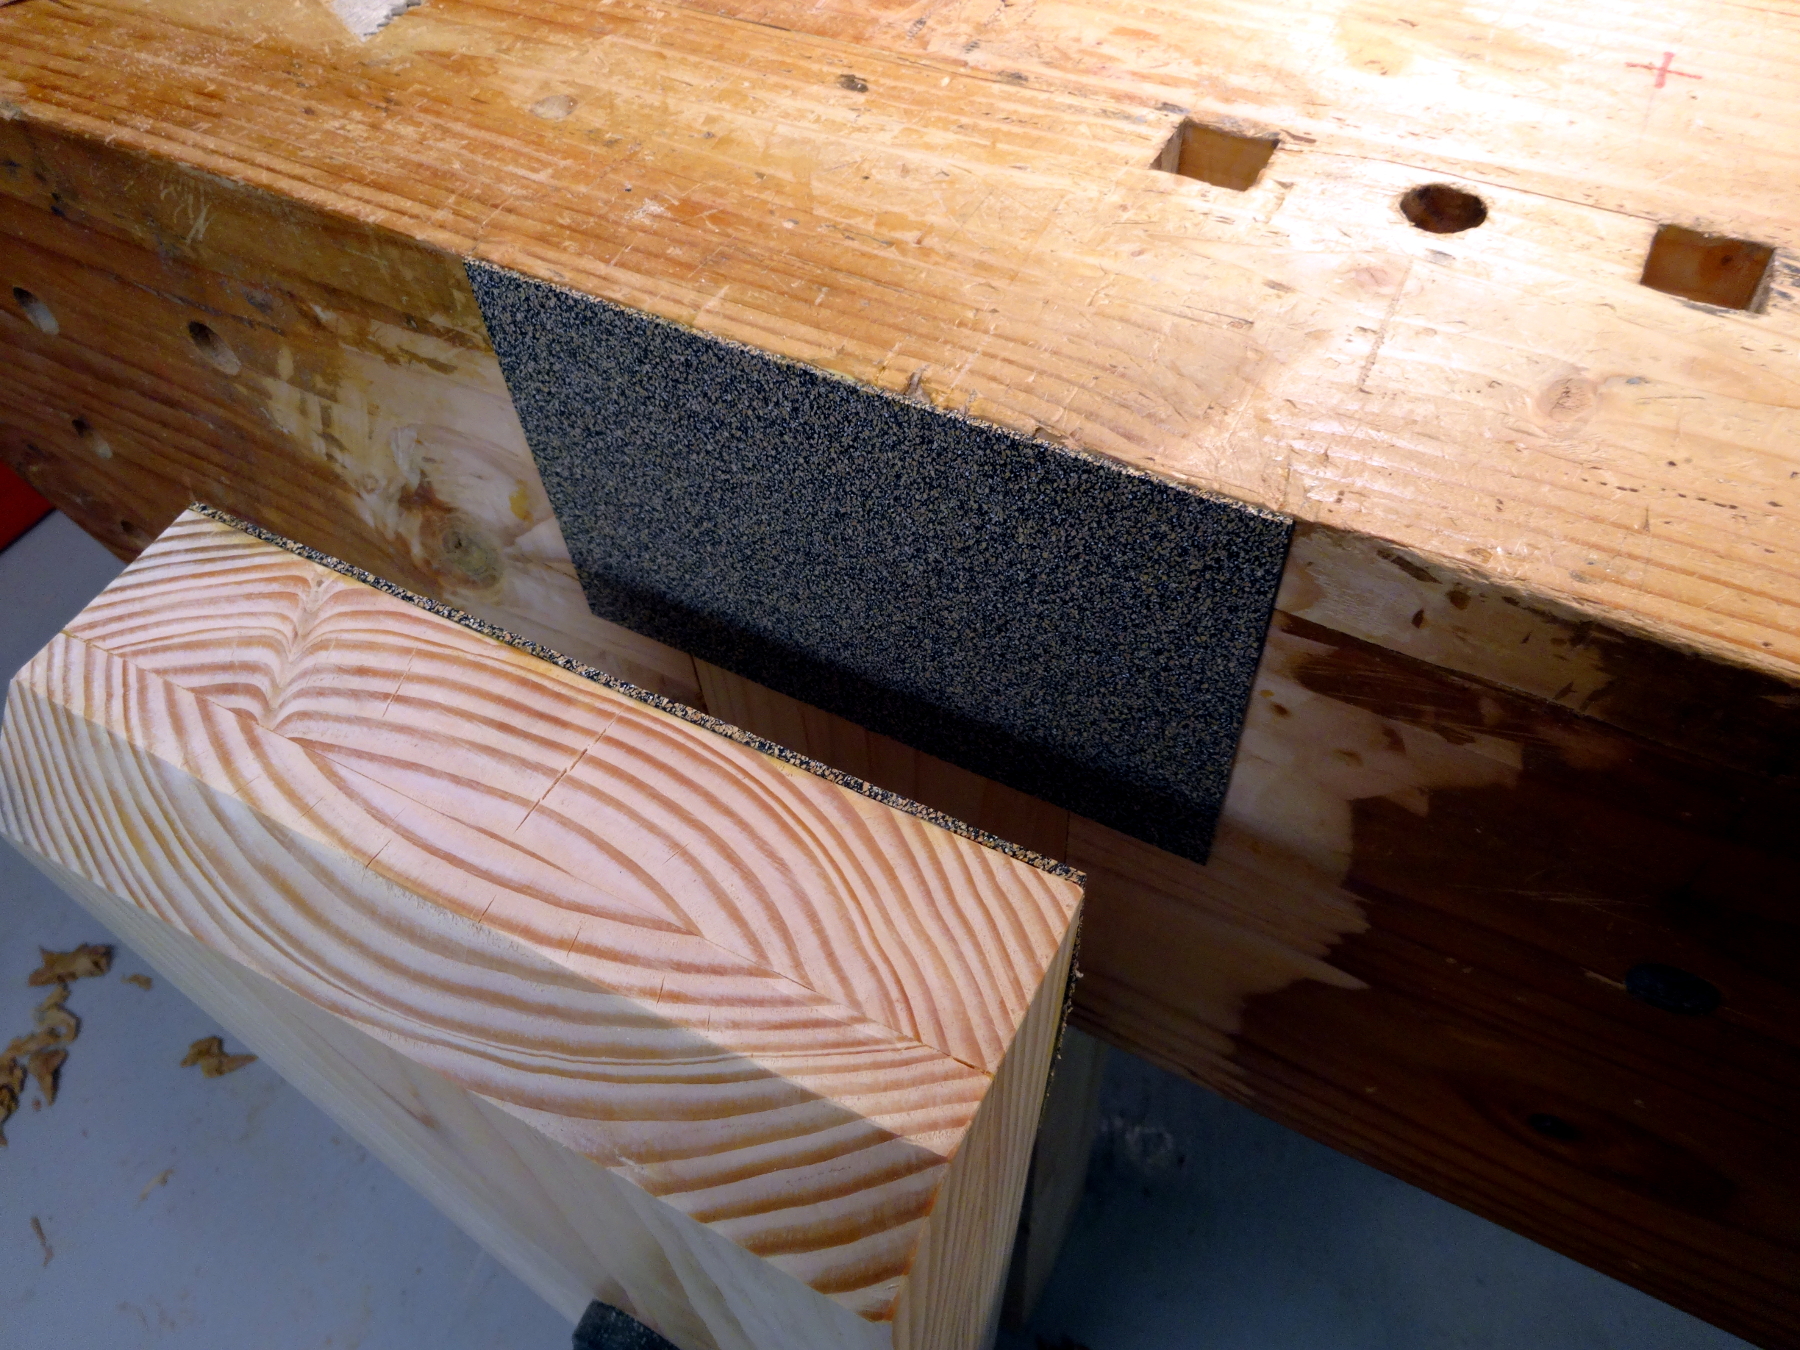
Lastly, making it even better are pads of “Crubber,” a blend of cork and rubber that makes the jaws really “grippy.”
If you are considering a vise upgrade, I’m sure you’ll be pleased with the BenchCrafted Crisscross.

Great report!
And with all that hard work you saved a lot of money in the heating system… lol
I just wish, if I ever get to your age, and still be a “though as nails grumpy pops”
Happy holidays!
Cheers
Thanks Antonio!
Merry Christmas to you and your family!
Nicely done on the retrofit Bob! I have heard only good things about the Benchcrafted products. Enjoy!
Is that an OSHA approved bench flipping method? LOL
🙂 Oh yeah, I always keep OSHA informed. 🙂
Merry Christmas Greg and family.
Wow. That looks great. Thanks for sharing. I’ve been reading along since you first built that bench. You made me realize I could use big box pine to make a great bench. Thank you. Keep up the great work.
Chris from Florida
Yeah, the original bench never did look like it boardroom furniture, but it has served incredibly well and I don’t cry when it gets dinged.
If I were to do anything different, it would be to us one thick strip of hardwood for that row of dog holes. Over time, some of them have broken up a lot. Other than that, no regrets!
You’ll be happy to get building and have a fine bench for building other beautiful things.
Good upgrade, Bob. Merry Christmas!
Thanks Derek.
Merry Christmas!
Nicely done, Bob. I’m certain you’ll never regret doing this. Having a vise that holds properly every time is so key. Good Holiday to you!
Hi Matt. Thanks!
Merry Christmas!
what “lumber yard” wood did you make the chop out of?
I’m thinking of using fir. Too soft maybe?
Hello Will,
Plain ole construction lumber. In some parts of the country fir, or marked SPF, in other parts southern yellow pine, SYP.
Yes, still softwood but plenty stiff enough when doubled up. Don’t forget the crubber. That’s where the holding power is.