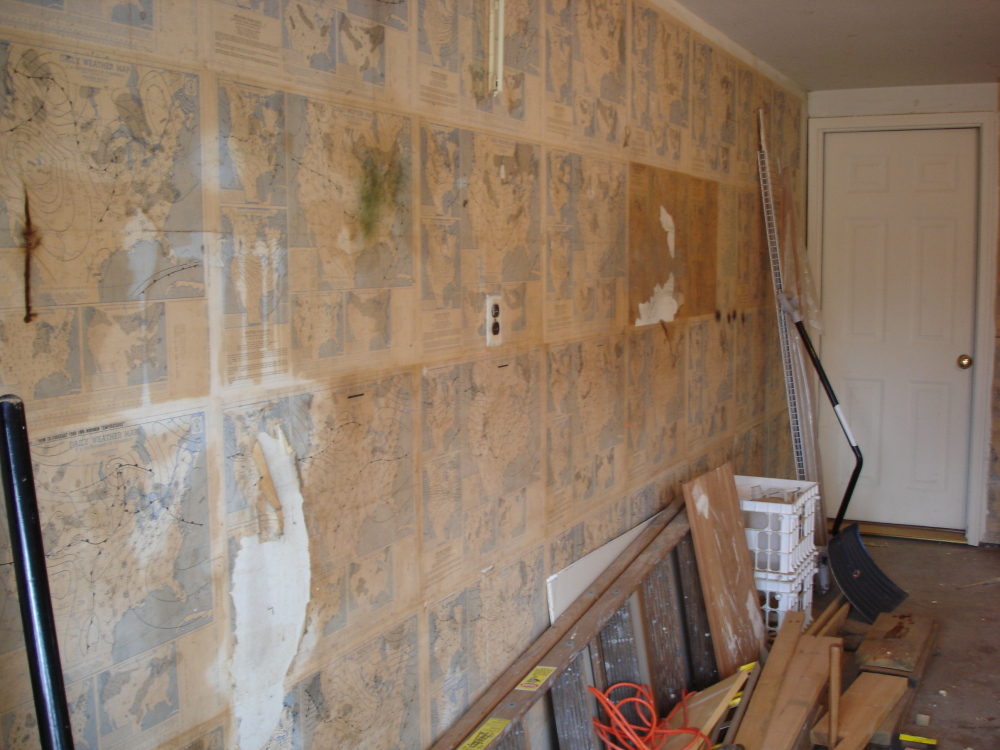
 The evidence shows he was a weather hobbyist, a little bit sloppy, and not at all handy with tools. That’s the original owner of this 55 year old home, and that’s only from the garage (single bay, unheated.) Bob just couldn’t let go of those 1958 weather maps. He wallpapered the garage with them … over bare drywall, not even primed. He also left a few 5 gallon steel buckets to rust along one wall, and later covered that part of the floor with a red substance (something like deck stain) that effectively hid the rust. Add the usual oil droppings, paint stains (from projects painted there, not from any paint used on the garage itself), and 30 years accumulation of our own junk and it becomes something on the order of a mega dump to clean up. Oh yeah, 17,346 nail holes in the wall. Hmmm, or was that buckshot?
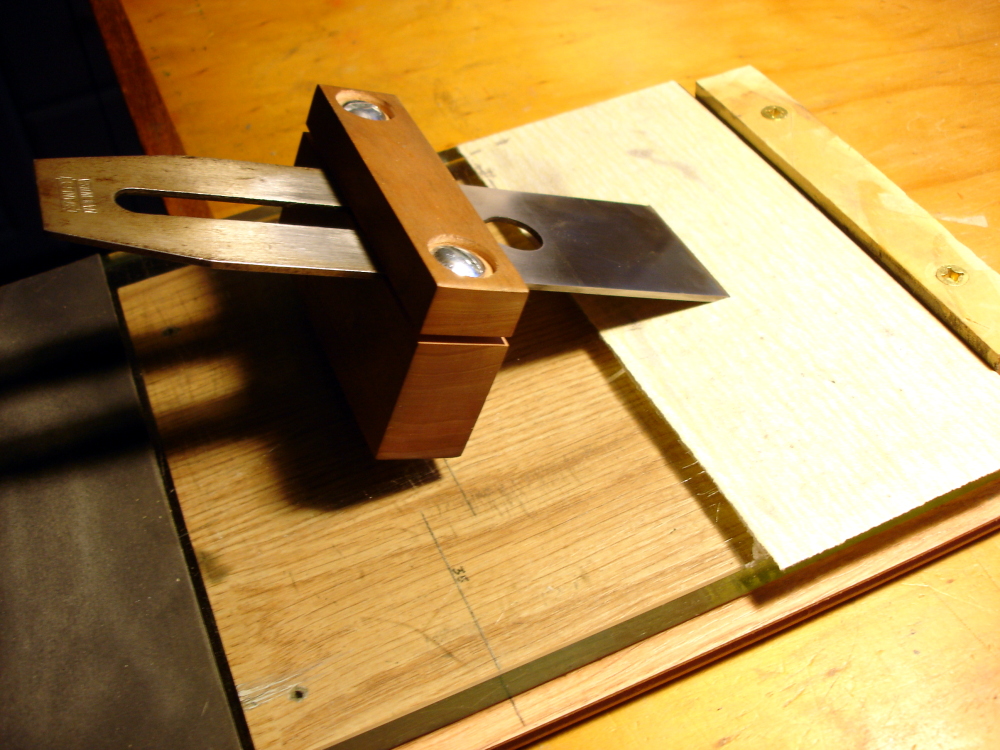
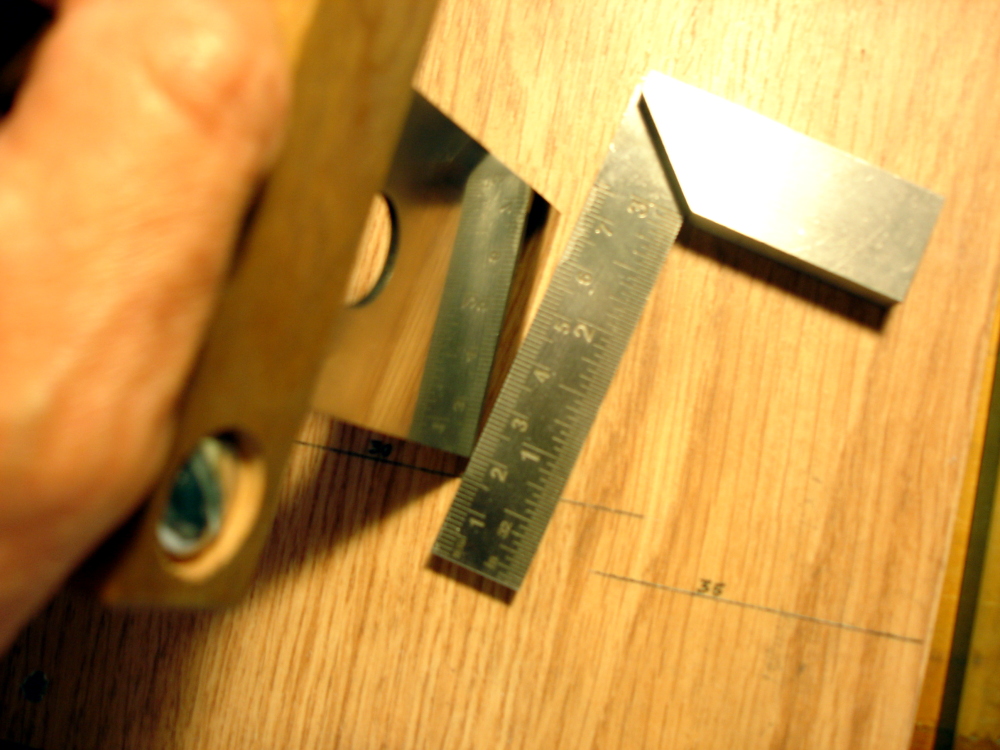
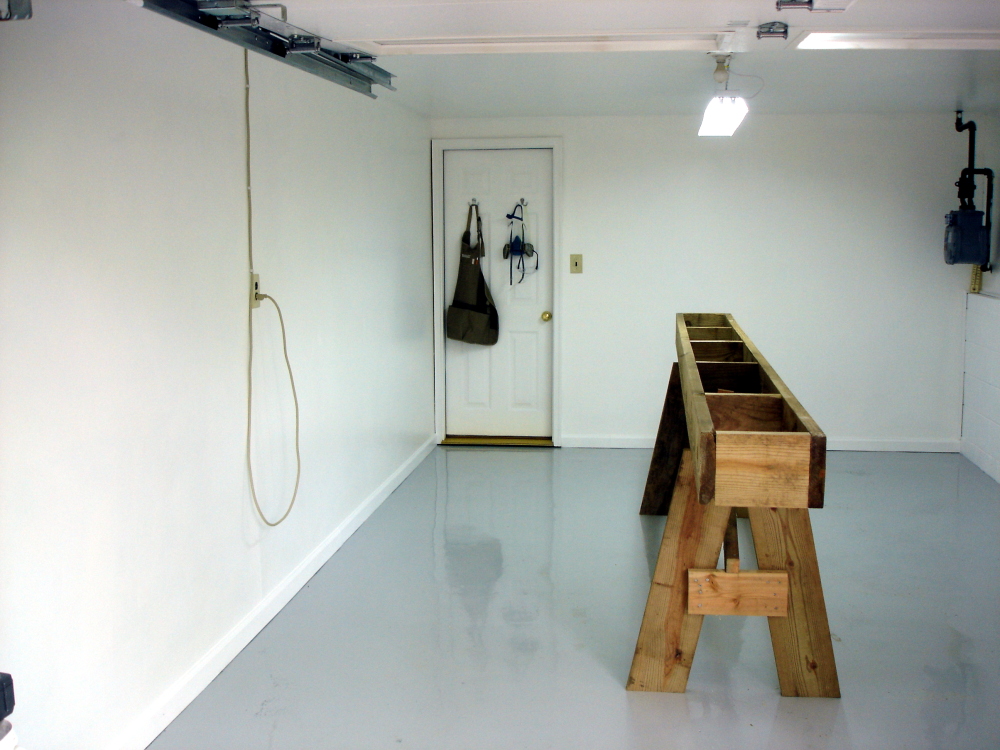
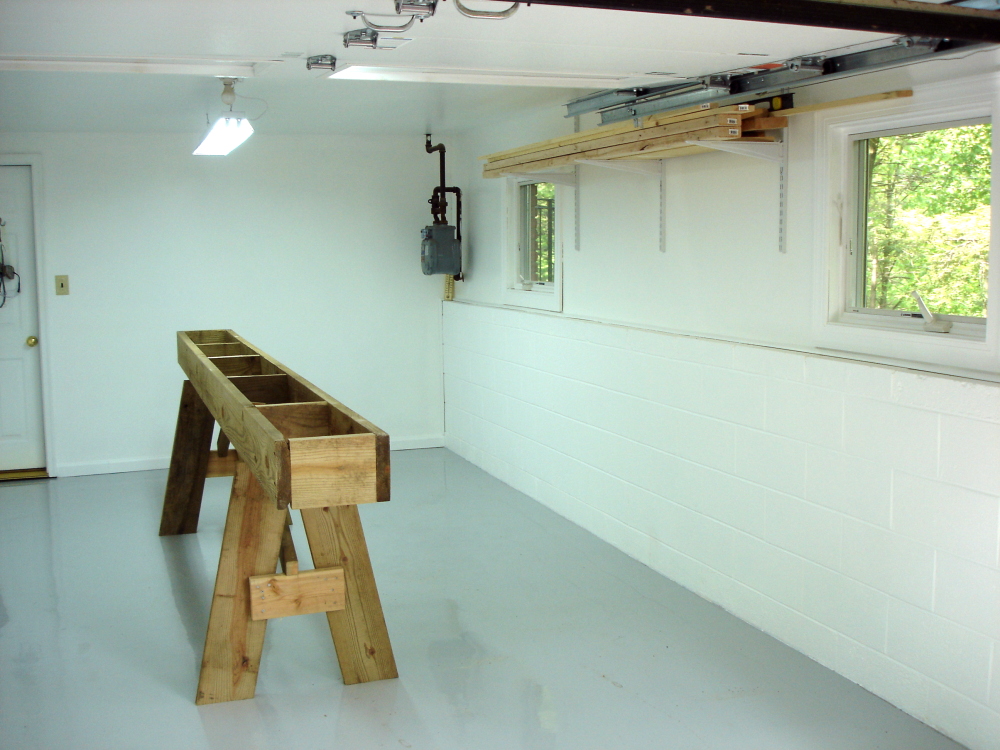 Eager to get started with boat building, my first inclination was to splash a coat of primer on it and keep moving. Then, visions of well primed tattered paper hanging all about brought me to the right decision. Clean it up right. After getting the walls done, the floor just couldn’t be left as it was. It is now epoxy coated. New lighting brought it to the current state. I’ll add wall mounted storage as I decide what I really want. That bench-like thing in the middle of the room is a “building horse” for the first boat I’ll be building, a Harry Bryan 12 foot Fiddlehead. It is horrendously over built, a reuse of material left over from a deck that might have otherwise gone to the junkyard with a lot of the rest of the old garage contents.
As with all projects involving paint or coatings, surface preparation was the biggest, and back aching, part of the work. While removing weather maps, mudding and painting the walls seemed an endless project, the floor was tougher yet. There was a lot of work down on hands and knees with paint scrapers and wire brushes. After removing everything that could be scraped or scoured off, I made a couple of rounds of scrubbing with a Behr concrete degreasing product. That product did a very good job of removing oil stains from where a car was once parked. It also helped loosen some of the remaining paint droppings. Then three more rounds with muriatic acid to etch off other stains.
 The floor coating I used was from Epoxy Coat. The result is far from perfect, but 10,000 percent better than before. Those rust stains were well covered. There are a couple of areas containing small voids, scatterings of raindrop sized voids. I think those are due to the product being spread too thin. There are also a dozen or two (who’s counting) small bubbles about 1/8 inch diameter. I don’t know what caused these, some sort of out gassing from a contaminant I guess. They appeared about 10 hours into the cure. Considering what was there before, I’m satisfied, and have no complaints at all about the product itself.
For those considering epoxy coating, I have three suggestions. First, surface prep is the primary determinant to success. Other than heavy, and expensive, abrading such as shot blasting, I don’t know what more I could have done. It seems to me that the only way to get that perfect showroom glossy finish is to do epoxy coating as soon as the freshly laid concrete has cured, before it has any chance to accumulate foreign matter. That would be 55 years ago for this house, or before you ever park a car for any new house.
Second, buy more than you will need. I bought a package intended for a single bay garage and it was barely enough. There certainly wasn’t enough etch acid to do the job and I used an additional gallon I already had. The coating itself was probably sufficient for a newly cured floor that was evenly etched, but I had a few rough spots and ended up with spreading too thin in some areas.
Third, don’t short-cut the squeegee step. The instructions call for spreading the material with a squeegee and then rolling with a regular paint roller. They also warn that you have about 15 minutes working time and suggest doing 10 foot by 10 foot sections. That makes one prone to rushing! Especially when considering that any place a roller can’t reach (wall joins) has to be hit with a brush. I found out pretty quickly that just roughly placing material with a squeegee and then planning to roll to out is not a good strategy. Rolling is not sufficient for redistributing the epoxy. Spread it as evenly and as completely as possible with the squeegee. Then, use rolling as a surface finishing technique.
Lastly (suggestion 4 of 3), if you anticipate uneven results, consider using the color flakes that come with the package. The flakes are very fine confetti that can be scattered on the coating just after rolling. My gray kit included a couple of fist fulls of flakes that were black, gray, and white. I thought the flakes might make finding small dropped parts harder, so decided against using them. Yet, I can see how they would have obscured some of the fine voids and bubbles.
With that little project out of the way, boat building commences sometime soon.
Click on any image to show a larger version.