Eva Too – Sheer Clamps
Overnight temps have been gradually warming. The shop temperature reached epoxy’s almost minimum temperature yesterday. I’ve been waiting for this time because the next step in assembling the Mill Creek 13 canoe requires gluing the sheer clamps to the sheer planks. Sheer clamps are longitudinal framework members which strengthen the area where the top (sheer) plank joins the deck. Sheer clamps for this boat are 3/4 inch by 1/2 inch. Pieces were scarfed together to attain the needed length.
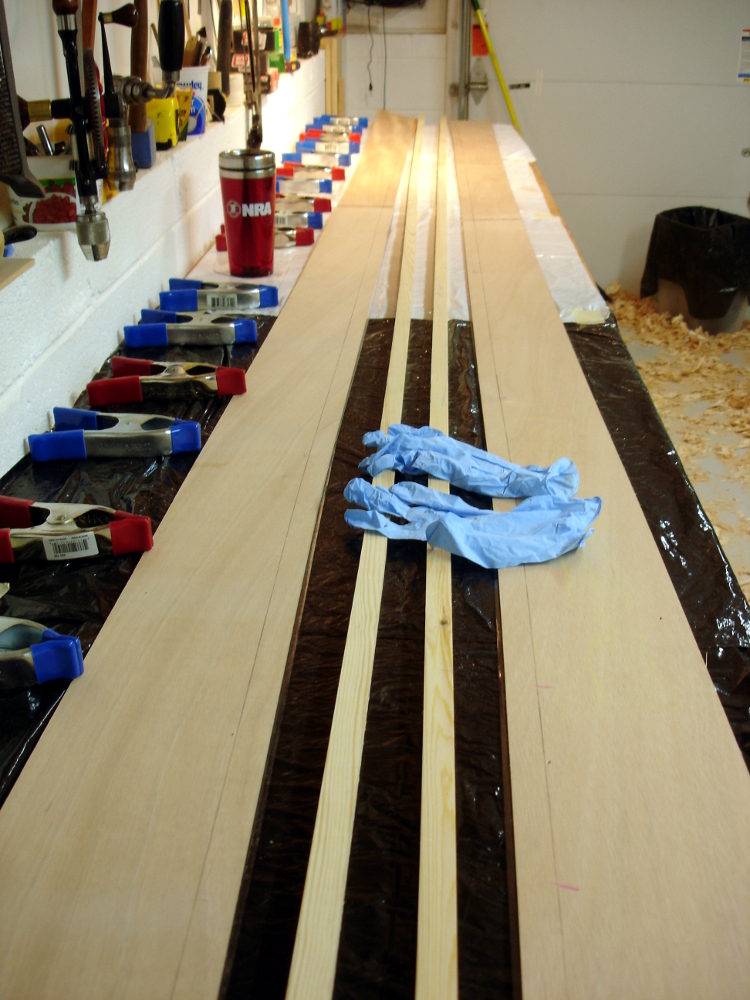 There were two sorts of preparation, preparing to glue the parts together, and preparing a place to keep the assembly warm enough to cure.
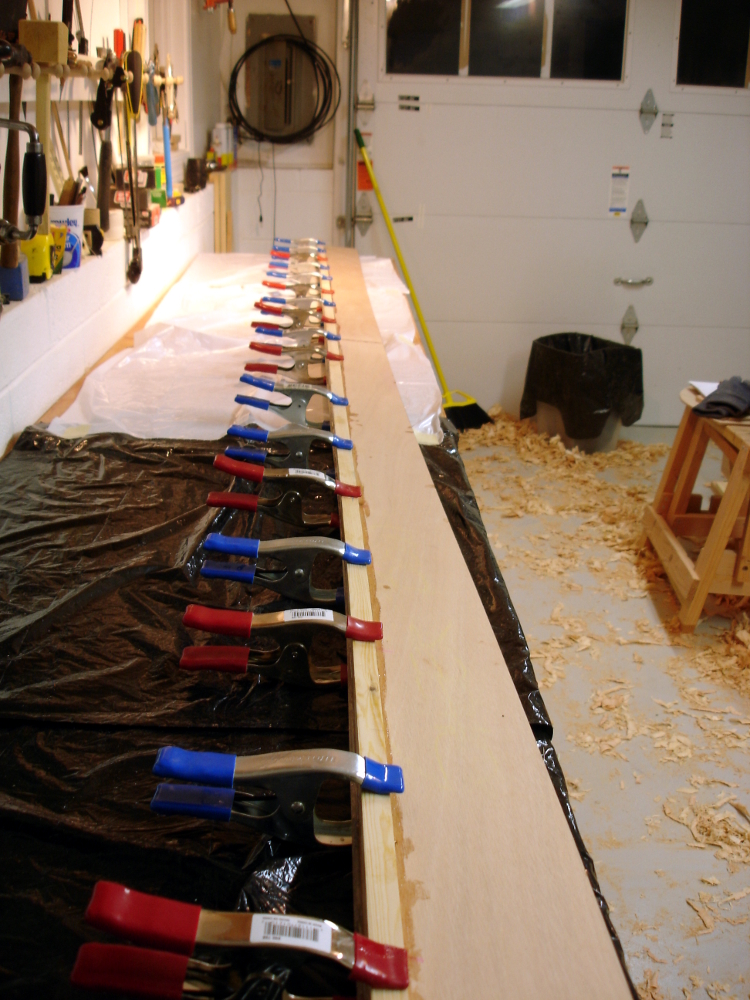
A clamp is going to be glued to each plank. Then, each plank and clamp pair is going to be sandwiched into one assembly for clamping and curing. A strip of clear packing tape on the outer faces of the two planks prevents them from being glued to each other. Pencil lines on the inside faces of each plank ensure the clamp is being glued to the correct edge. These are double checked, and then triple checked at least twice again. All of my squeeze clamps are gathered up and laid out. A fresh pair of critically important nitrile gloves are donned and the epoxy mixed.
 SAFETY note: My loving spouse always tells me never to use absolute superlatives such as never and always, every and none. Yet, this is a case where they apply. EVERY thing I’ve read about epoxy says with certainty that EVERY person will become allergically sensitive to it, some with devastating results, and that the ONLY way to avoid such sensitivity is to NEVER let the stuff touch ANY part of your skin. So, these gloves, buy in bulk, are the minimum. Depending on how involved the operation, longer gloves and more protective clothing might be in order.
Woodworkers talk of “glue-ups” being anxiety filled events. Not so with this epoxy. For this particular glue-up, a simple wood to wood join, I’m using some West System epoxy that’s left over from the previous build. It uses a slow hardener that provides 20-30 minutes of open time, more when the temperatures are cool. So, there was plenty of time to get the pieces in place, get the squeeze clamps on and make sure all the usual slipping and sliding ended up with the parts slid into the correct configuration.
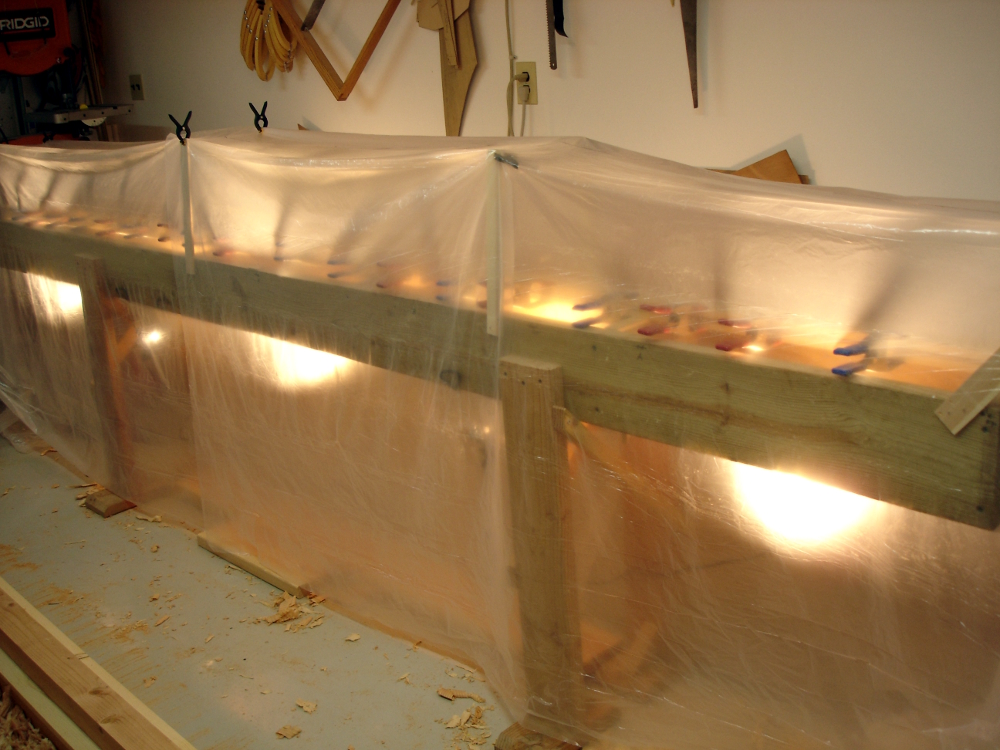 Now, let’s keep it reasonably warm while the epoxy cures. My cheap solution to that end consists of 5 clamp lamps with as many 100 watt bulbs, the real ones, not those wimpy curly things, and a couple of sheets of polyethylene drop cloths. The lamps are clamped to the bottom of the boat building bench, pointing upward. The plastic is draped over temporary slats that keep it off the bench, off the glued up parts, and off the lamps. This tent arrangement builds the temperature up to about 70 degrees, plenty sufficient for good curing.
While it cures, it’s back to making lathe parts.
Treadle Lathe – Makin’ Parts
Overnight temperatures in the workshop are slowly rising toward the minimum needed for epoxy work (for boat building). Spring might be coming. Song birds are returning their joy to the neighborhood. Boy are those babies getting a surprise today. We have 12-18 inches of crystalline global warming falling from the skies today and tomorrow. So, work continues on the treadle lathe.
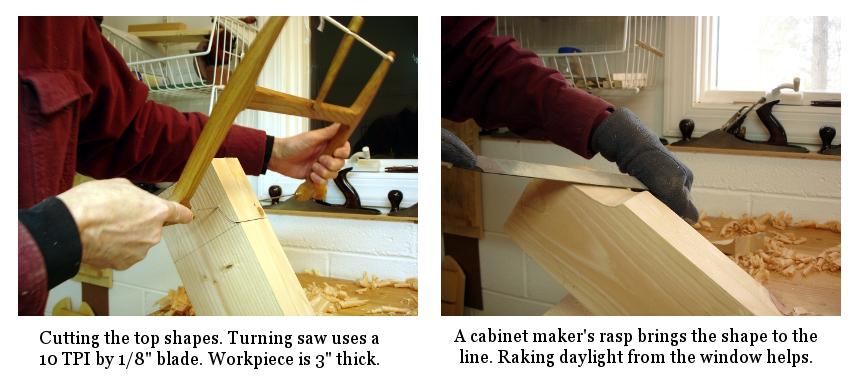
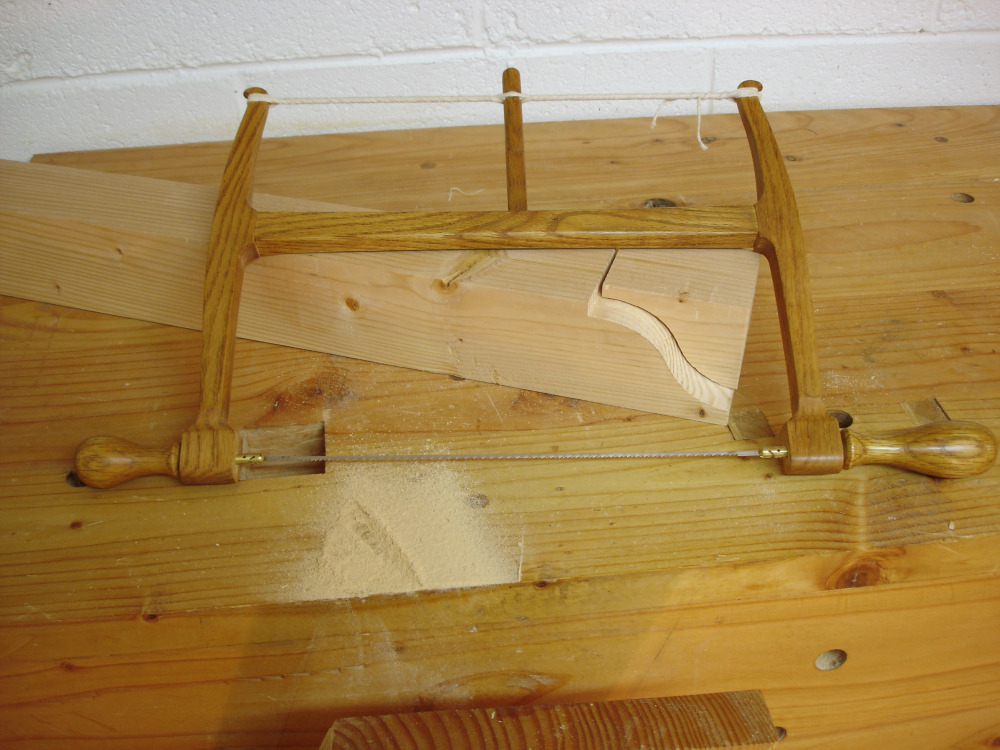
When I was making the flywheel, I doubted the ability of my trusty turning saw to do a good job with the wheel’s thick stock. I wimped out and used the bandsaw to ensure a round wheel. Wanting ogee curves on the tops of the headstock and tailstock posts, I decided to give the turning saw a try. These posts are the same thickness as the wheel.
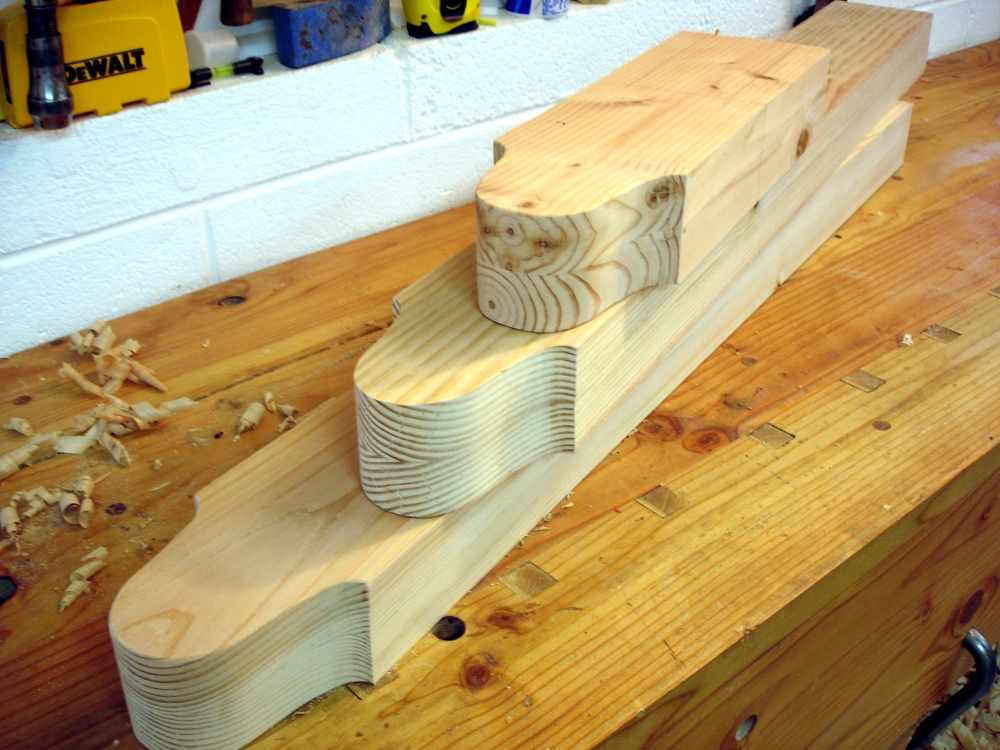
The only difference between these cuts and the wheel was the level of perfection needed. It turns out that the saw, using the 10 TPI 1/8″ Gramercy blade, acquitted itself quite well.
On a piece of cardboard carton (empty pasta box) I drew a curve that pleased me. I traced around that to position the pattern on both sides of all three of the parts. Sawing close to the line was not at all difficult. Yes, it was slow going but cost only a couple of Milky Way bars. A Nicholson 2nd cut cabinetmaker’s rasp was my tool of choice for completing the shaping.
Boatbuilders often use beading to dress up the plain parts of small boats, usually the thwarts. The beading shows good craftsmanship and also eases the comfort of bare legs sitting on the thwarts. Stephen Shepherd recommended beading in his lathe bench plan notes. So, I want to use beading on some of the parts.
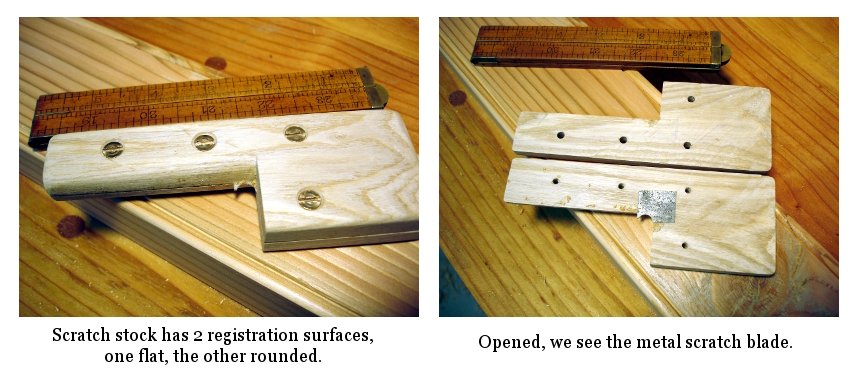
Having never done it, I researched (of course), and determined a scratch stock is the tool of choice for such work. More research found me many ways of building a scratch stock tool. I ended up eliminating all but two, a design by Tom Casper in the October 1999 issue of American Woodworker (a bunch of them online thanks to Google Books), and a design by our beloved Village Carpenter, Kari Hultman.
As much as I like the simplicity of Kari’s approach, I thought the design with two reference surfaces would be easier to control. I made it from a bit of Ash. The basic “L” shape was cut first.
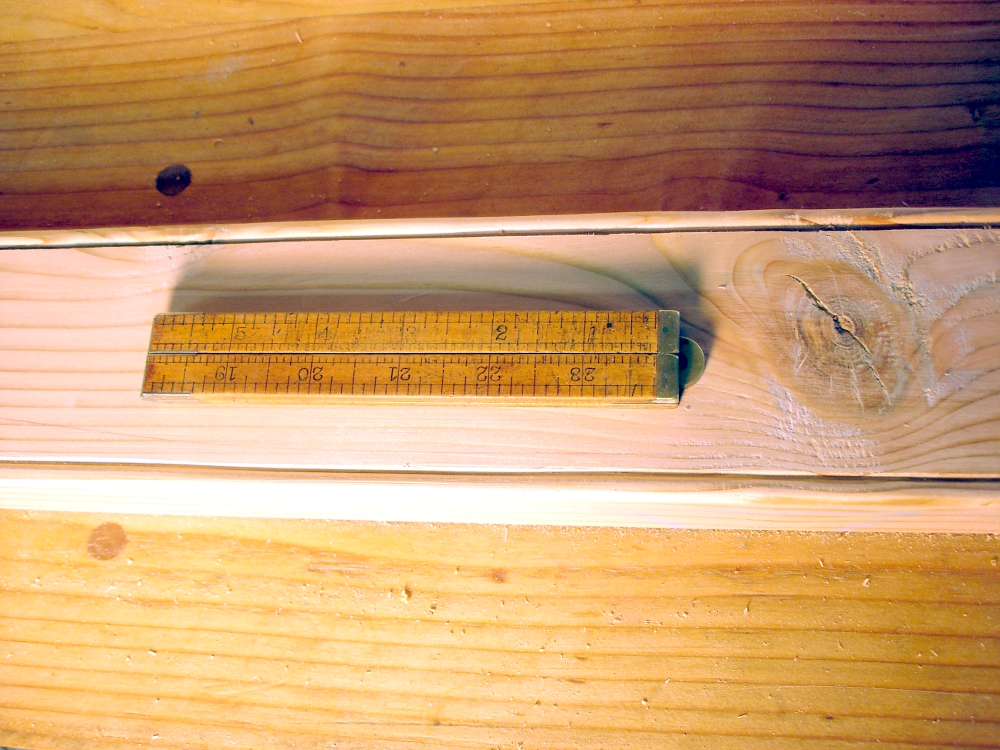
Then, I fitted the screws, removed them, and resawed the tool into two pieces. Rounding the long fence face, and rounding over all the other edges completed the stock. The scratch blade is a bit of saw blade cut to a small square and then filed with a rattail file.
It works surprisingly well. It’s a good way to improve the appearance of this marginally acceptable lumber. Now, the real reason for beading is to strengthen the part. A piece of lumber with sharp square edges is subject to splintering as it transitions through humidity changes. Splintering leads to splitting. Splitting leads to twisting and warping. Knocking off the sharp square edge significantly lessens the potential for splintering and all the rest. Hence, strengthening the piece, while making it more attractive.