You just picked up that old eggbeater drill. Looks nice. You look into the chuck and think “Oh no, looks worse than someone who’s been using their teeth to loosen axle nuts. She’s a gonner.”
Maybe not…
My entry about refurbishing a Goodell-Pratt eggbeater drill has had more comments than any other article. Questions continue to this day, with several asking about the chuck … and can a chuck with skewed jaws be salvaged? My experience is that the most common problem with these drills is mangled springs in the chuck. I can’t know how they get so mangled, other than knowing that they are relatively exposed and are probably caught and mangled when people aren’t careful enough in setting bits into the chuck. The answer is a resounding yes, IF (big IF) all the jaws are present. Most of the chucks of the eggbeater era, Millers Falls, Goodell-Pratt, and other brands, had 3 jaws. Count em. If you have three, let’s break the chuck open and fix it up.
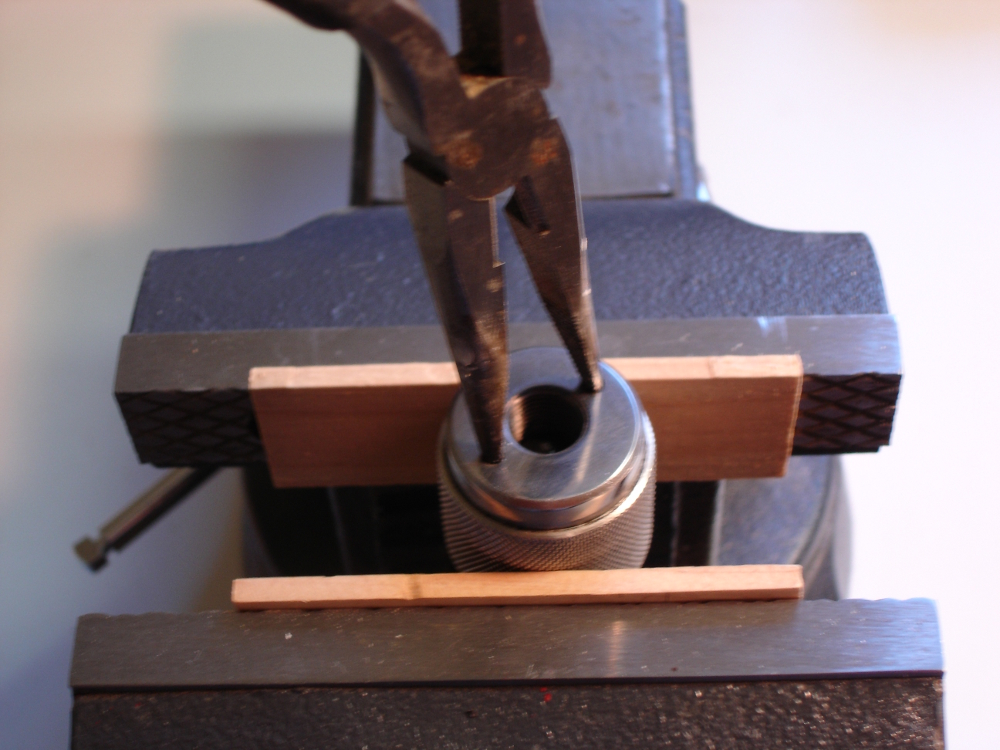
There is a bottom pieced screwed into the chuck. Mine was rust free and opened rather easily. Your experience may vary. If needed, use a good penetrating solvent and lots of patience. I clamped the chuck into a machinist’s vise using pieces of softwood to prevent marring the knurling. I used only enough clamping pressure to keep the barrel from turning, and to avoid distorting its shape. My chuck had two very convenient holes in the bottom, and there’s probably a spanner tool out there somewhere that fits those holes. A pair of needle nose pliers did the job for me. Other chucks might not have these holes, or might have flats for wrenching. There’s a lot of variation. You may need to use vice grips or plumber’s pliers to open the bottom. Whatever you use, try to employ some padding and be gentle enough to avoid marring the piece.
(Click on any picture to see a larger version.)
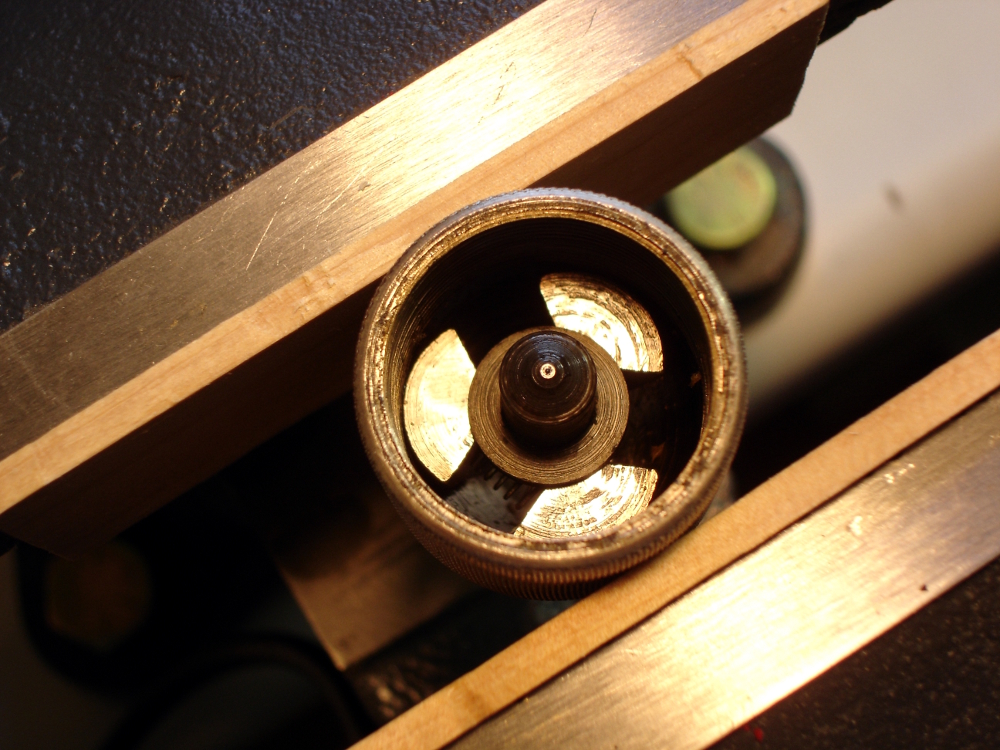
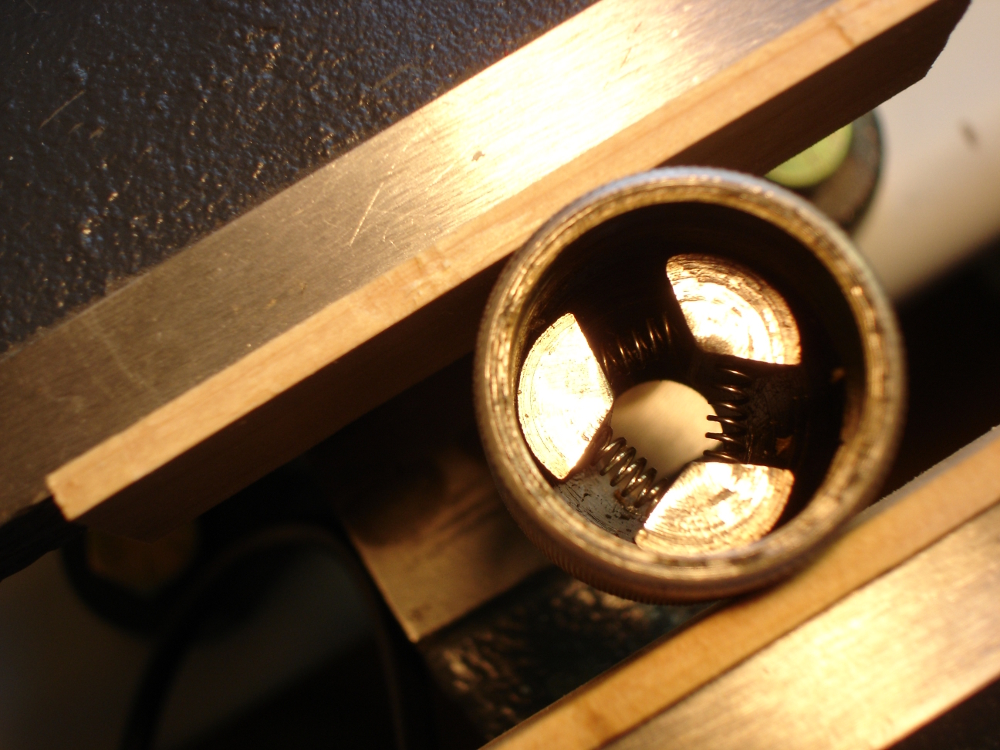
Once the bottom is removed, you will find a thrust washer or some sort of device that is used to push the jaws into the barrel as the chuck is tightened. Lift it out. Then, we can see the remaining parts, the jaws and the springs that hold them apart. Of course, here we see a nicely arranged, well functioning set of jaws and springs. This is what they should look like after you finish refurbishing.
OK, let’s spread out the parts.
The leftmost picture shows the parts laid out in a line as they normally fit together. The center picture shows each part rotated 90 degrees counter-clockwise to give you another perspective. The rightmost picture shows the jaws, with one flipped to show the surface that mates with the inside of the barrel. Again, these are all of a working chuck. Yours will most likely have some really ugly looking springs, mangled twisted things that are the root cause of your chuck’s problems.
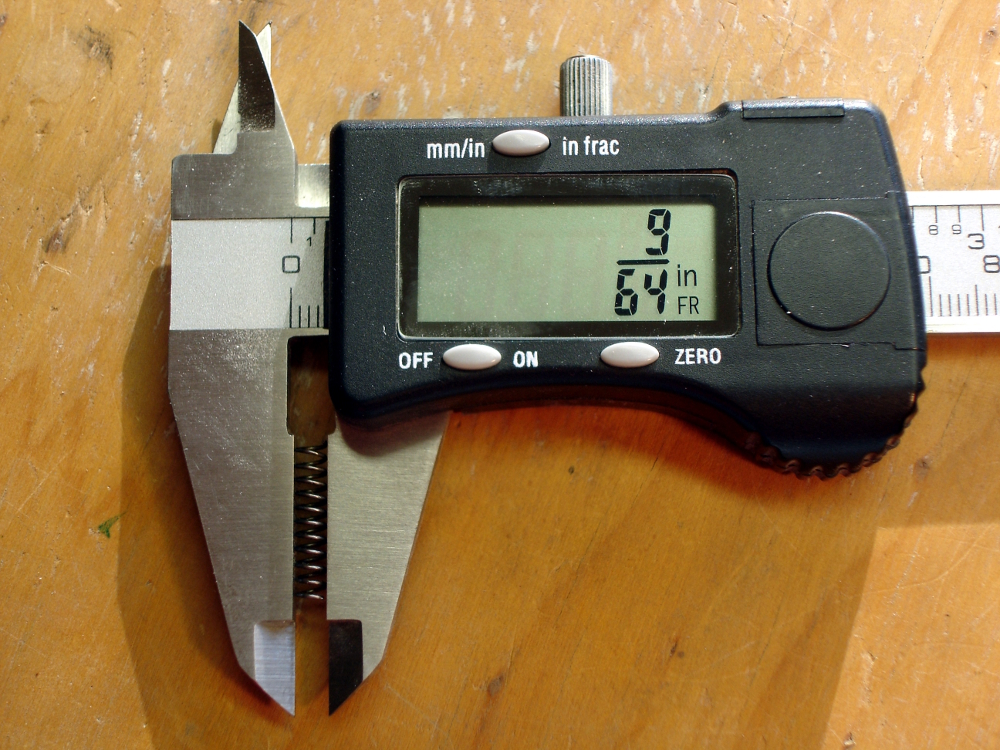
Let’s make some new springs. The first thing you’ll need is some spring steel wire of the correct size. As one of the following pictures shows, the springs in this chuck (two are originals) are made of wire measuring 0.0195 inch thickness. I rummaged through some old guitar strings (never throw anything away) and found a steel string that measures 0.0250 (for the guitar’s 3rd string (G)). That was close enough. If your guitar string drawer isn’t well stocked, try a local hobby shop or craft store and ask for piano wire. Otherwise, go shopping on the computer.
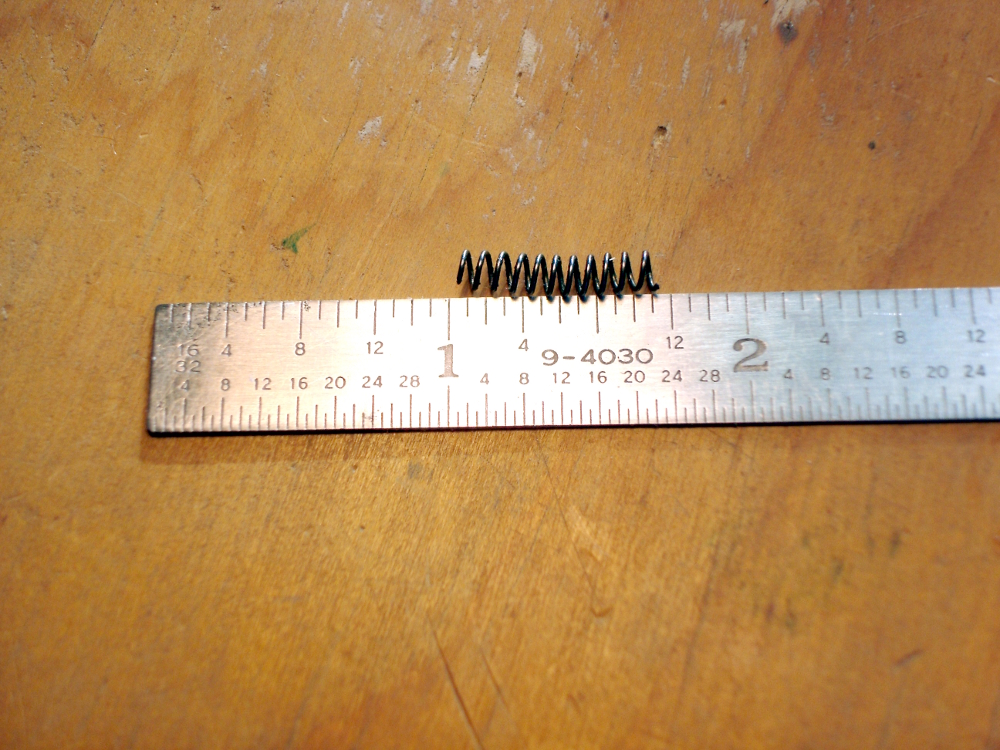
The outer diameter of my springs is 9/64 inch, a size that lets them fit easily into the holes in the jaws. The springs seat into the holes about an 1/8 inch. The length of each spring is 11/16 inch. A good spring fits very nicely over a 3/32 inch drill bit. Note well: there are lots of variations and the measurements for your chuck might vary. In fact, there are at least two different spring mechanisms, and you might have to craft springs a bit different than these. The most important attribute is ending up with three springs that have the same relative springiness. Their balance is what holds the jaws evenly spaced in the chuck.
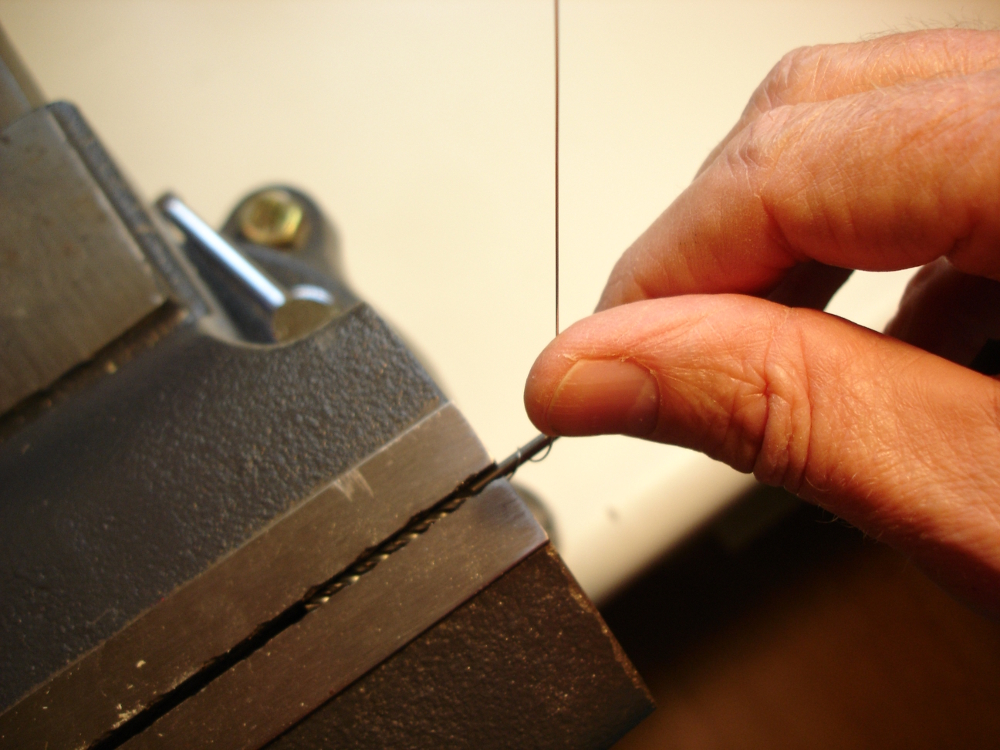
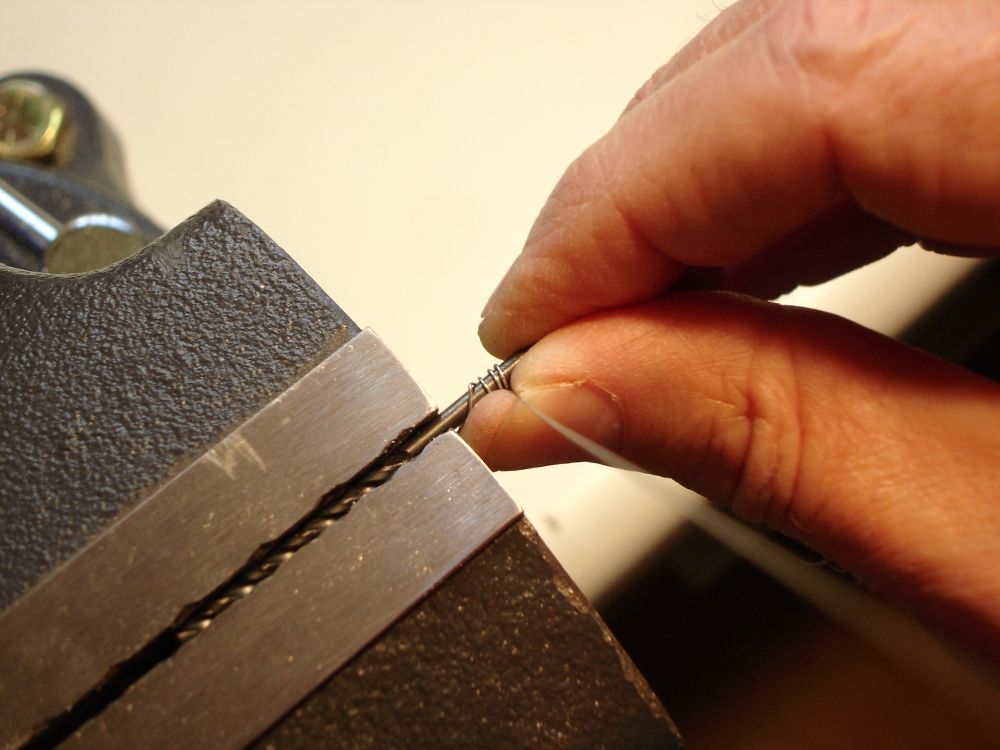
I have no magic for winding springs. I didn’t even look for spring winding tools, as I only needed one or two springs, and don’t foresee needing such tools in the future. (Ooops, failed a basic galoot principle there.) I used a 1/8 inch drill bit (sorry for confusion about this in comments to the original article). I started by making a 90 degree bend in the wire. I then clamped a 1/8 inch drill bit in the machinist’s vise. The tail of the spring wire snuggles up against the bit and we start winding by pushing the free end of the wire around the shank of the bit. ( Kari, I forgot the manicure, yet don’t have any open wounds, like Roy.) Then, I simply wrapped the wire around the bit, trying to keep a constant spiral with the spacing of the original springs. Yep, it took a few tries to make decent springs.
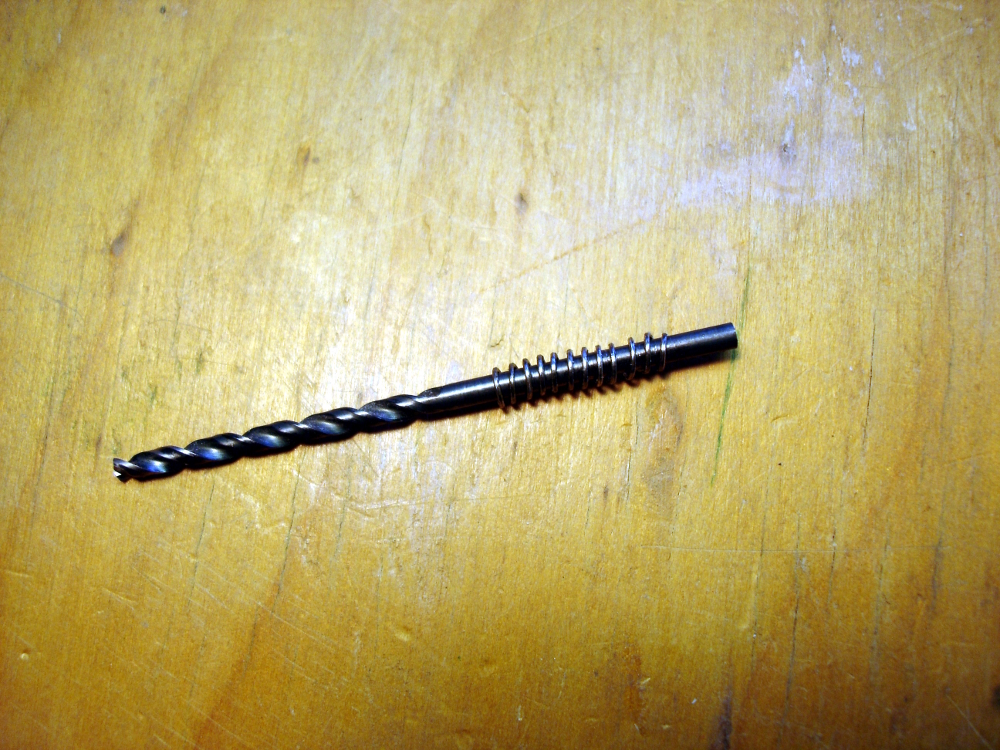
Two suggestions: First, using the 1/8 inch bit, even though smaller than the desired diameter, worked for me because once the winding tension is released the spring expands. Adrian, a commenter to the original article, found that a 5/64 inch bit got him the results he wanted for his springs. Second, wind a length longer than needed, and cut it down to the right length.
Lastly, reassemble in reverse order. A similar article by Andy Seaman suggests using a thin film of light grease as you put the parts back together, and he emphasizes “less is more” with the lubrication. Also, Kirk Eppler, in repsonse to a query on the Old Tools List, posted a few pictures of yet another variant here.
See, you can get the old chuck’s teeth back into alignment. Enjoy your refurbished drill!

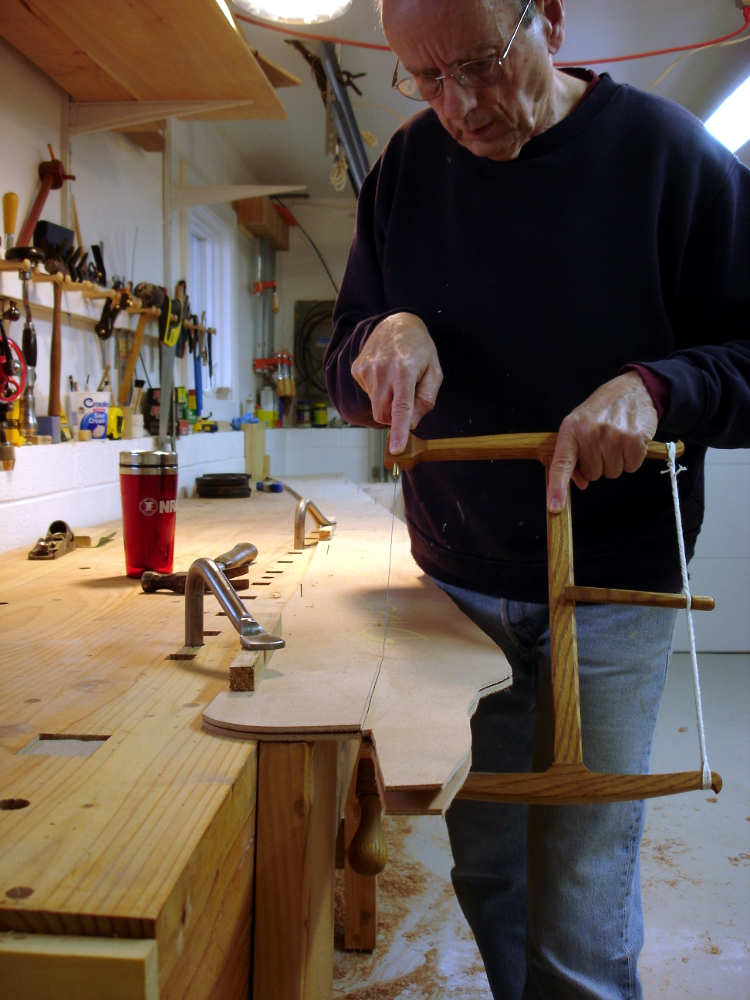
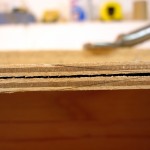 Oh, before we get too far away form scarphing, here’s a picture of how a pair of the scarphs worked out. Even continuation of the plies is exactly what we wanted.