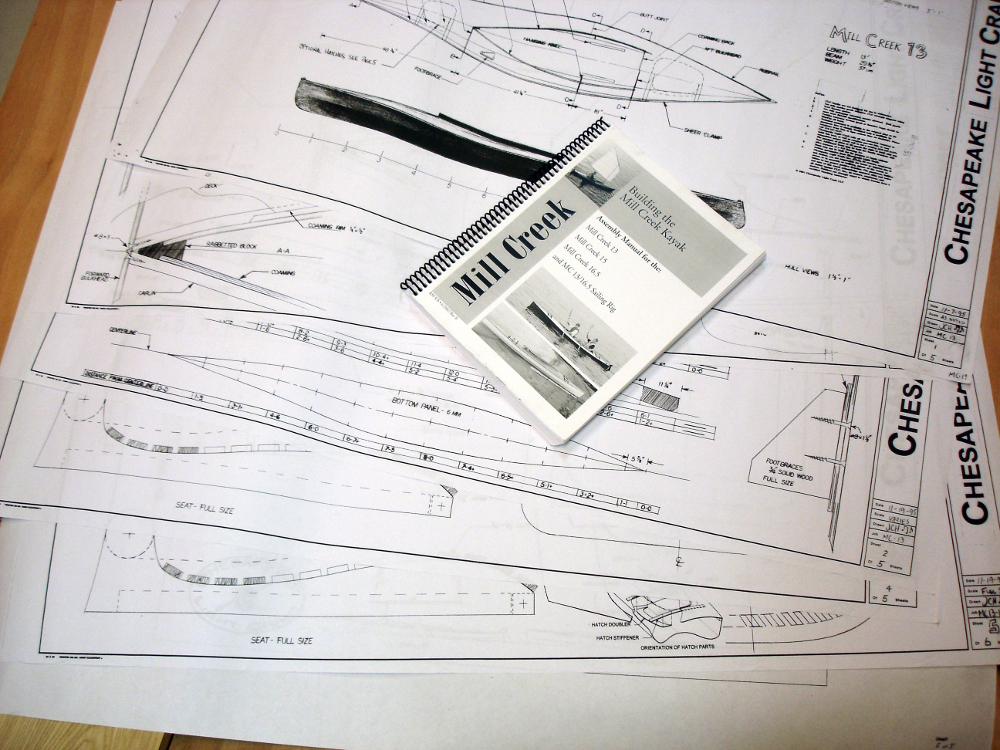
Scarf or Scarph – The joining of two timbers by beveling the edges so the same thickness is maintained throughout the length of the joint.
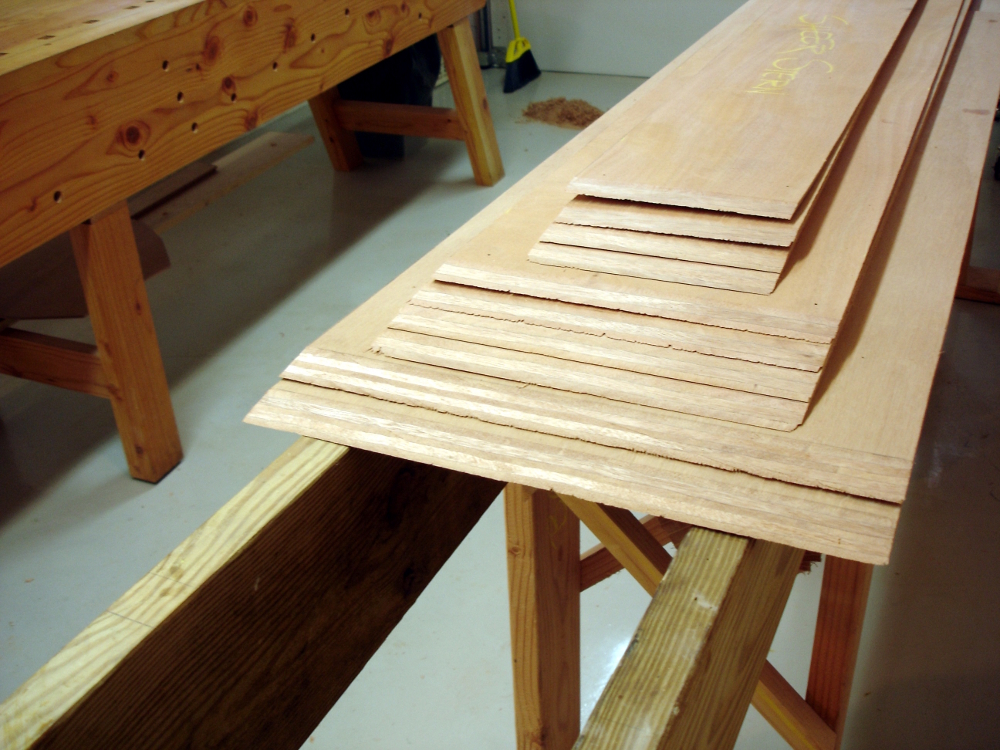
All of the plywood has been reduced to strips and chunks of sizes appropriate for fabricating the various parts.
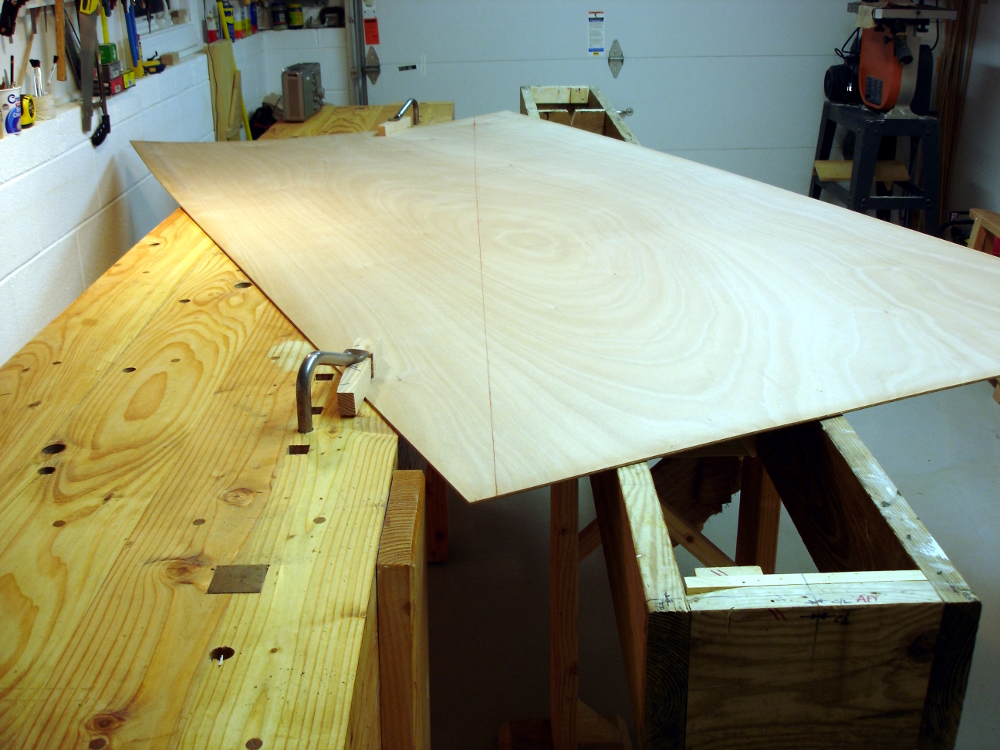
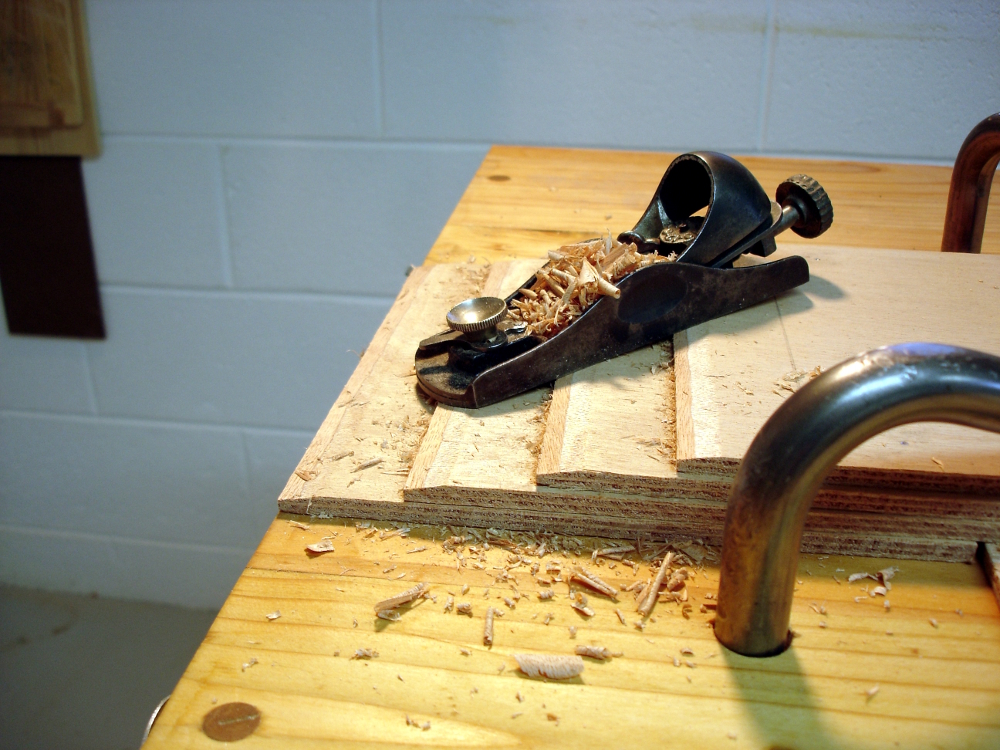 Using 8 foot long lumber to make a 13 foot long boat needs some method of lengthening lumber. Scarphing is the answer. It has been a while since I beveled lumber for scarph joints, so I did a trial run with a few small plywood offcuts. The recommended bevel ratio is 8:1. For the 6mm (1/4 inch) plywood this works out to 1 and 1/2 inch of length. So, I stacked 4 boards with 1 and 1/2 inch offsets and used a few brads to immobilize them. (Hey you guys with the maple / mahogany / purpleheart bench tops that look like boardroom furniture, see why a lumberyard bench is really versatile? Neither my bench nor I cry when I drive nails into it.)
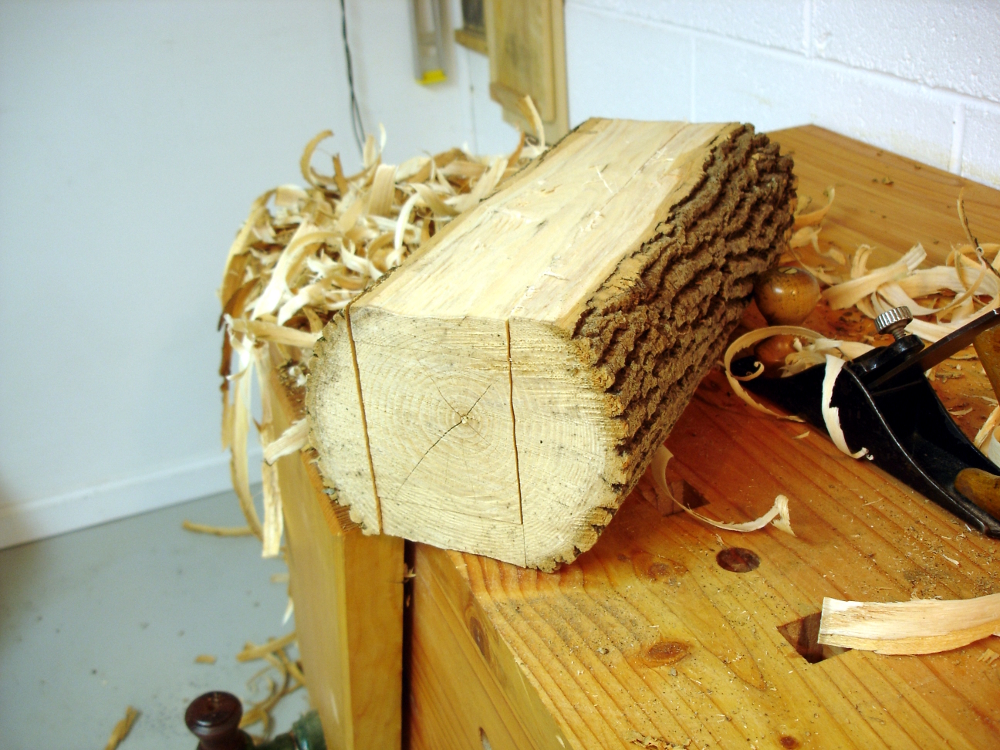
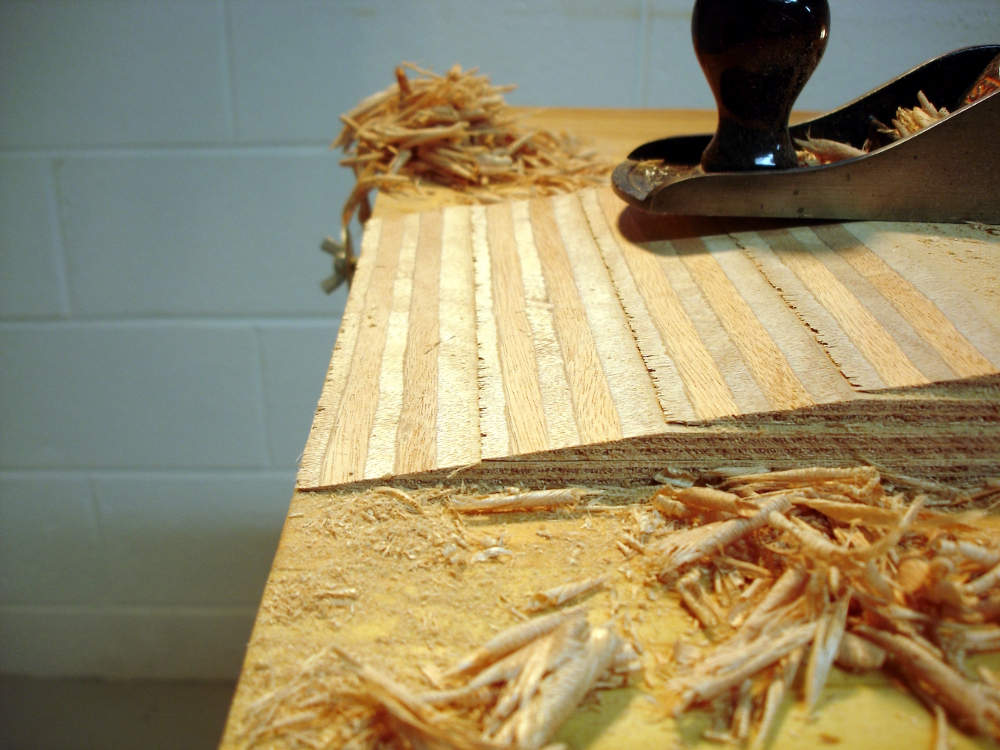 By using 4 boards, the correct planing angle is automatic. The stepped stack sets the right angle and one has to work hard to make it wrong. I started with a block plane, but quickly switched to the jack plane. The jack’s longer nose makes the work more accurate. Extra sharpness is really helpful for this work. Planing at an angle is also helpful. The multiple grain directions of the ply layers are handled much easier with an angled approach. Keep going until there’s a smooth ramp. The plies themselves act as indicators of even planing. They get all wavy when the work is uneven. Keen observers will see some tear out on the fine edge. That’s not a problem, as we’ll see during glue up.
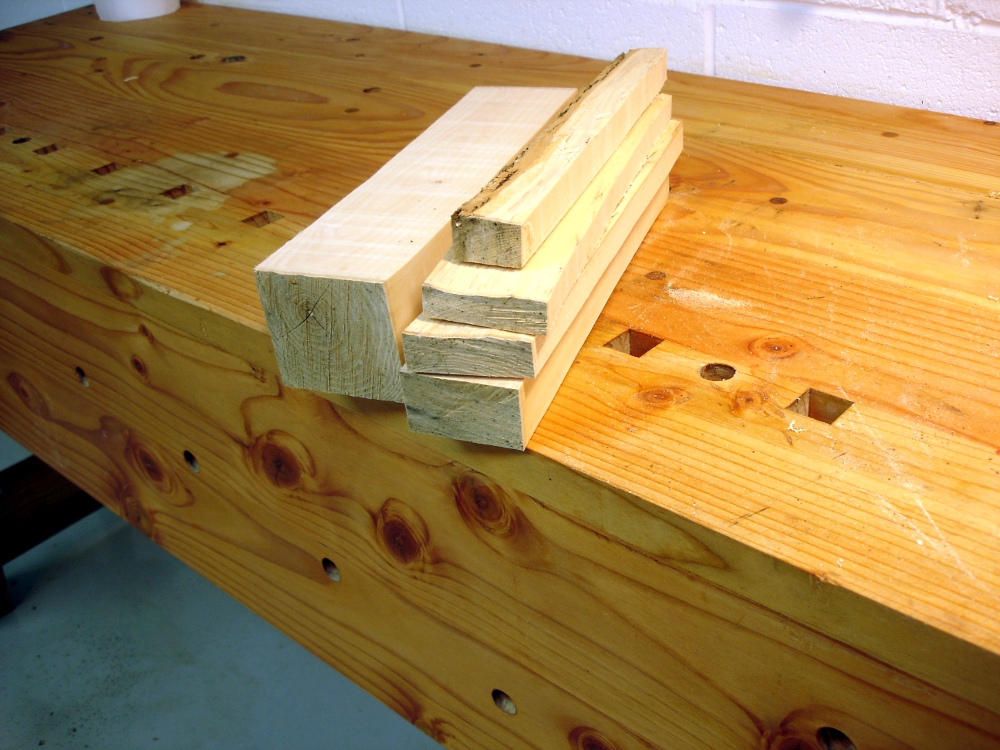
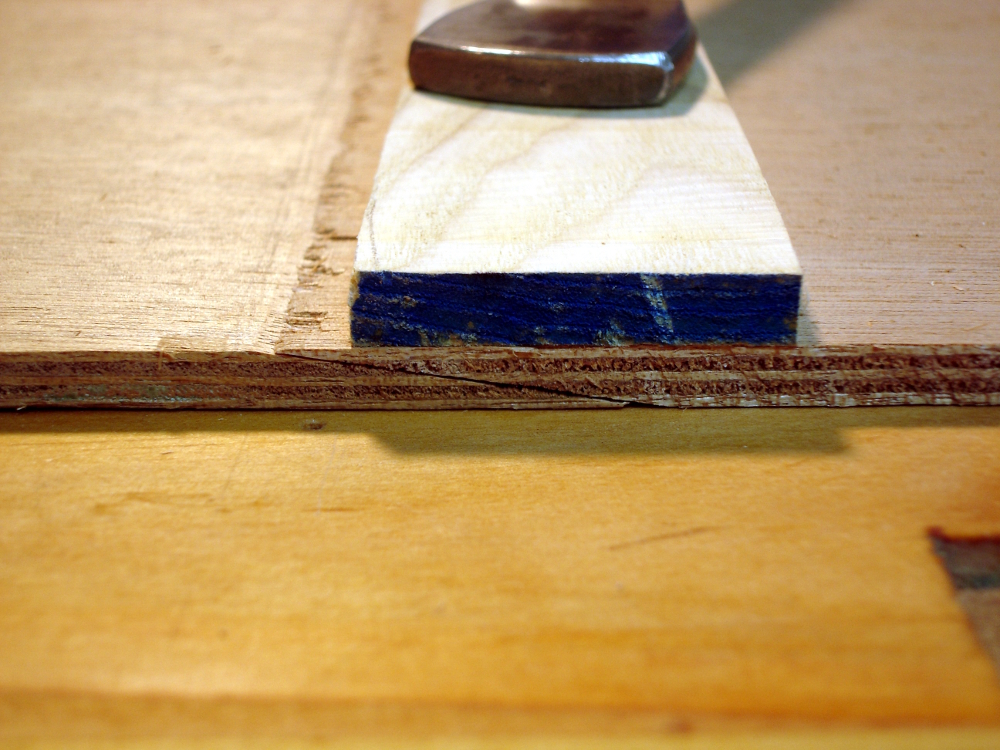 The test of a good job comes from joining the bevels and seeing if the plies of both pieces line up well. Here we see a couple of pieces dry fitted. Looking great. So, let’s move on and plane all the pieces needing scarphing. The bottom is 6mm (1/4 inch) and needs one scarph. There are four 4mm (5/32 inch) hull planks needing scarphs. There are five in all.
Preparing all the bevels wasn’t much work. Actually, it was a lot less work than getting to a similar point with the previous boat where I invested a lot of time in resawing the lumber.
 Next comes “glue up.” This is the time when woodworkers usually feel the pressure of glue that’s starting to cure faster than they can get parts aligned. I still have some West System epoxy left from the previous build and am using their slow version. Still, pot life is rather short, and it is good to get all parts stacked up in the right sequence for use, and to have all auxiliary stuff (plastic sheets, clamps, cauls, etc.) close at hand. Rehersal sometimes helps. Yep, I rehearsed this one since I intended to do all joints in one sesson.
I used two batches of epoxy. The first was the standard mix. I brushed this onto all faying surfaces but did not join them.  This was to feed those hungry surfaces, essentially priming them so they wouldn’t dry out without providing adhesion. The second batch included enough wood flour to thicken the epoxy to the consistency of mustard. This makes a robust mixture that won’t easily run out of the joint while it cures. It also helps fill in at the very fine edge where there is some tear out. I applied this liberally to one surface for each join and then joined pieces together. A plastic trash bag protects the bench from having planks glued to it. Two hull planks, side by side, made the first pair of joins. Add another trash bag. Do the next two planks side by side. Add another trash bag and do the join for the wide bottom board. Lastly add another trash bag, stack a caul on top and apply some clamp pressure. Epoxy doesn’t need a lot of clamping pressure. Doing so squeezes too much out an leaves a weak joint.
The little bit of glue left after these joins was just enough to glue up two pairs of “hanging knee” parts. We’ll see pictures of them later.
So now, we sit back and watch glue cure … every bit as exciting as watching paint dry.